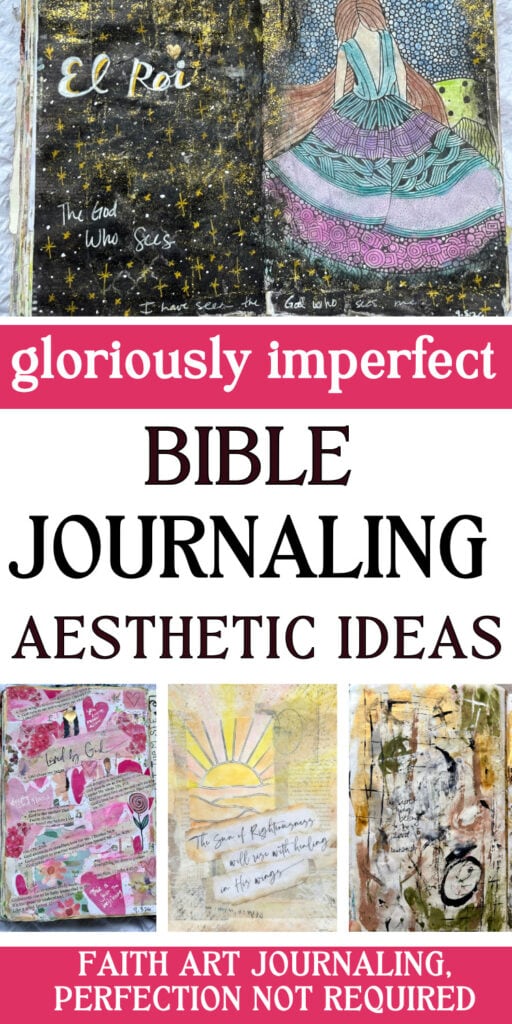
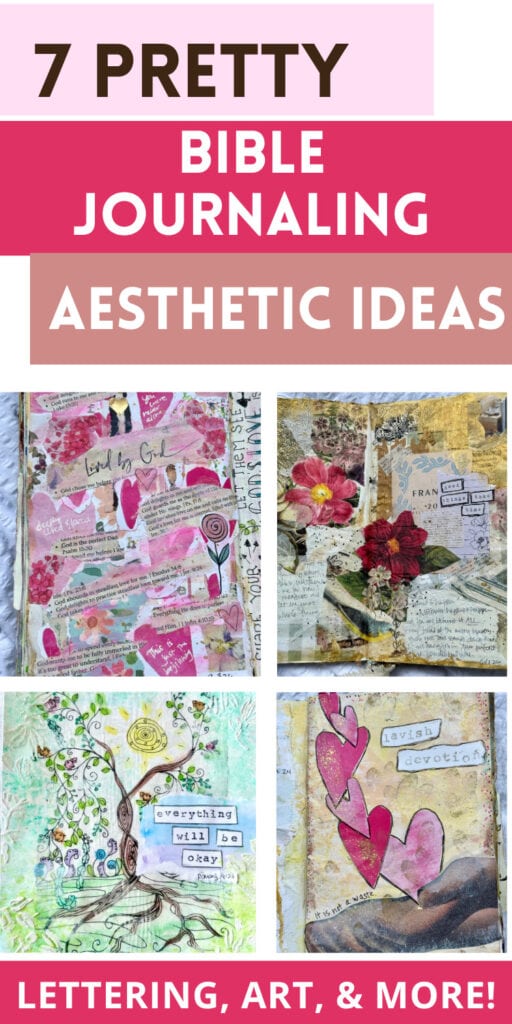
Bible Journaling Aesthetic: 7 Ways to Style Your Bible and Notebook
Are you looking for Bible journaling aesthetic ideas that work on thin Bible pages — and knowing when to move to a notebook instead? Let me walk you through different ways to create a Bible journal, whether in a notebook or in the Bible itself, that has depth as well as pretty aesthetics!
When I first started Bible journaling, I felt a little overwhelmed. There were so many ways to go about it. Some journaled these gorgeous pictures right over text inside their Bibles. Others just had pretty margin notes. Some used an entirely separate notebook.
It was really hard to know where to start. I ended up just buying a coloring Bible with big margins and seeing what came naturally to me. I didn’t want the ‘Bible journal experience’ to take priority over actually studying Scripture and engaging with God (which is easy to let happen!).
I realized that I like to use my Bible itself mostly to take notes, having the notes side by side with Scripture for easy reference. My Bible is more about the study, though I do include some basic art and small doodles, pictures, and lettering.
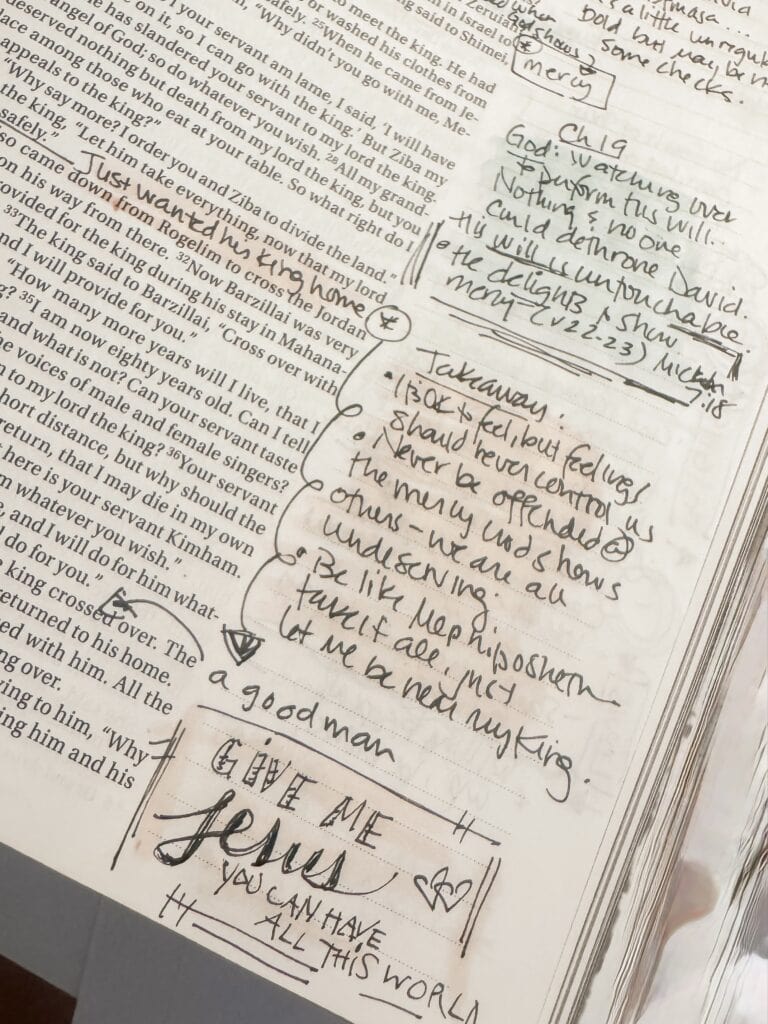
I also started a Bible journal notebook, where I could take some of those truths or a concept God is impressing on my heart and explore them more artistically.
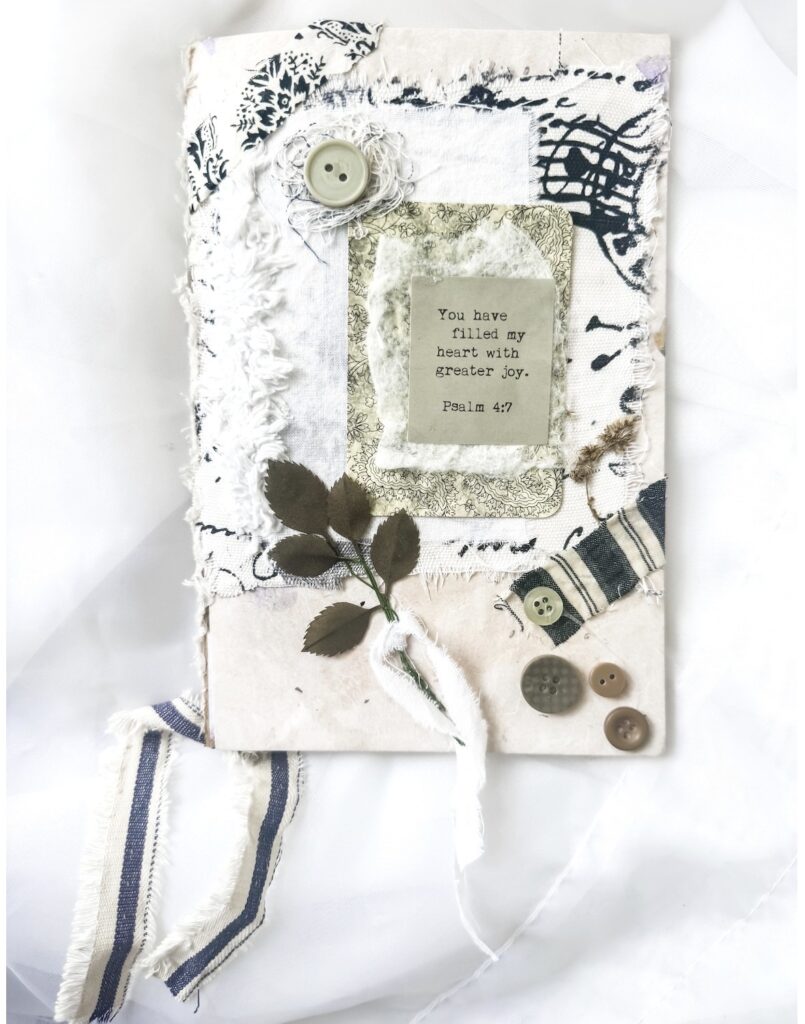
I love having something visual to flip through to remind me of those truths. It’s much easier for me to look through an art journal to be reminded rather than sifting through written words.
A beautiful Bible journaling aesthetic slows you down and helps a verse or concept stick. But there’s also engaging with God and deeper learning that takes place in the artistic process itself. And that’s what I really, really love.
In this series, I’ve already walked through journaling inside your Bible (a lot of Bible study inspo) and Bible journaling in a notebook. This post pulls both together. You’ll find 7 aesthetic elements, with notes on how each one works in your Bible margins and how it really opens up with Christian notebook ideas. You get to choose where to put them!
Decide Your Surface First: Bible or Notebook?
Everyone is a little different when it comes to preferences of where to Bible journal. Below is a quick reference chart if you aren’t entirely sure where you land.
| Inside your Bible | In a notebook | |
|---|---|---|
| Paper | Thin, translucent, bleeds easily | Thicker, holds wet media |
| Space | Narrow margins | Full page or spread |
| Media | Fine-tip pens, colored pencils, translucent highlighters, decoupage | Anything: watercolor, acrylics, collage, etc. |
Before you create inside your Bible, test the pen or marker for bleed through. I usually will just use the bottom corner of a page. A faint shadow is normal; bleed-through (ink soaking to the other side) means that tool should be used in a notebook.
Tips for Creating a Meaningful but Pretty Bible Journaling Aesthetic
This post contains affiliate links. See Disclosures for details.
We can all agree that the time spent in God’s presence is priority. However, it’s a beautiful thing to express those truths creatively and to create while you’re in His presence. There’s nothing wrong with incorporating some artistic technique while you’re making a Bible journal. He made us creative beings, in His image!
So without making it heavy-handed or feeling like there are a ton of rules to follow, here are some guidelines, especially if you’re a beginner.
1. Choose a Color Palette
Choosing a color palette is the easiest way to get a cohesive Bible journaling aesthetic. Pick three to four colors and stick with them for that page or passage. This isn’t a hard, fast rule – but it can help especially when you don’t know where to start.
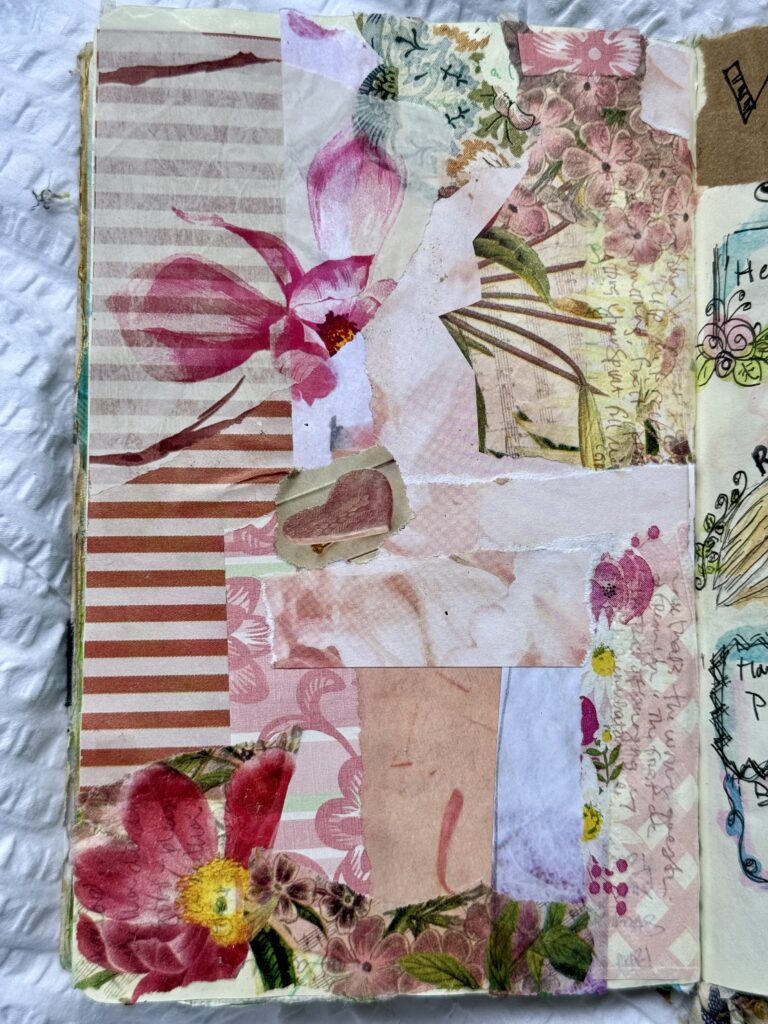
For me, that’s usually doing a background collage with papers in a particular color scheme. That typically gets the ball rolling for me. Below are 2 pages I did just as backgrounds in specific color palettes, that haven’t been completed yet.
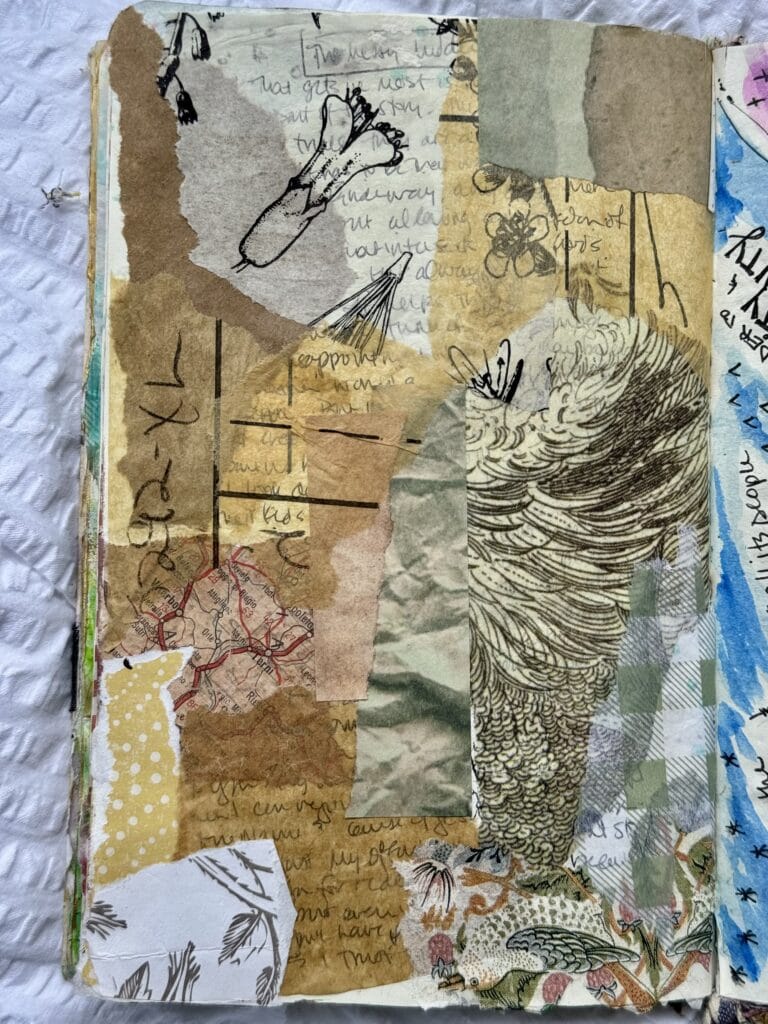
In your Bible: If using your Bible for actual notes, it helps to color-code the text or notes themselves. This way, your color palette is actually functional and does double-duty as a study system.
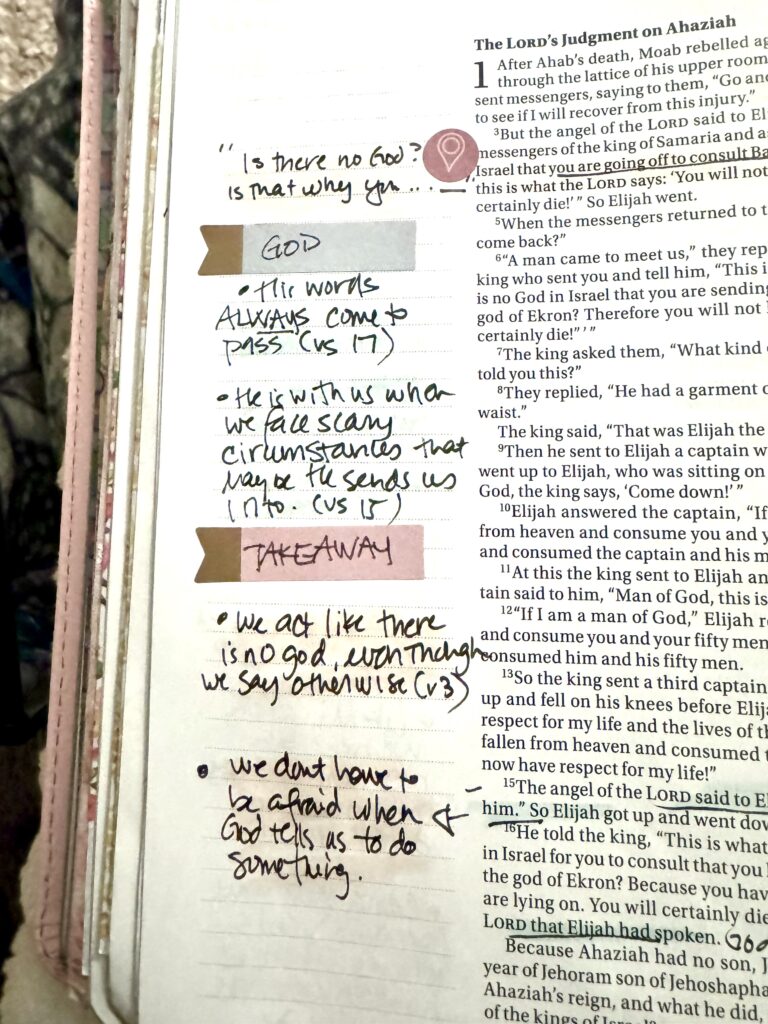
I keep my colors simple: blue for highlights or notes for what I learn about God; pink for truths or key takeways.
I also use other colors to bring attention to certain parts, so my eyes don’t miss them.
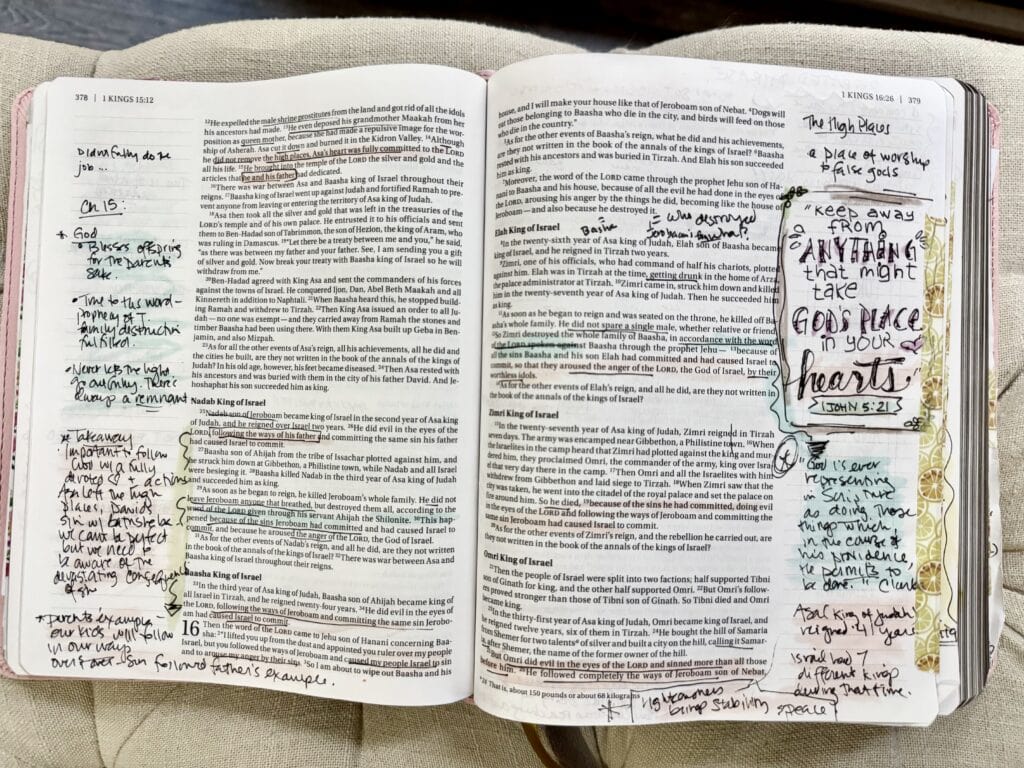
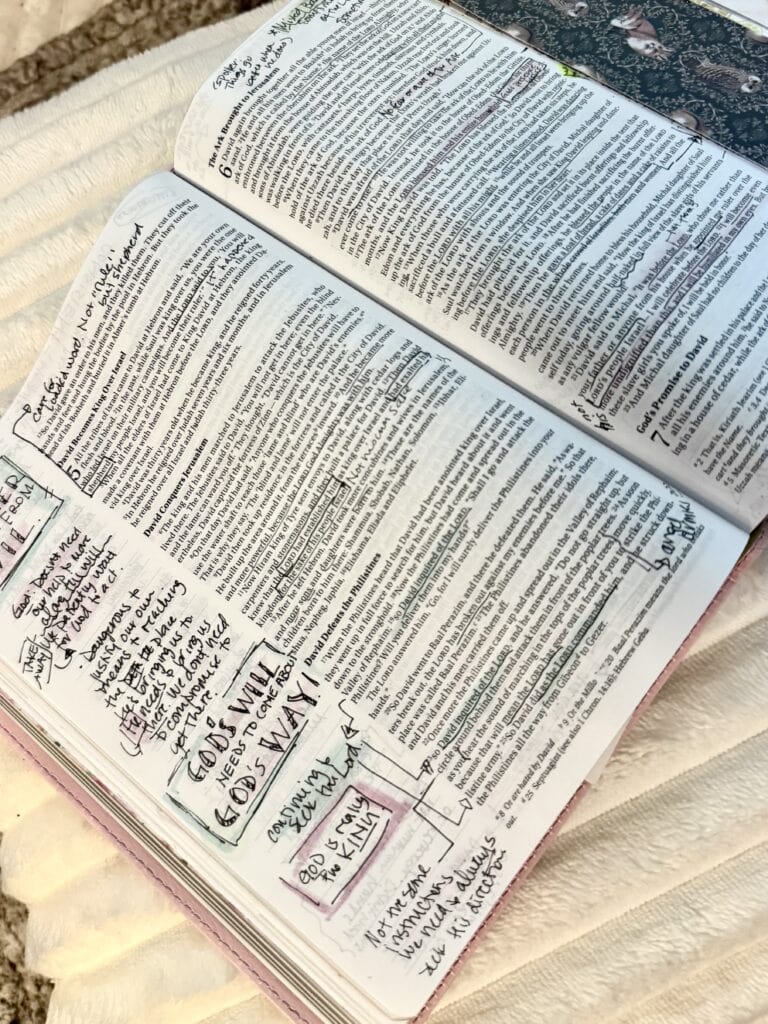
If you’re creating art in your Bible, you may want more colors, but I find if I’m coloring letters, I also just keep it to a tighter color palette. But for more full-page art in your Bible, there’s definitely more freedom.

In your notebook: It will depend on what you’re creating. If I’m doing collage or a more abstract kind of art, I’ll stick to a color palette of a few colors, usually warm or cool tones.
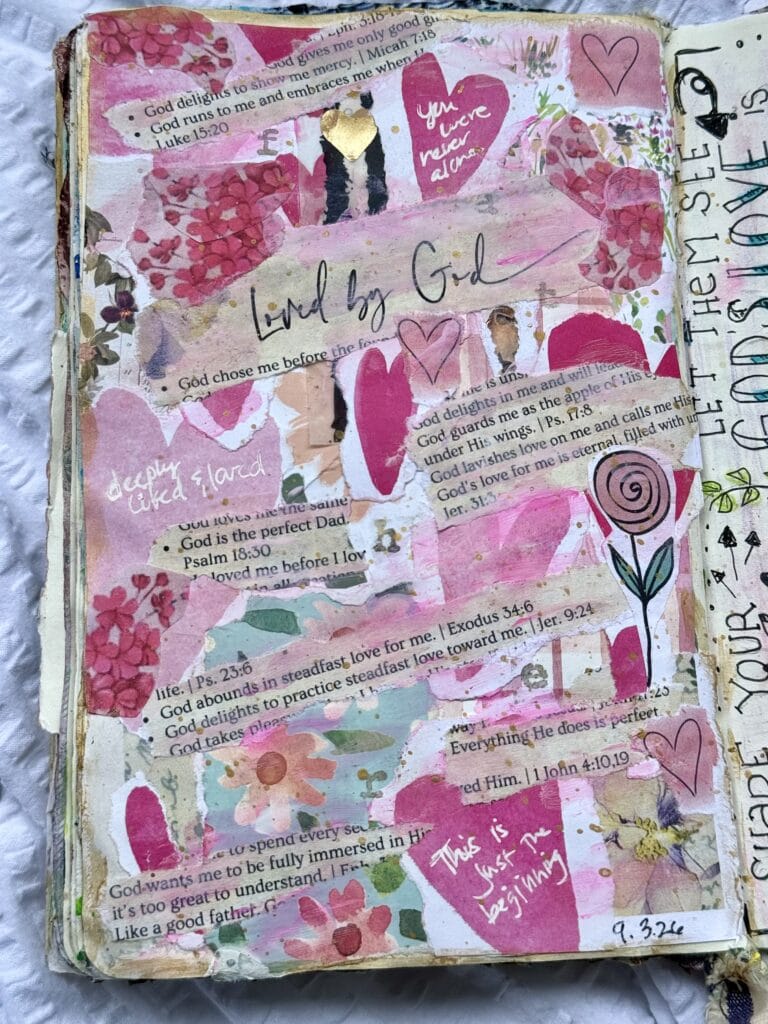

If it’s something like a nature scene or something more realistic, then use an array of colors that represents what you’re creating.
2. Layout
Generally speaking, the formula for aesthetics, especially as it relates to a mixed media type journal rather than inside a Bible, is:
- Create a background (with acrylic, collage, watercolor wash, etc).
- Add a focal point (a place for the eye to land)
- Include finishing details (stencils, stamps, modeling paste, markings, etc.)
But honestly, you can create however you want. I’ve done spreads without a real focal point, and I think that’s OK, too.
Sometimes the words or thoughts written are the focal point.
Sometimes, there’s no hierarchy of ideas, and it’s all important.
And sometimes, there’s no plan. I just start creating (especially in a notebook), and see where I end up.
My suggestion would be to keep watch as you’re creating, for a balance of white space and visual weight. Too much can feel cluttered, and it can help to ask yourself, ‘Is this done? Am I finished?’ It’s honestly hard to know the answer to that question! Sometimes, I’ve definitely overdone it!
And that’s OK, too. It’s OK if it seems unorganized or messy, because life is like that, and we’re like that, too. And I think it’s fine if our journals reflect that sometimes.
For the one below, I was just playing with paint, with no real point. And it was pretty messy. Then the Bible verse from Deut. 29:29 came to mind and just seemed to fit!
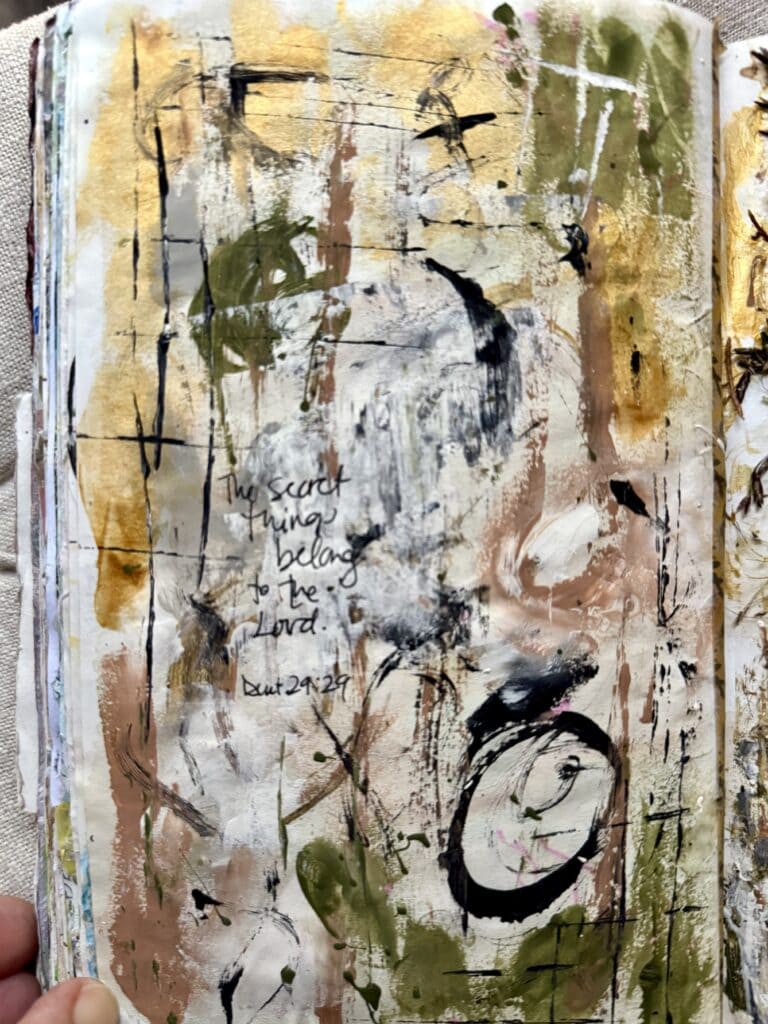
Remember, the goal isn’t perfect art! It’s to engage with God and His Word!
But if you want a little pre-thought or organization first, here are some ideas.
In your Bible: Personally, I don’t really plan a layout for my Bible very often because I’m more in the moment of studying Scripture. Most of the time, it’s just notes and highlights and a doodle/lettered word, phrase or verse. If I have room, sometimes I’ll make that bigger as something of a ‘focal point.’
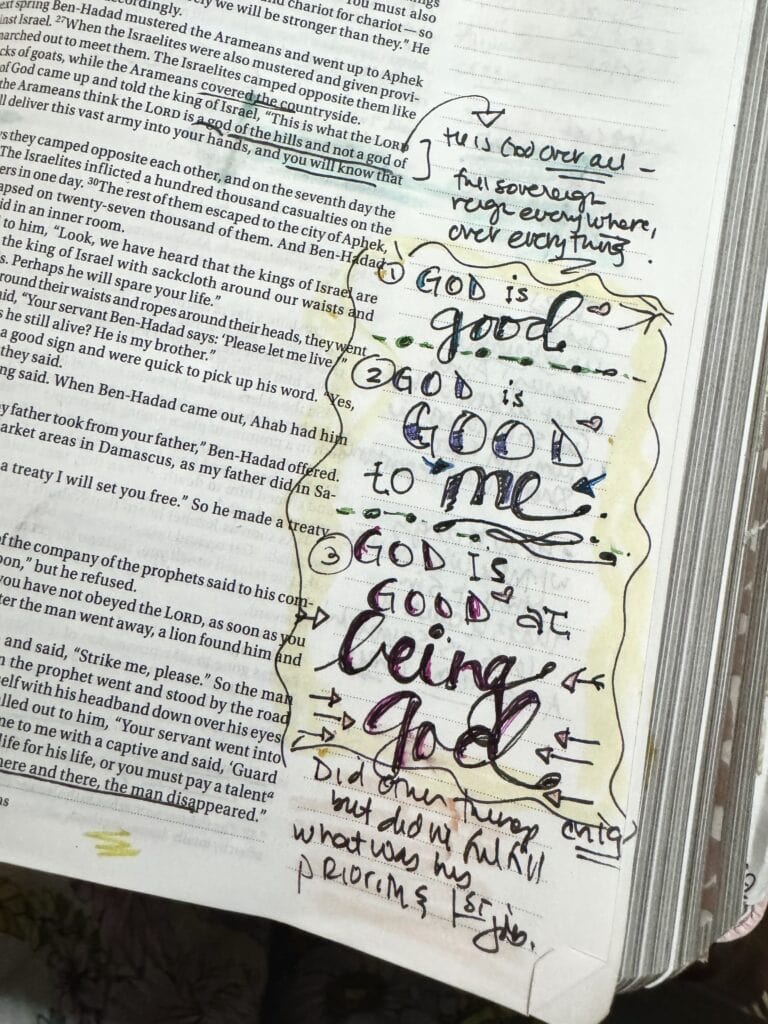
Stamps, stickers, or printables can serve as focal points as well.
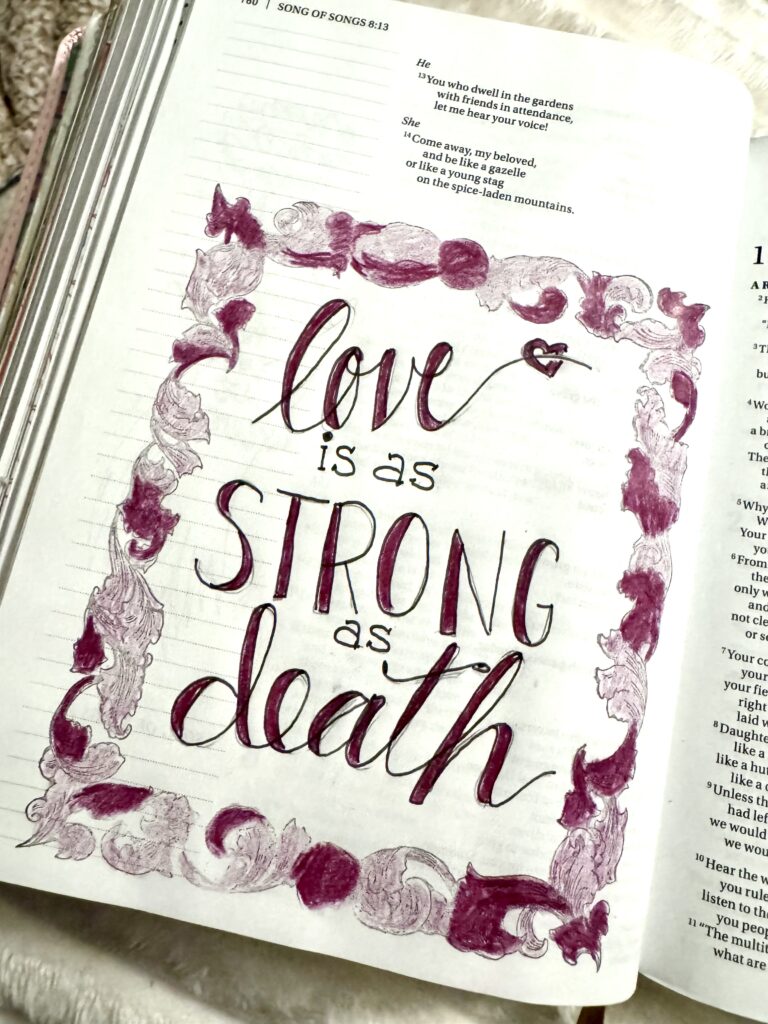
But if you plan to create a larger piece of art that will cover some of the text, you can sketch that out lightly in pencil first.
In your notebook: First decide if you want to do a single- or double-page spread. If doing a single, sometimes I’ll switch the orientation to horizontal instead of vertical. If you aren’t feeling especially inspired, a single page spread feels less intimidating than filling a double-page spread!
Below is a vertical/portrait orientation.
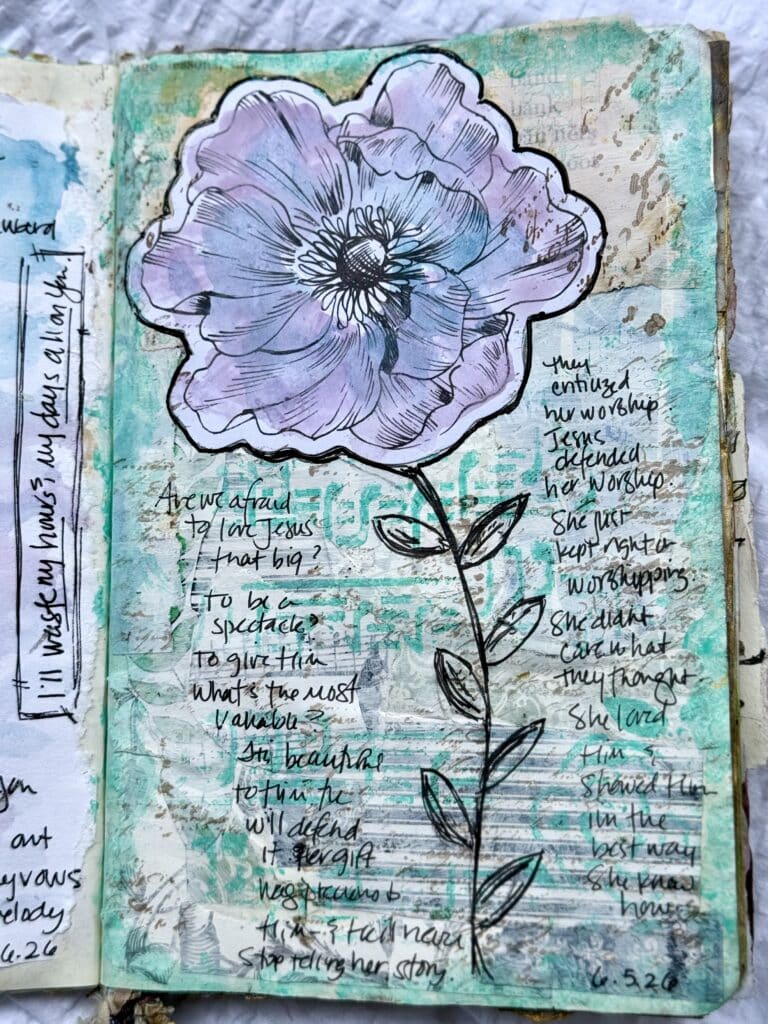
Next is a horizontal/landscape orientation.

And below is a two-page spread.
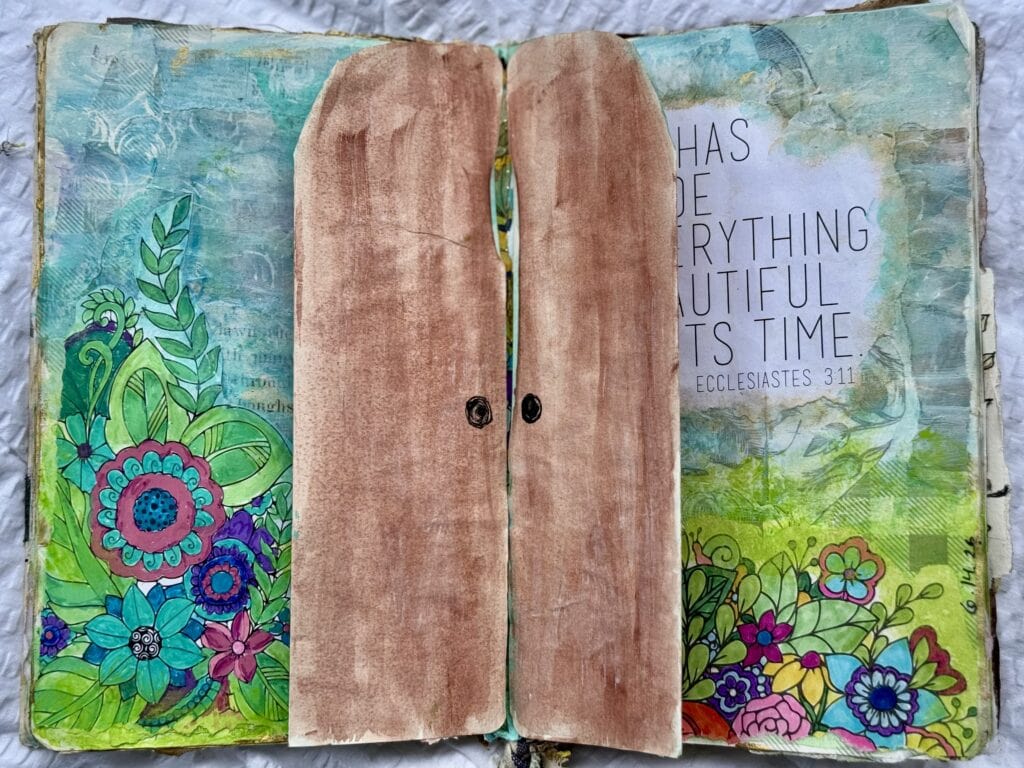
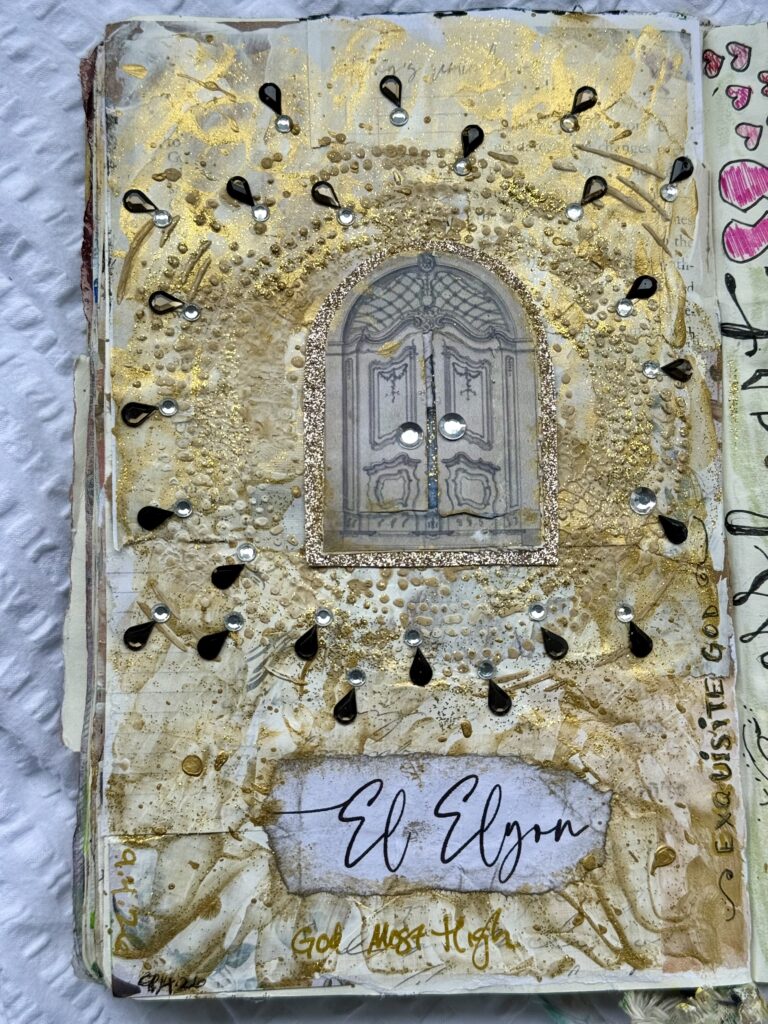
Like I said, in an ideal world, you’d have a focal point (a verse or illustration or image), then add finishing details around it. But every time it’s so different.
This example has a very clear focal point:
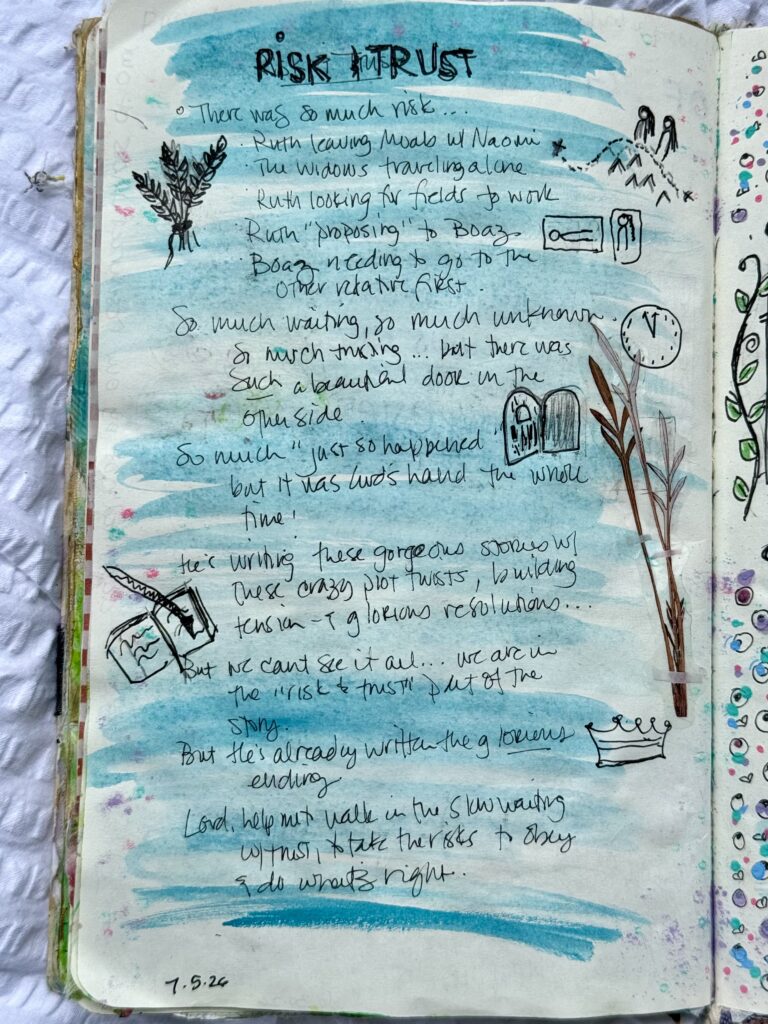
And this example is a little more vague, with the emphasis more on the notes than the art. That’s OK, too!
It does help to do a little planning – at the very least choosing a color palette. But sometimes I just look through my stash, see what supplies I feel like using, and see where I end up.
3. Lettering
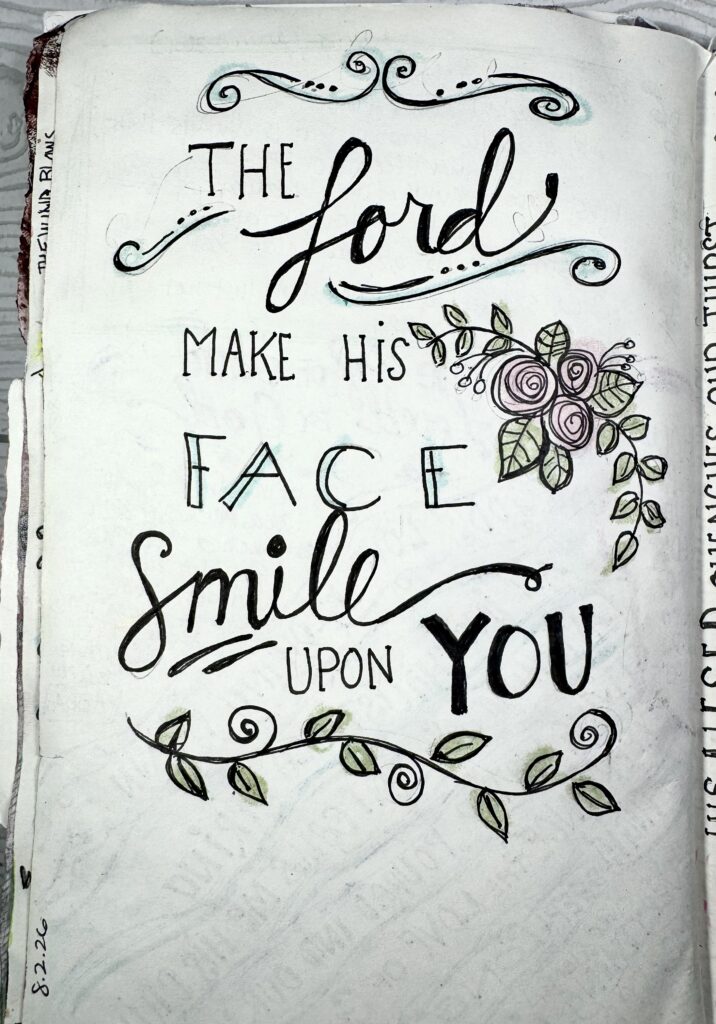
Pretty lettering is very popular for aesthetic Bible journaling. But you don’t need to be an expert at lettering!
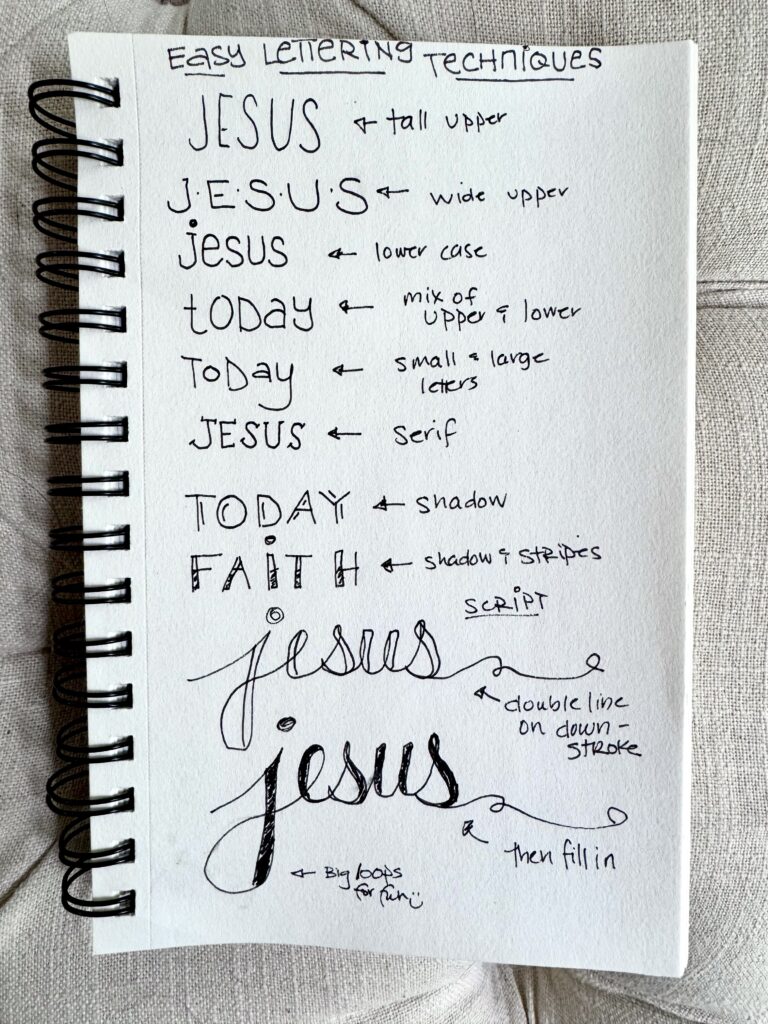
I found a few examples on Pinterest, and I just practice them when I have time in a doodle notebook. You can look at the image below to see some very simple examples that took me very little time to learn, which are my go-tos.
However, I will add that to get better, you do need practice!
In your Bible: I keep it simple in my Bible, usually just lettering a thought or idea that stands out. You can absolutely write out an entire verse, but with this coloring Bible, verses are already drawn out, so I just need to color those.
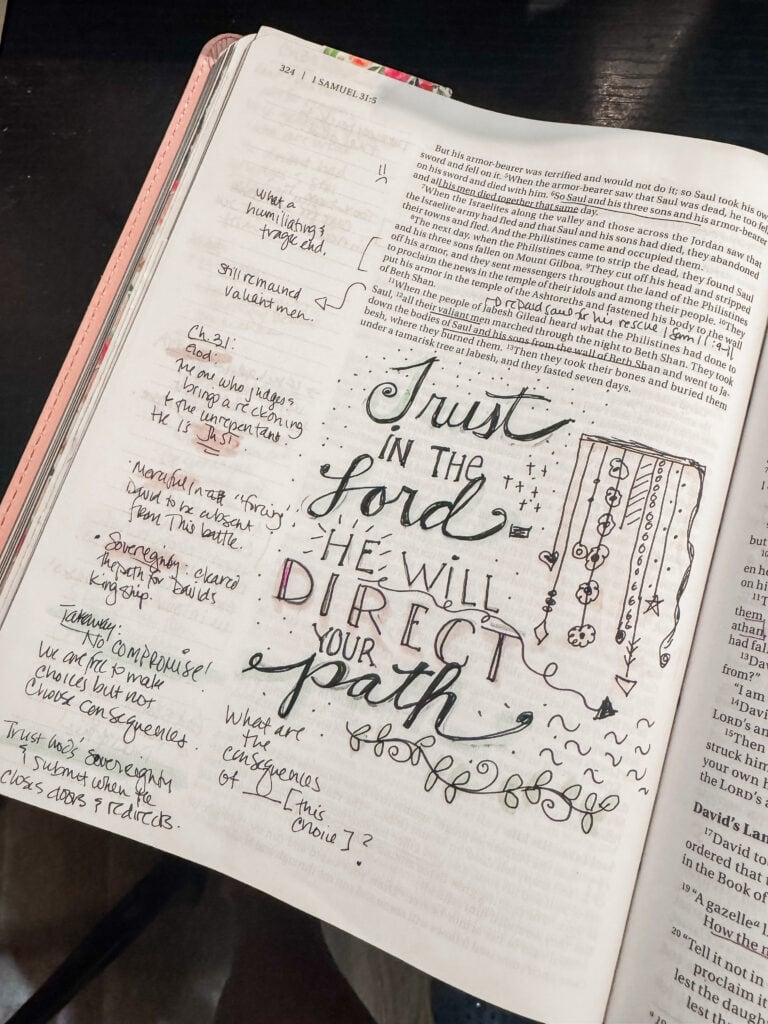
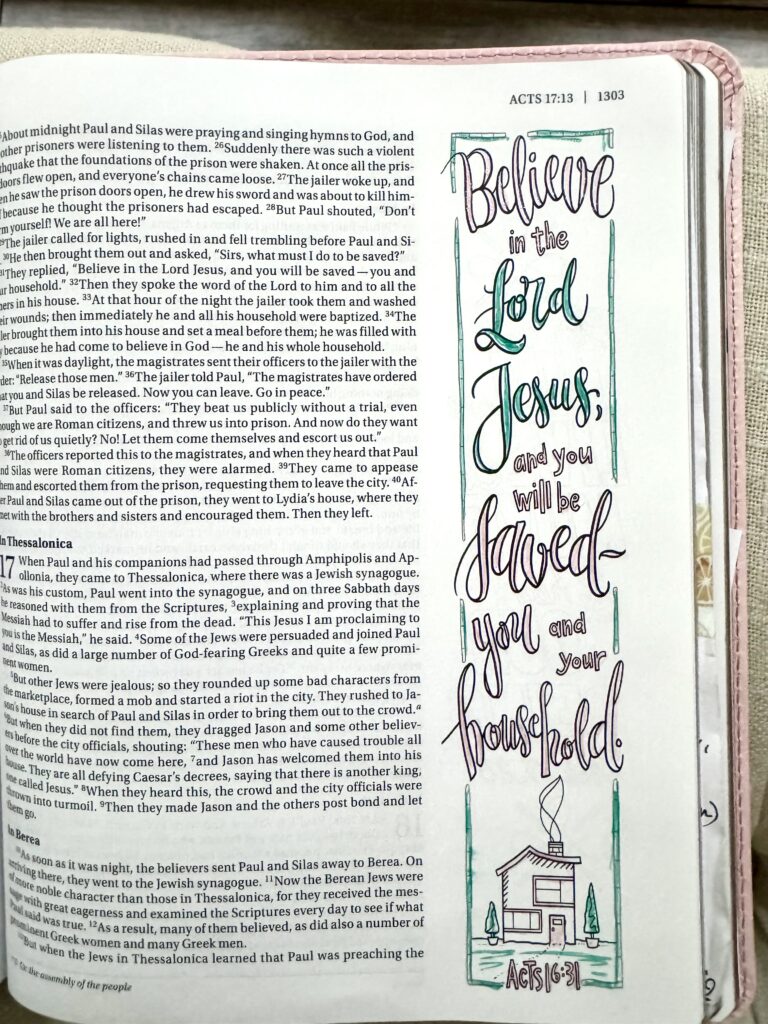
In your notebook: Obviously, in a notebook, you have much more freedom.
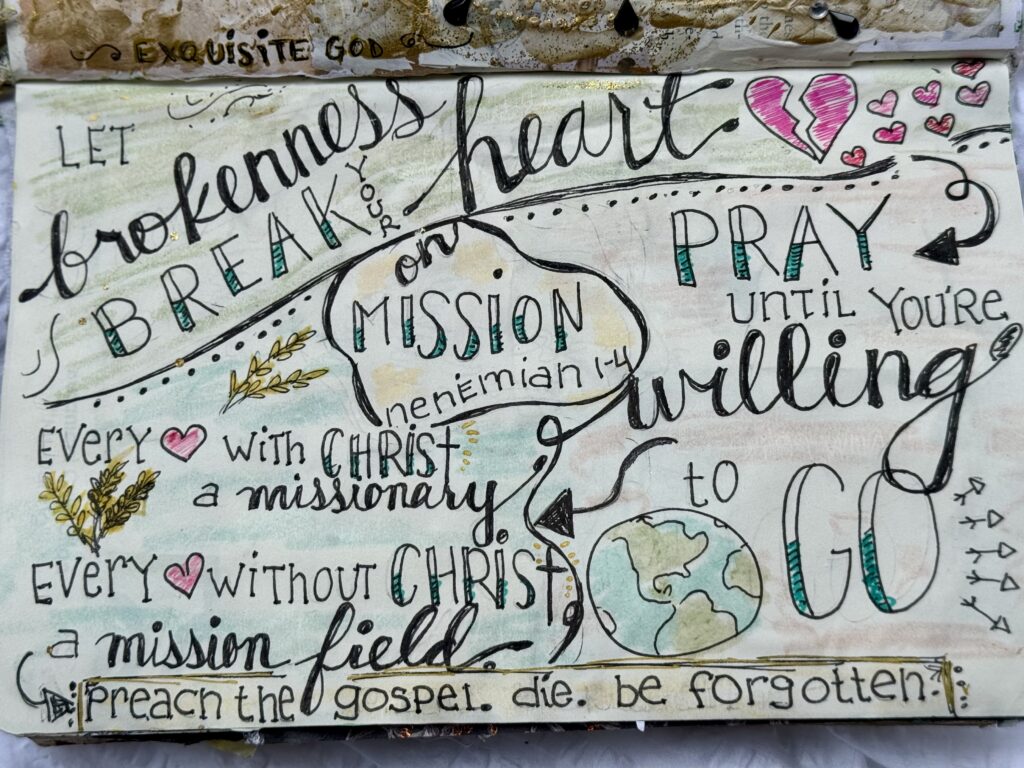
I’ve also done lettering using letter stamps, typing out verses in Canva and printing them out, hand-lettering.
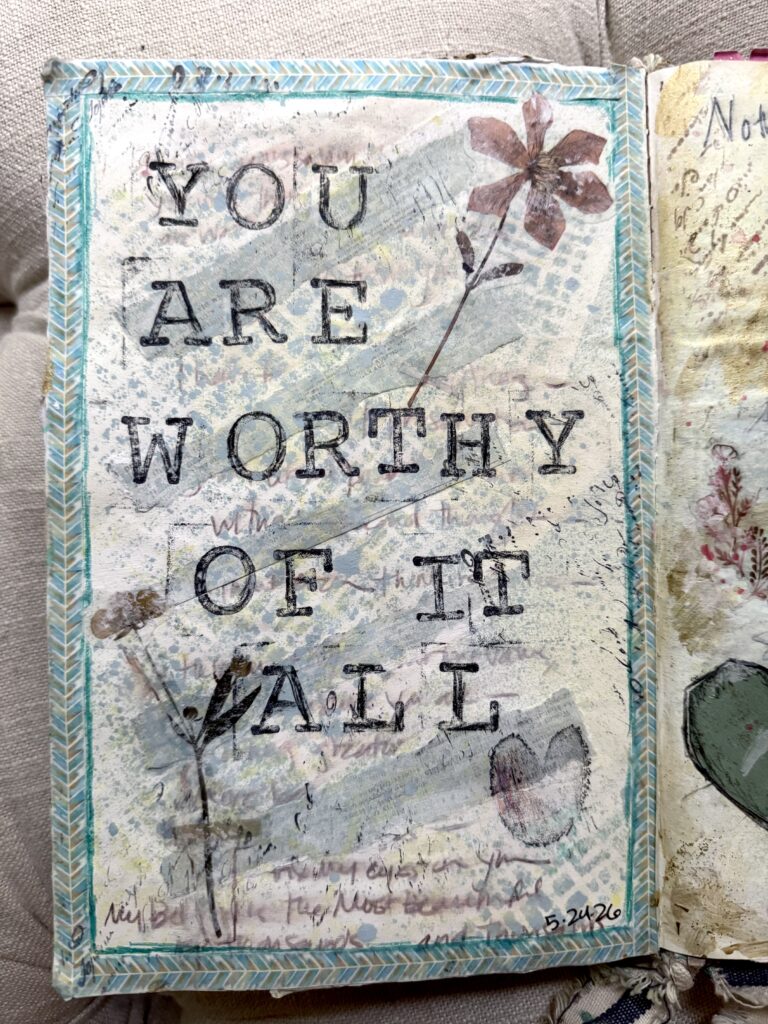
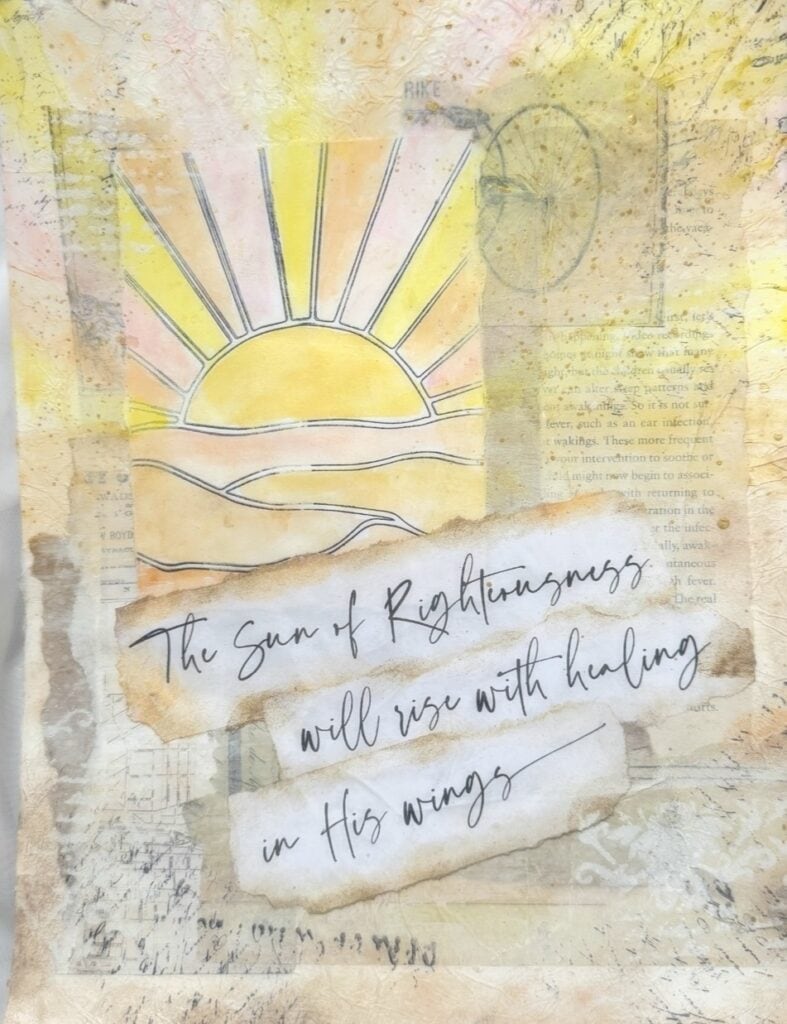
I’ve also used this adaptation of a method from Create with Christie for sermon notes. This is a great way to ‘pretty up’ any notes inside your journal. I love this for a Bible study notebook!

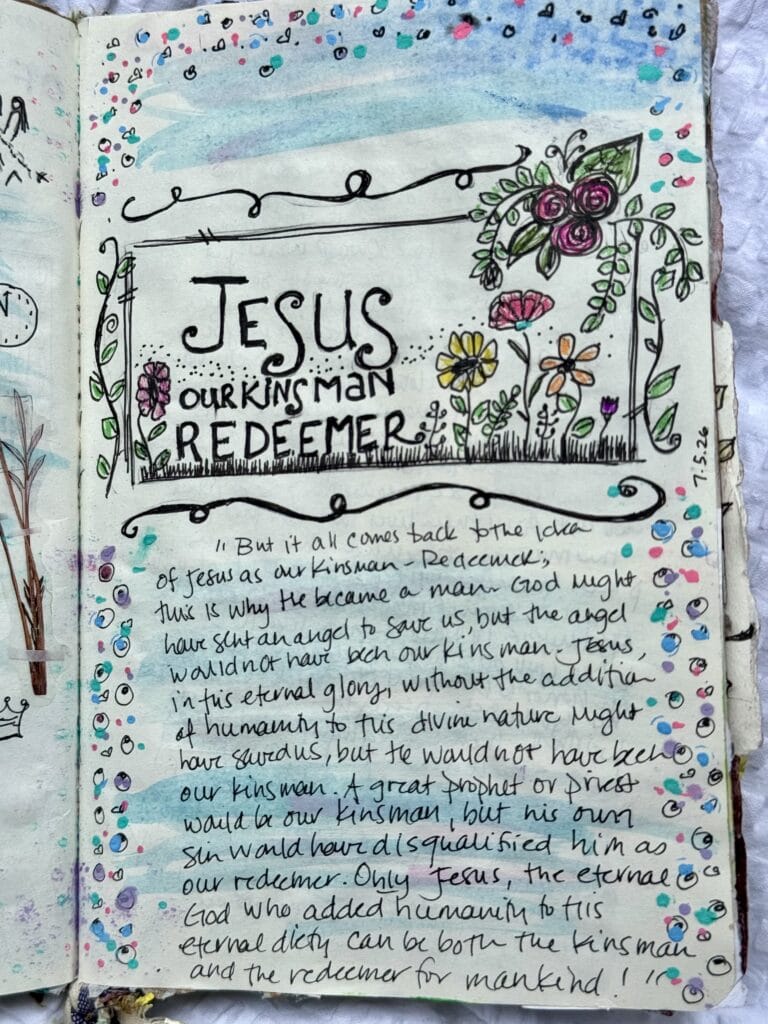
And don’t be afraid to use your own handwriting! I think there’s something really special about truths that God is showing you, Bible verses, quotes, worship lyrics, etc. that are written in your own hand. It’s super -personal.
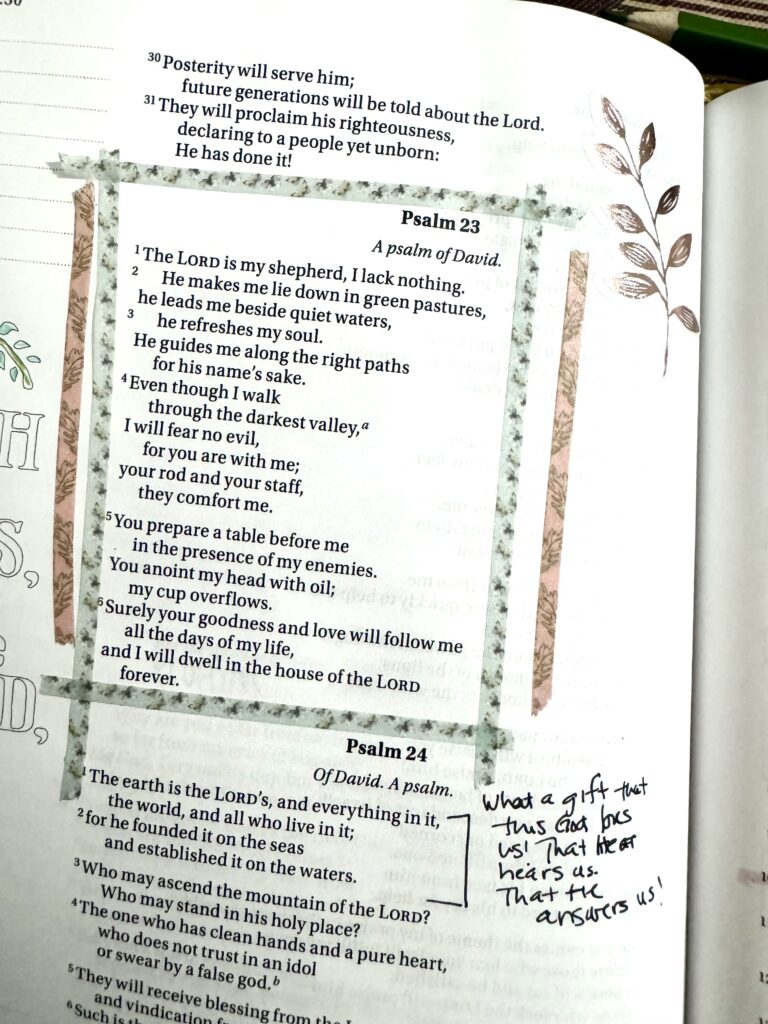
4. Washi Tape and Borders
Washi tape adds instant polish with zero drawing skills — one of the easiest cute Bible journaling ideas for beginners.
In your Bible: Use thin tape along the edge or as a tab to mark a book.

I use it for tip-outs in my Bible as well as ‘coloring’ in some larger pictures when I want more detail.
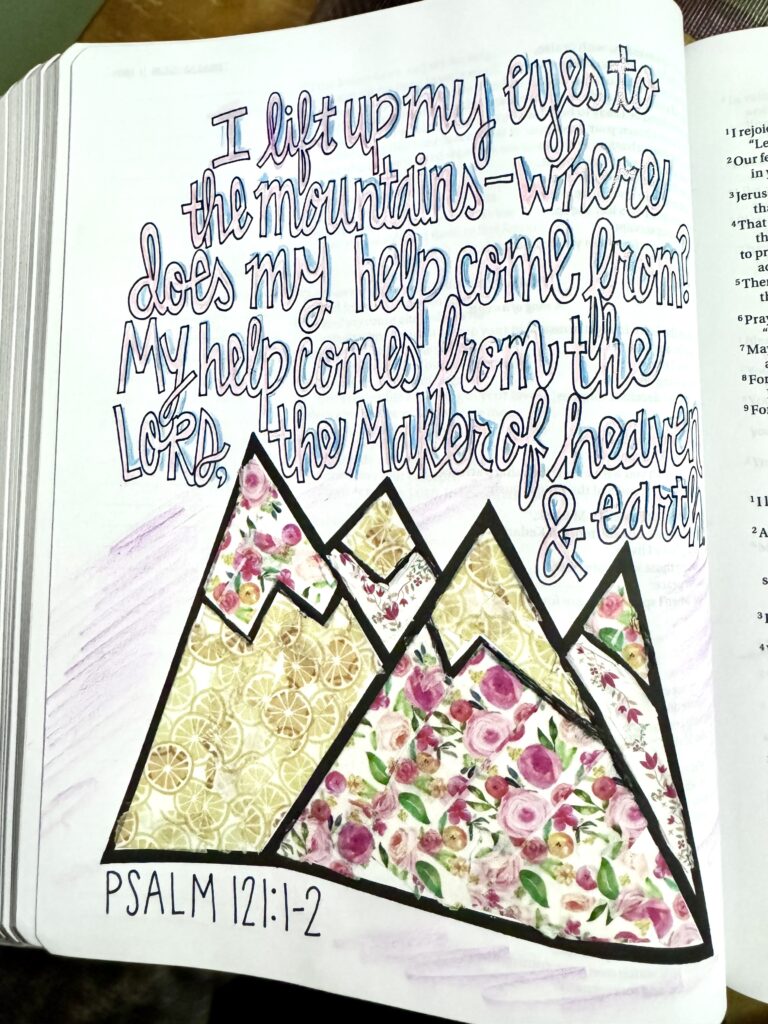
Washi tape can also frame out certain passages of Scripture.
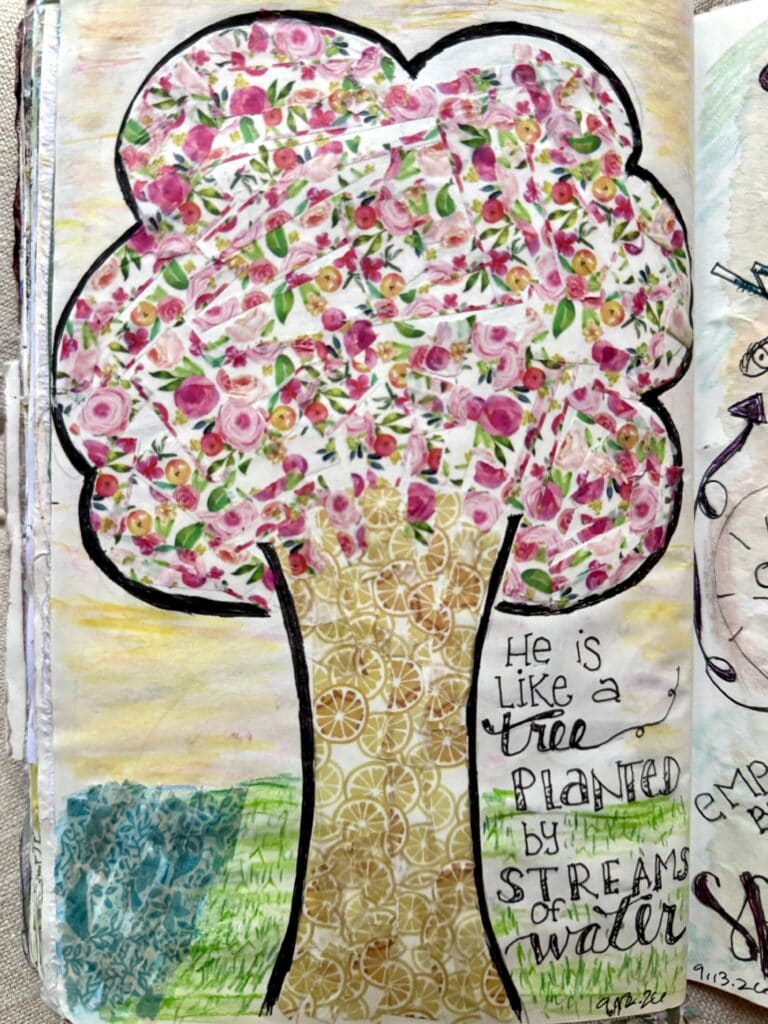
In your notebook: I use washi tape to fill in designs, borders for pages, to frame out verses as well as adding patterns to a page.
5. Tip-Ins, Templates, and Printables
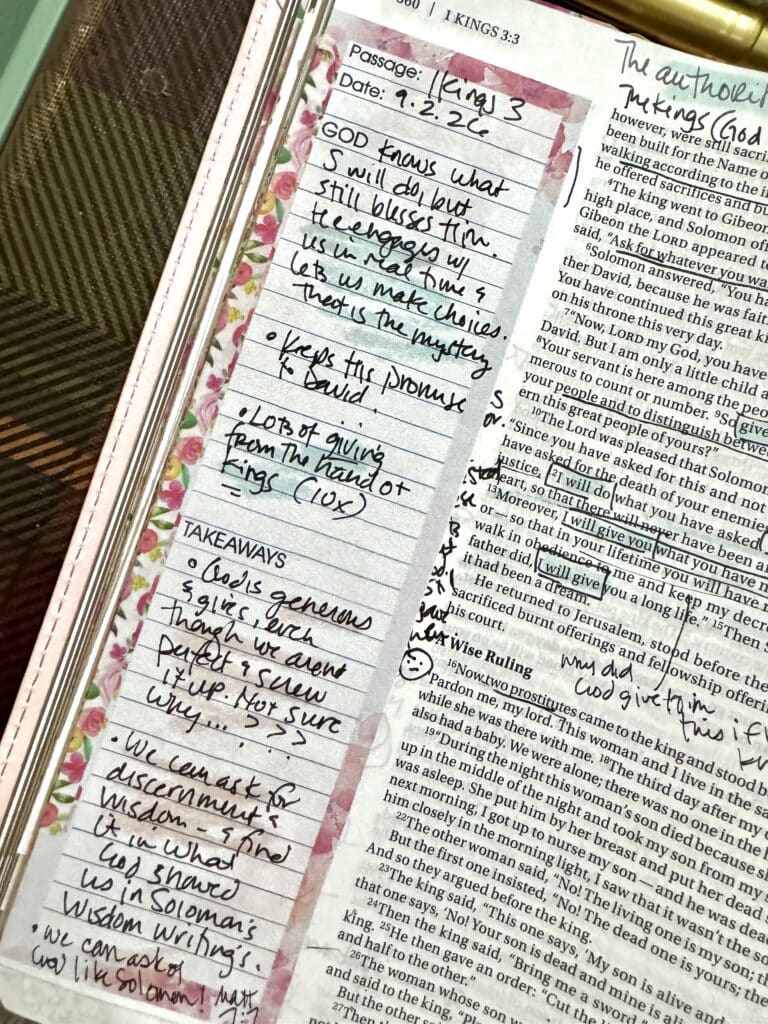
Tip-ins (or tip-outs, depending on where you attach them) are extra pages you attach to your Bible, giving you more room without writing on thin paper. You can also use pre-designed Bible journaling templates, or printables with Bible verses or study notes.
In your Bible: Tape a half-sheet tip-in along the margin so it folds in like a flap. Half sheets and bookmark size papers are my favorite because they fit without folding and stay flat when the Bible closes.
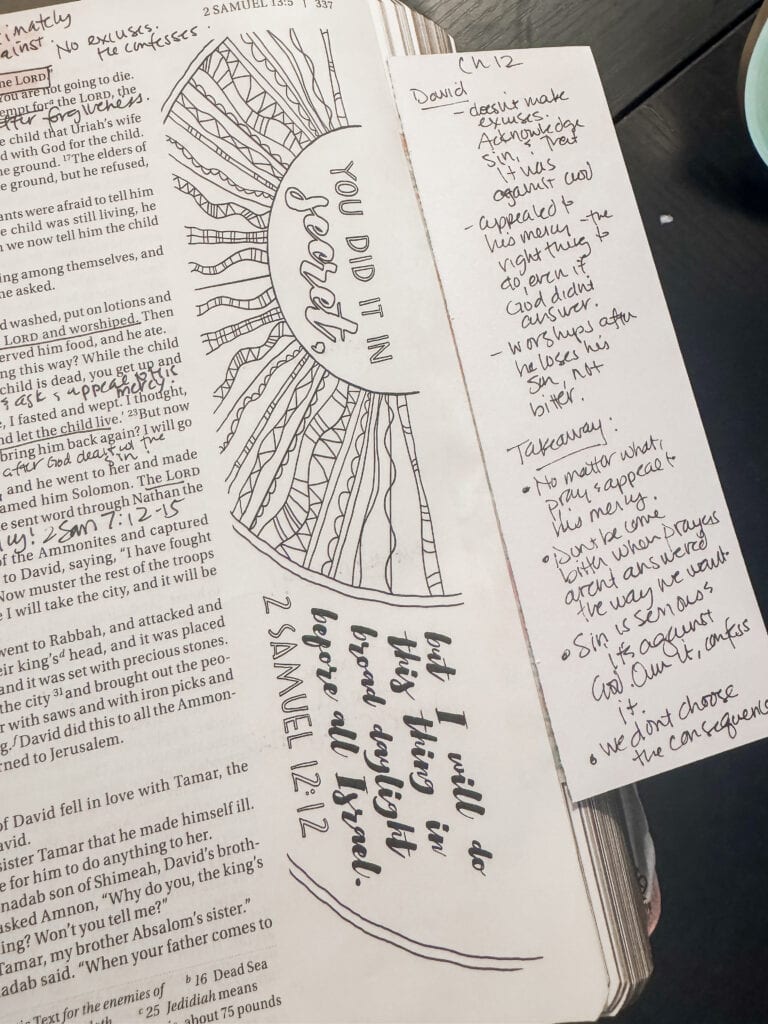
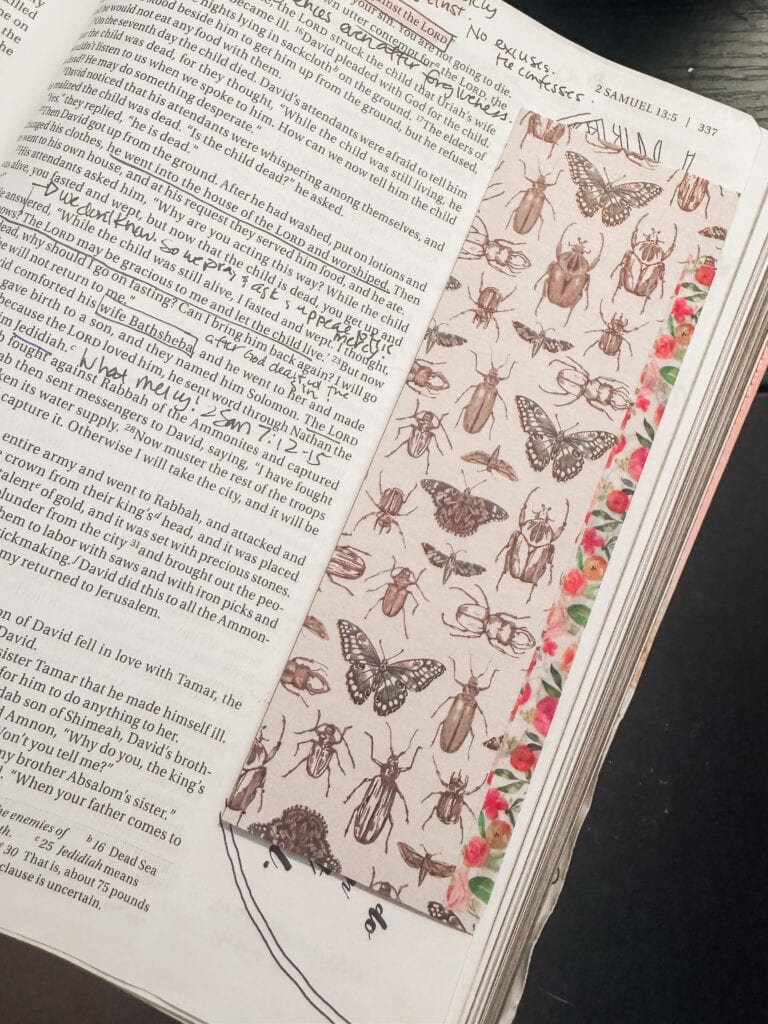
The tip-in shown below you can get for free here!

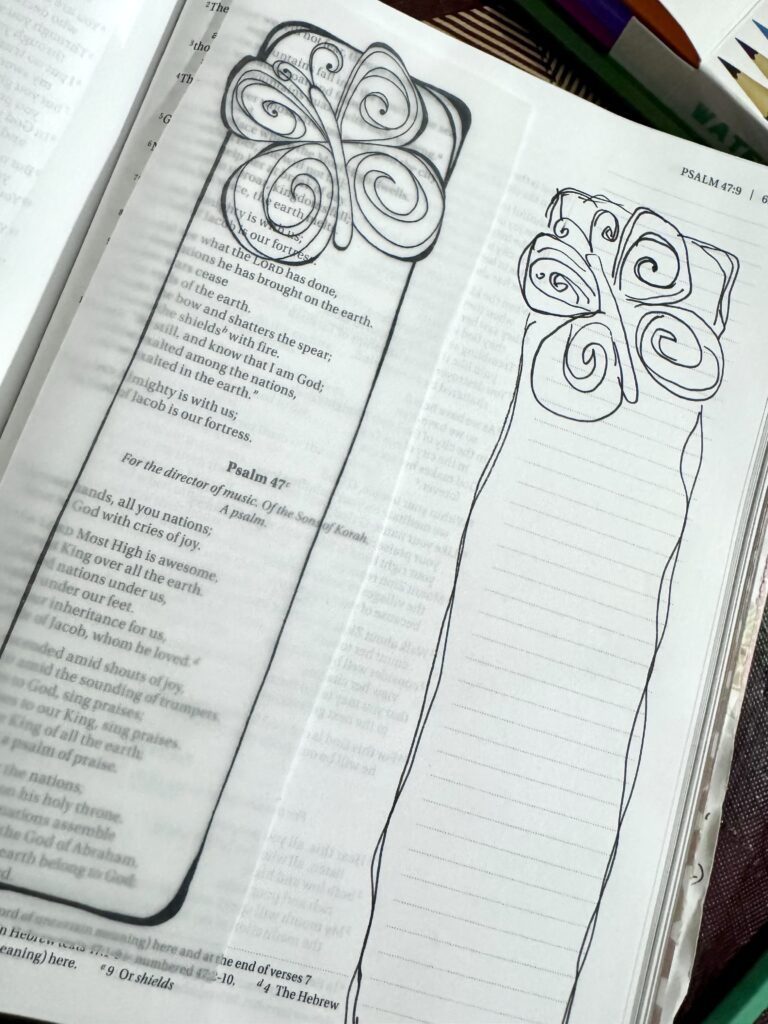
You can also use traceables to help create your own designs or focal points. I also like to use printable ephemera or printable stickers to enhance designs, too.
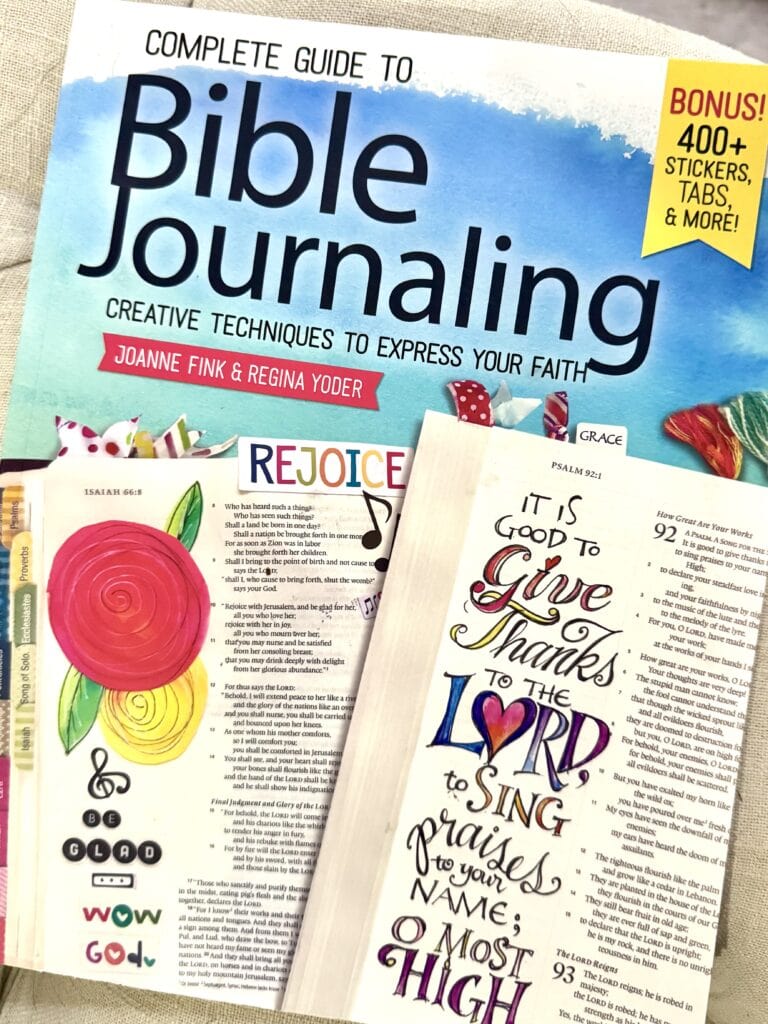
Below is an example of a traceable on vellum that’s in the Complete Guide to Bible Journaling which I highly recommend if you’re a beginner! A ton of tips and inspiration!
Although they aren’t printables, planner stickers also work great for this!
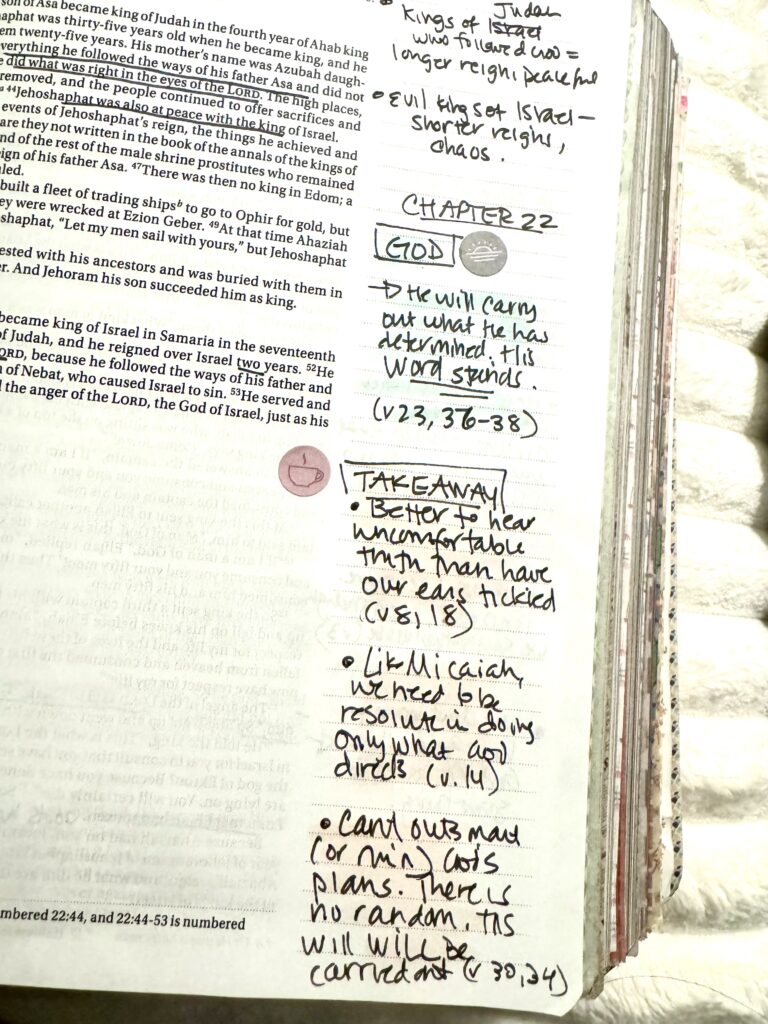
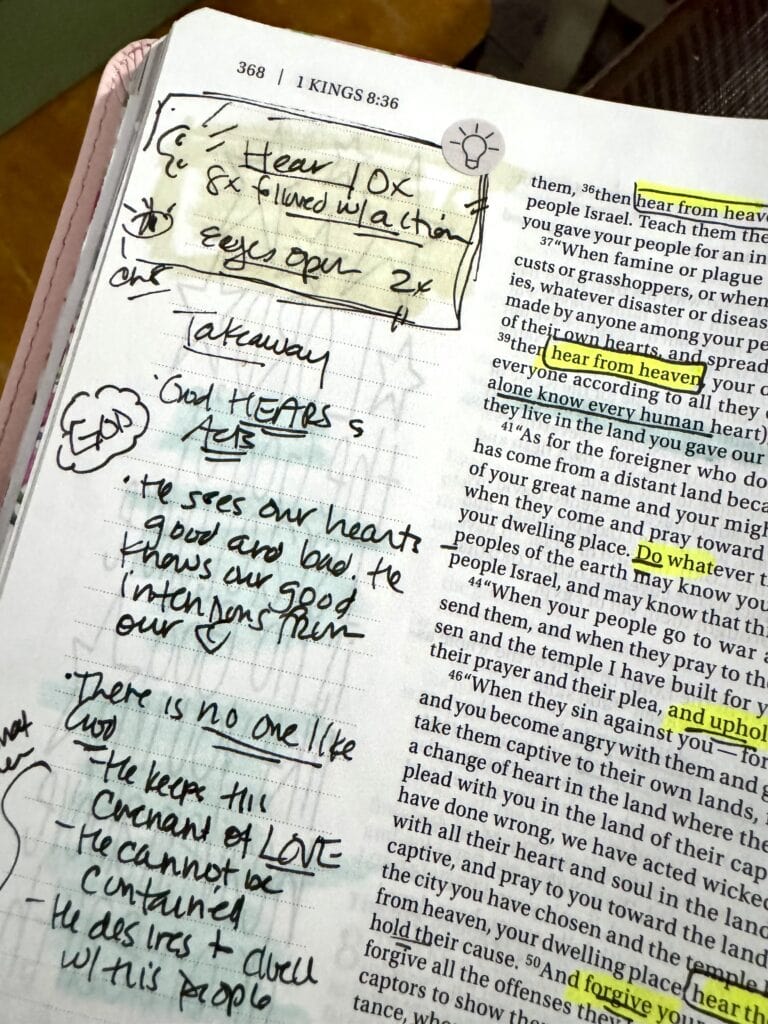
In your notebook: You can glue in full templates — SOAP study pages, verse mapping sheets, Scripture or sermon notes — as the backbone of a spread. You can also cut up some different pieces of these notes and create more of a collage feel.
I’ve also taken online retreats for faith art journaling, where they provide you with printables to use for your journal, like the ones below (from ‘Who Do You Say I Am?’)
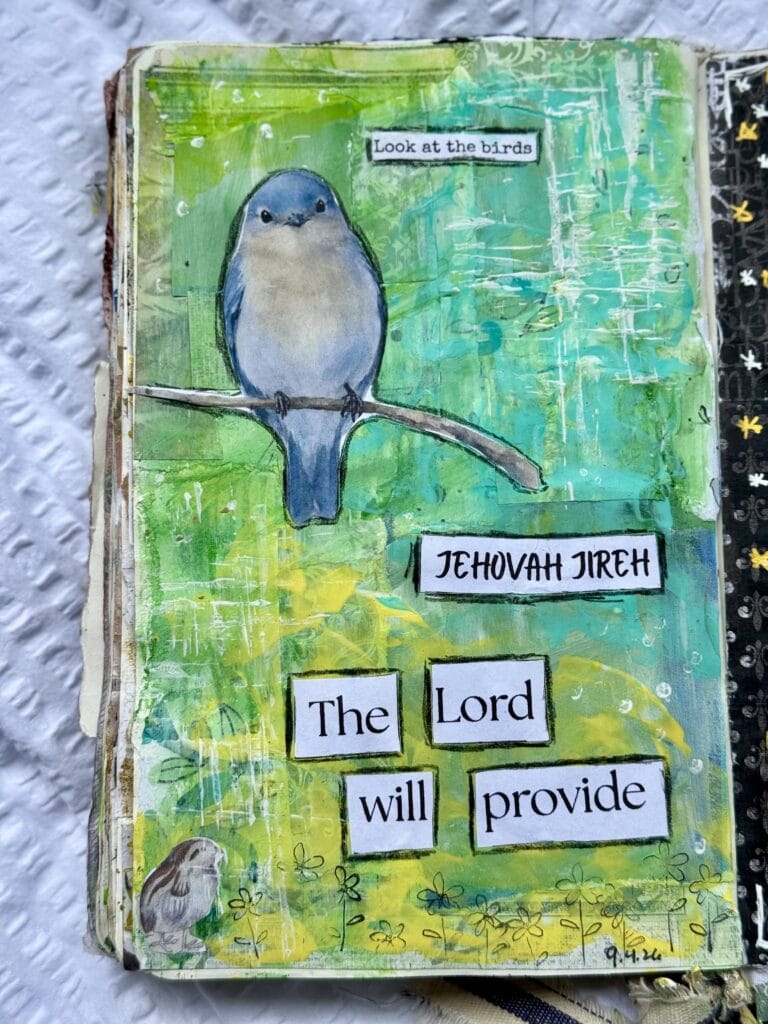
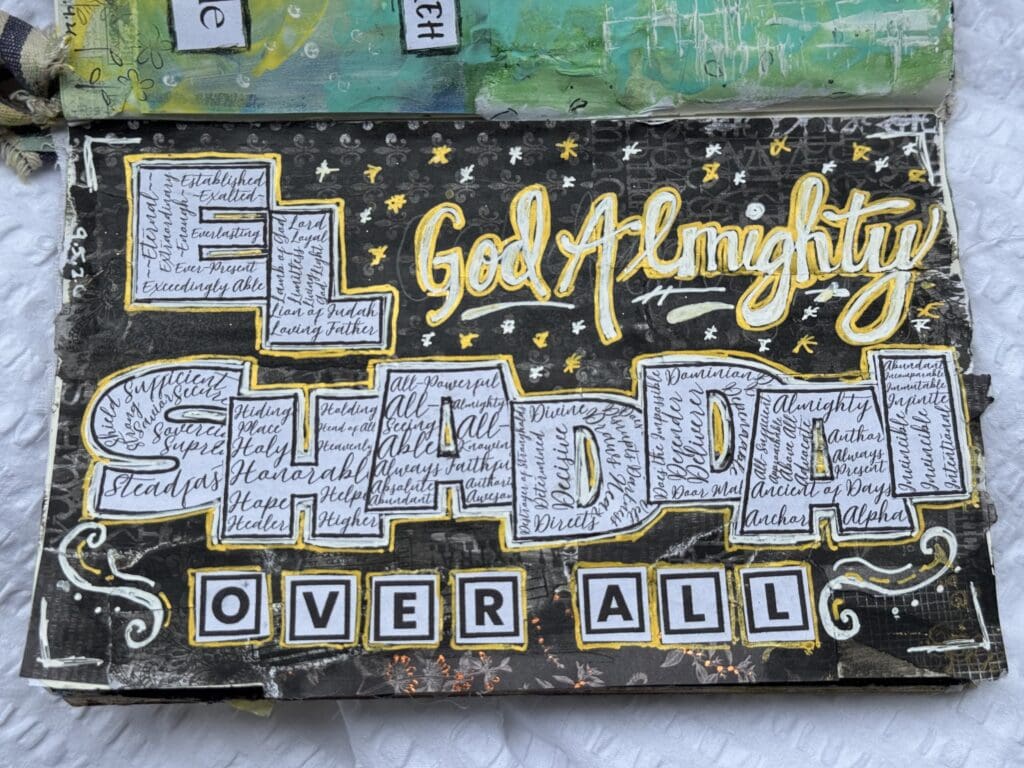
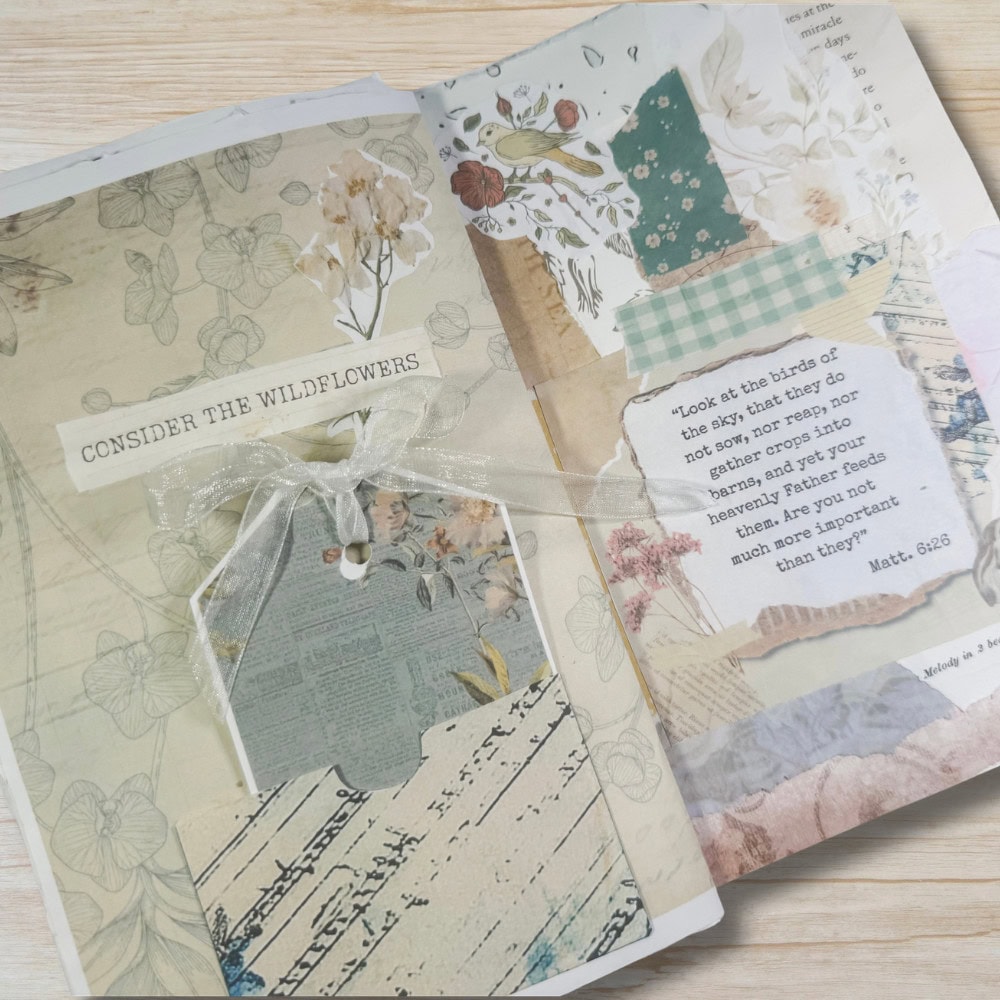
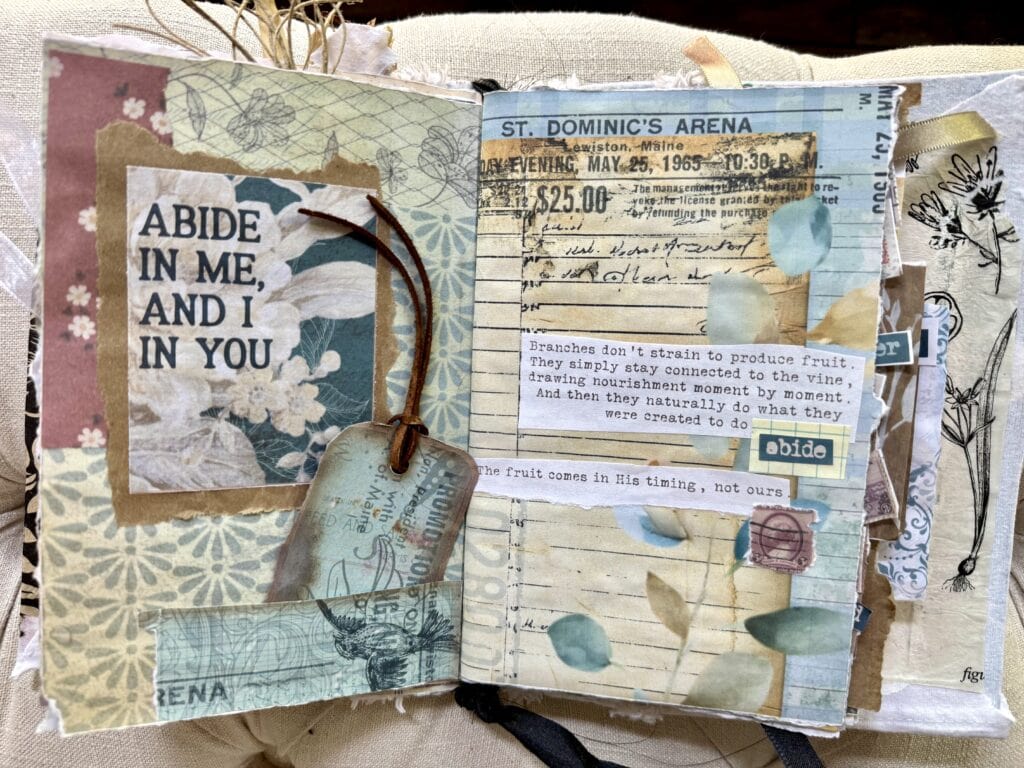
If you’re into junk journaling, you can use some templates journal pages, journal cards, tags, tucks, ephemera, and Scripture cards. Below is one I made with this Scripture junk journal kit I created!
And here’s are more journal pages I created from a printable kit from Prayers on Paper.
6. Illustration and Mixed Media
This is where the two surfaces split the most.
Like I said, I do both, but I keep what’s inside my Bible fairly simple, kind of ‘in-the-moment’ art while I’m studying.
I reserve the ‘art time’ for later in my journal as I’m working through a truth or Scripture more thoroughly.
In your Bible: Simple line drawings — a leaf, a crown, a diagram, an emoji — in fine-tip pen. Doodles work great here, especially if illustrating a concept! The limitation is more that the illustrations need to be small and in the margin.
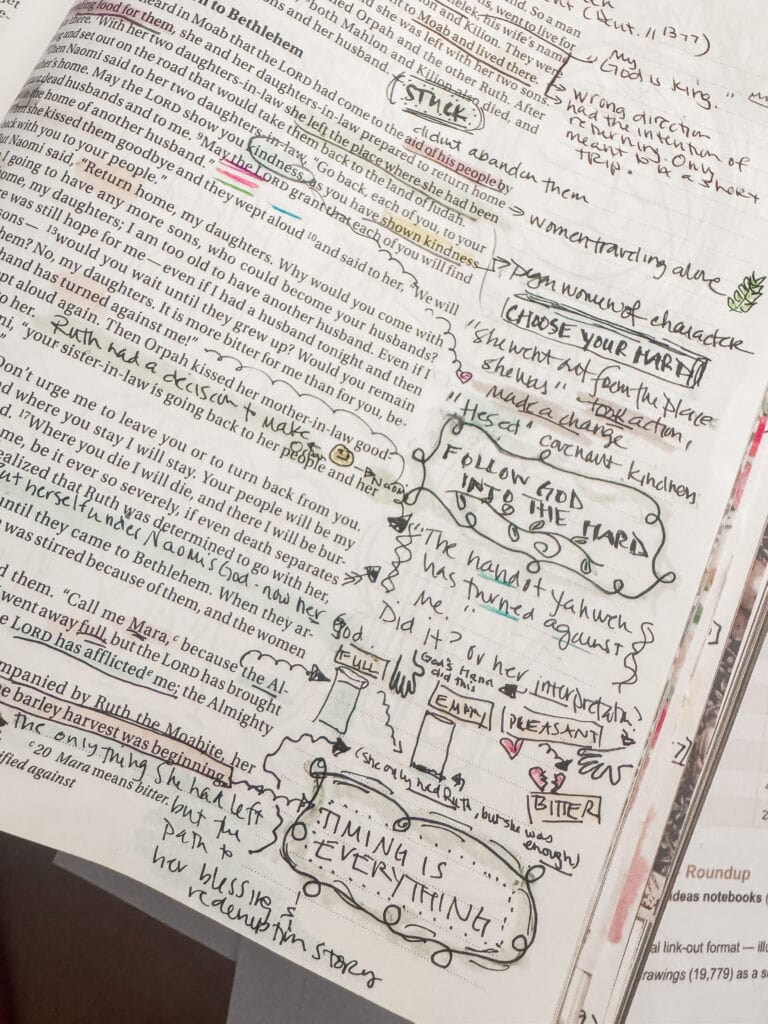
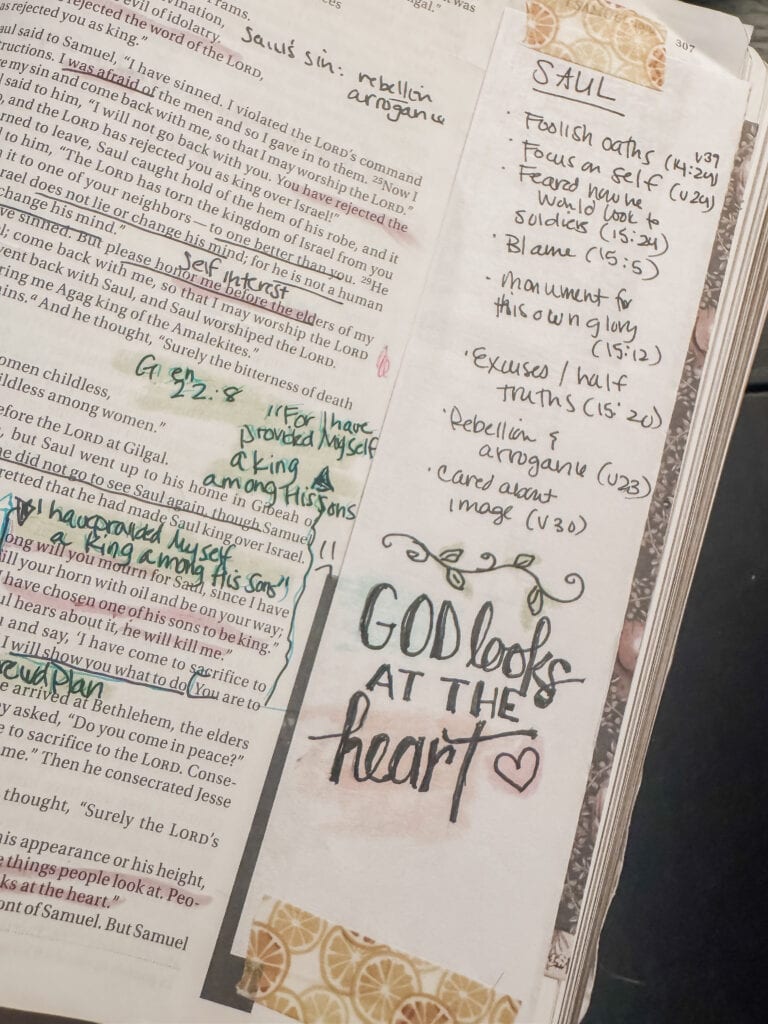
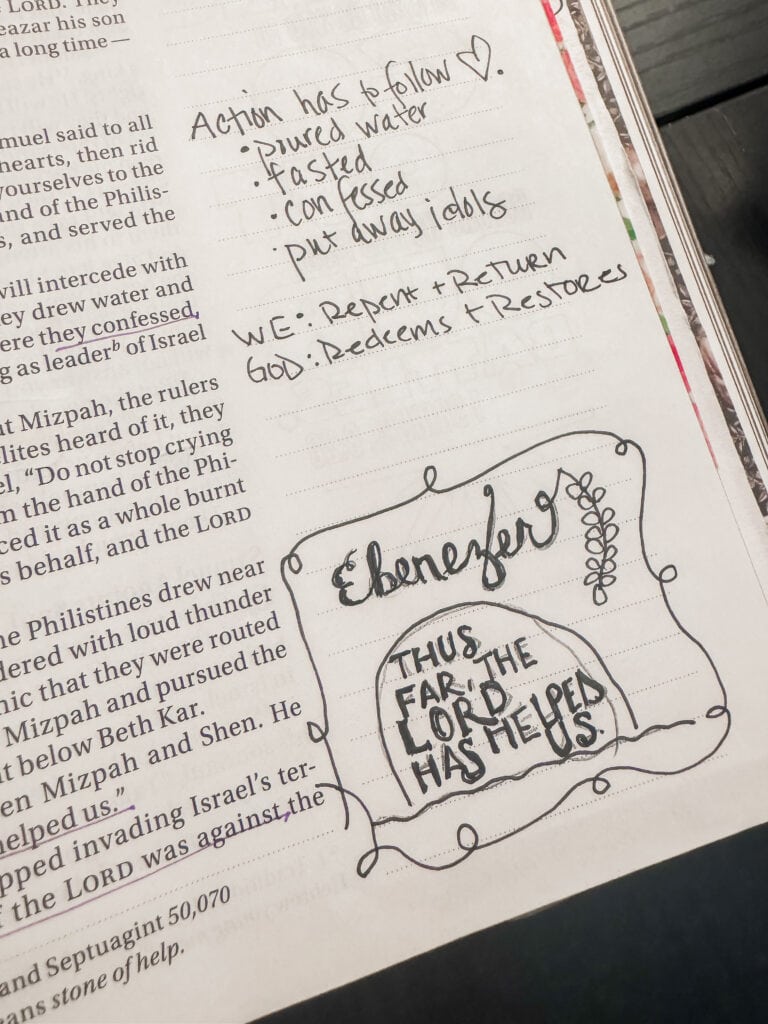
You can also use stamps, stickers, and even napkin decoupage in the margins without compromising the text.
You can see a decoupaged napkin used below!
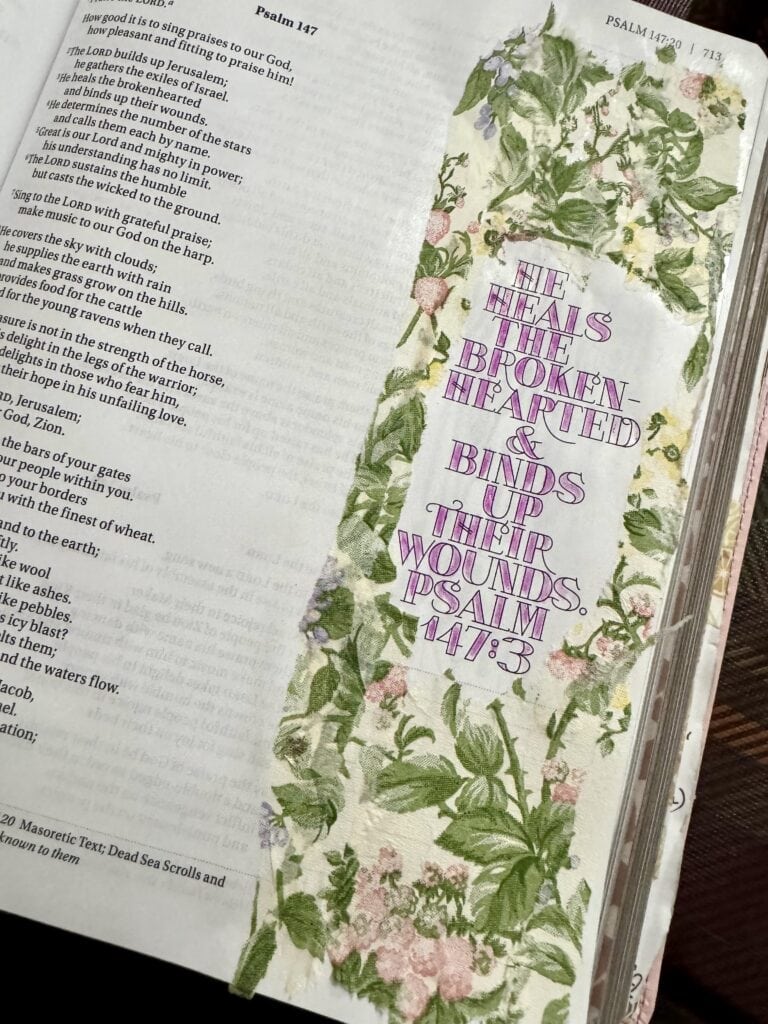
There are others who watercolor right over the text, and that’s fine, too! I don’t personally do that, but it’s another way to bring artistic designs straight to the Bible itself.
In your notebook: The possibilities are endless here!
Watercolor washes, acrylics, stamping, collage, ephemera, stencils, distressed inks, and layered backgrounds – anything goes! Your notebook is where mixed media faith journaling truly opens up.
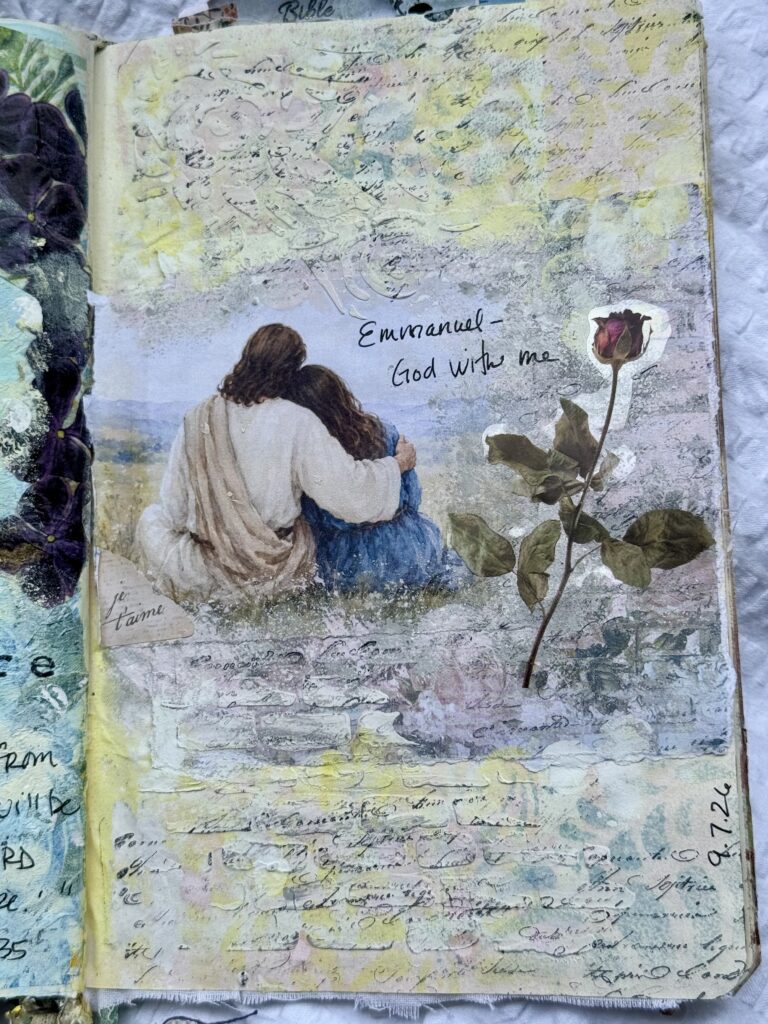
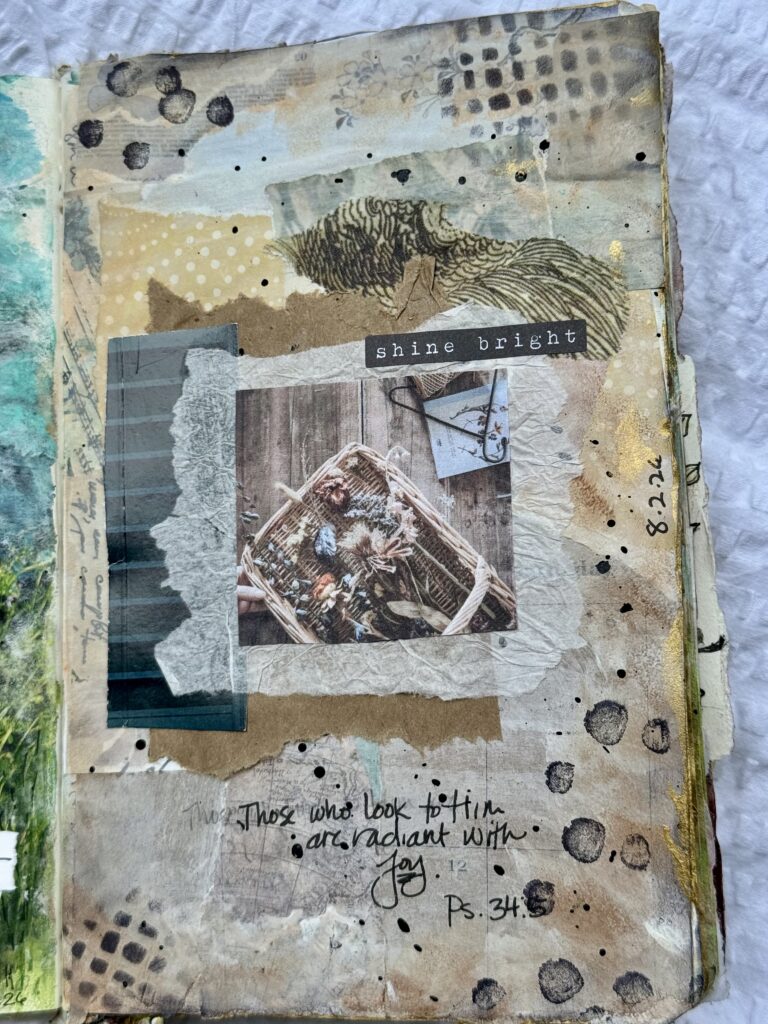
I typically will start with paper collage to get things going, cover with a thin layer of gesso or begin to blend with acrylic paints. Then, I will begin to incorporate various materials as shown below for the focal points.
Magazine Cutouts
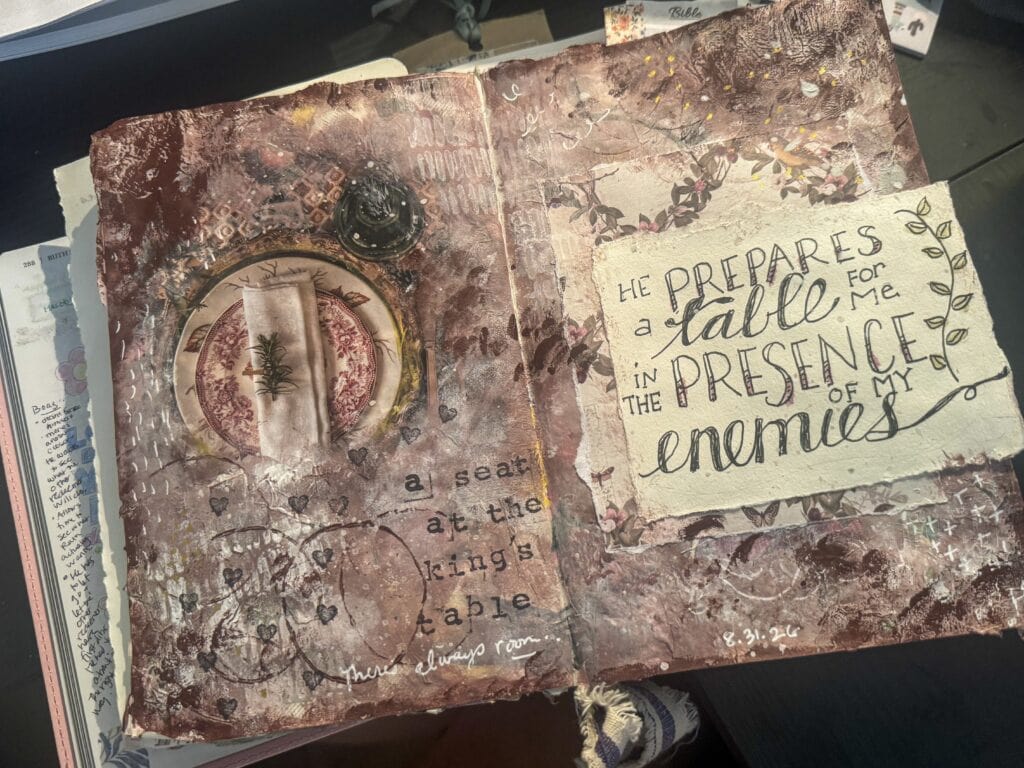
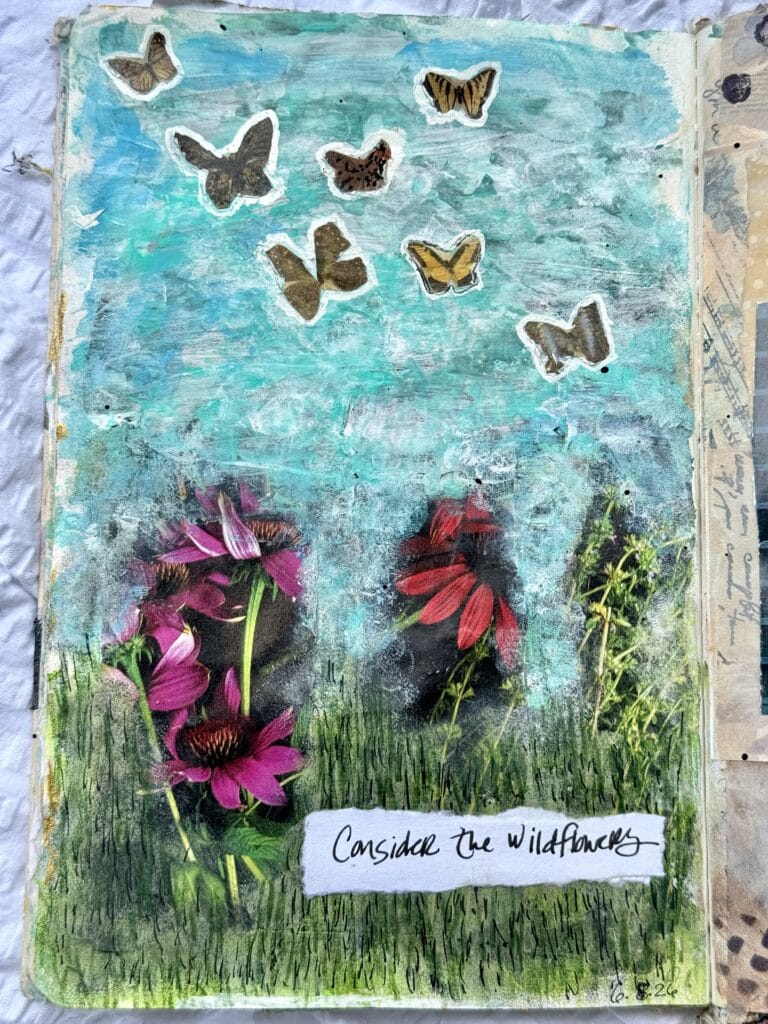
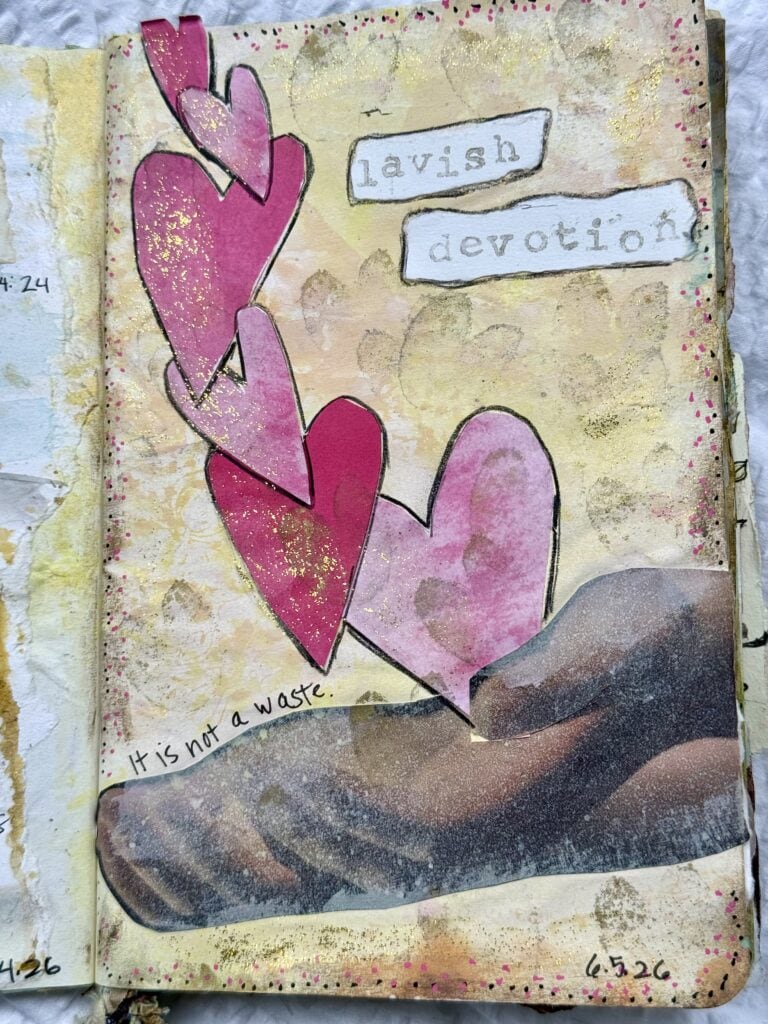
Stamps, Stickers, and Stencil Details

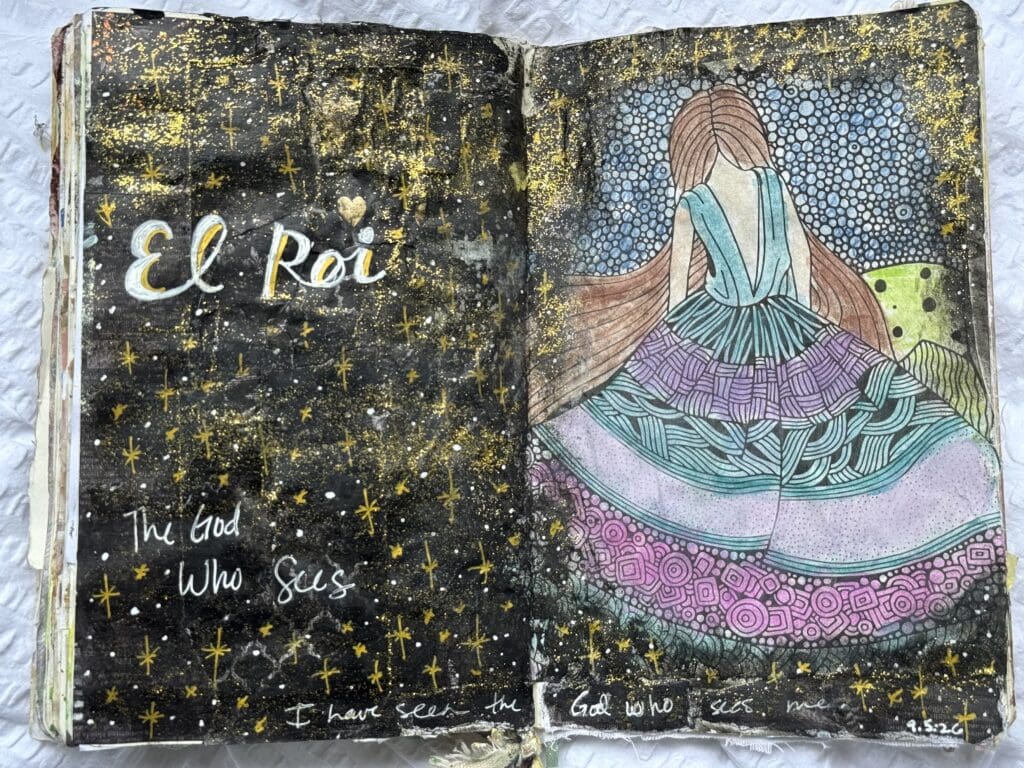
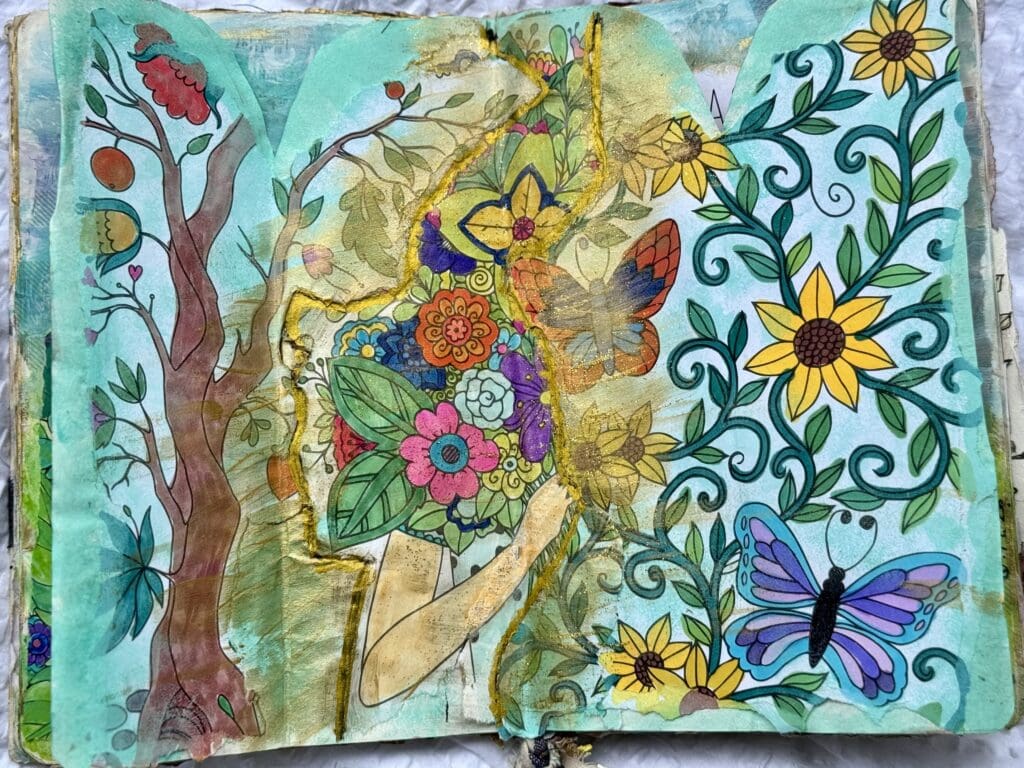
Coloring Pages
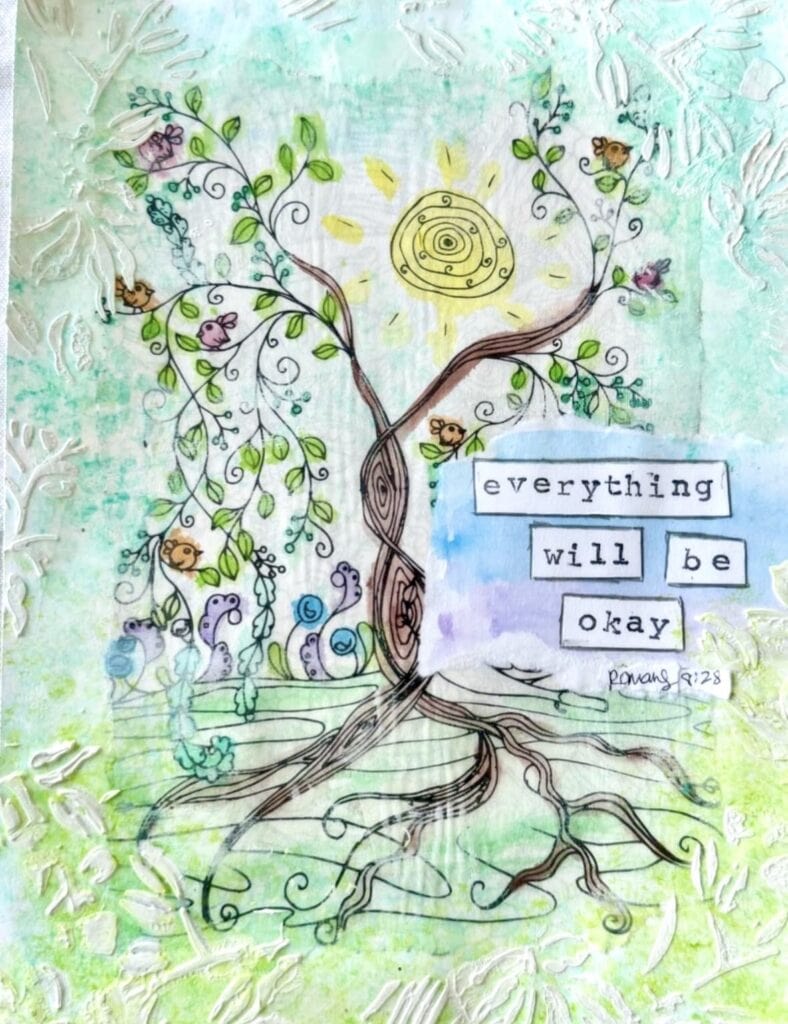
Tissue Paper and Napkins

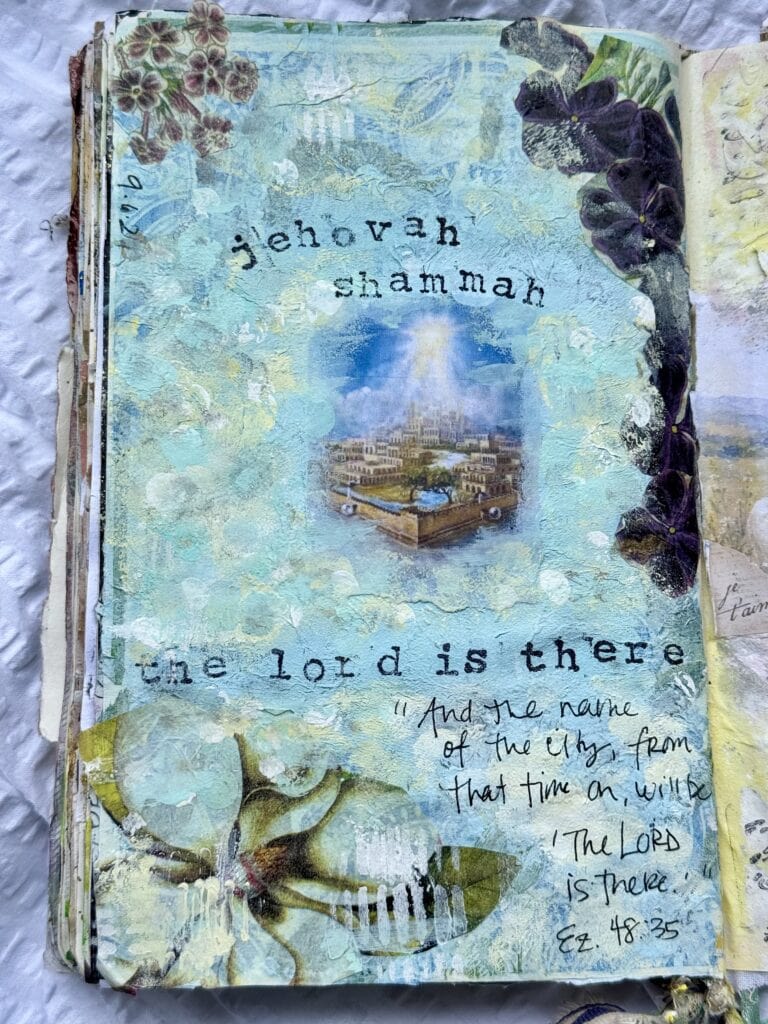
Computer Graphic Printouts
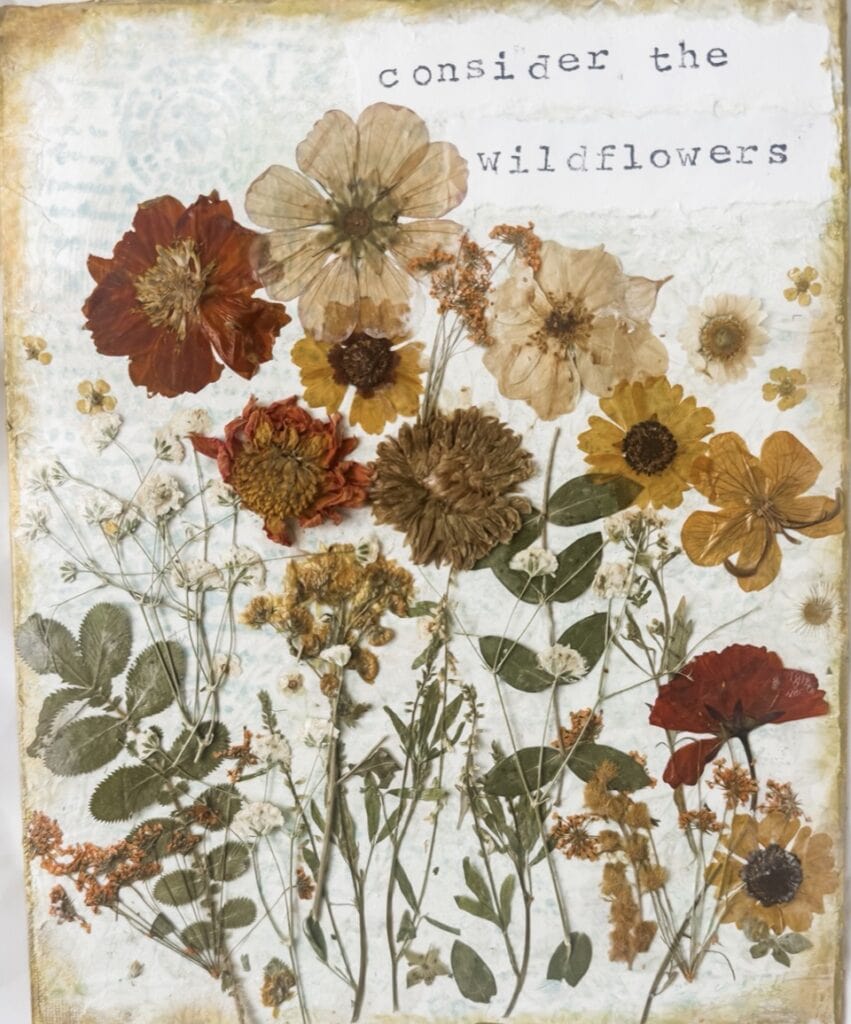
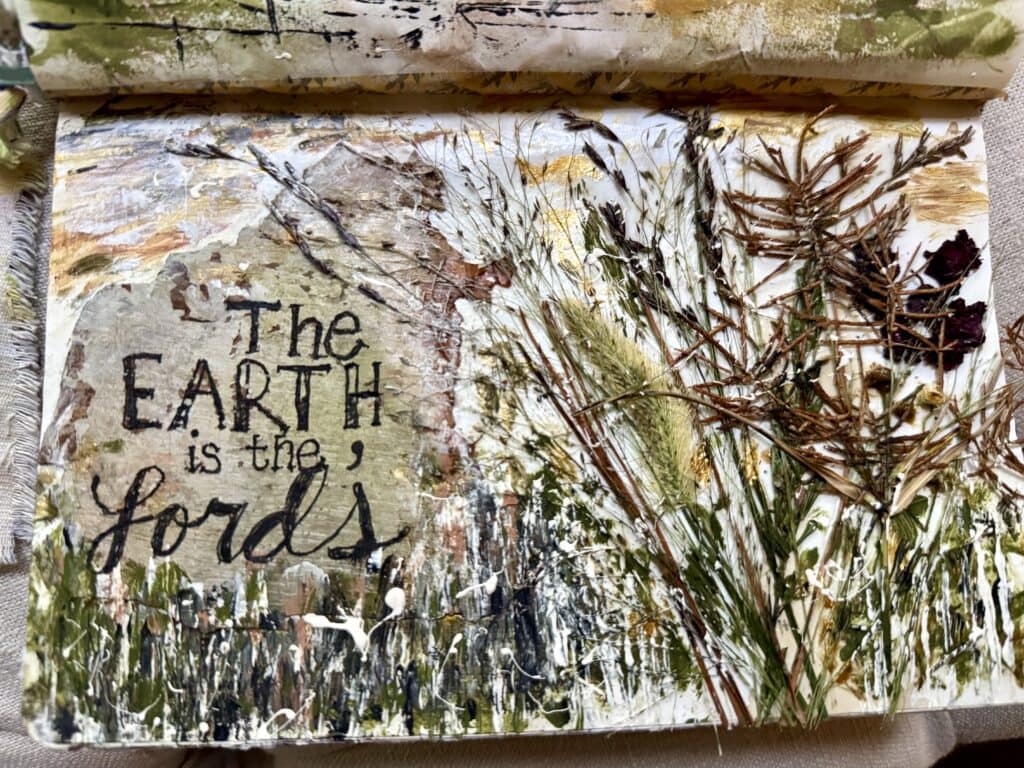
Objects from Nature
Art, Illustrations, and Doodles
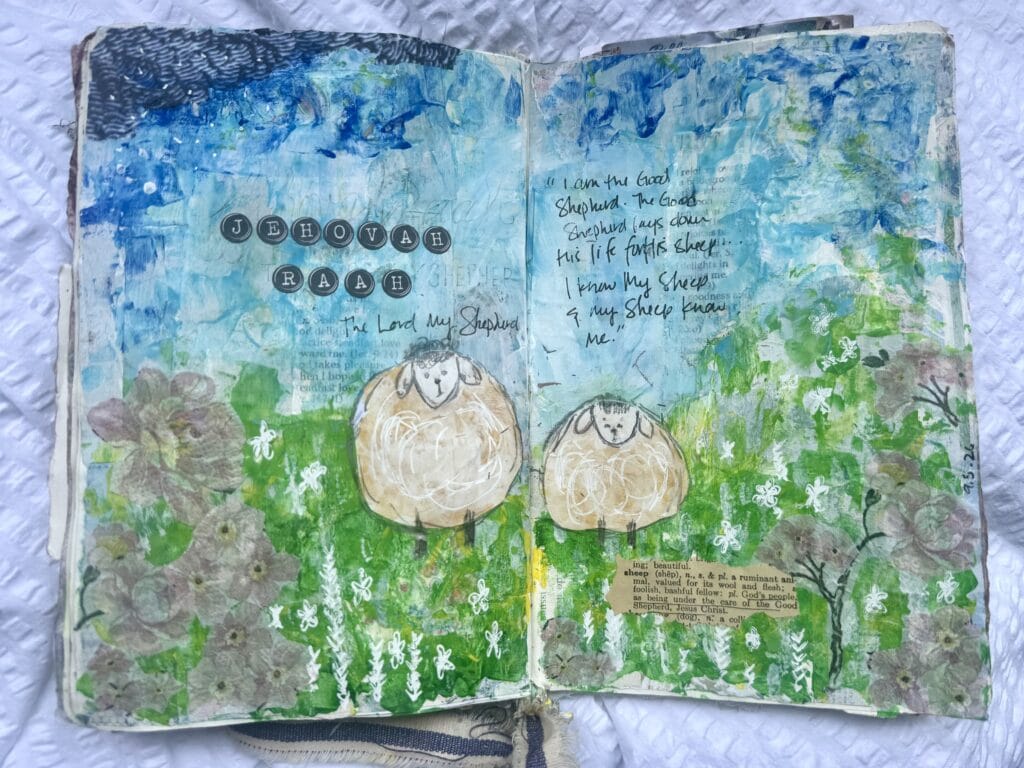
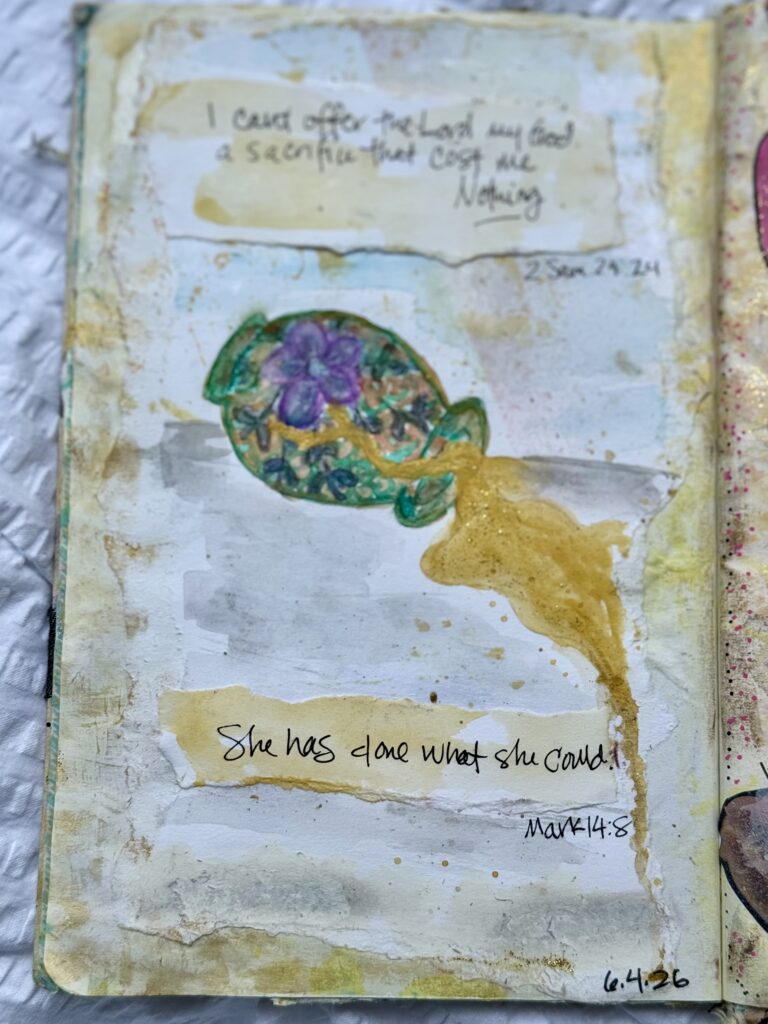
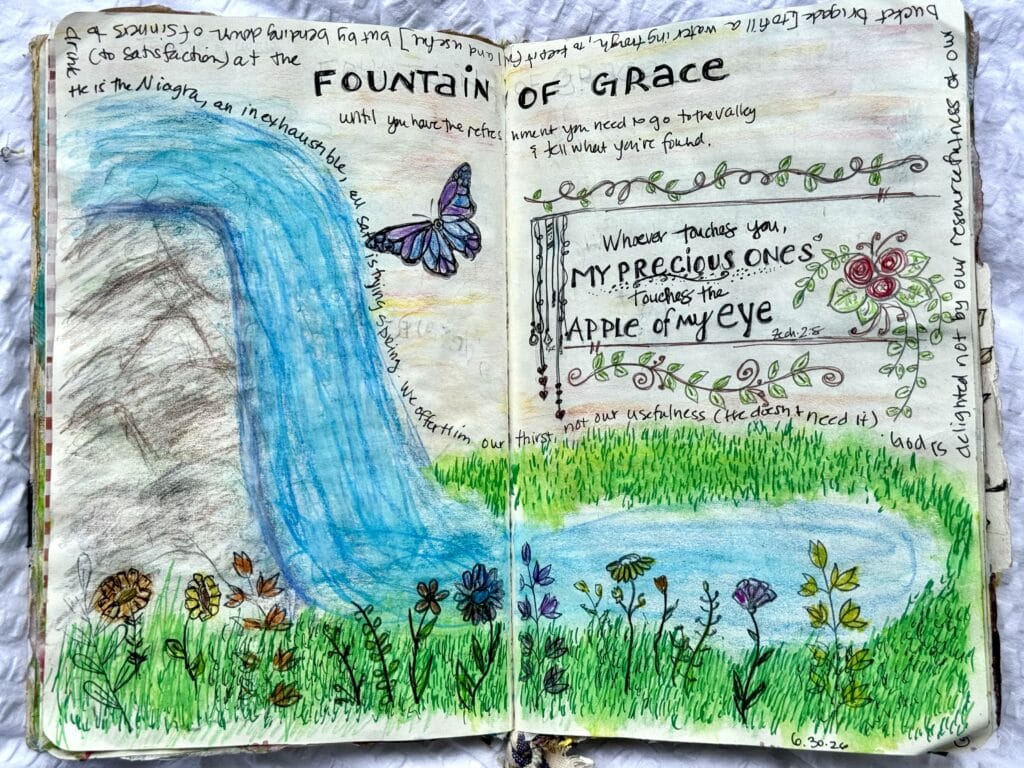
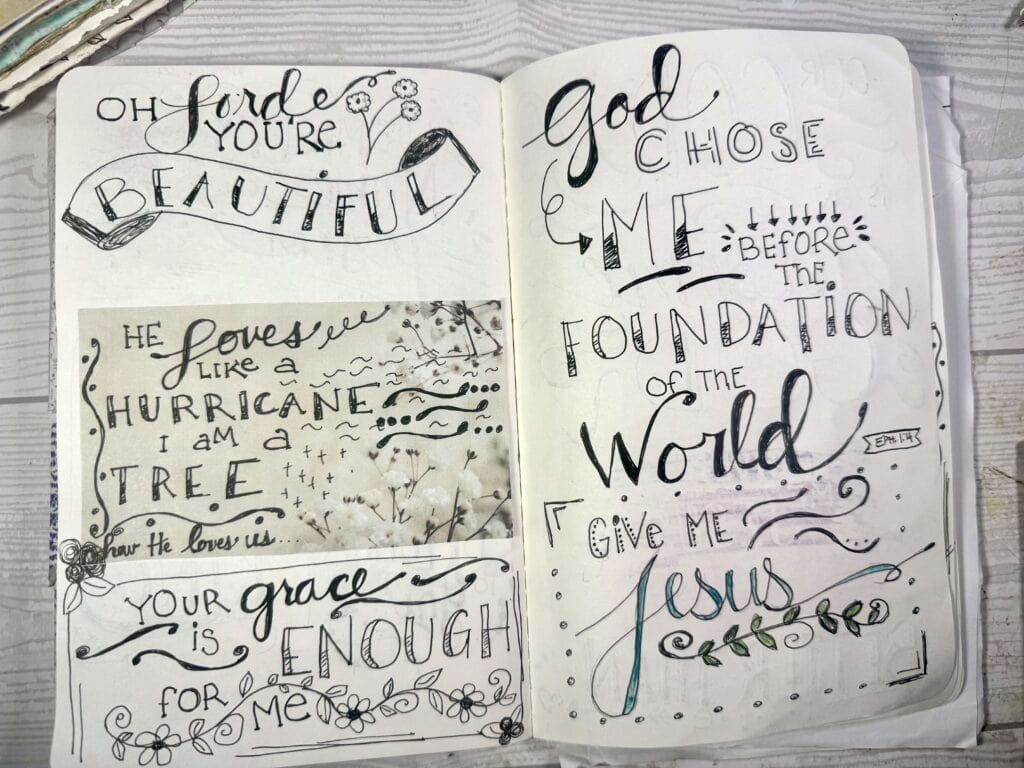
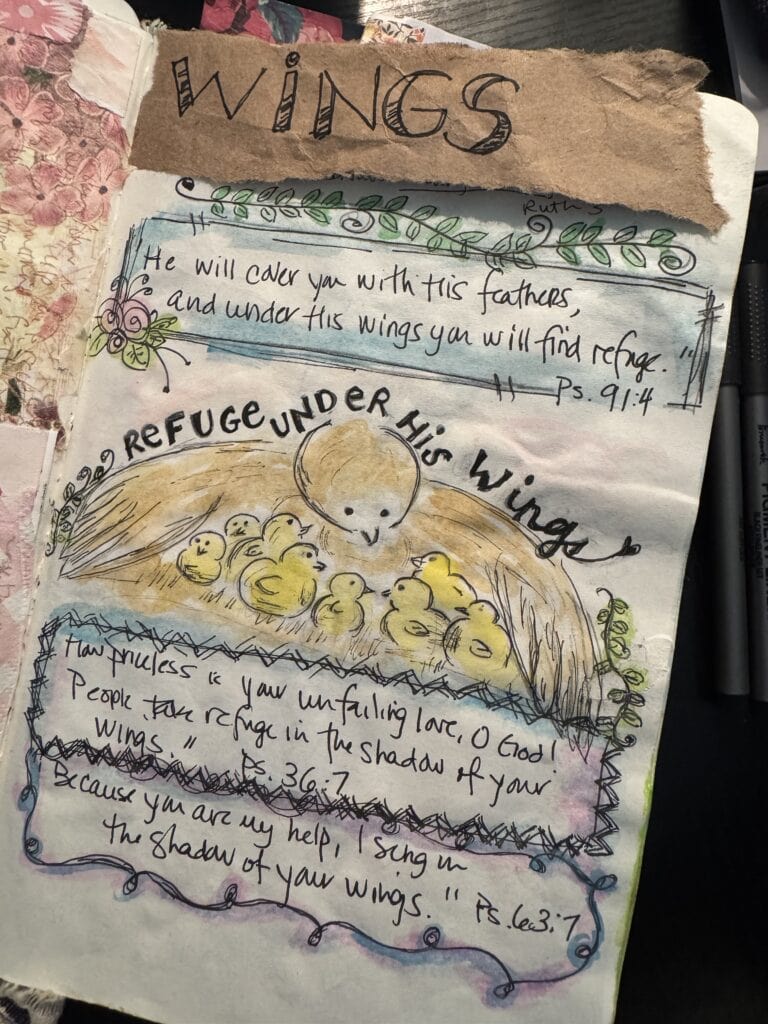
The point here is just to play and explore. A lot of times, I don’t even have an idea for the ‘art’ when I sit down. And part of that is just entering into the creative process with the Lord.
There’s no ‘perfect’ standard to meet. This is totally vertical between you and God.
And if you are unhappy with the results, it’s so simple to just to layer over it. Sometimes what you thought were mistakes become so pivotal to the beauty and overall outcome of the piece! (Kind of like life, right?!?)
7. Other Tips & Ideas
This is somewhat random, but here are some other things to incorporate and try!
- Gel roll pens (especially Uniball!) are great for handwriting on top of acrylic paint. I love to use both black and white.
- Put paint on the edge of an old gift cards and use it to create lines and patterns for finishing touches.
- Use a toilet paper roll with paint on the edge to create abstract circles.
- Pour your heart out in prayer and worship on paper, then paint or paper over it to keep it private between you and the Lord.
- Write really sloppy so only you and God know what’s written.
- Start doodling and using images as you pray and talk to God and see what comes out on your paper.
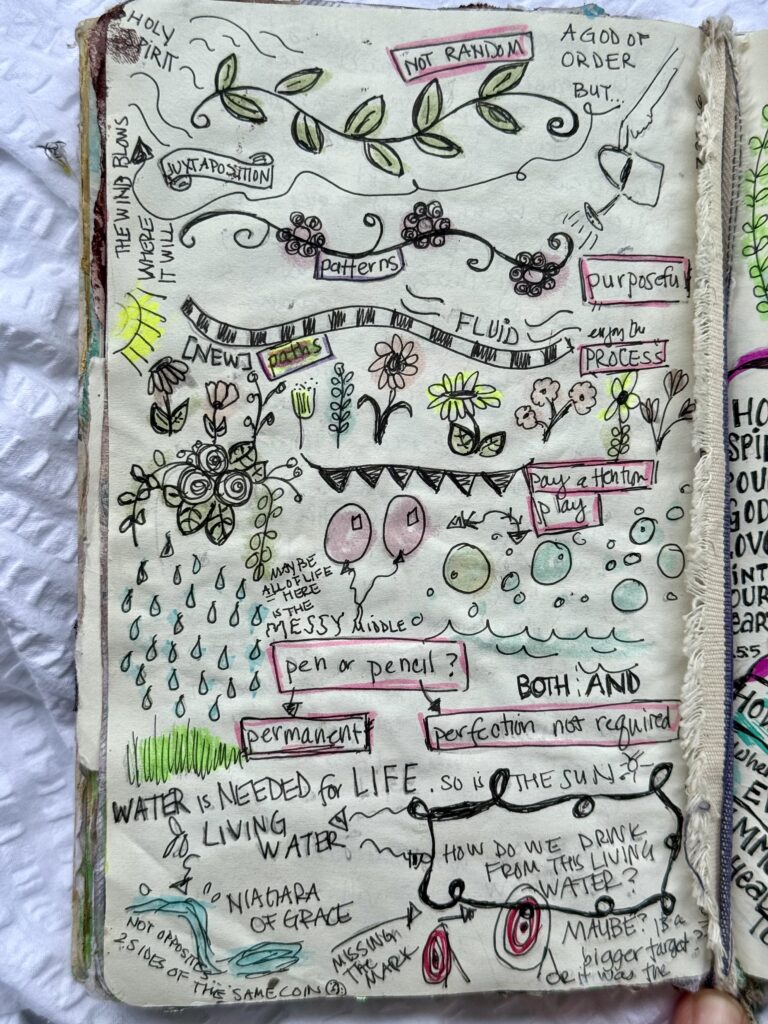
Just enjoy the adventure!
Bible Journal Video Flip-Through
If you want to see a live flip-through of the journal, check it out below!
Bible Journaling Supplies & Resources
I put all of my favorite supplies right here in my Amazon shop! Feel free to look through and grab what is helpful!
I especially recommend this book for much more inspiration – it’s so handy to have it nearby!
Bible Journaling Aesthetic: FAQ
How do I make my Bible journal cute without art skills?
Start with the easy wins: a tight color palette, washi tape borders, stickers, and one lettered word or phrase. Printables and traceables give you a focal point without drawing a thing. A cute Bible journal is really about a few cohesive choices, not artistic talent. And your own handwriting counts!
What’s the best notebook for a Bible journaling aesthetic?
If you want to use paint, watercolor, or collage, choose a notebook with thicker mixed media or watercolor paper that can hold wet media without buckling. For mostly notes, lettering, and stickers, a regular dotted or blank notebook works great. A bible journaling aesthetic notebook doesn’t have to be expensive. It just has to hold up to the supplies you love most. This is the journal I use on repeat’ it gets a little rough and thick, but I love it that way!
How do I decorate my Bible journal cover?
Treat your cover like the first page of your journal. I used fabric, buttons, and a Bible verse on mine. Other easy ideas include collage paper, washi tape, a printed verse, or a stamped title. Choose a verse or theme that sums up what you want this season of journaling to be about.
Will paint or markers ruin my Bible?
They can if you’re not careful! Bible paper is thin, so always test first on the bottom corner of a page. A faint shadow is normal, but if ink soaks through to the other side, save that tool for your notebook. Fine-tip pens, colored pencils, and translucent highlighters are the safest choices inside your Bible.
What if I mess up a page?
Just layer over it! Paint, collage paper, or gesso can cover anything you don’t love. Some of my favorite pages started out as “mistakes.” The imperfect pages are part of the story, too.
How do I keep the aesthetic from becoming the point?
Let Scripture come first and the art second. I study in my Bible, then bring the truths that really stick with me over to my notebook to process creatively. If the art ever starts feeling like pressure, keep it simple for a while. Time with God is always the goal. For more on my study process, see Bible journaling for beginners.
If you’re looking for online faith journaling art retreats and resources, check out Faith Bundles and Kim Pepper – I’ve learned so much from both!
More in the Bible Journaling Series
Bible Journaling for Beginners: How I Read, Study, and Journal the Bible
15 Bible Journal Notebook Ideas You’re Gonna Love
I hope you found some helpful ideas for Bible journaling aesthetics! I’d love to see what you come up with! Email at kate@ahundredaffections.com or tag me on Instagram @100affections!
I pray this will be a really rich time for you and God as you explore His Word together!
Thoughts? I’d love to hear them! Leave a comment below!
Pinterest user? I’d be so grateful if you pinned! Every pin supports this site in a big way. Thank you!