Cheap & Easy DIY Wood Bead Wreaths for Every Season
If you love the trendy, modern farmhouse wood beaded wreath DIY projects, here are some I’ve made for every season: spring, summer, fall, Christmas and winter! Come check out simple instructions and sample, that are customizable to every taste and home decor, for every time of the year!
Wood Bead Wreaths of an Easy and Cheap DIY
If you’ve ever tried to create a DIY wreath, you know that they can be a bit pricey and complicated, depending on what look you’re going for. I’ve since fallen in love with DIY beaded wreaths, not just for their aesthetics, which I love, but because they are pretty easy and cheap to make.

Why I Love DIY Beaded Wreaths
Besides being trendy and super-cute, beaded wreaths are my favorite ones to make. Here’s why:
1| They are easy
So, so easy. You really just need some floral wire and/or a hot glue gun, plus your faux greens, stems, or florals, and that’s really all you need.
2| They are quick.
I typically can put one together in a half-hour or less! And usually while I have one eye on my sons as well.
3| They are cheap.
I point this out because for most kinds of wreaths, you need your stems and florals to go the entire way around the wreath form. With a beaded wreath, you typically just add the embellishments to one side of the beaded wreath form or the bottom half.
This instantly cuts down the cost for materials. Beaded wreath forms at comparable to most other forms (I usually wait for the 50% sale on them at Hobby Lobby), but much prettier. And the beads are actually part of the allure, so I feel like it’s kind of like having free materials thrown in.
How to Assemble a Beaded Wreath
This post contains affiliate links. See Disclosures for details.
This honestly is almost like a no brainer, but I can appreciate the fact that some people like the step-by-step details. I admit it’s a little hard to give instructions because creating a wreath like this (or usually any kind of wreath) is something of a fluid process and generally determined by the taste of the person creating it.
That being said, I’ll go over a few basics.
Materials
Here’s what you’ll need to get started:
Wood Bead Wreath Form (size is up to you)
Any extra embellishments (ribbon, bells, etc.)
Assembly of a Beaded Wreath
Generally, you’ll want to loosely lay out your green and florals before securing them with either hot glue or floral wire.
I will usually trim the leaves with snips so I have more control over the placement, but I’ve also just attached whole bunches of stems right to the beaded wreath form.
Once you’ve loosely arranged your items, you can start securing them to the bead form, greens first. I usually will start with floral wire, securing the stem in a few places. Then I start layering them to fill out the area.
After that, I attach the florals on top in an arrangement that I like. Sometimes, you may need to snip off the bottom of the flower so it will lay flat. In that event, if there’s no stem, you’ll want use your hot glue gun to secure the flowers.
It’s at this time that I also realize that I need some filler greens and typically, at this stage, it’s easier to just stick in extra greens and stems and glue them down.
Below is a visual of how I did my fall wood bead wreath.

Homemade Beaded Wreath for Every Season
Let me share with you the ones I made for every reason. They vary a little in size, but I used the same process for all of them.
Beaded Wreath for Summer
Since we are in summer right now, I’ll share the one I made for this season.
When I moved from New York to Tennessee, I was so excited to see real live magnolia trees. I knew that a magnolia-themed wreath was the one I wanted to make for summer.

Beaded Wreath for Fall
I tend to like more muted or neutral colors for fall rather than the traditional ones, so I made this beaded wreath using faux leaves from Dollar Tree! I love the softness of this!


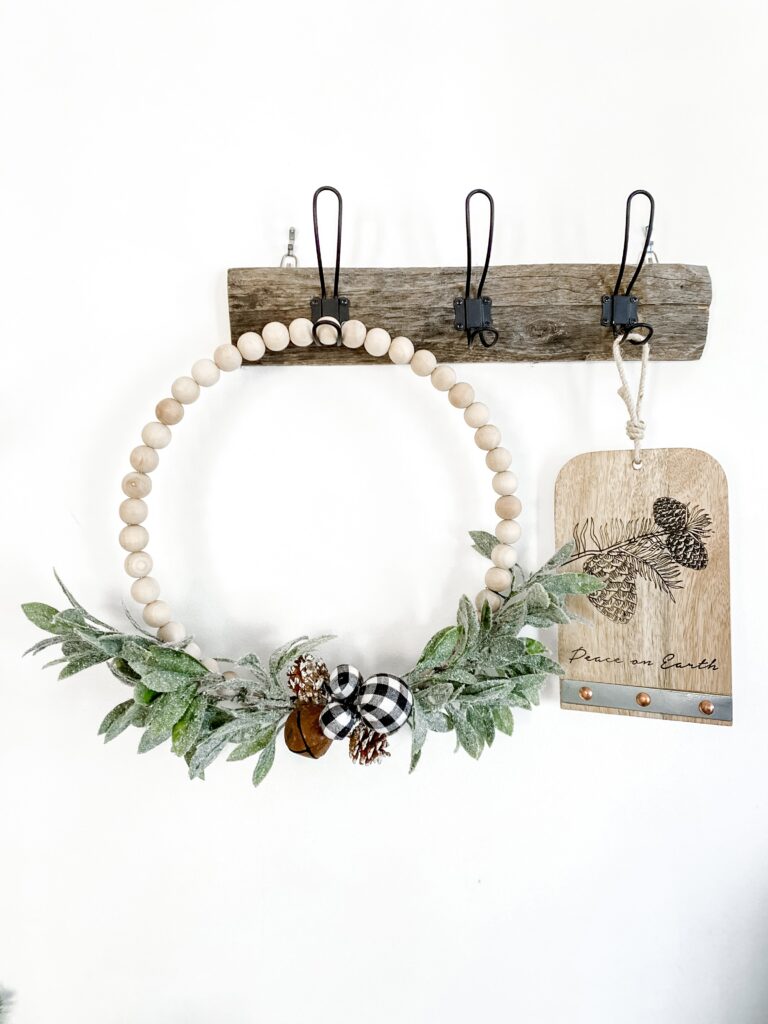
Beaded Wreath for Christmas/ Winter
I tend to not use too much red for my Christmas decorations because I like an easy transition to winter decor. To that end, I created this beaded wreath that I was able to use both for Christmas AND winter. Win, win.

Beaded Wreath for Spring
This was actually my very first beaded wreath that I made. These faux flowers were from Hobby Lobby, and again, I love the soft neutral feel of them. This could easily be a summer wreath as well, especially if you have rustic decor.


Easy, Printable, Succinct Instructions for DIY Beaded Wreath
If you like to have all the instructions laid out in front of you in a simple way, on paper, you can print these out – or just keep your device open while you work!

DIY Beaded Wreath
Easy and lovely DIY beaded wreath that is simple to customize for any season!
Materials
- Beaded Wreath Form (I get mine from Hobby Lobby for 50% off!)
- Faux Greens of Choice
- Faux Floral Stems of Choice
- Floral Wire
- Hot Glue Sticks
- Embellishments of Choice
Tools
- Snips
- Hot Glue Gun
Instructions
- Loosely lay out greens and flowers in desired location (right or left side, bottom) before attaching.
- Trim greens if necessary to ensure proper placement.
- Attach greens to beaded wreath form with floral wire. Trim wire and wrap around greens until secure. Do this in several locations if needed.
- Reinforce greens with hot glue if necessary.
- Attach flowers in desired locations using floral wires if possible. If flowers are cut from stems, snip bottom to create a flat surface and attach with hot glue.
- Reinforce any loose areas with hot glue as well as glue flowers to greens if needed.
- Add in filler greens if needed.
- Attach embellishments (bells, ribbons, etc.) with hot glue or wire if needed.
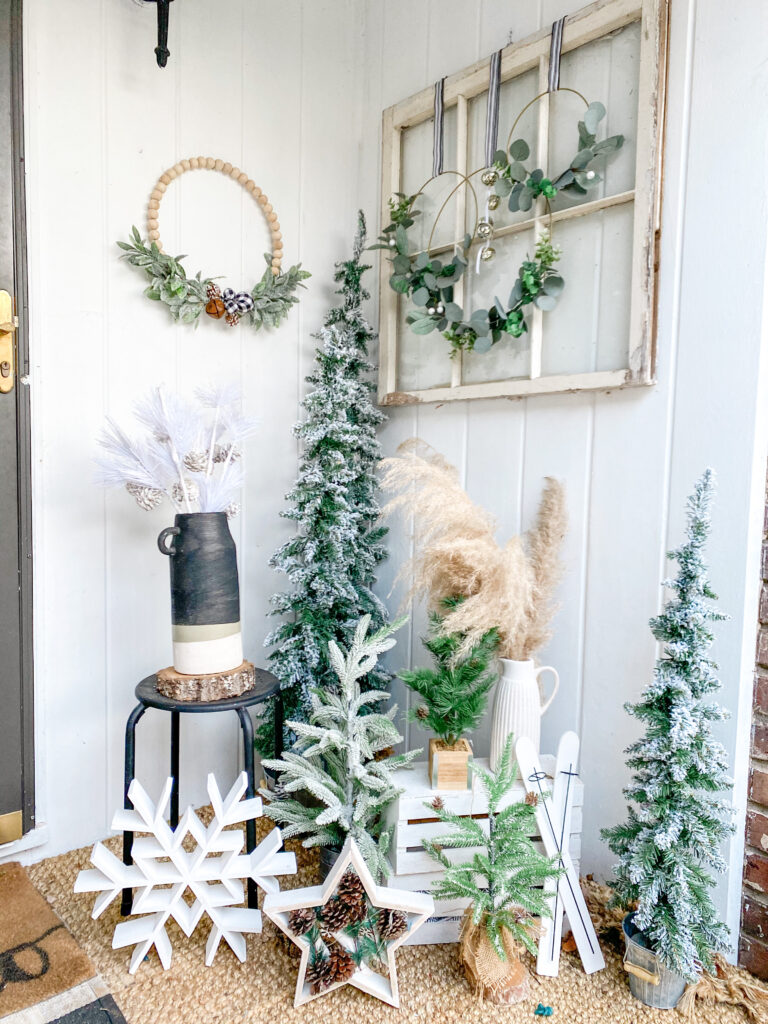
- To display, hang on a nail or over the door wreath holder. You can also place a ribbon through the top of the wreath and attach to the top or backside of a door.