DIY Watercolor Printable Wall Art with Rice Paper
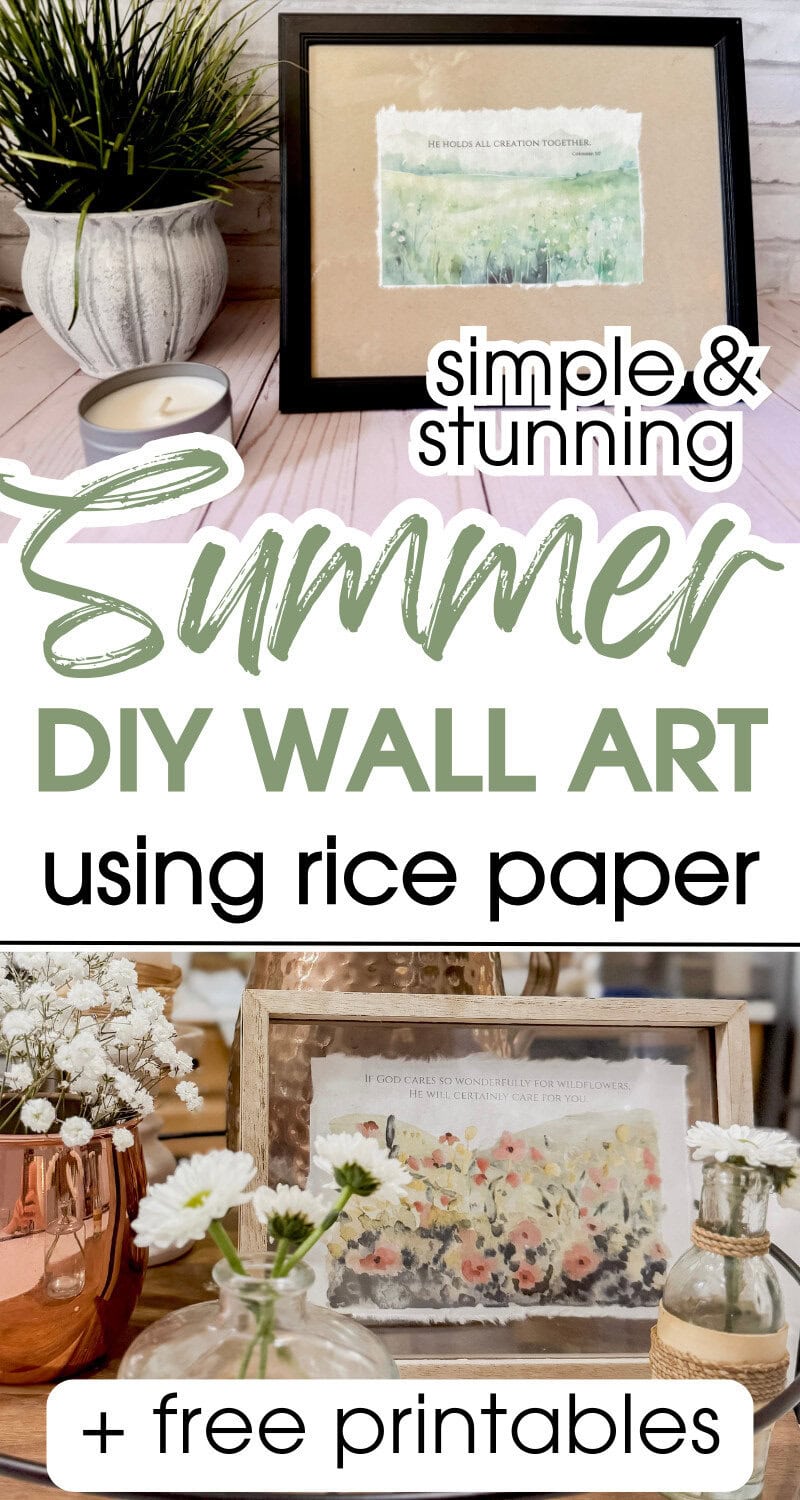
Are you looking to elevate your home decor? And are you looking for encouragement for your spirit as well? Today I’m checking both of those boxes! Come see stylish DIY wall art and what it can do for your home and your soul!
Budget Printable Art, Elevated
If you’ve been around here for any length of time, you know that I love budget- friendly decor. And you probably know that I love printables.
Now I do think printables look amazing on their own; just print them out on paper or cardstock and put in the frame.
But I also think there’s an easy way to elevate them so they look like high class and professional, in my opinion.
And that secret is Japanese rice paper.
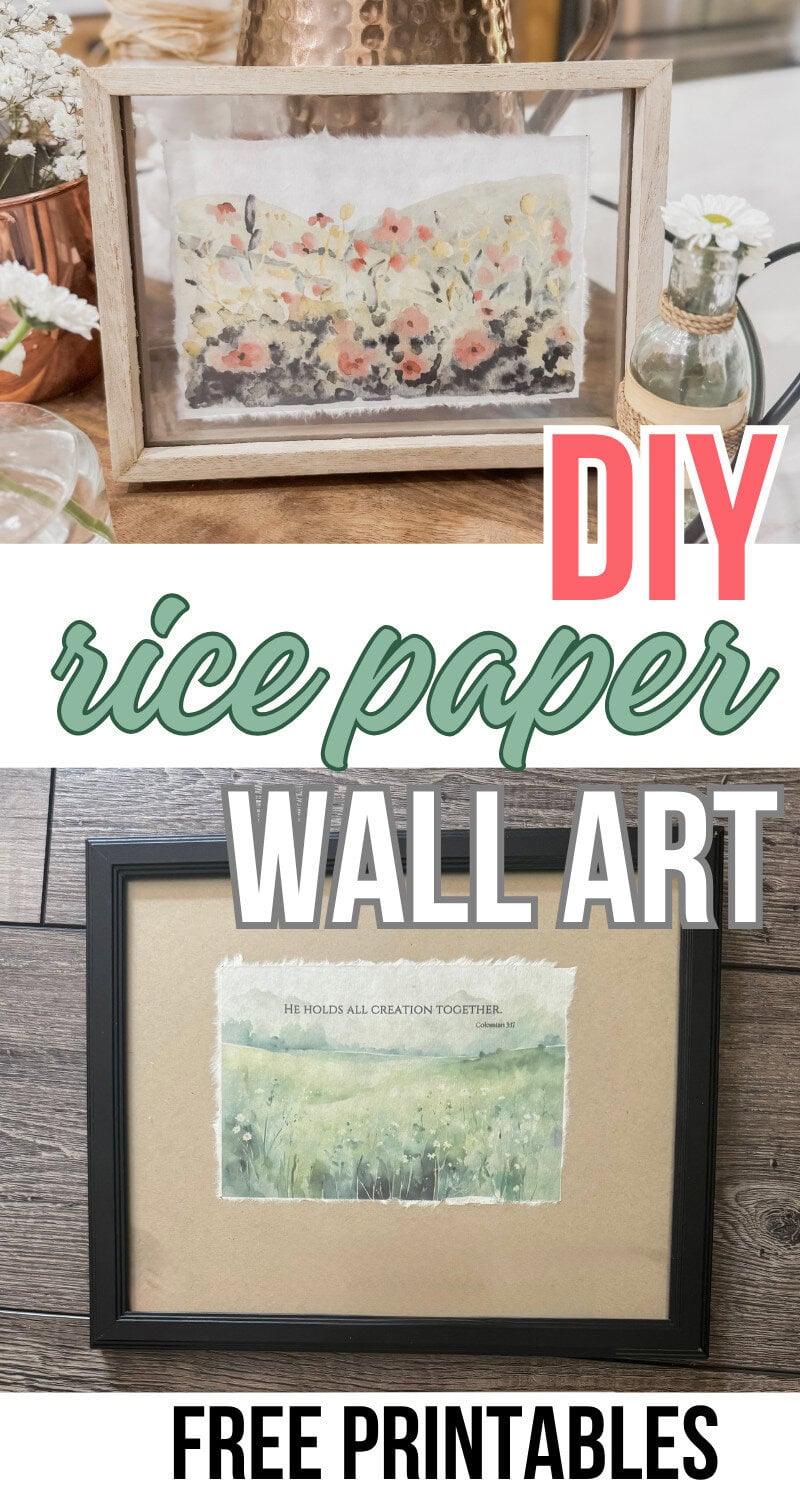
Japanese Rice Paper: An Easy Way to Level Up
I’ve been wanting to try some rice paper printables for a while now, and I didn’t quite have the right printable.
Well, God has really put some verses on my heart recently, and these are the ones I want around my house, reminding me of His truth.
So I felt like these were the perfect ones to make gorgeous wall art, printed out on rice paper.
I love rice paper because it’s textured and a little bit airy.
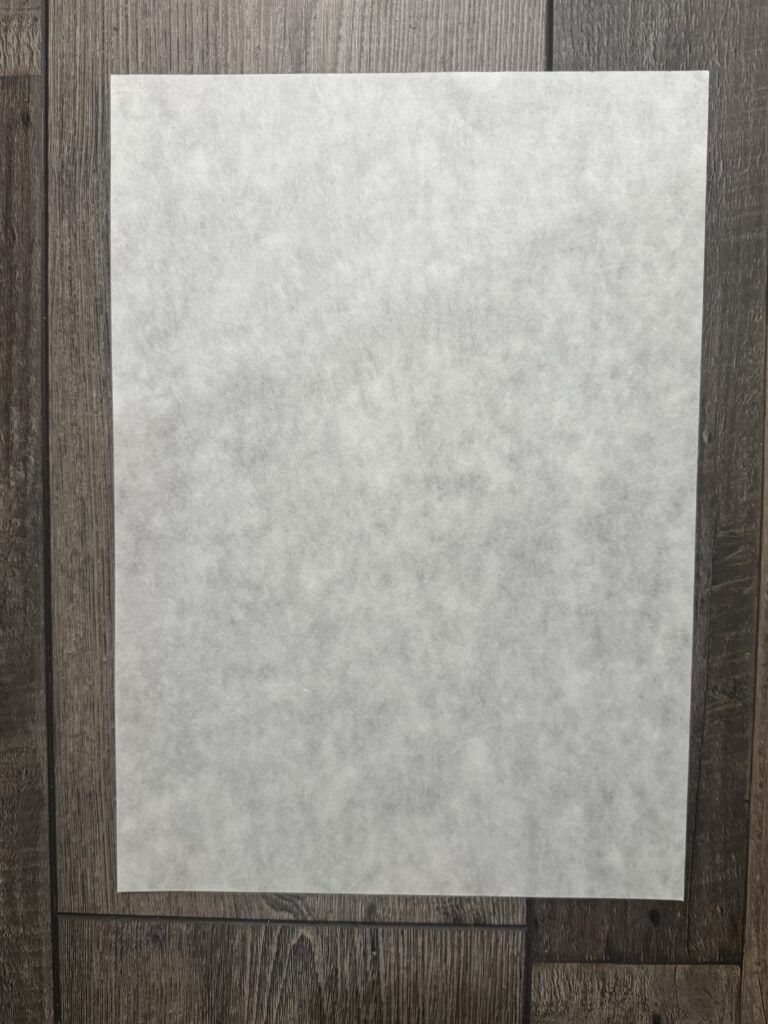
I love how it looks when the edges are torn, giving it a very organic natural look.
The natural fibers are just gorgeous, slightly transparent, and just really distinguish it from something that’s printed out on plain cardstock.
It adds a little dimension and texture, which I think is beautiful.
This print I used is 4×6″, a perfect size for a centerpiece tray.

Steps for Rice Paper Printables
This post contains affiliate links. See Disclosures for details.
It’s pretty easy to create these printables.
You’ll need the following:
Design to print (you can grab mine below)
Scissors
Ruler
Frame (Go bigger than the size of the design. I’ll explain below!)
After I go through the steps, I’ll show you two different ways to frame it.
1| Download the printable & print on rice paper.
This is the rice paper I used:
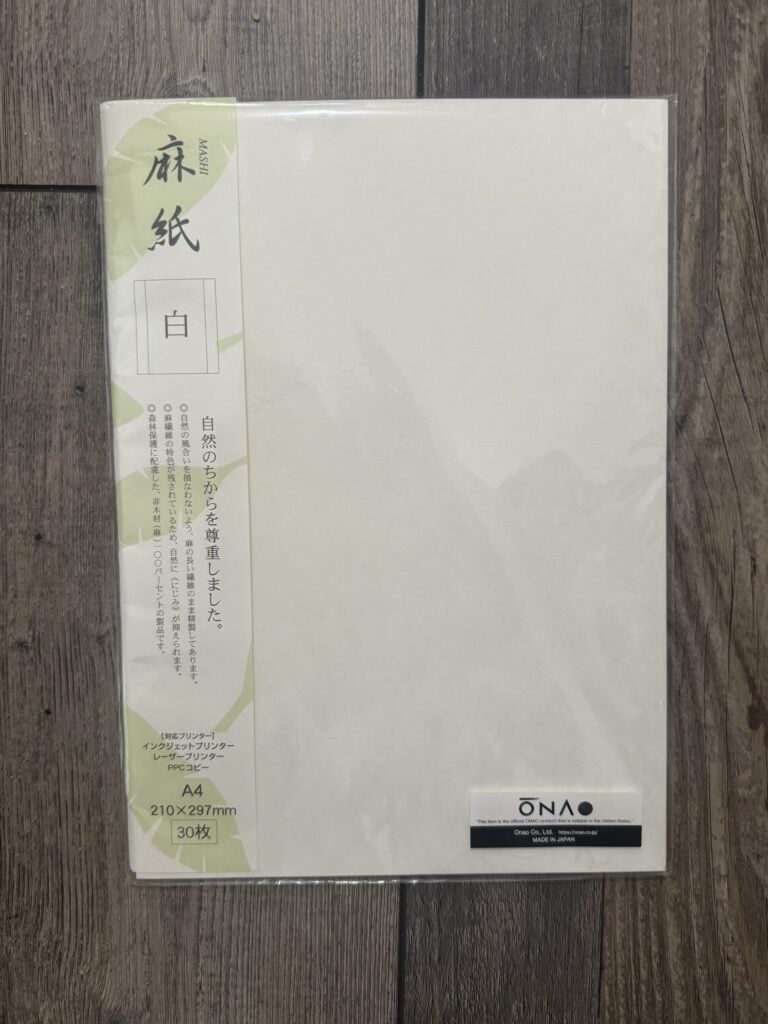
It’s sized A4, just slightly larger than letter size paper.
Here’s the 1st download:
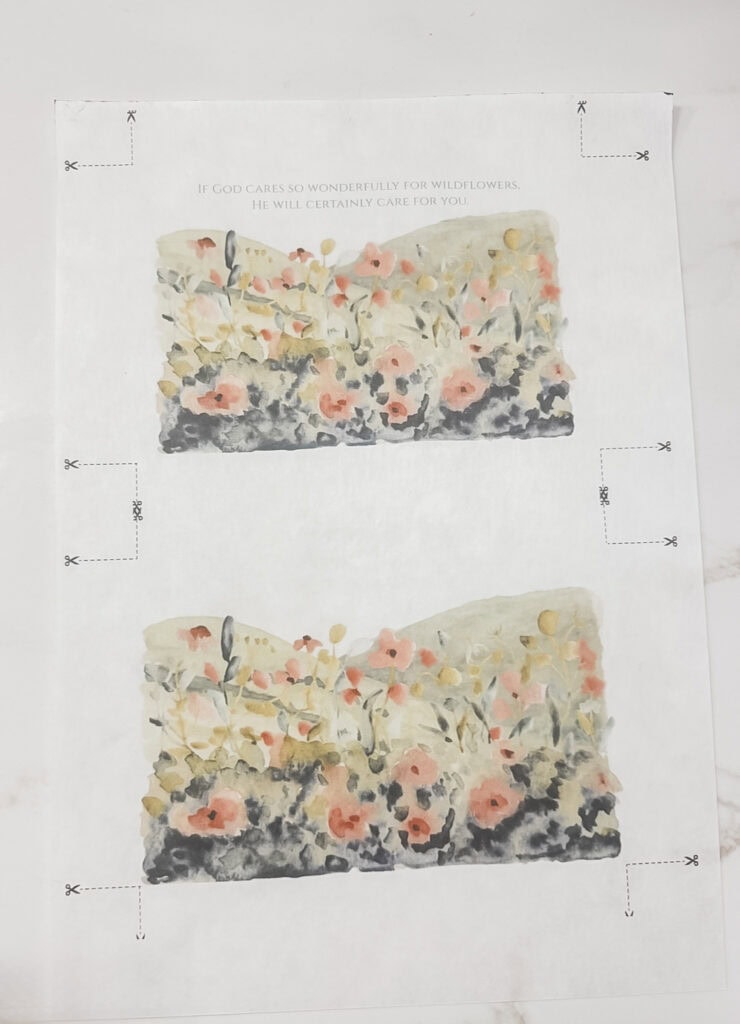
***I made an adjustment to the text in the final version – it’s darker and I added the Bible reference. You can see the updated version below. My photos have the original version, but the download is the updated version.
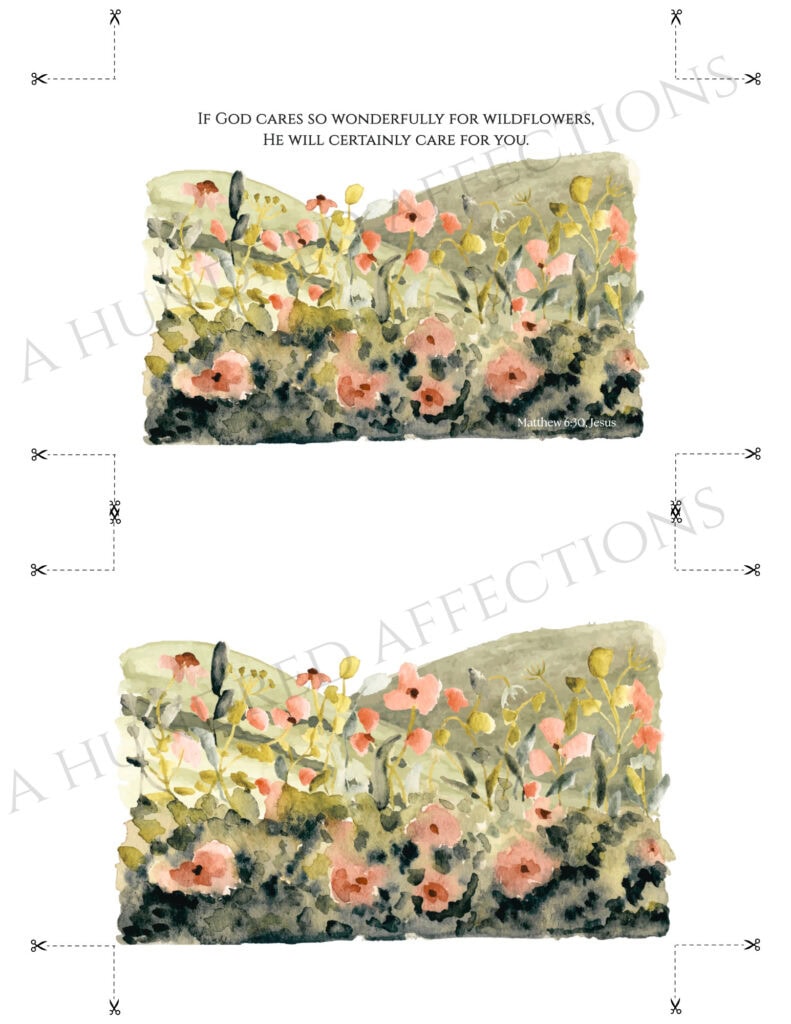
Here’s the 2nd download:
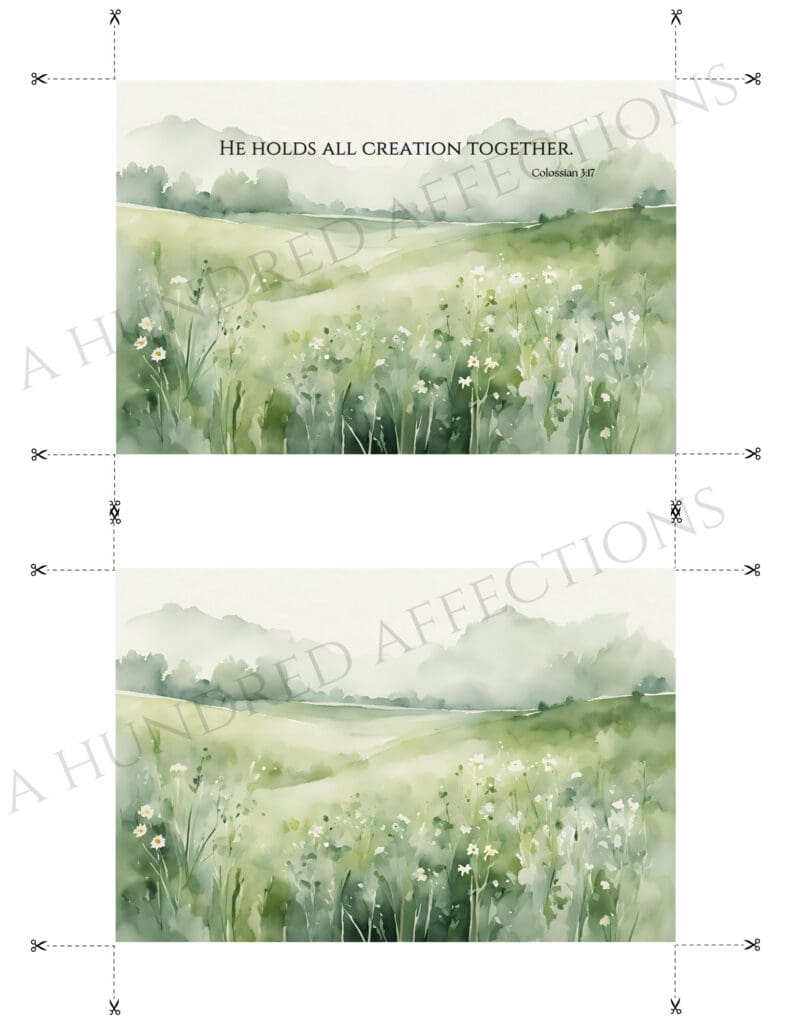
You can grab the printables that I designed for free – just fill out the box at the END of the post.
For printing, I had to slide the bracket in the printer tray out to the max to fit the paper, but it easily fit and printed an 8.5 x 11″ PDF with no trouble.
Also, make sure you set it up in your printer tray so it prints on the textured side, not the smooth side. You’ll feel the difference.
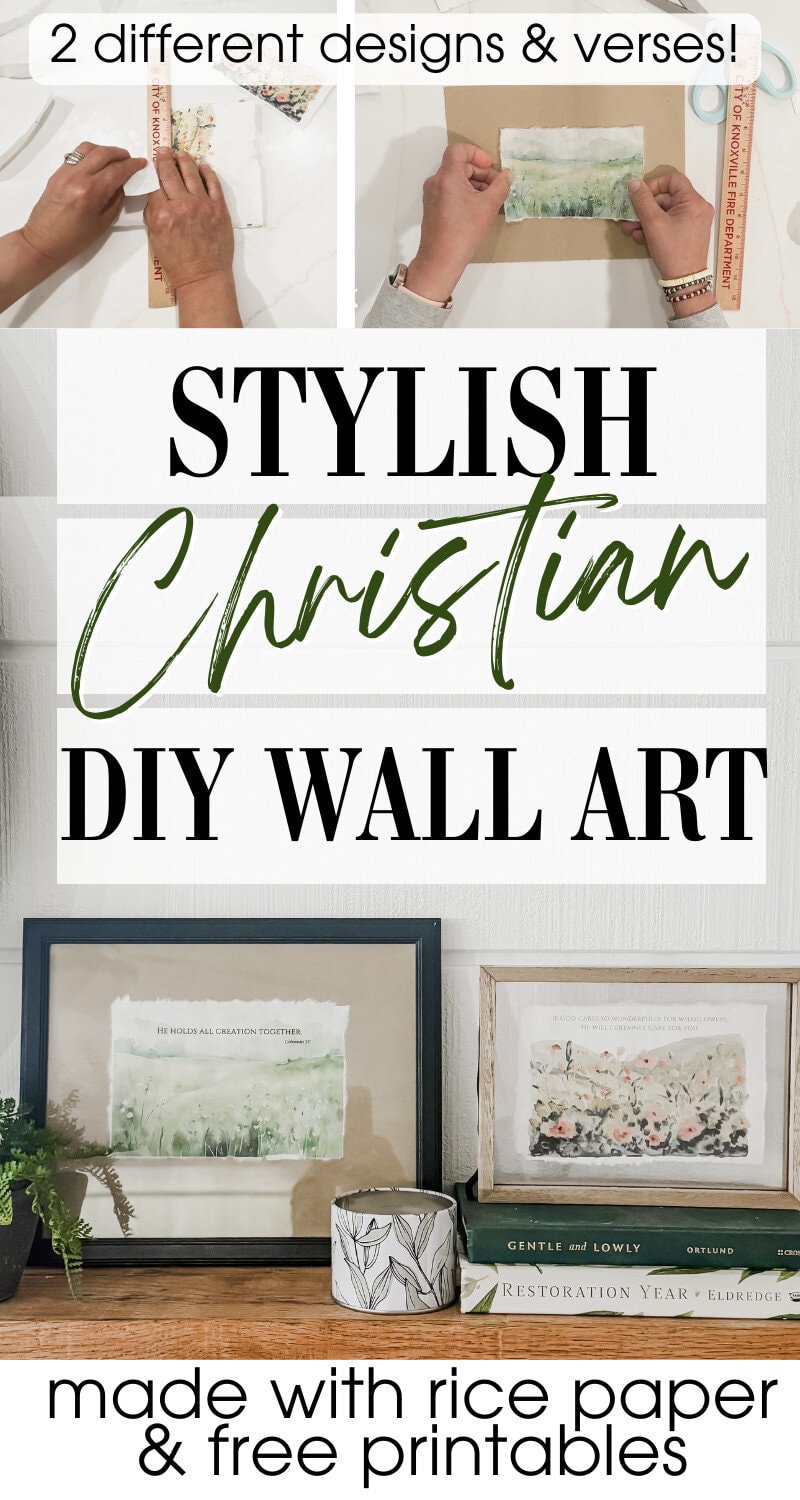
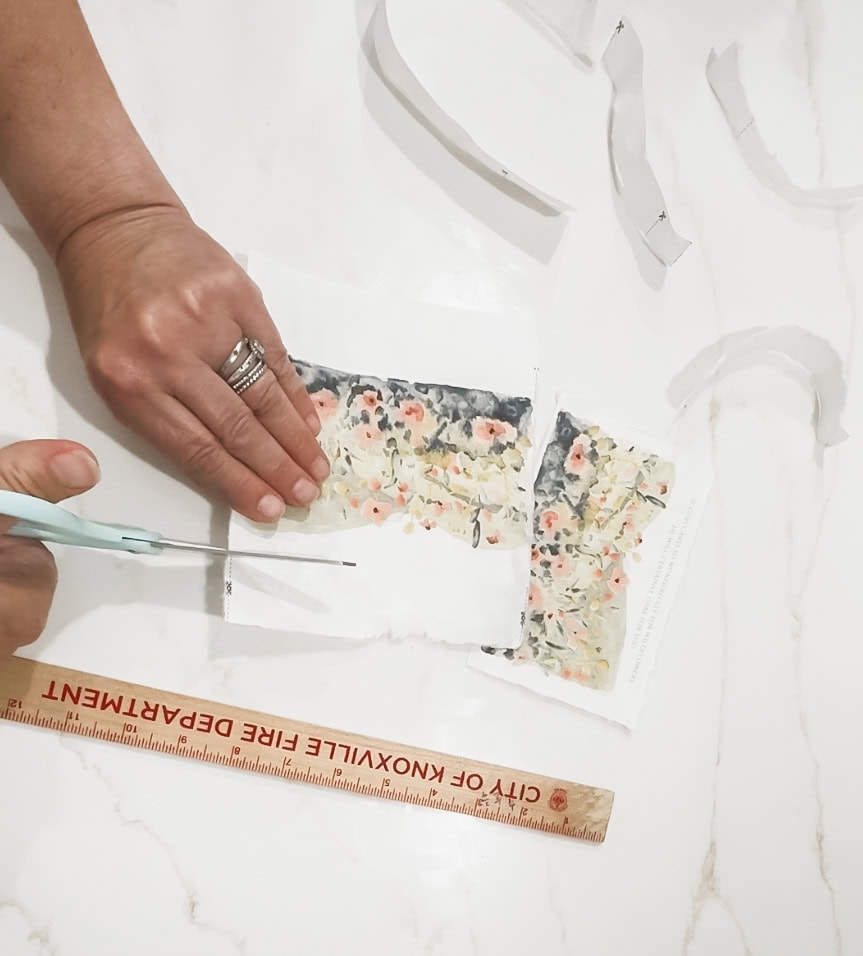
2| Using a scissor, snip the corners of the print.
I like to use a scissor to start where I’m planning to tear. I’ve found that the paper rips more easily and neatly when you get it started with a small snip.
3| Tear using a ruler as a guide.
Place the ruler down on the printable with the edge of the ruler on the line where you’re going to tear.
Put the width of the ruler on the inside of the design, so the piece you’re tearing off is on the outside of the ruler. That way, if it gets a little crinkled, the excess is crinkled and not your design.
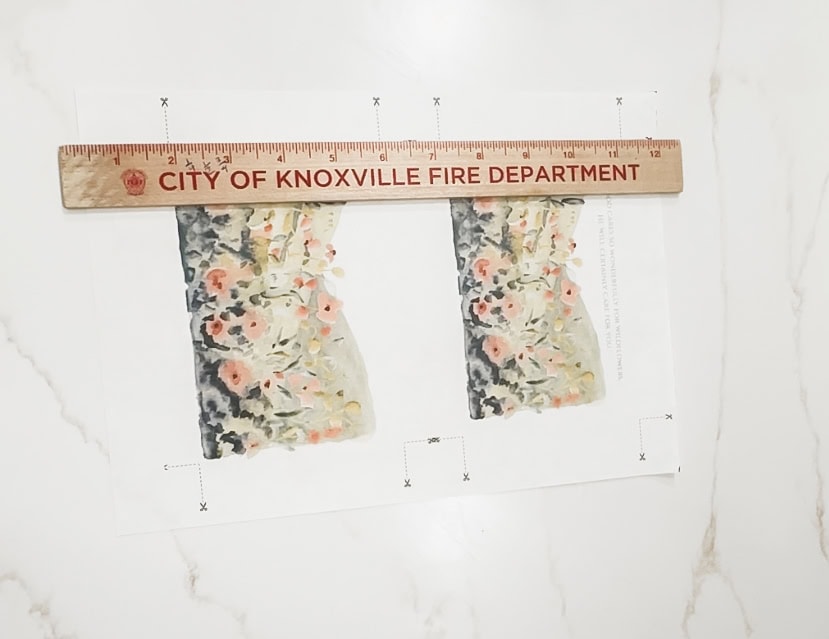
Tear the rice paper using the ruler as a straightish edge. Grab the rice paper with your thumb and four finger tightly and pull, making little, small tears as you go.
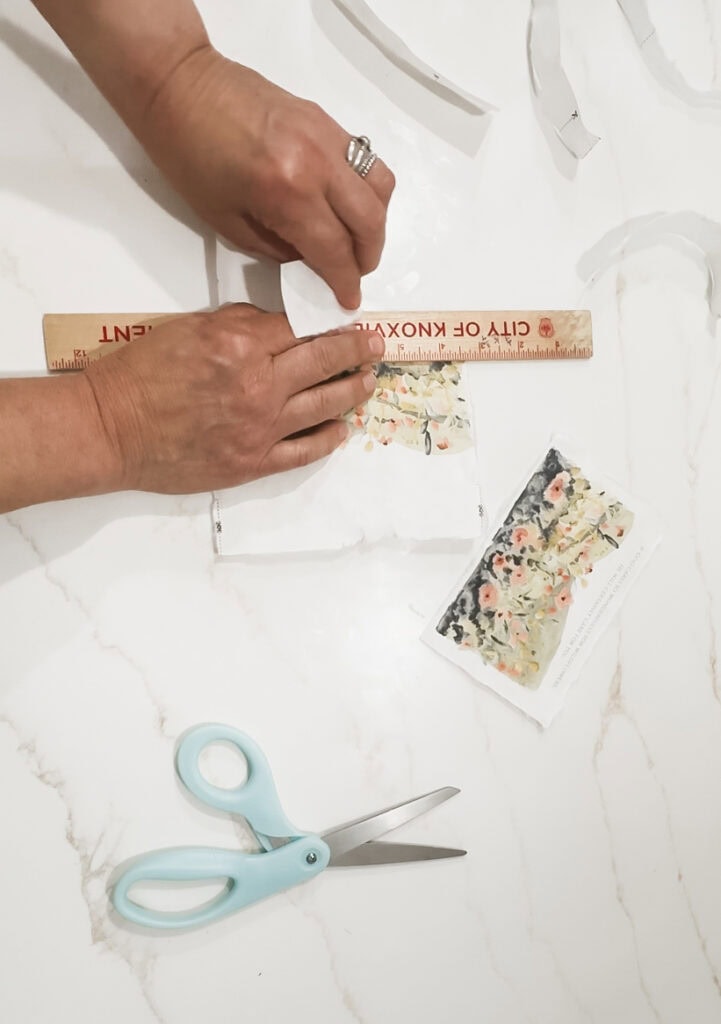
Make sure that your edge is somewhat straight, even though it will be slightly imperfect from the tear.
4| Repeat steps 2-3 on all four sides.
5| Move on to one of the following framing techniques below.
Framing Techniques
There are two different framing techniques that I like to use.
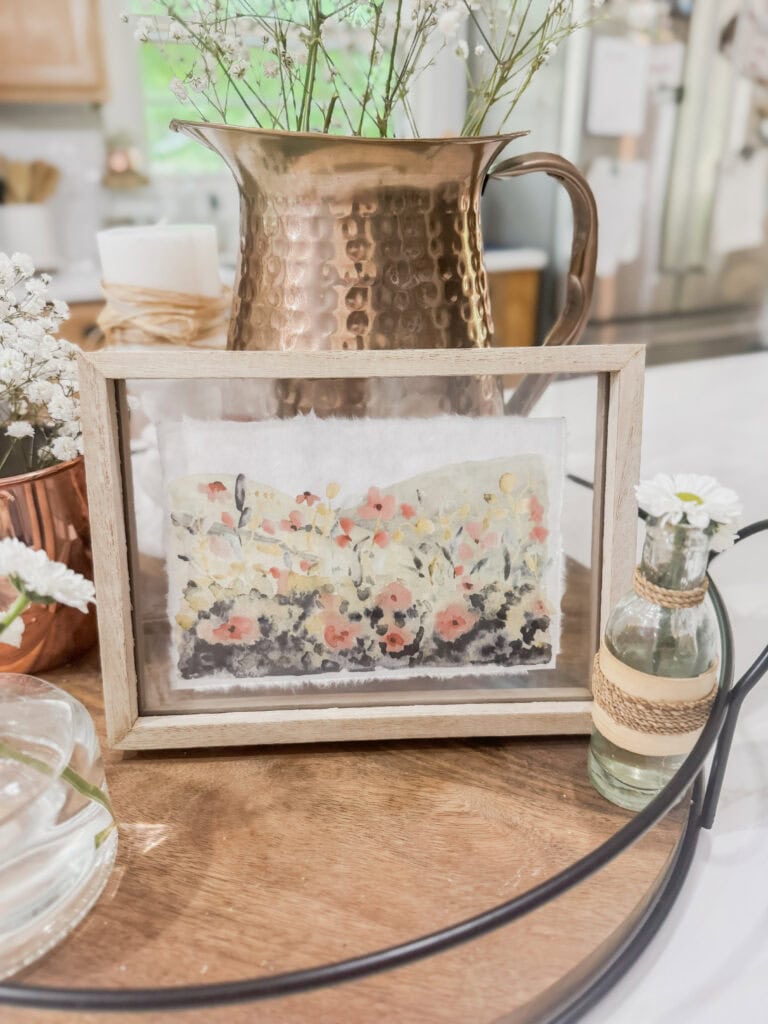
1| Transparent Floating Frame
A rice paper printable look gorgeous in a transparent floating frame.
In that case, just open the frame, center your rice paper, and place down. It is a gorgeous light and airy look.
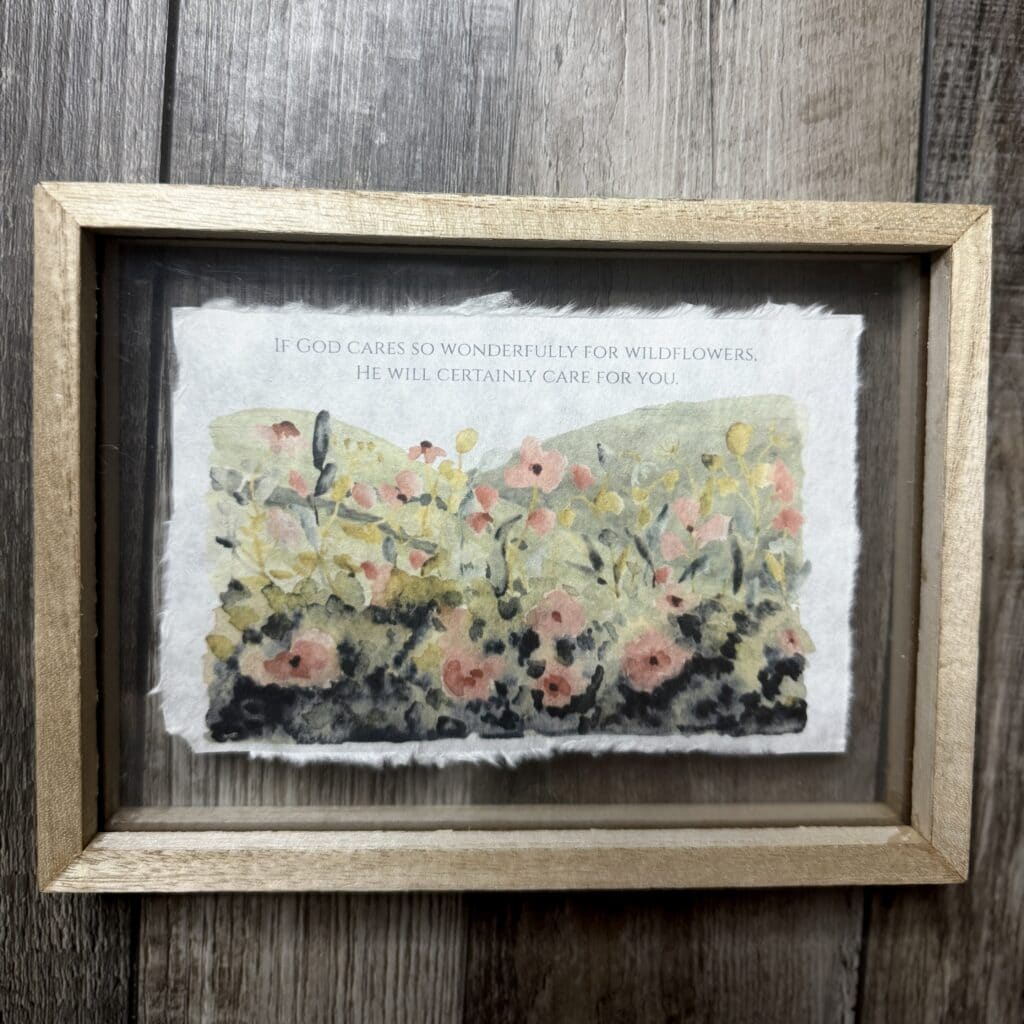
Here’s a floating transparent frame similar to the one I used!
For a look like mine, be sure to get a bigger 5×7″ frame so there is space around the print if you’re using the printable in this post. Either way, choose a floating frame sized up from the size of your printable.
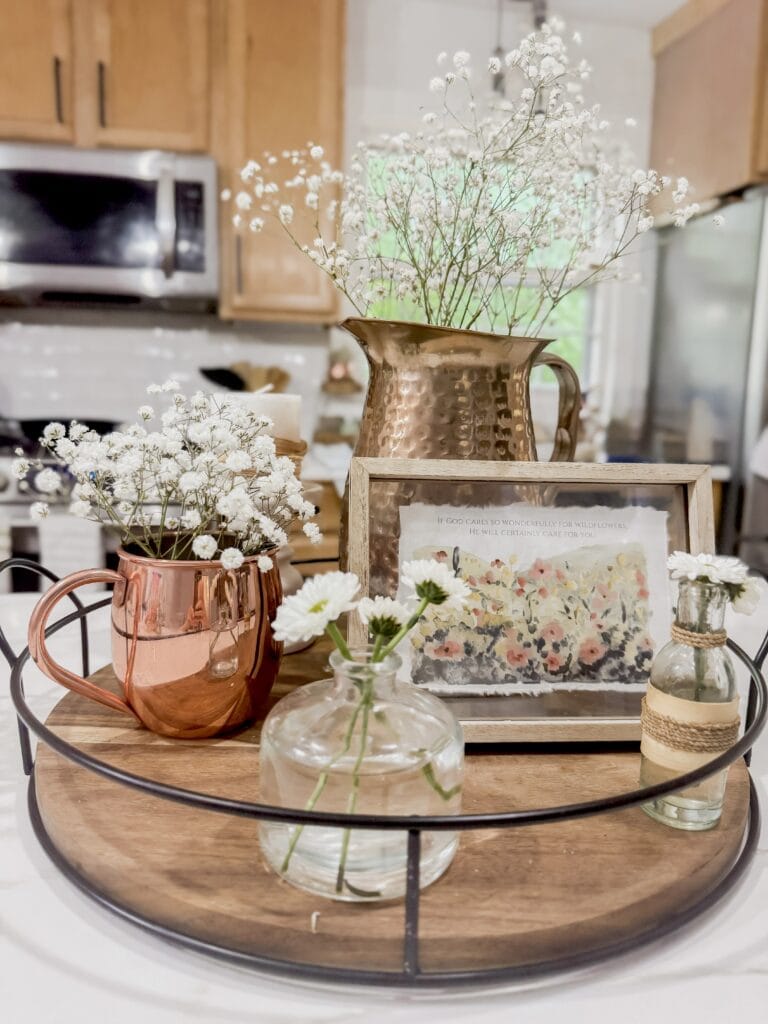
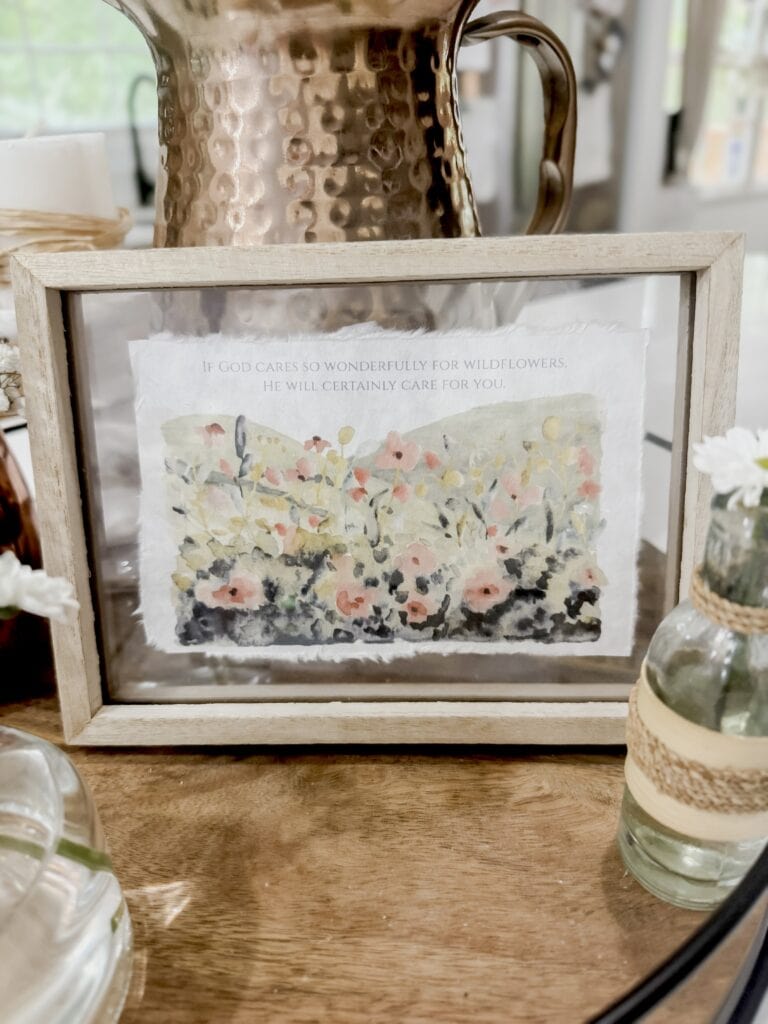
Below you can see it styled with the modern rustic summer centerpiece!
2| Reverse Matting Frame
This idea is what I call a reverse matting technique – not sure if that’s a real title or not, lol.
Take a piece of card stock and trim it down to 8 x 10 or whatever size your frame is.
Then using a glue stick, glue down your rice paper printable in the center of the card stock.
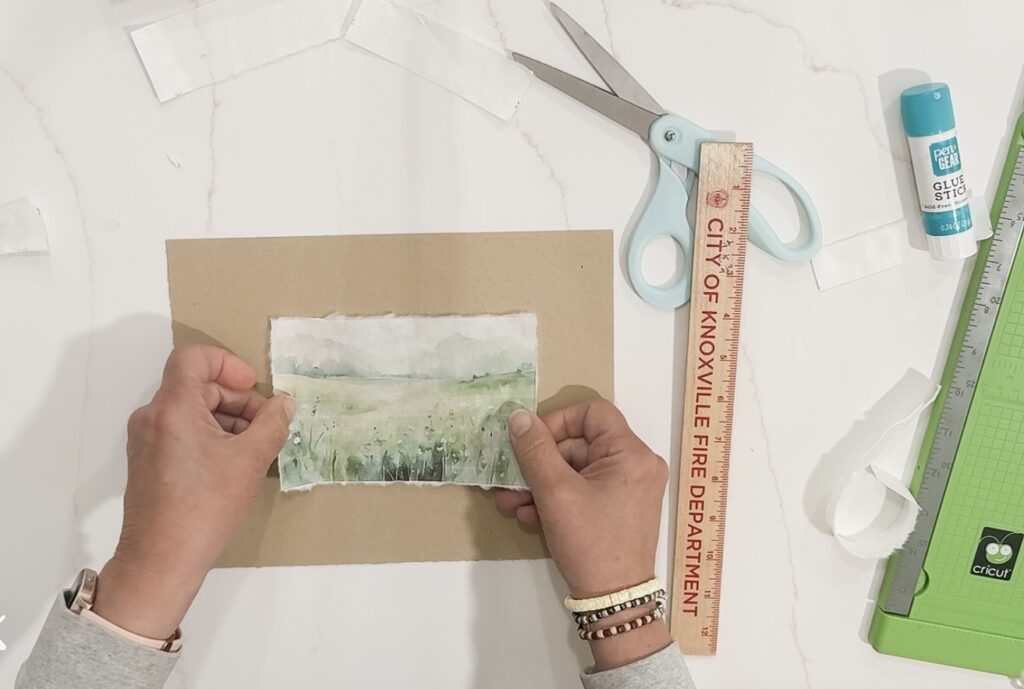
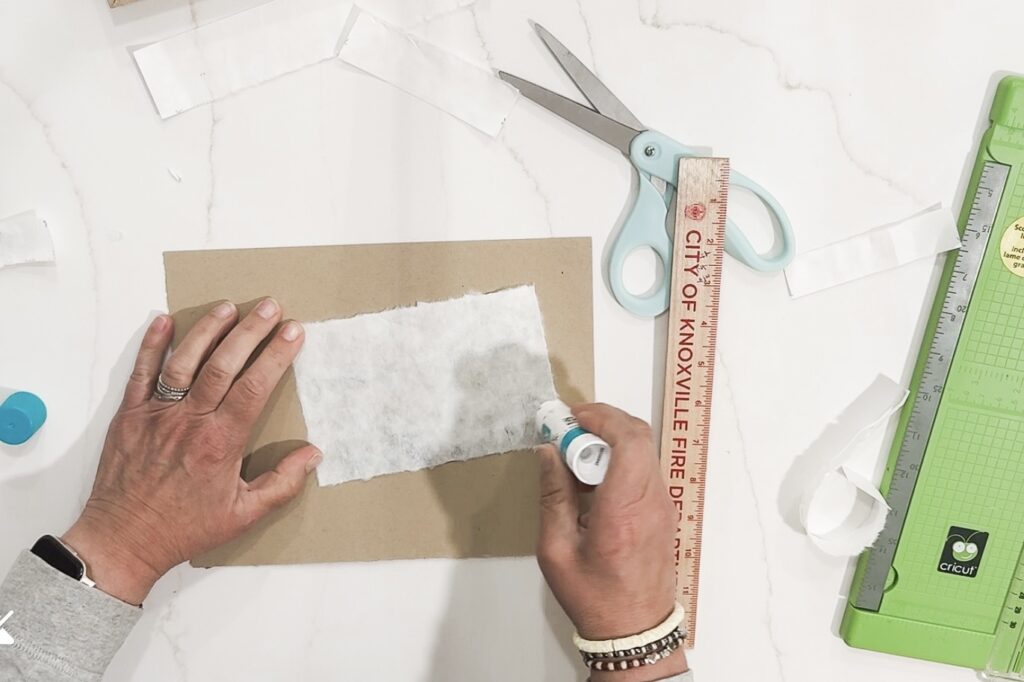
I think this is especially pretty when your printable is either 4 x 6 or 5 x 7. It leaves a nice chunky border.
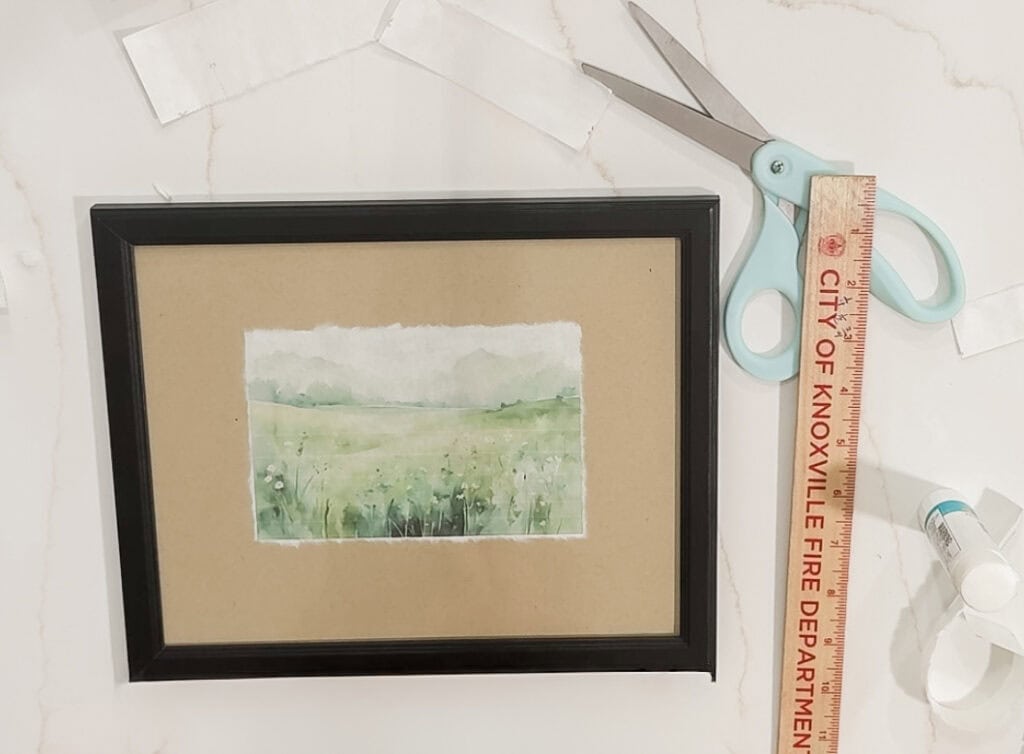
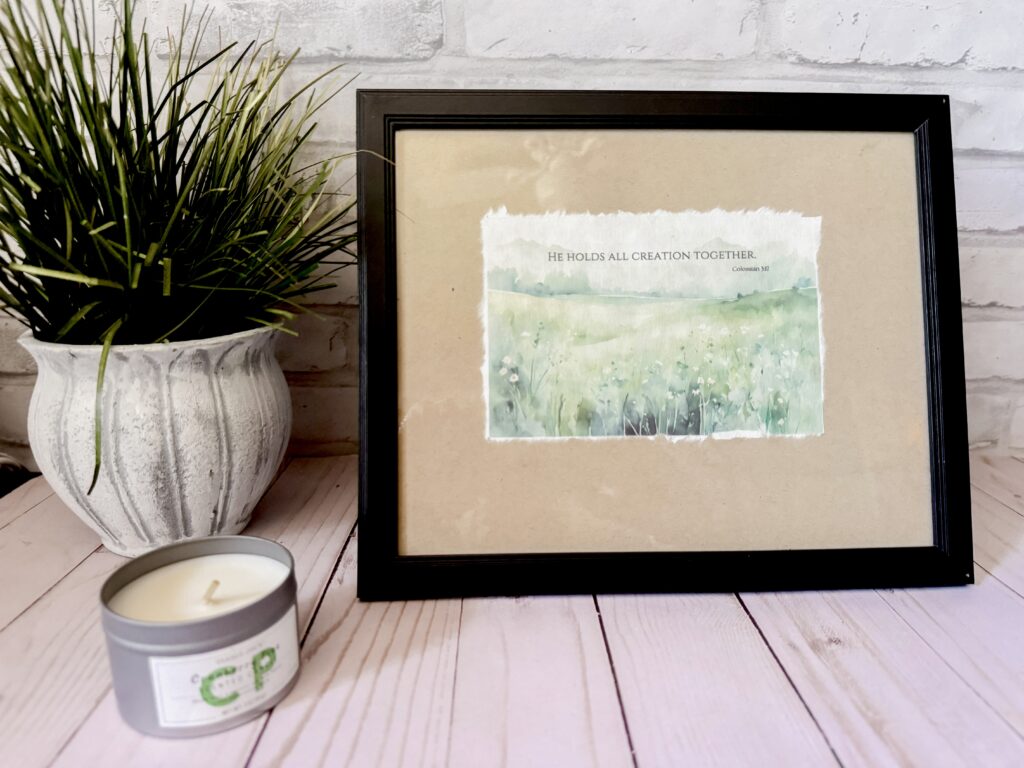
You can do this with any color card stock you like.
I especially like the tan against the white rice paper, but a cream would look real pretty as well or any other color that matches your decor.
Cardstock and Frame
Of course, you can always choose to print it on standard cardstock and frame! I always prefer a frame with matting, but that is totally up to you!
If you like very clean edges, you certainly can print it on rice paper and just cut with a scissor!
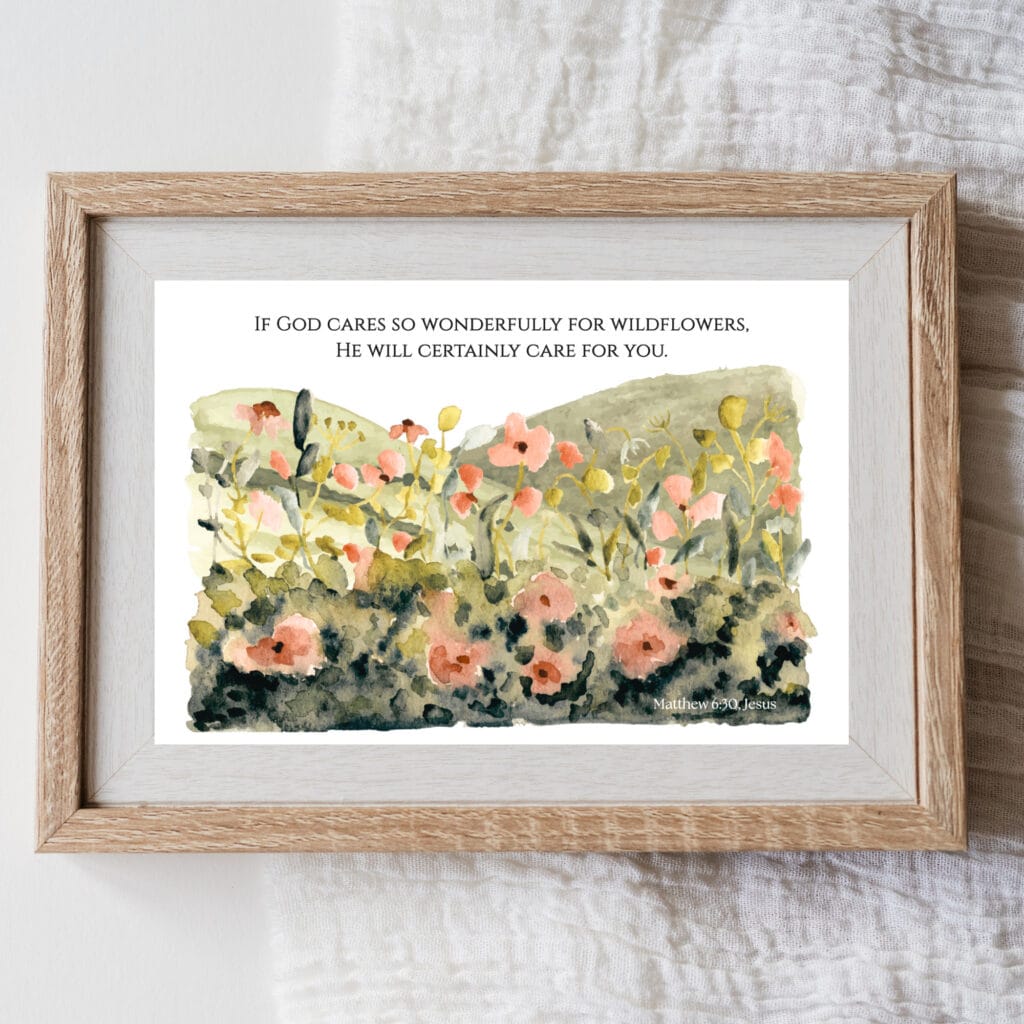
Bible Verse DIY Wall Art
I chose these two Bible verses because honestly, God has used them to speak to my own heart very clearly over the last few weeks.
We’ve had some bumpy times at our home with some changes… some good, some a little fearful.
Basically, I’ve had lots of reasons to worry.
But Matthew 6:30 reminds us to consider the wildflowers. Look at them and see how our Father cares for them.
” If God cares so wonderfully for the wildflowers, He will certainly care for you.” Matthew 6:30, Jesus
If He knows how to care for the flowers of the field, how much more will He care for us?
And I just felt like I needed that reminder.
Colossians 1:17 goes along with it:
“He holds all of creation together.”
The NIV version says, “In Him, all things hold together.”
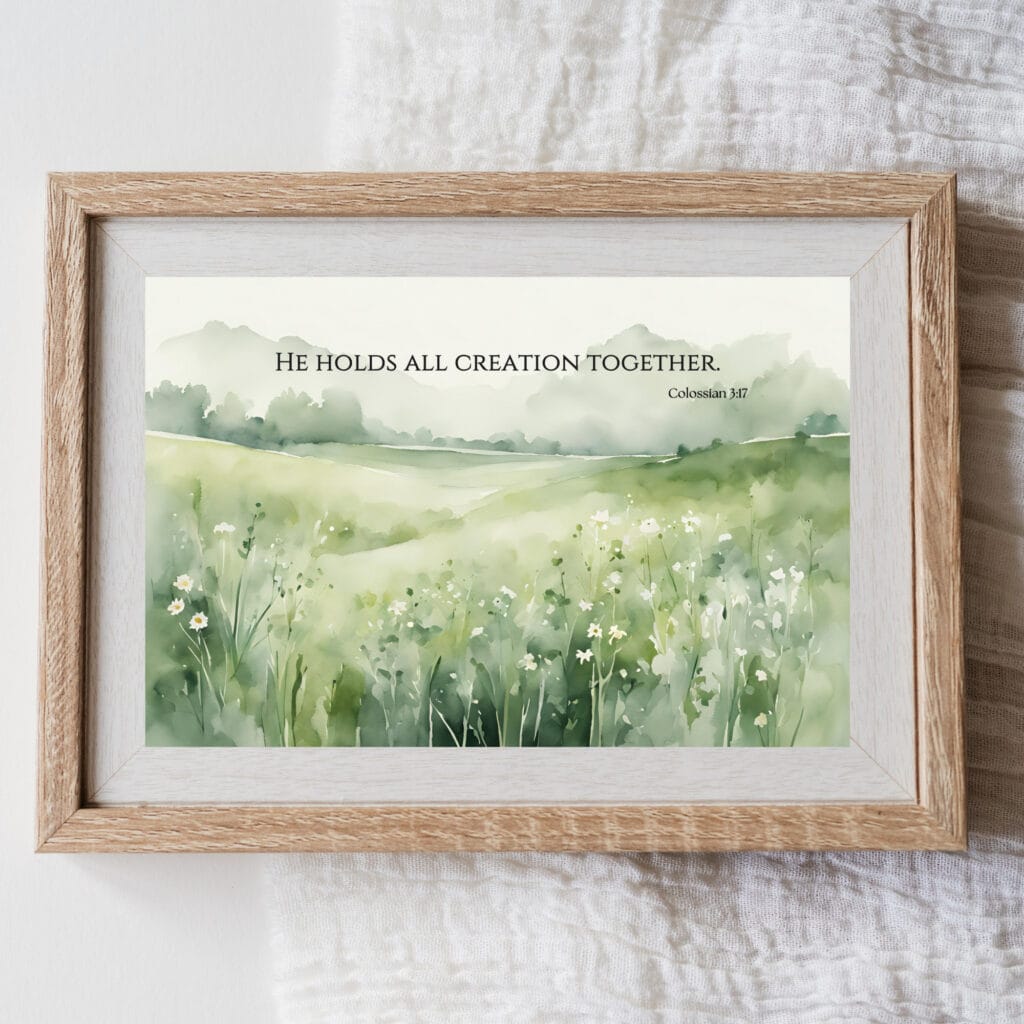
It’s another reminder to me that God is holding up the universe… My worrying doesn’t help Him do His job at all – it only makes anxious and heavy hearted.
He promises to hold it all together and He promises to hold me (& you) together as well. So, I created these two designs to place around my house for these reminders.
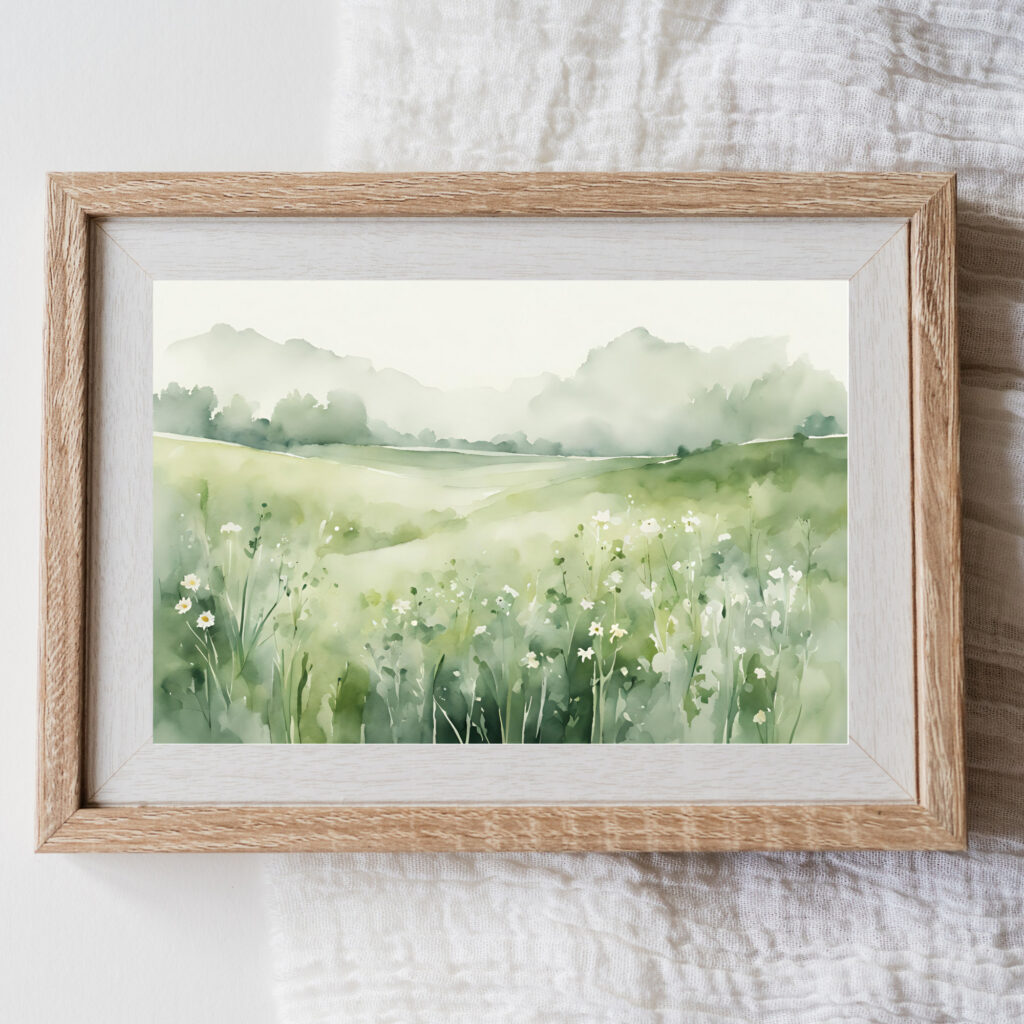
Watercolors Without Text
If you like wall art without any text on it, I also created versions that are just the beautiful watercolor landscapes.
Grab Your Free Printables Here!
To get the printables, just fill out the box below. Hang on a few seconds and you’ll be redirected to the download.
***For best results, download on a PC or laptop. We’ve had some glitches when downloaded to an iPhone that we are still trying to get to the bottom of.
Also, be sure to print to actual size.
If you print this design to use it in your home, I’d love to see it – please tag me on Instagram or leave a Pinterest comment.
Other thoughts? I’d love to hear them! Leave a comment below!
And if you enjoyed this post, I’d be so grateful if you pinned or shared!