
Summer DIY Centerpieces – Styled 4 Simple Ways
Are you looking to refresh your dining table for summer? With something simple, sweet, and easy? I have 4 ideas for you today that involve grocery store flowers, inexpensive materials, and things you probably already have! Free printable art to go with it – grab it at the end of the post!

Summer Refresh with a DIY Centerpiece
Truth be told, I’m not always the person who thinks you need to transition from spring to summer, when it comes to home decor.
In general, I think that most spring decorations can carry you through the summer.
However.
There’s always something that happens about this time of the year when I’m looking to do a little summer refresh. And a summer centerpiece is a low commitment and simple way to change things up.

Our house is very busy with my 10-year twin boys, so I don’t want to commit to a full tablescape. That ends up being a lot of shuffling.
But a new summer centerpiece is usually all I really need to change things up.
I’ve learned to be a big fan of simplifying lately.
If I can throw together a few materials, as well as combine it with things I already have, then I feel good about saving money, being creative and resourceful, and yet having a beautiful result.
4 Simple & Stylish Summer Centerpiece Ideas
This post contains affiliate links. See Disclosures for details.
Today I want to show you how I created some summer centerpieces with a few different options to style them.
Below, you’ll see 4 easy DIY centerpiece ideas—two colorful and two neutral, each in either a low or high profile version—so you can find the perfect fit for your style and needs this summer.
The neutral ideas can sort of be classified into coastal farmhouse and rustic farmhouse.
For most of these displays, you can likely use things you already have. However, if you don’t have a set of bud vases, I recommend purchasing them first!
I also recommend a tray, if you don’t already have one, as you can easily move it off the table if you need more space!
1| Cheerful & Bright, Low Profile

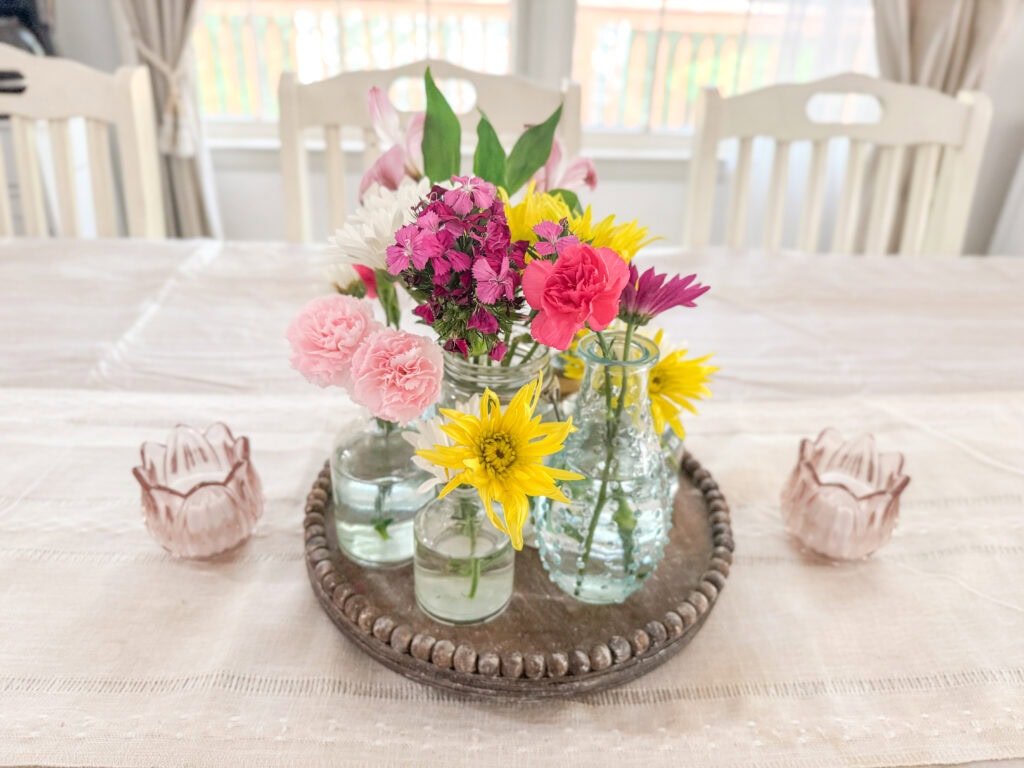
For a casual, welcoming table that lets you go about your business at the table, this low-profile floral centerpiece is both practical and pretty!
What You’ll Need
- Colorful summer stems (think daisies, zinnias, mini sunflowers, or wildflowers – really, any bouquet you find at the grocery store or Trader Joe’s will work!)
- Bud vases and small glass jars
- Small tray for styling
How to Style It
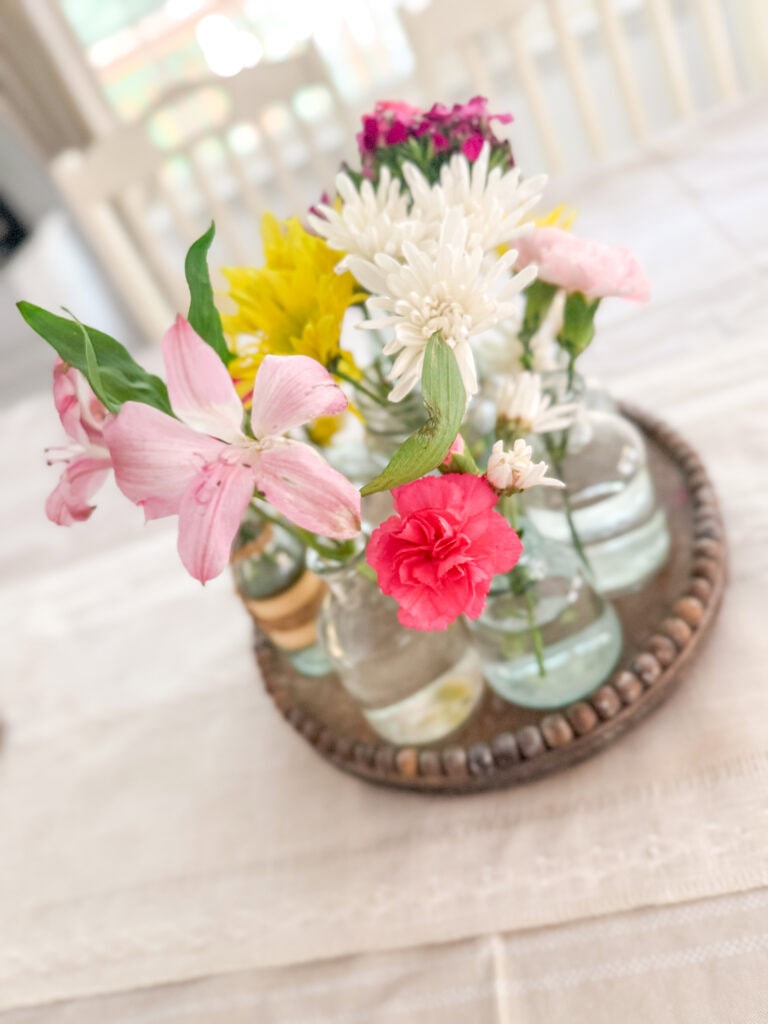
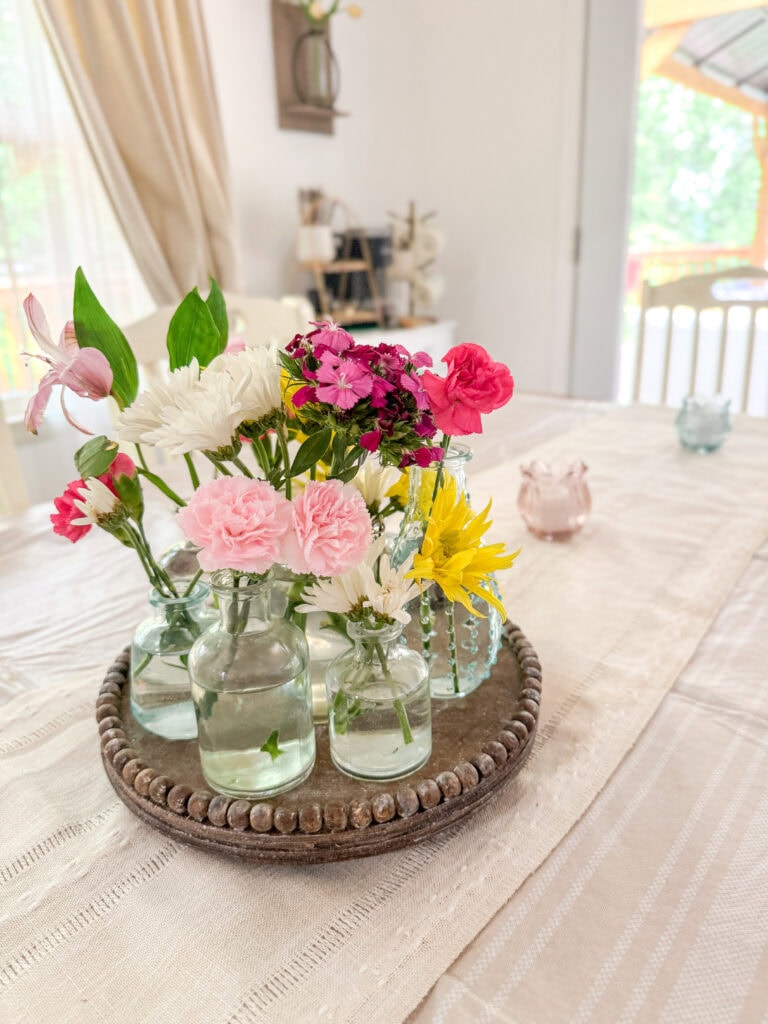
For this centerpiece, I clustered small bud vases and repurposed food jars on a small DIY tray.
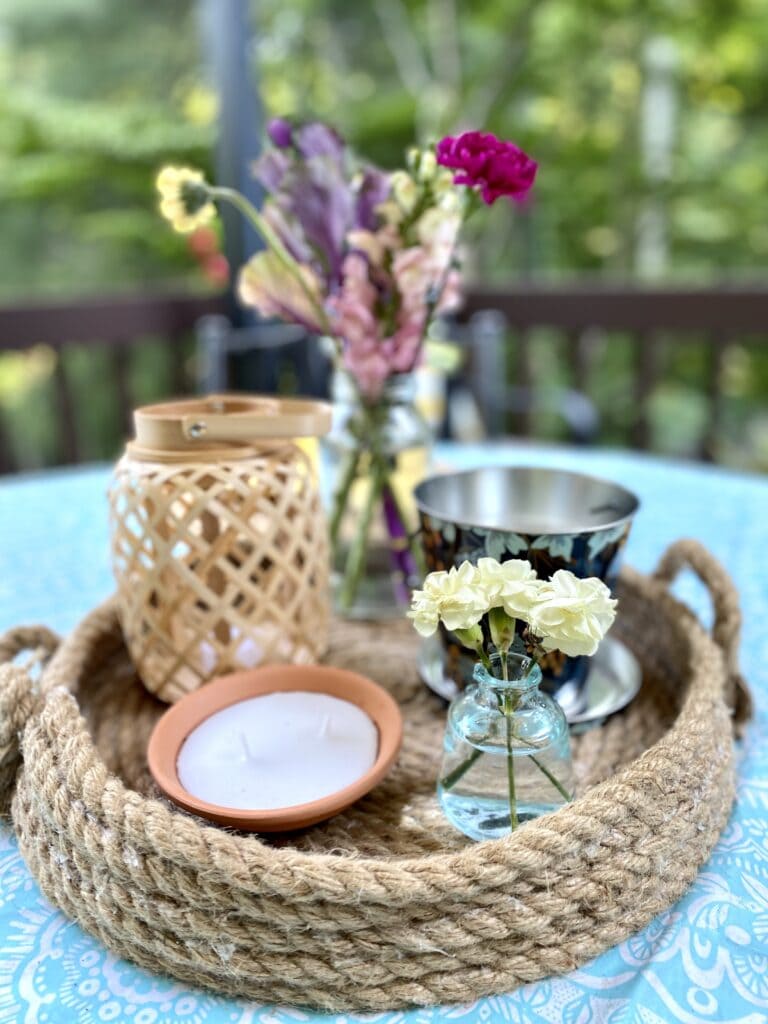
If you like DIY trays, here another one I’ve used in the past for centerpieces also, which you can see below!
If you want to, you can also line your table runner with bud vases.
For this option, I like a mix of bold colors to give that fresh-picked-from-the-garden look.
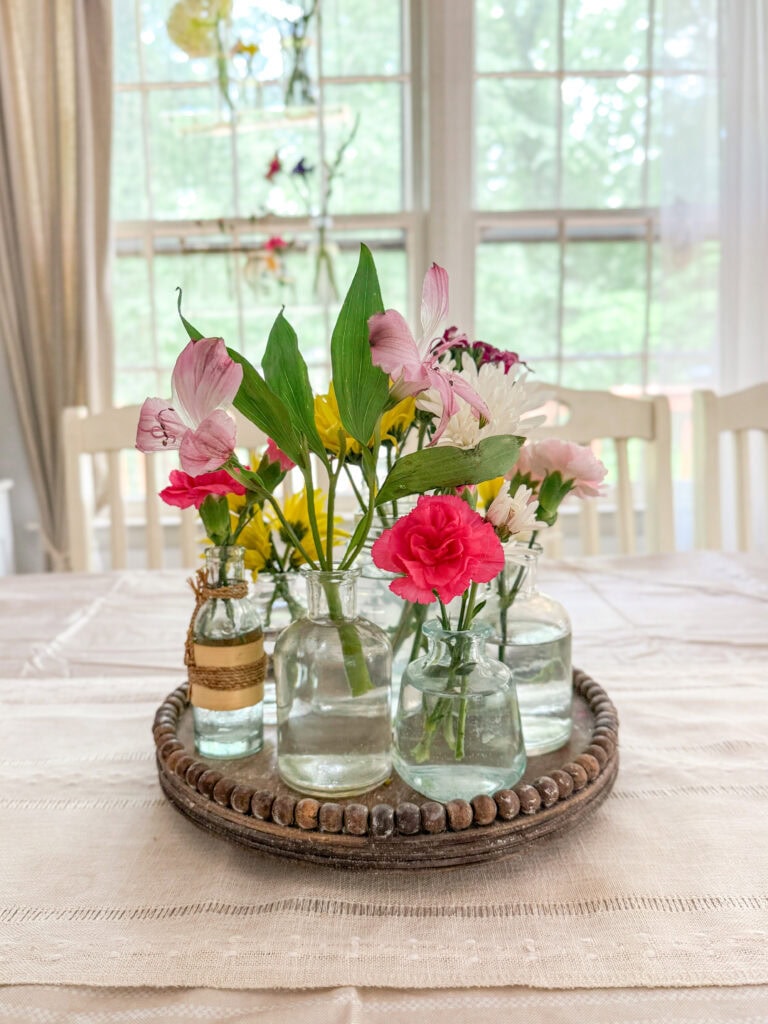
The low height works for family dining around the table or having some friends over. A small tray also keeps it from taking up too much precious table real estate.
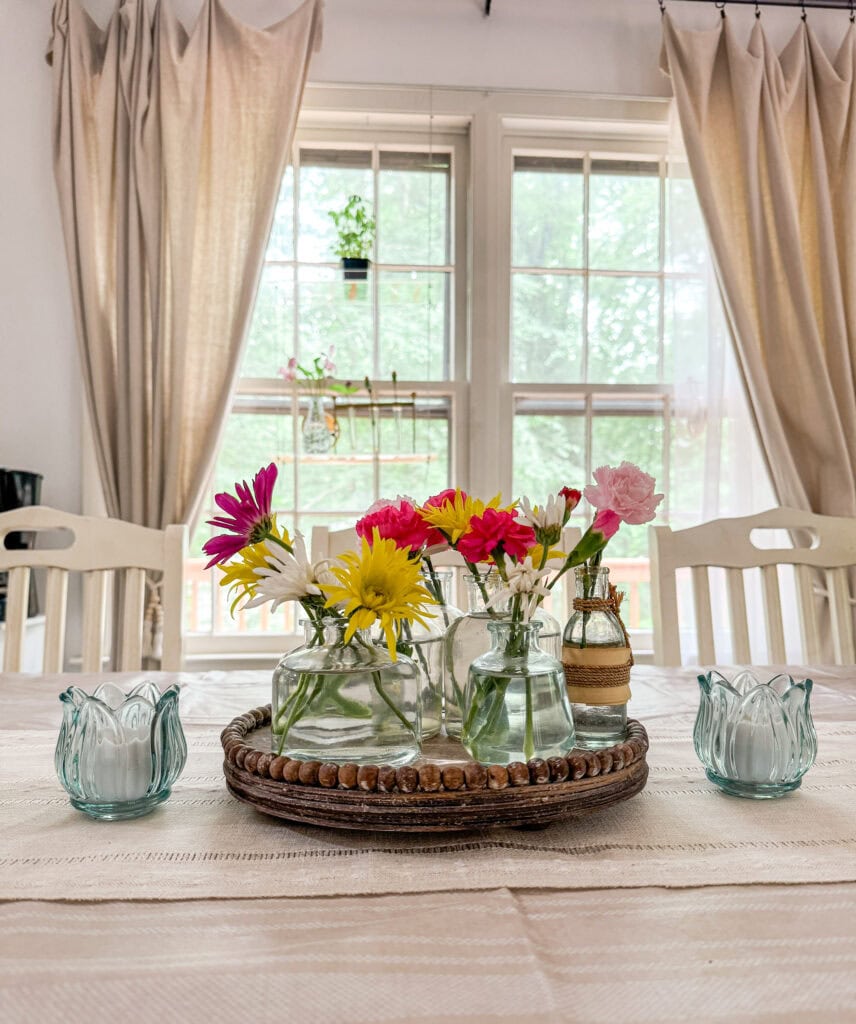
***Bonus Styling Tip: To add a little extra, you can include some colored glass votives on the sides of the tray or down the length of the table!
2| Cheerful & Bright, High Profile
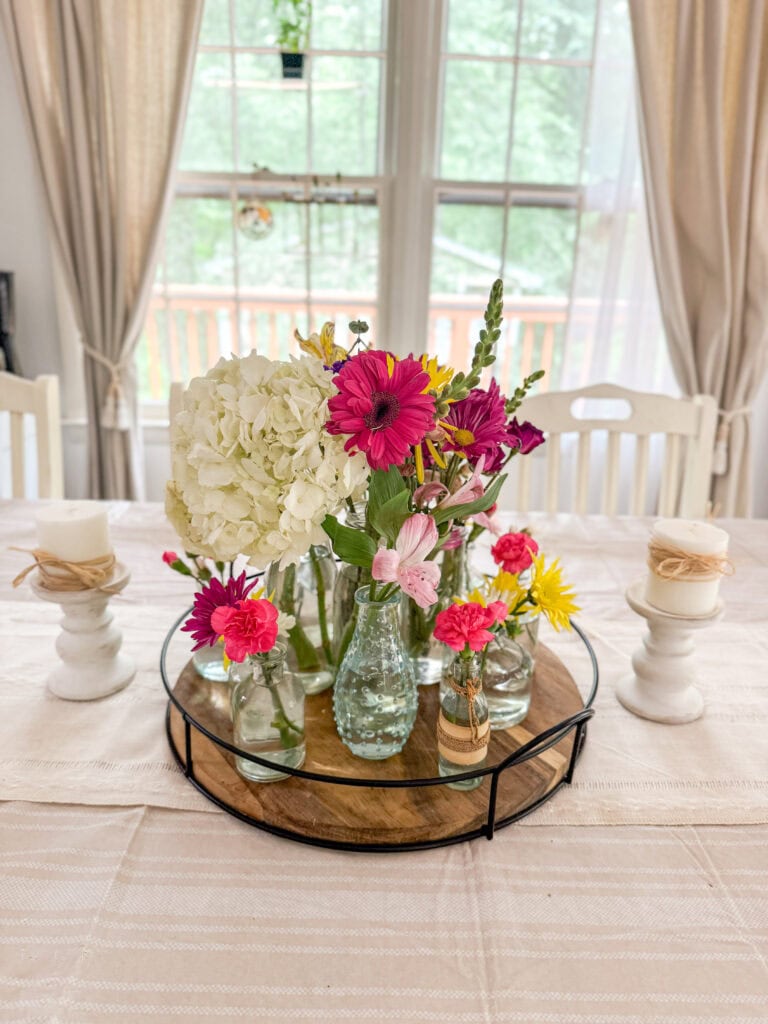
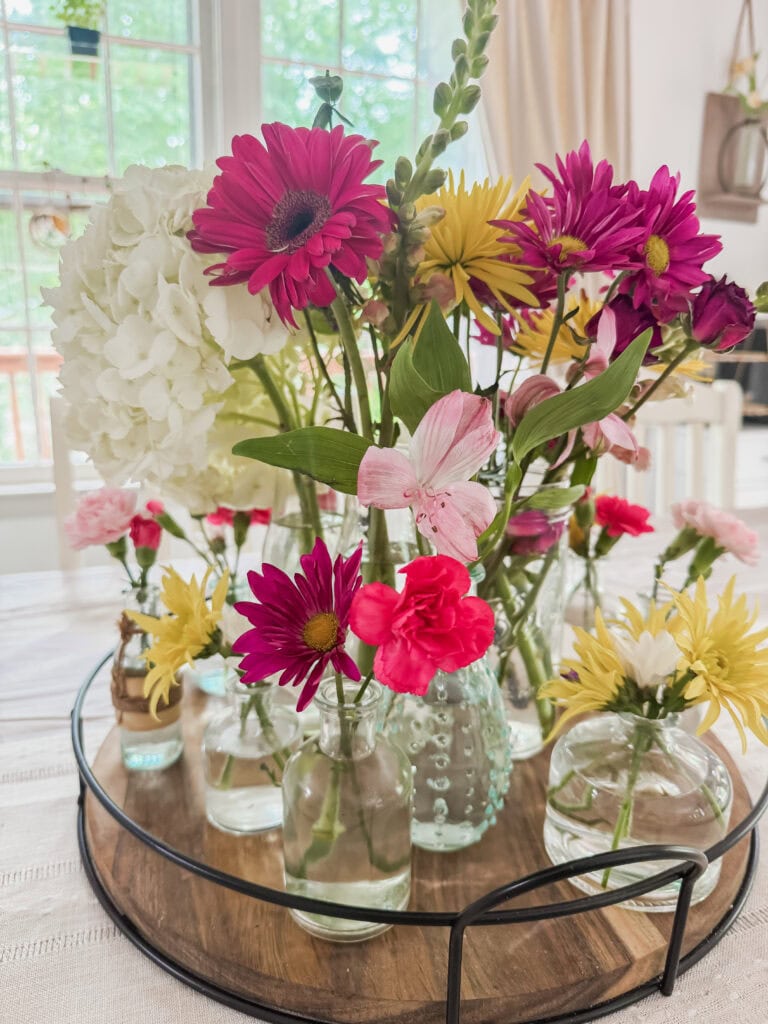
If you’re looking to make more of a statement, this vibrant high-profile arrangement will add a bold, summery focal point to your table.
What You’ll Need
- Grocery store or Trader Joe’s flowers (be sure to have some larger blooms)
- A tray for styling – circle, rectangle, etc.
- A mix of taller and shorter vases and jars
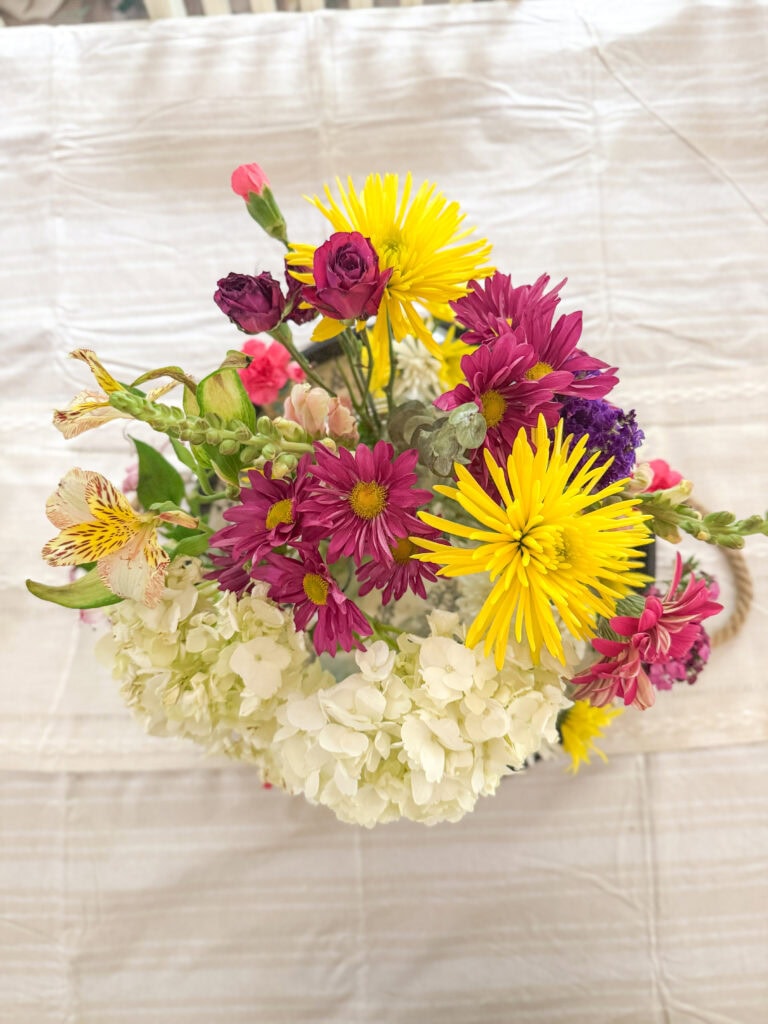
How to Style It
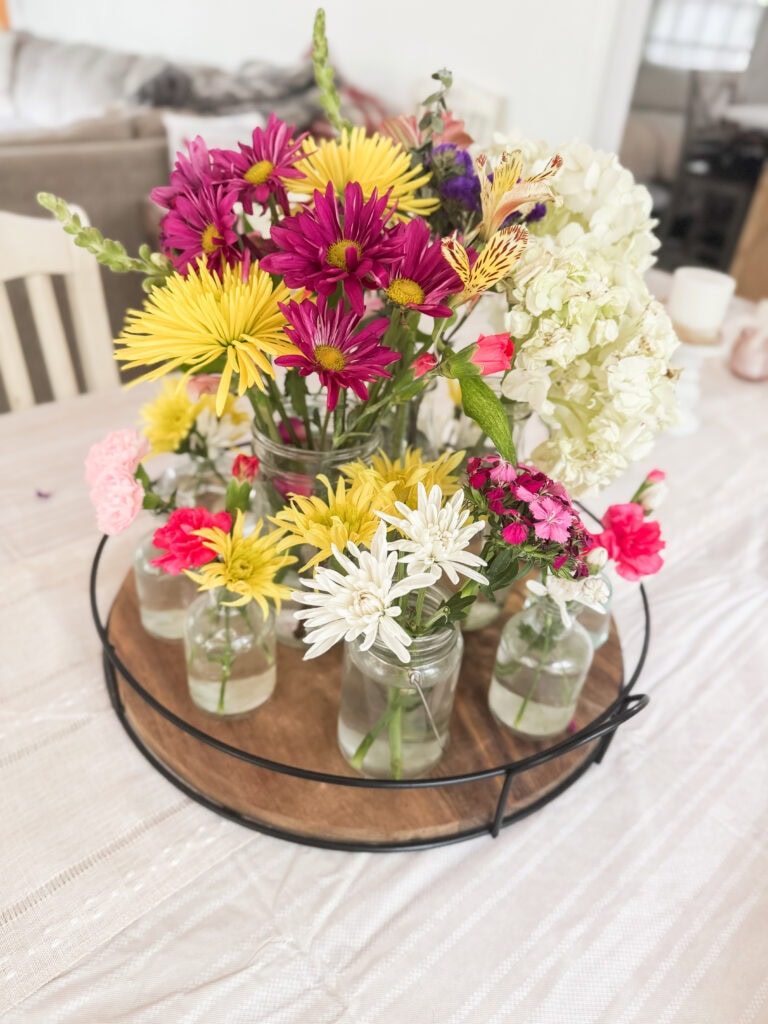
For this display, at first I used a black clearance tray from Hobby Lobby that I upcycled.
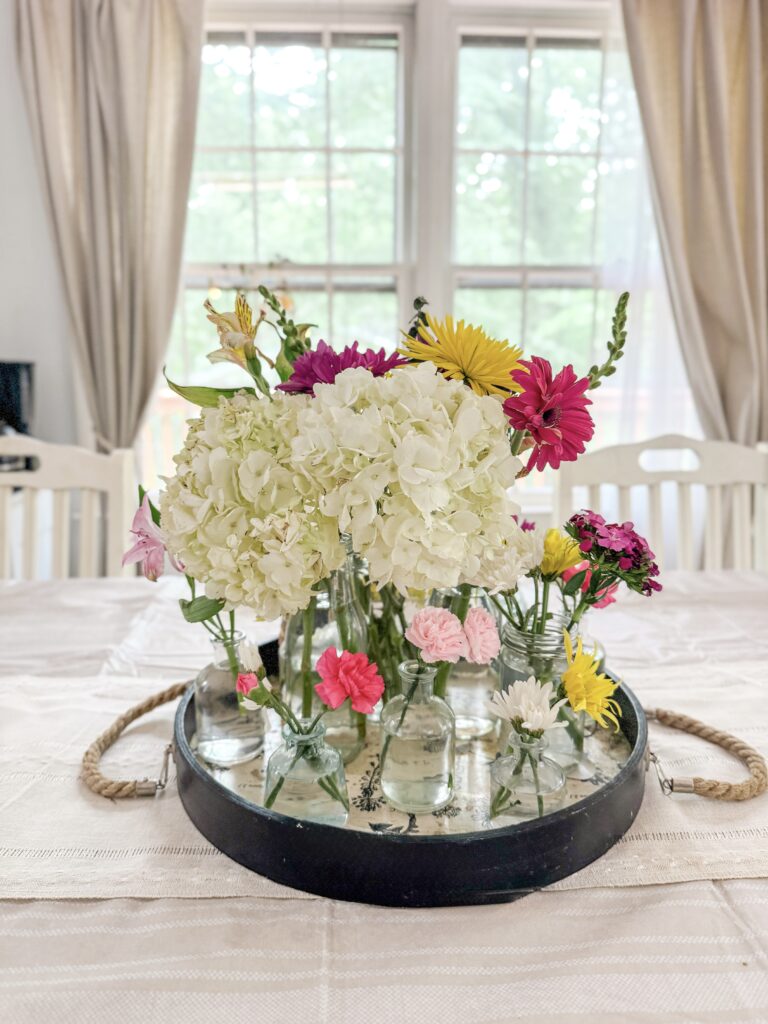
Then I experimented with a larger tray I had purchased from Target’s Hearth and Hand line.
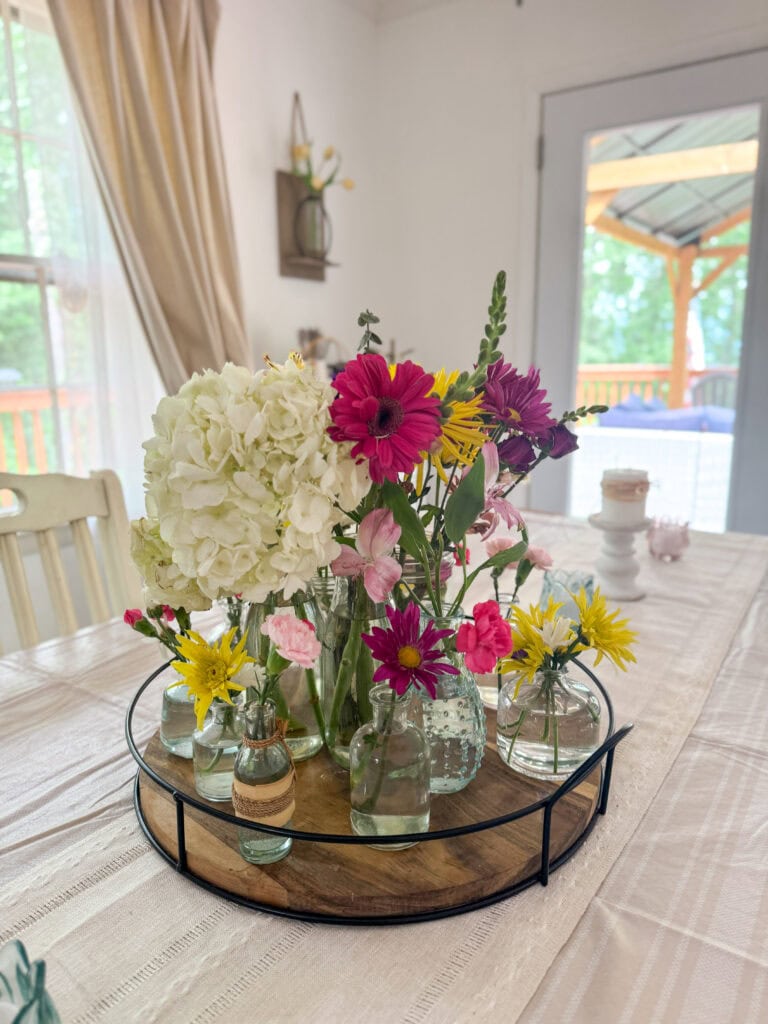
Both worked well, but I prefer the second tray as it added just the right amount of space as well as sleek, airy, modern farmhouse look.
Arrange your tallest flowers in the center vase, then surround with a mix of heights and textures.
Be sure to vary your colors and heights, so flowers fill in just about every gap.
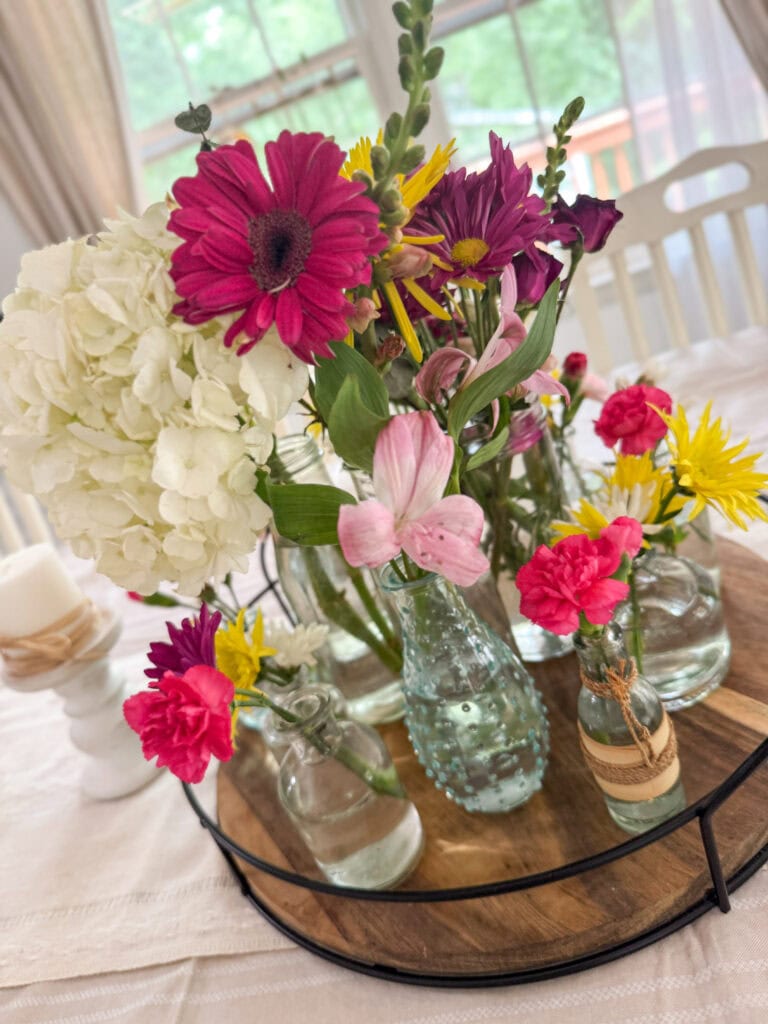
Not only being aware of the flowers and how they look vertically, but also be aware of how the vases are filling in the gaps on the flat tray surface.
Try to avoid straight lines, but stagger heights and positions to add more interest!
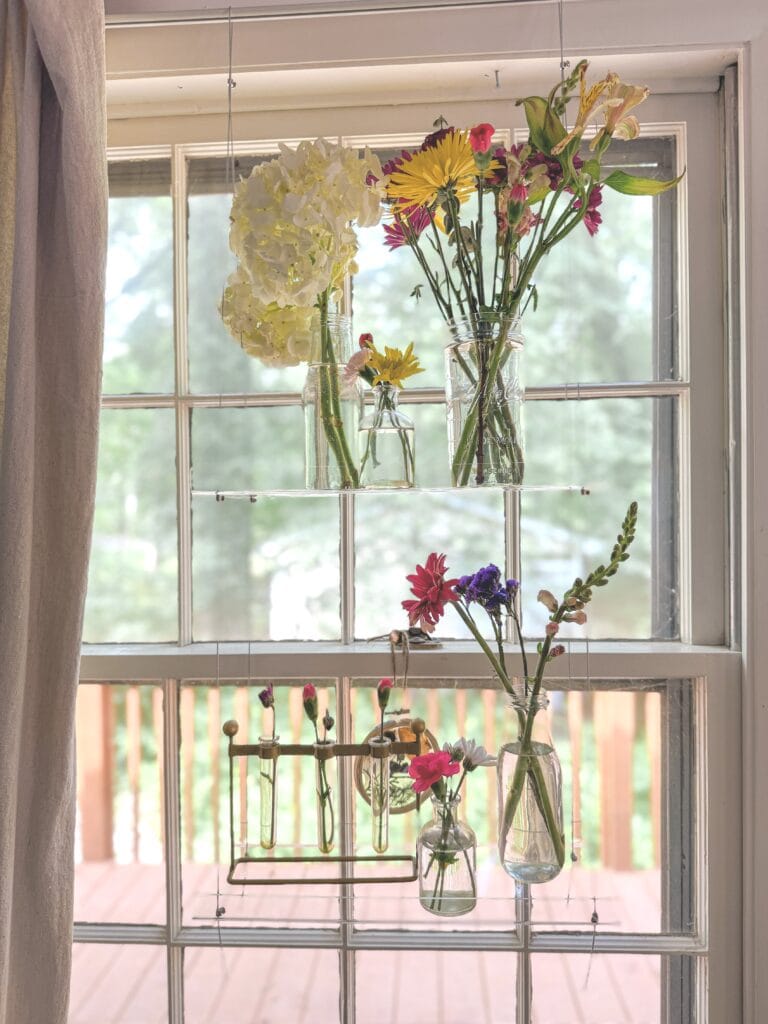
***Bonus Styling Tip: Once your blooms start dying off, you can scale down to put them all in bud vases.
I love hanging mine on this clear window hanging shelf!
3| Neutral & Soft Coastal Farmhouse, Low Profile
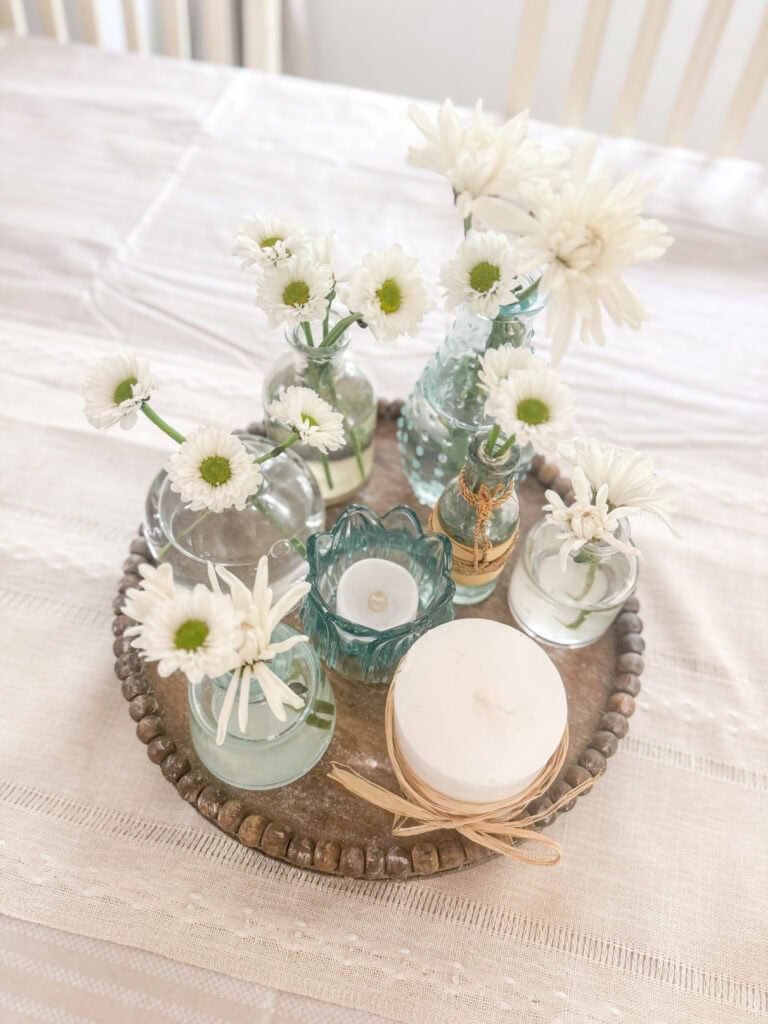
If you have a neutral color palette in your home and you prefer something a little more muted, subtle and serene, I’ve got something for that too!
This neutral centerpiece with a coastal-inspired color palette brings a sense of calm to your table. It has just a touch of pale blue to add a little vibrancy and interest.

What You’ll Need
- White flowers like carnations, daisies, roses, or baby’s breath
- Vases, jars, and votives in clear, pale blue or sea glass tones
- White pillar candles
- Tray for styling
How to Style It
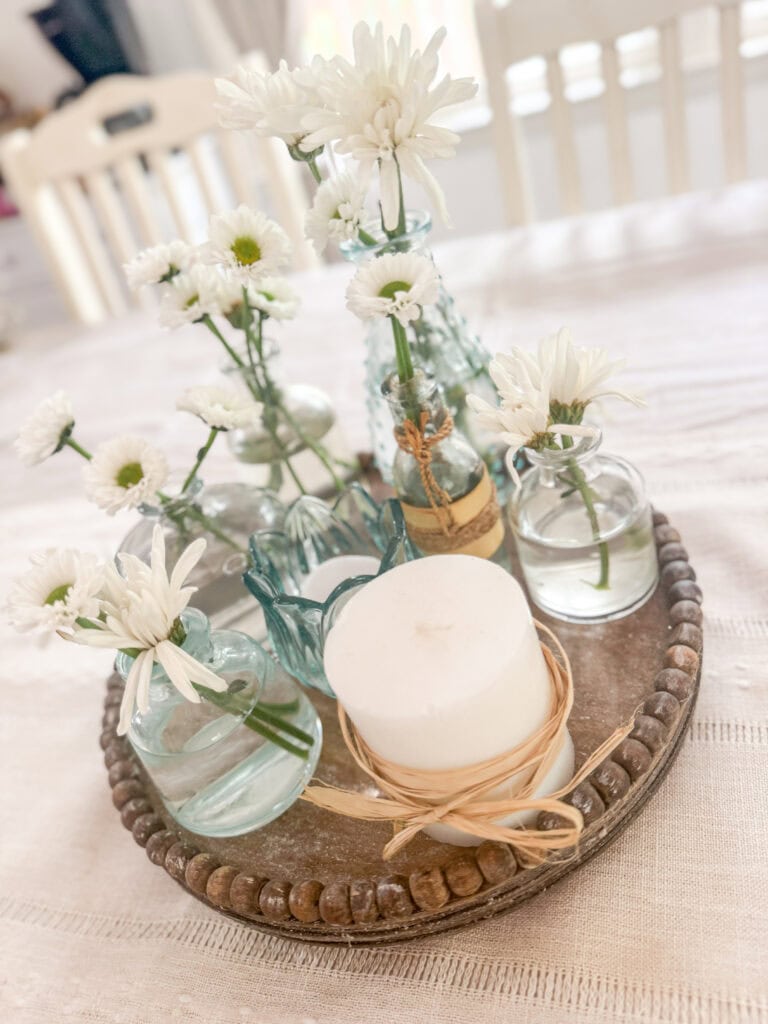
Fill soft blue and clear bud vases with white blooms and cluster them in a tray. Same styling principles as above apply!
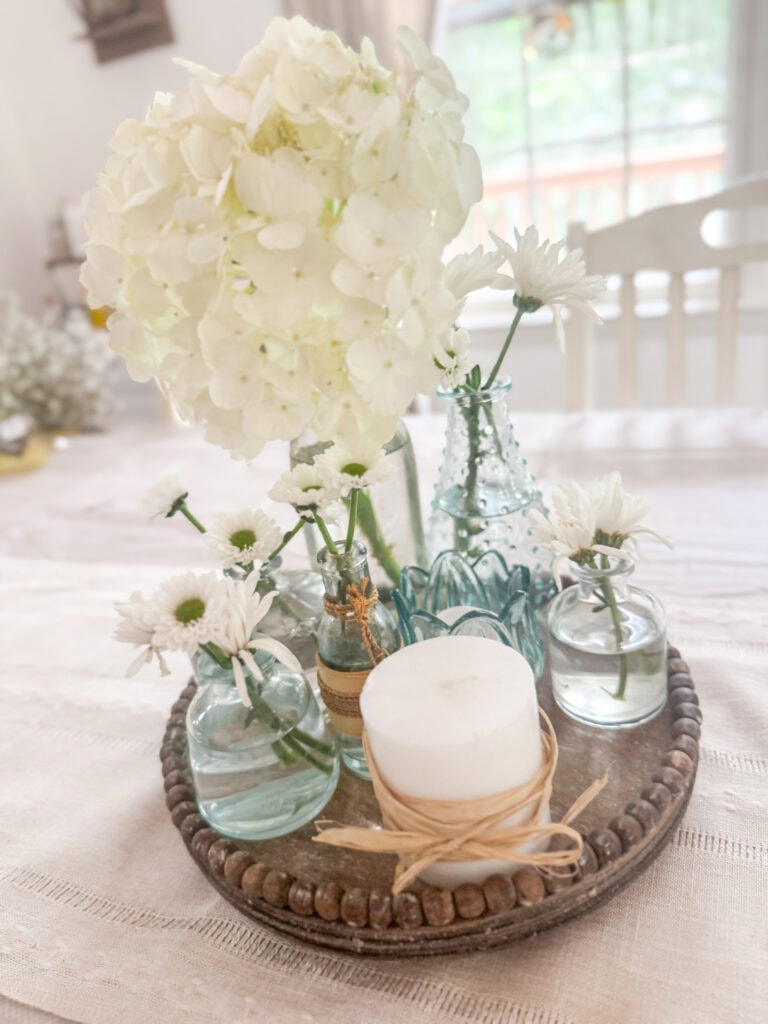
For a little extra flair, you can scatter them along a linen table runner or add a large hydrangea bloom to the center!
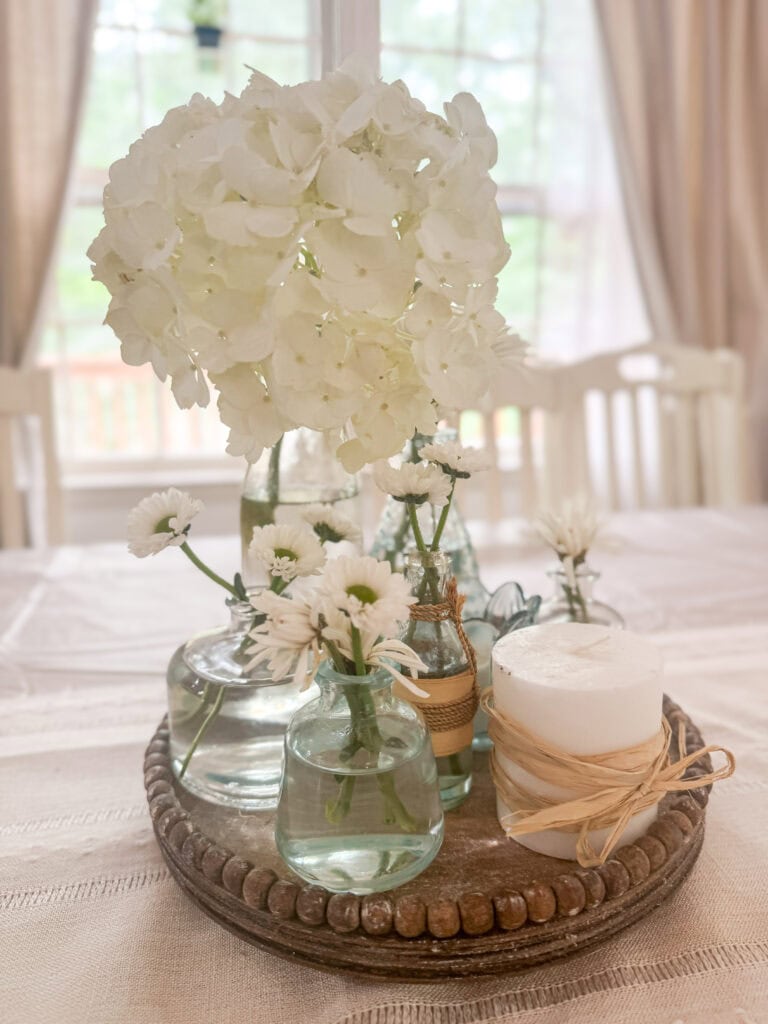
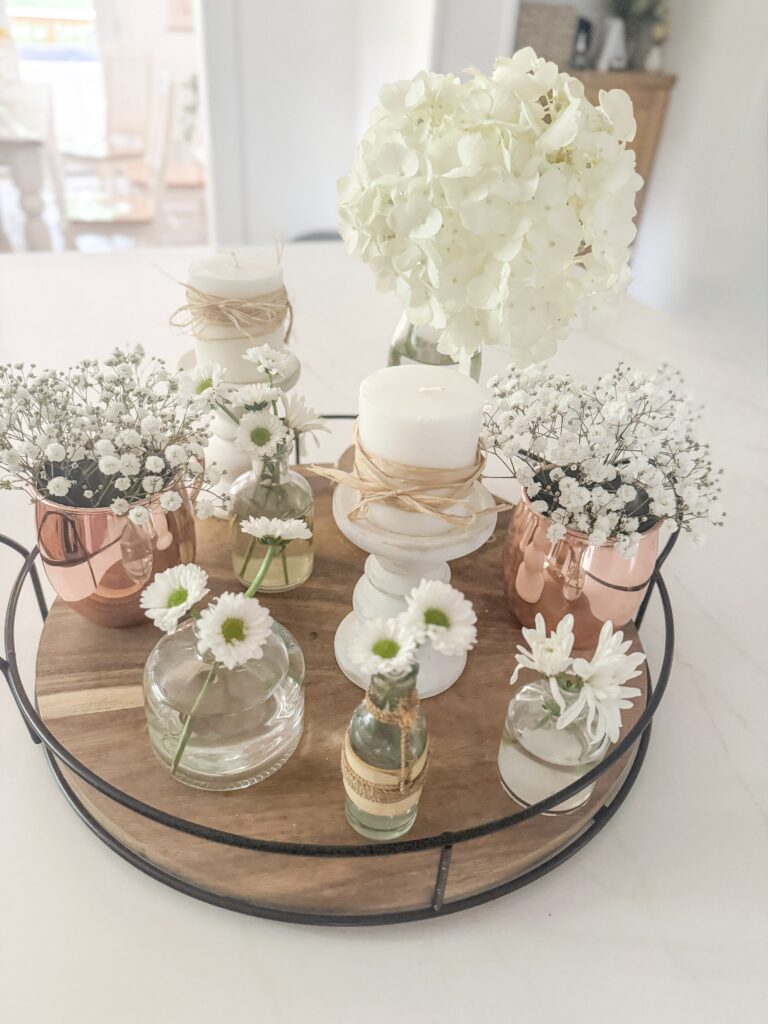
If you happen to like a more coastal farmhouse look, this calm, low-profile combo pairs beautifully it! You can also add in a pillar candle wrapped in raffia ribbon to brighten the whites and add a little contrast.
4| Neutral & Soft Rustic Farmhouse, High Profile
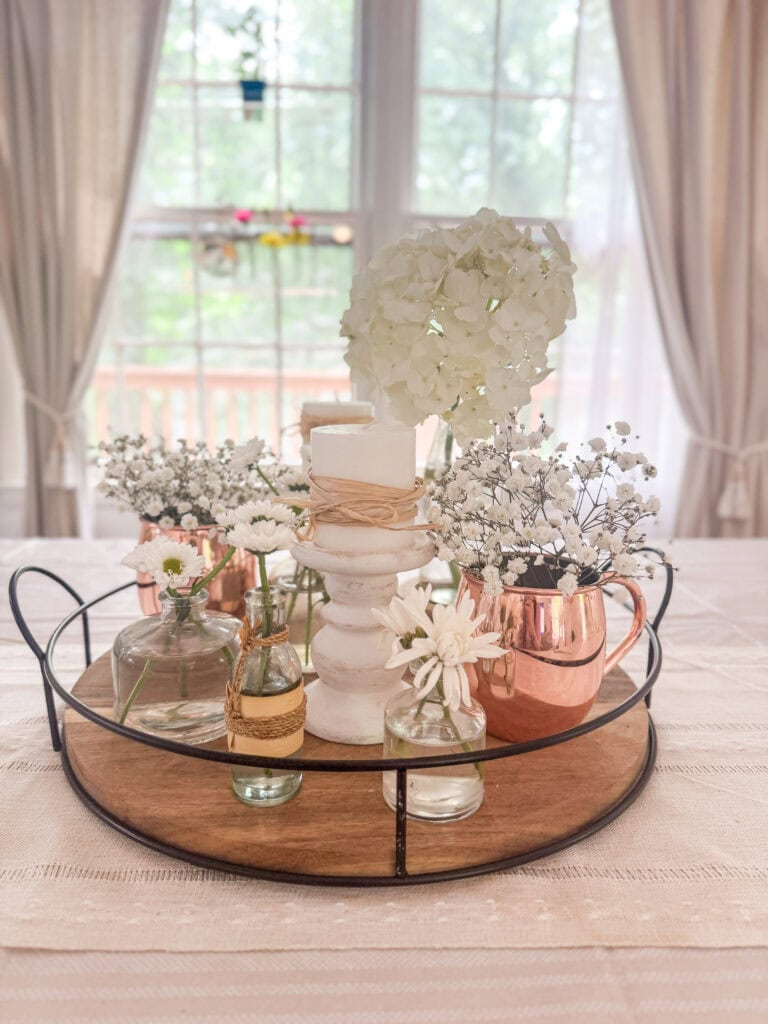
For a more elevated, layered look that still keeps with a natural, rustic aesthetic, try this textured neutral centerpiece.
What You’ll Need
- A mix of tall vases and bud vases
- Chunky white candleholders with pillar candles
- Raffia ribbon to wrap candles or vases
- Copper Moscow mule mugs or neutral vessels filled with baby’s breath
- Copper water pitcher
- White flowers such as hydrangeas, roses, daisies or ranunculus
How to Style It
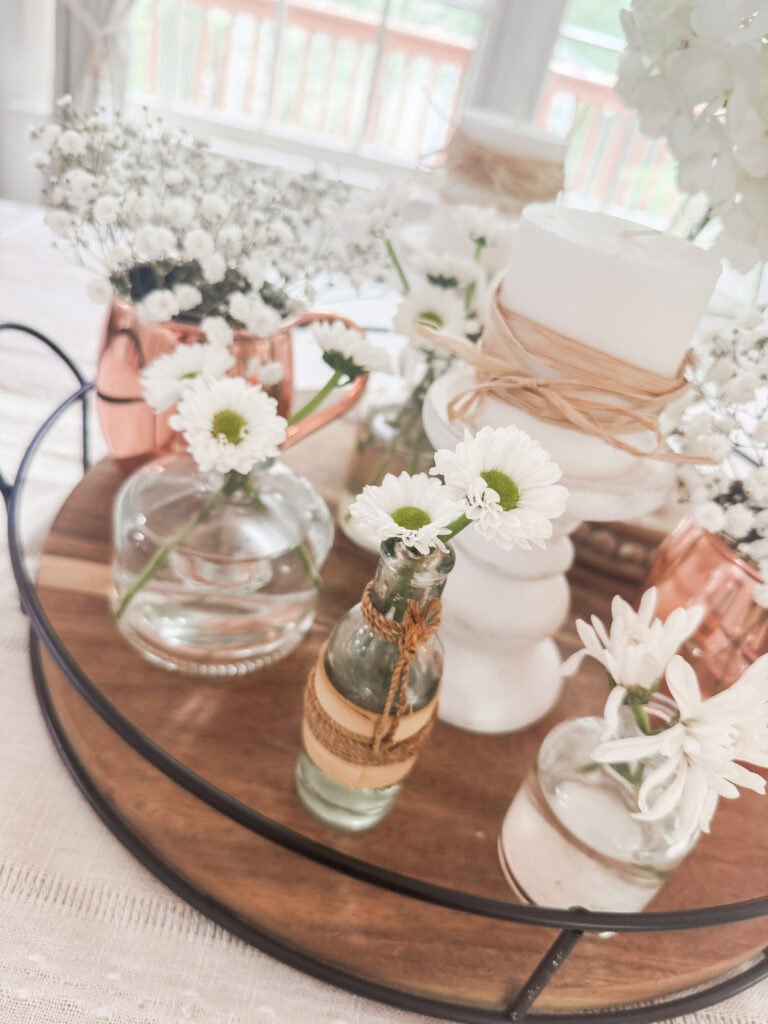
Follow same principles as above by varying height and size.
Add in the splashes of neutral color with the mule mugs and raffia-wrapped candles – that will provide a little contrast and keep it from being too monochromatic.
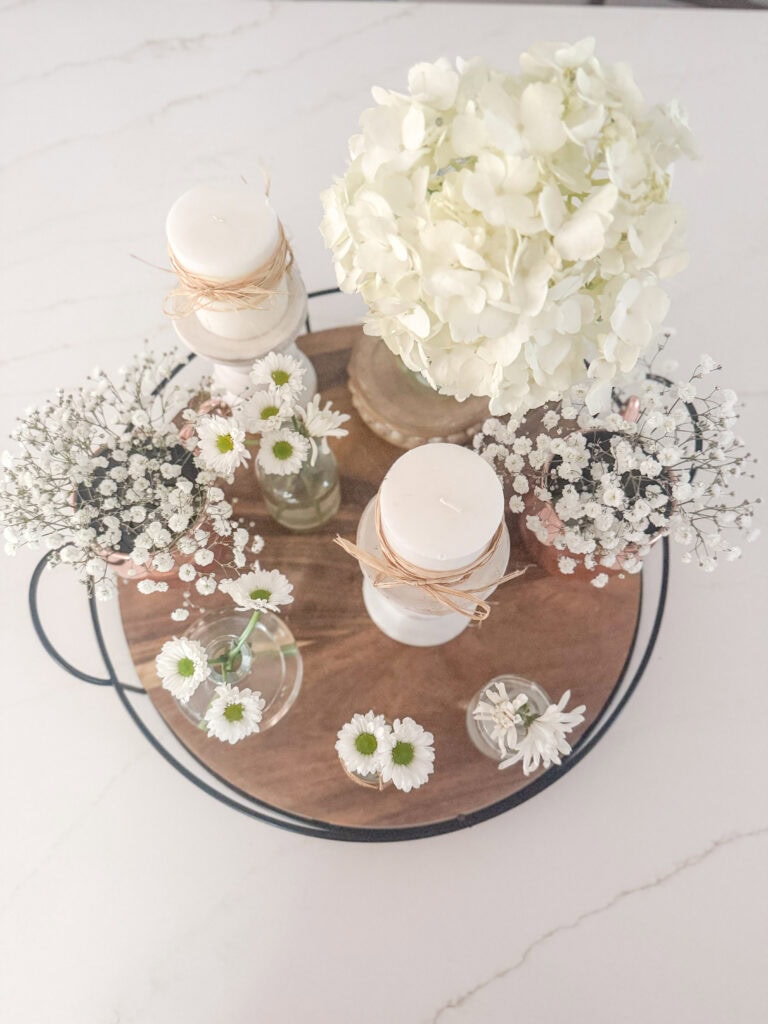
The mix of copper and soft whites gives the centerpiece that cozy, rustic charm that still feels fresh for summer.
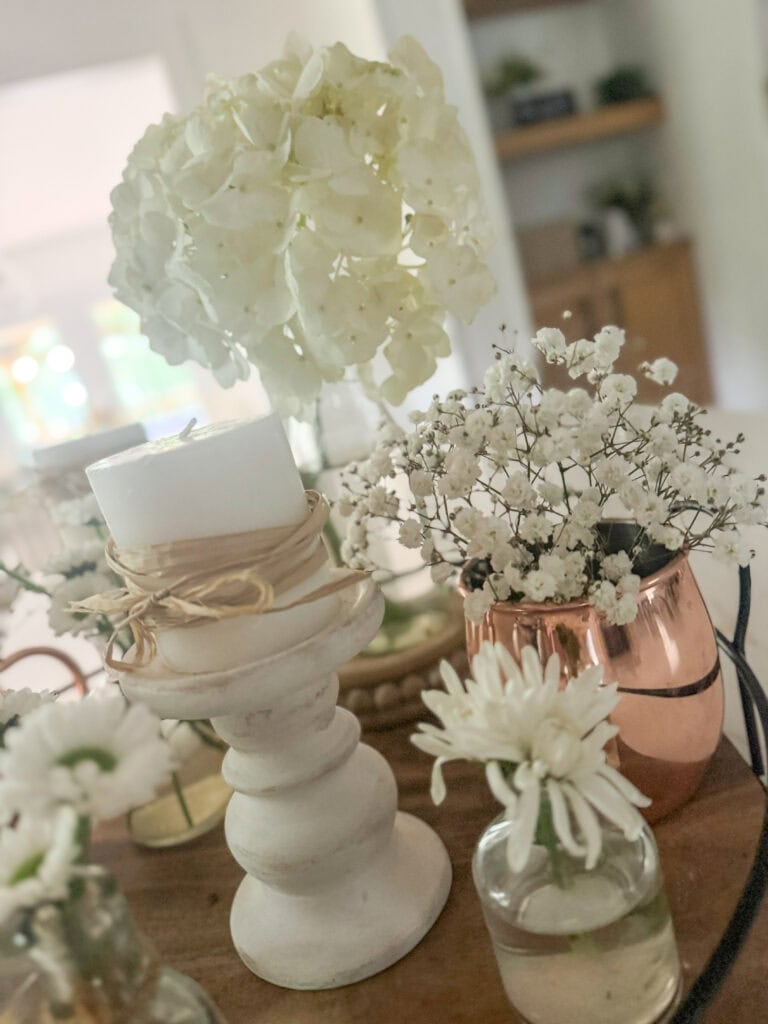
You can also include a copper water pitcher with baby’s breath to increase the contrast and interest!
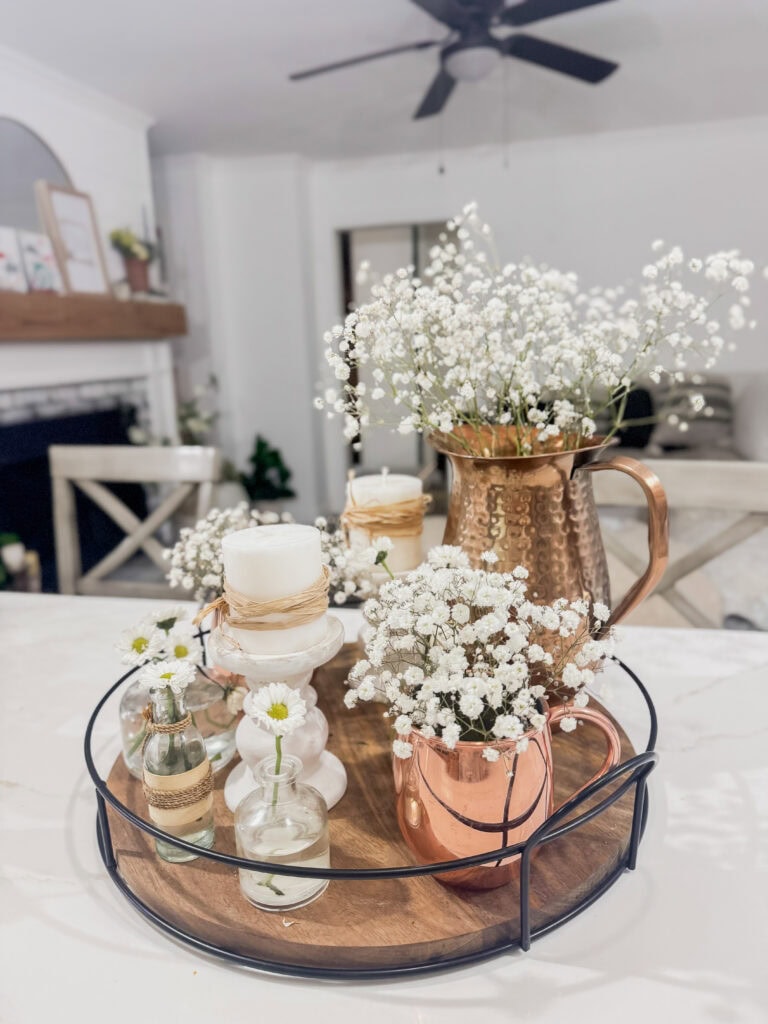
And, you can see below that even though it’s a higher profile centerpiece, it doesn’t obscure the other side of the table too much.
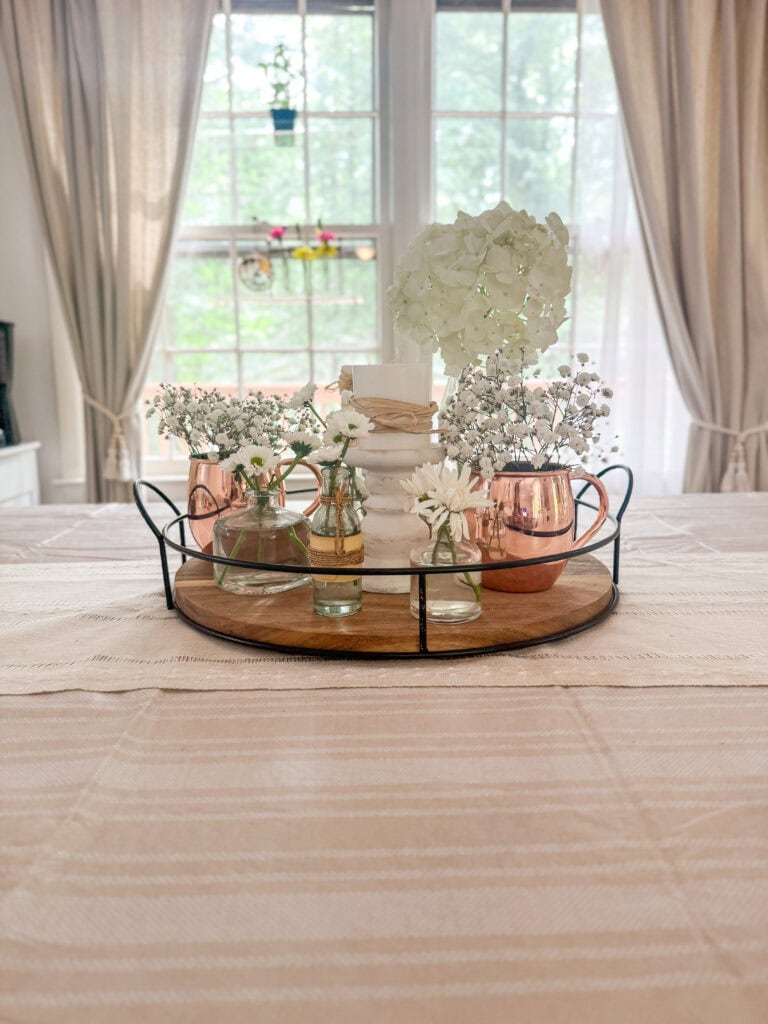
Out of all of them, I think this one has my heart.
Shopping List
In addition to grocery store or Trader Joe’s flowers, here are some other pieces you might consider, if you don’t have them already!
- Clear bud vases
- Decorative tray (I used this one)
- Votive candle holders
- Pale blue bud vases
- Chunky white candleholders
- Raffia ribbon
- Copper Moscow mule mugs
- Copper water pitcher
A Summer Centerpiece to Meet Your Needs and Preferences
Whether you prefer bold, vibrant colors or soft, calming hues, these four summer centerpiece ideas are all about making your home feel like a place you want to be all summer, while welcoming those you invite in!
It’s my hope that I’ve kept things simple, budget-friendly, inviting, practical, and classy. Is that too much to hope for!?! 🤣
Bonus: Free Printable Wall Art
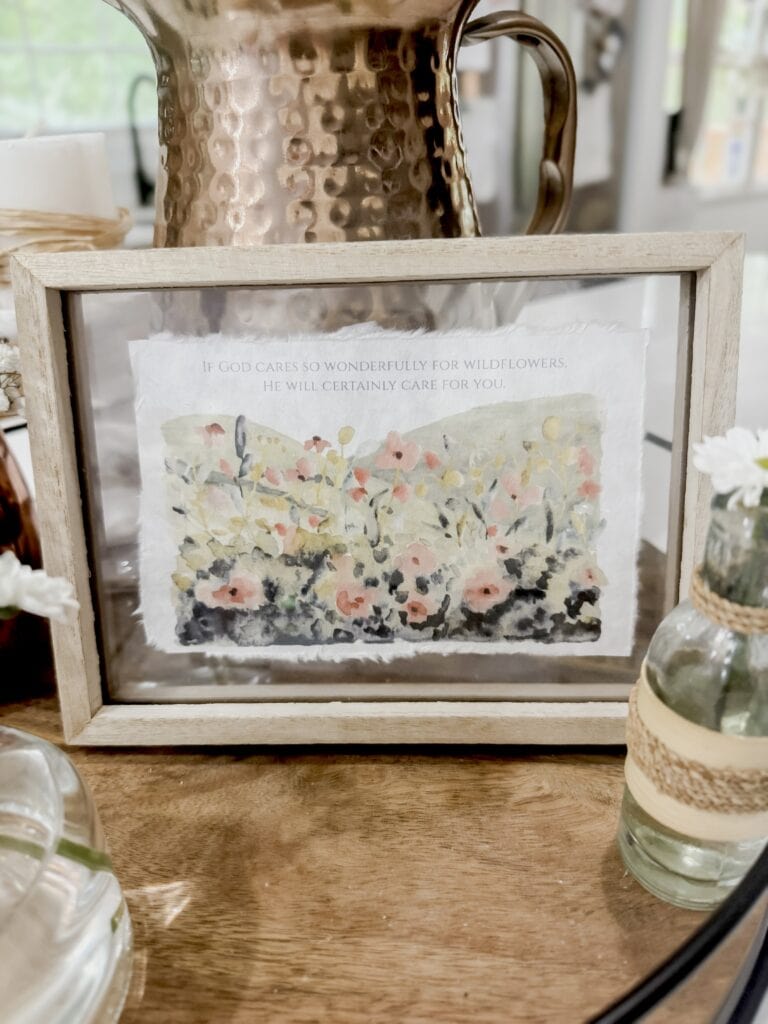
If you’d like a small print to put in your tray – or heck, to put anywhere you like… a mantel, a shelf… you can grab it now!
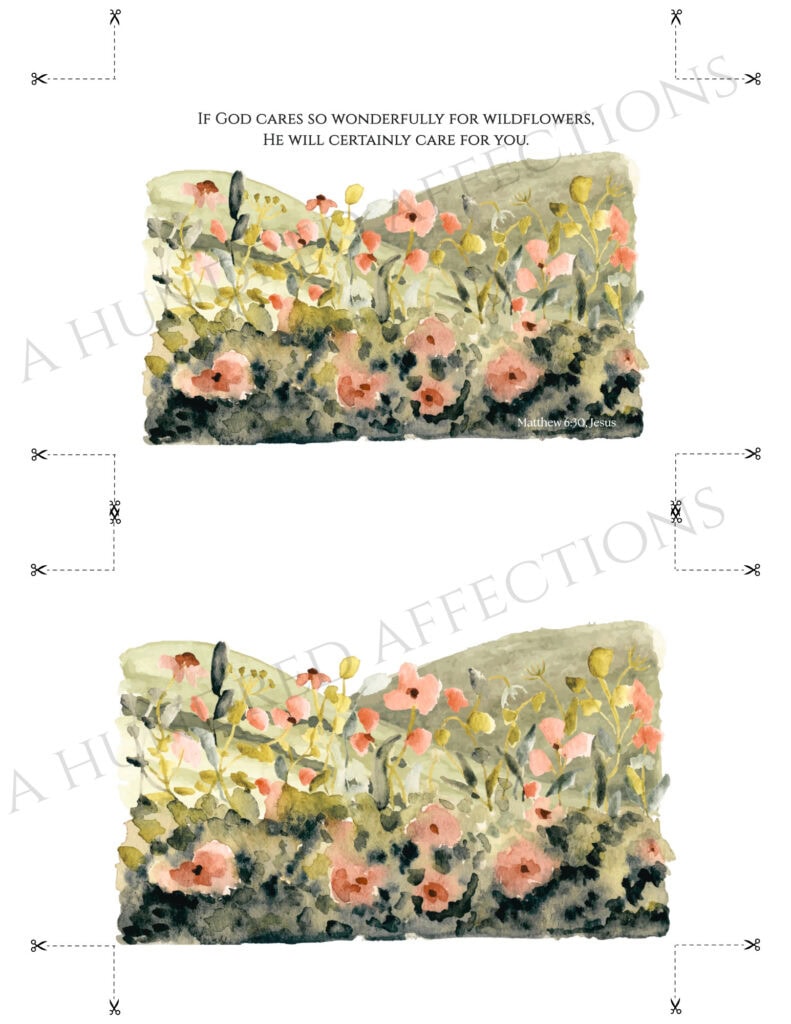
This wildflower print is 4×6″, a perfect size for a centerpiece tray. There are 2 versions.
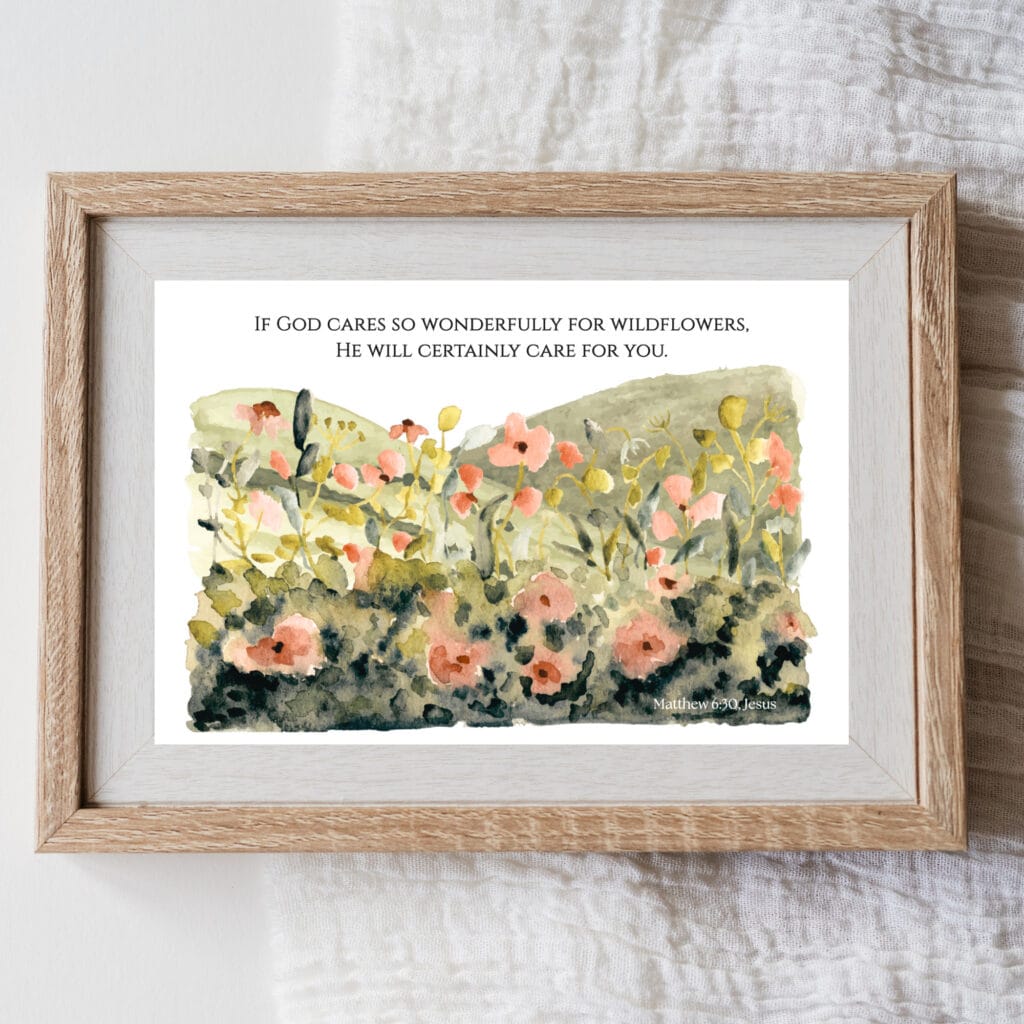
One version has a Bible verse based on Matthew 6:30:
” If God cares so wonderfully for the wildflowers, He will certainly care for you.” Matthew 6:30, Jesus
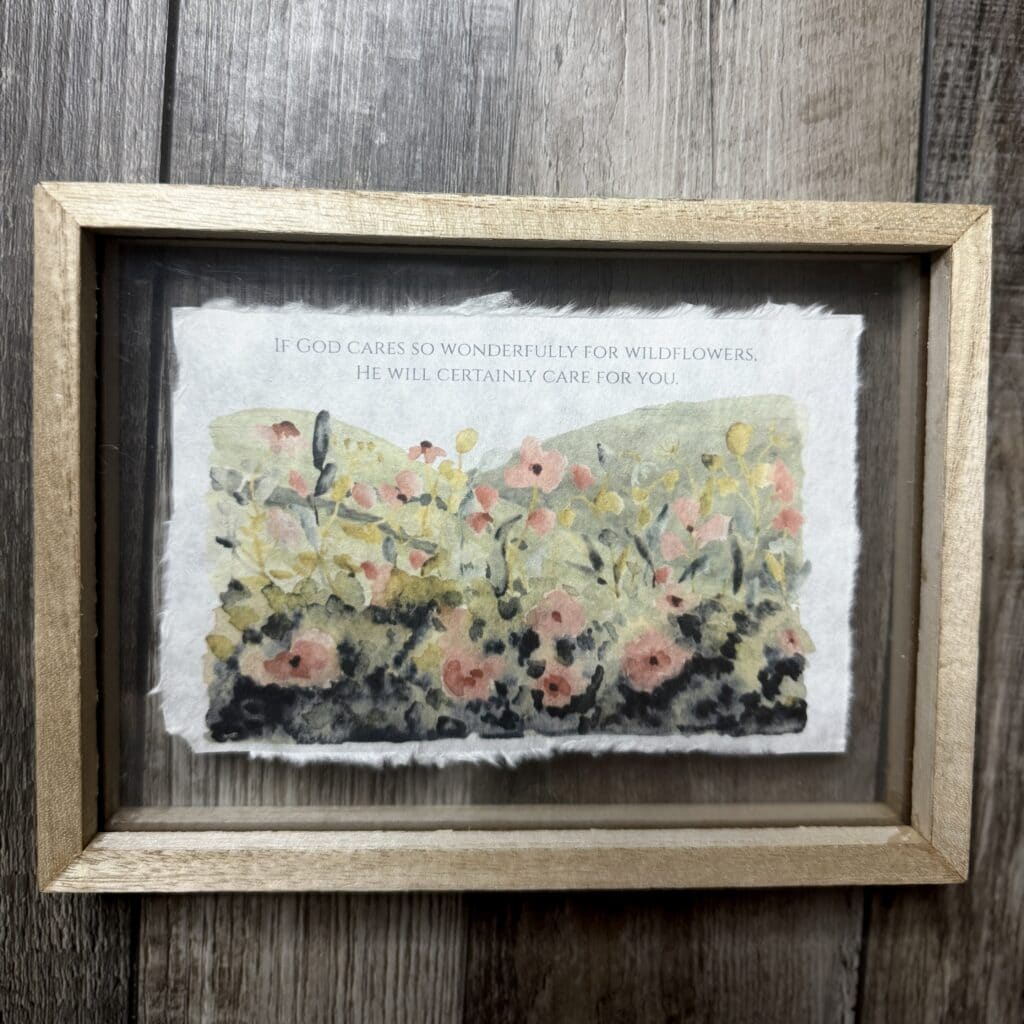
There is also a version with no text at all, just the image, for those who do not like text on framed art.
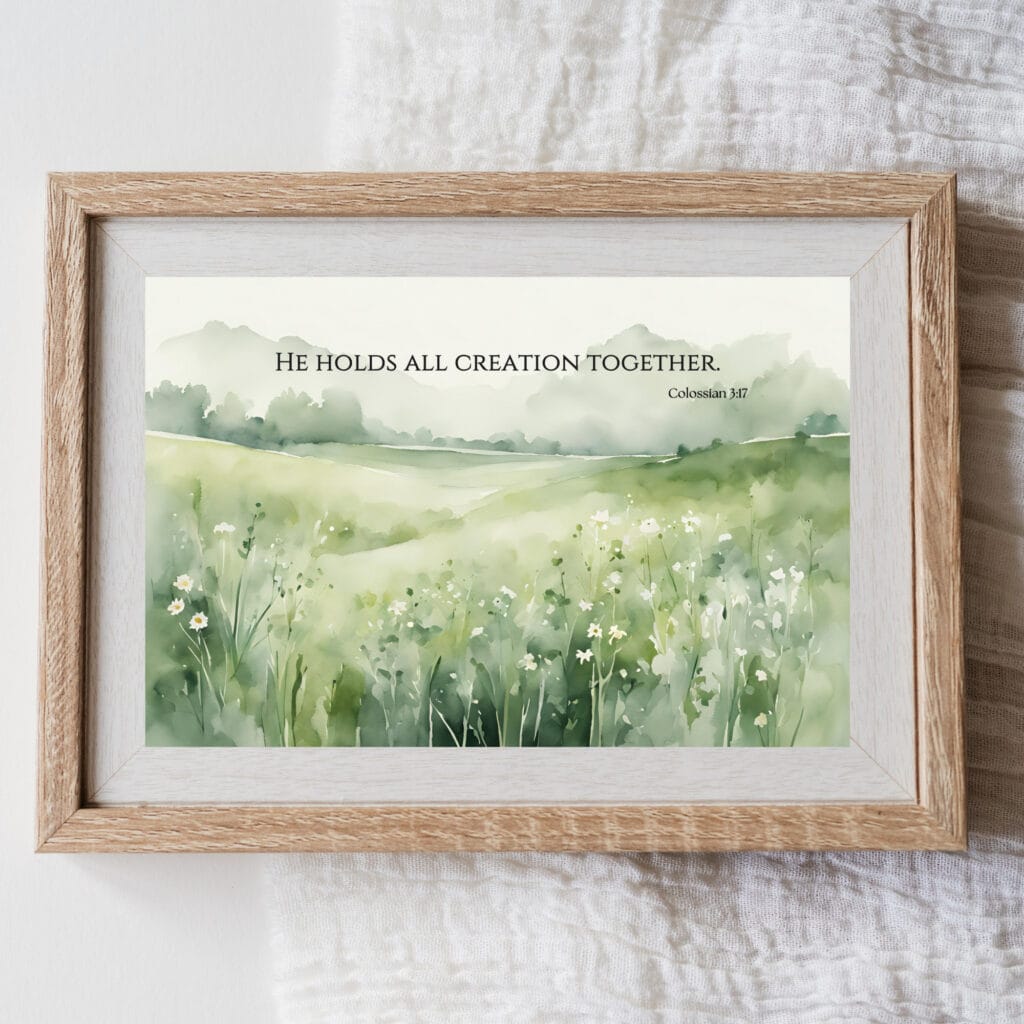
***I made an adjustment to the text in the final version – it’s darker and I added the Bible reference. You can see the updated version below!
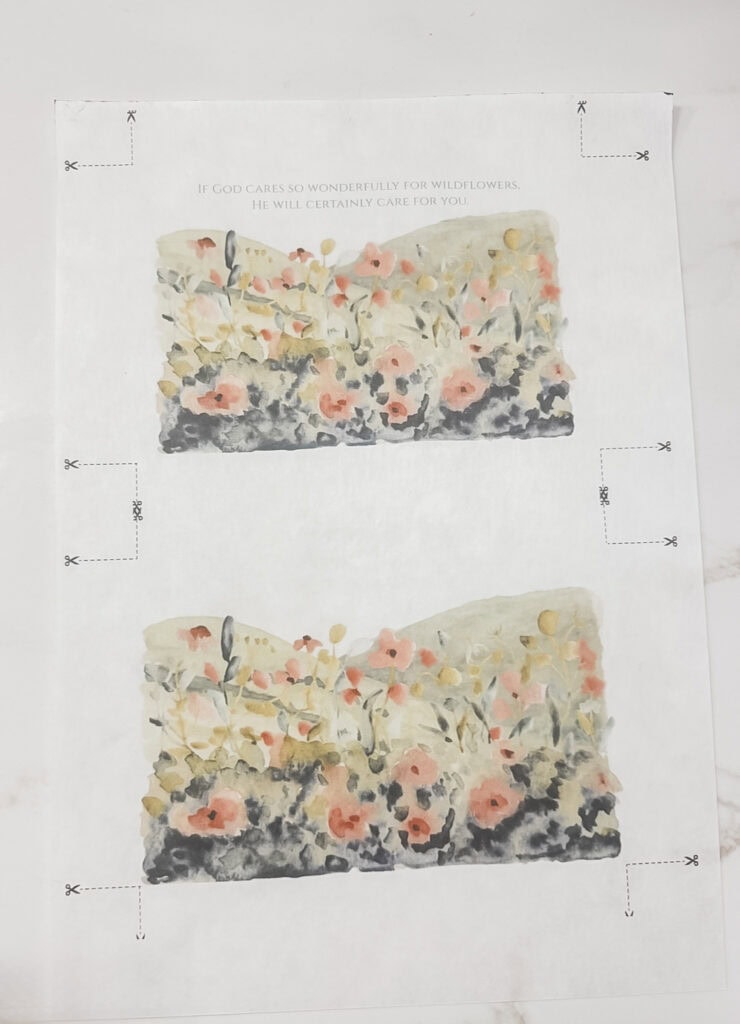
Fill out the box below to get yours for free!
For best results, download on a PC or laptop, not an iPhone.
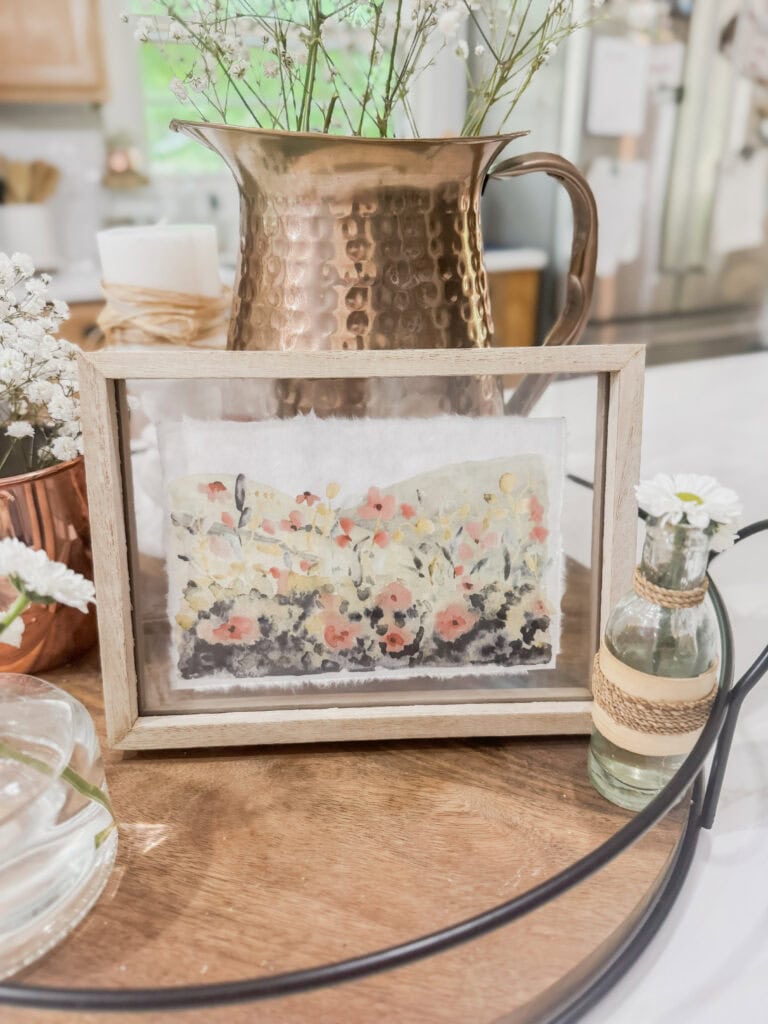
I printed mine on rice paper because it gives it a more airy and organic look.
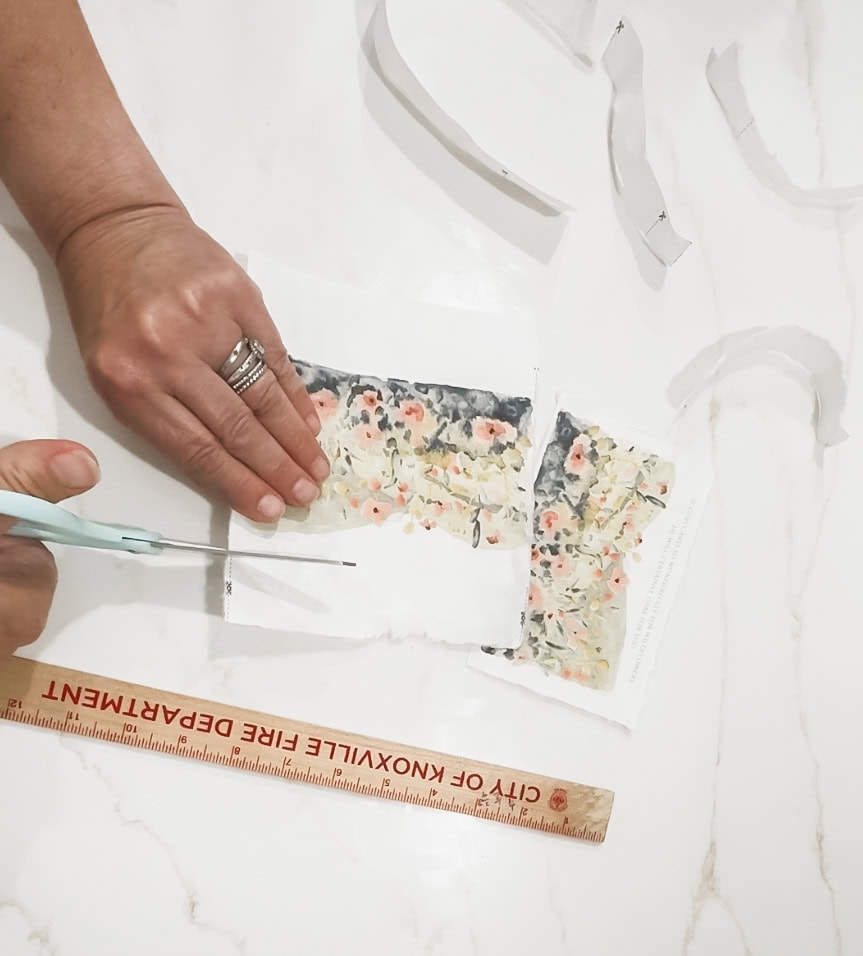
Instead of cutting it, I tore it (I’ll show ya how below!), and I love the result!
To use this method, just snip the sides with a scissor to get the tear started, lay a ruler down on the edge, and tear!
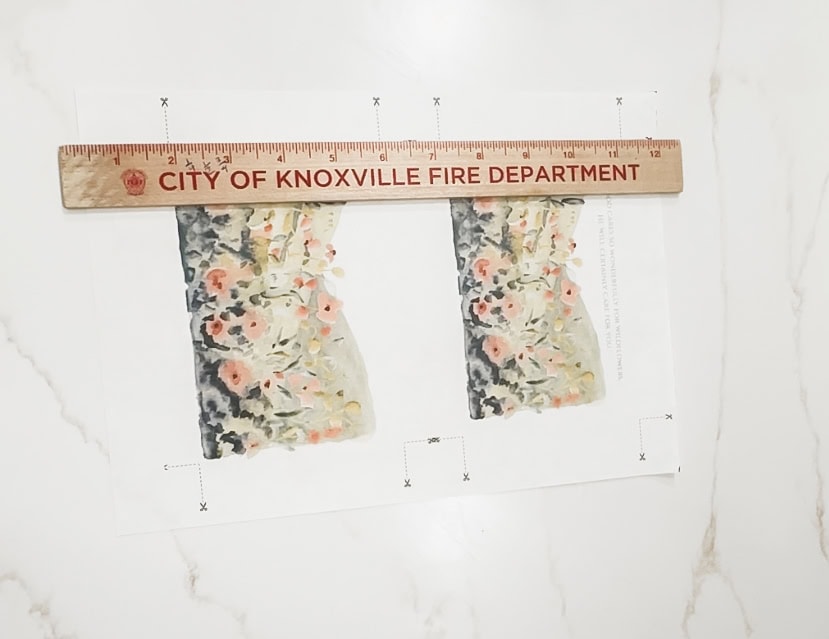
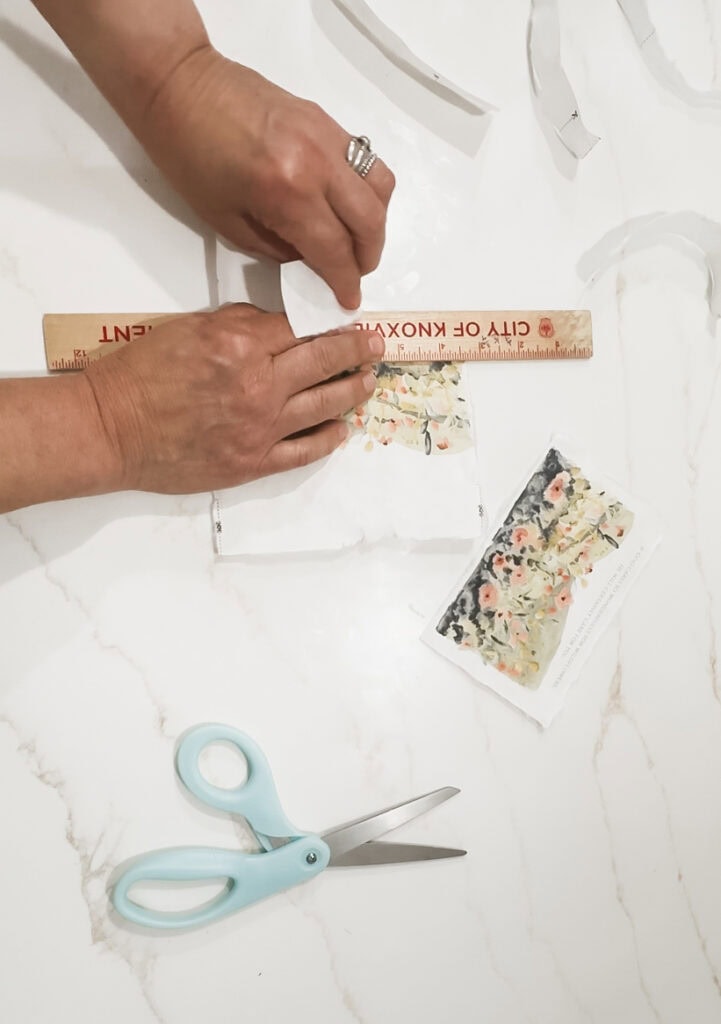
You can grab rice paper here, and here’s a floating transparent frame similar to the one I used!
For a look like mine, be sure to get a bigger 5×7″ frame so there is space around the print!
For more specific instructions, you can check out this post!
Below you can see it styled with the modern rustic summer centerpiece!
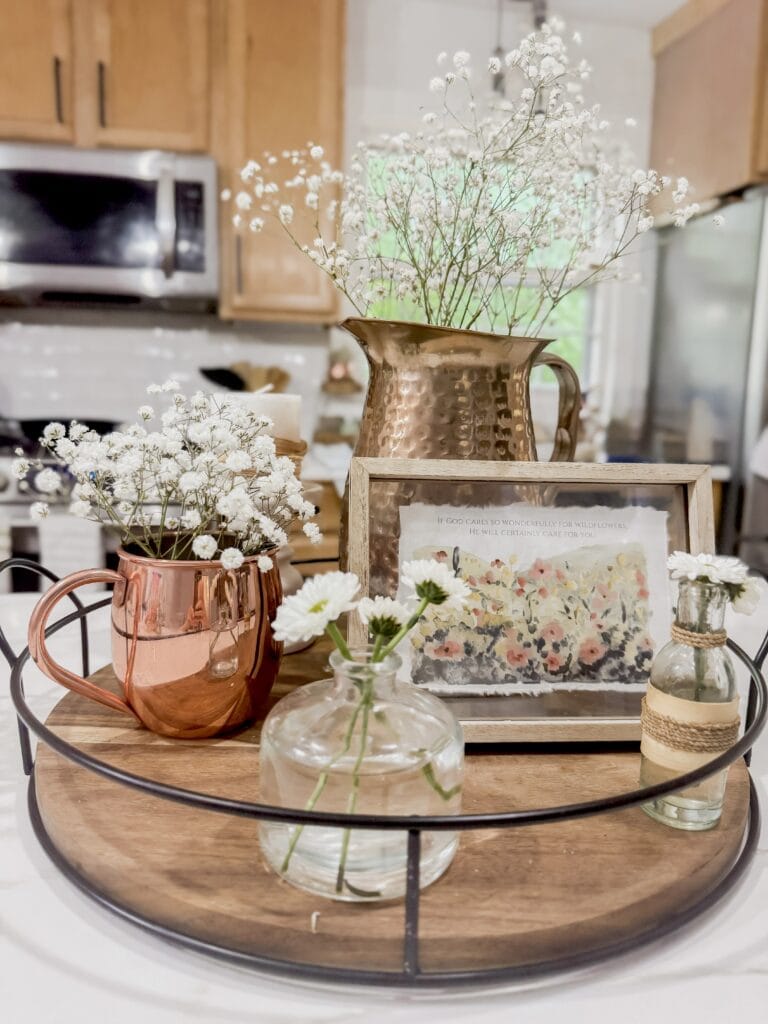
There’s a bonus print included, both with and without text!
More Summer Decorating Ideas
If you’d like to see more inspiration for your home this summer, check out these posts below!
30+ Fabulous DIY Summer Centerpieces
35+ Stylish Front Porch Decorating Ideas for a Summer Oasis
40 Absolute Best DIY Summer Wreaths to Make Your Front Door Shine
30 Creative & Classy Summer Crafts for the Home
30+ Fresh and Beautiful Summer Mantel Decorating Ideas
If you try any of these ideas, I’d love to see how they turn out! Tag me on Instagrams @100affections and I’ll share in my stories! Or, leave a picture comment on Pinterest!
Other thoughts? I’d love to hear them! Leave a comment below!
And if you enjoyed this post, I’d be so grateful if you pinned or shared!


