If you’re looking for a fun, fast, and easy DIY dupe, give this coffee table basket a try! It looks amazing and it will save you a ton of money! And you can make it from Dollar Tree materials!

This post may contain affiliate links. See Disclosures for details.
Finally Can Cross the Knock-Off Dupe Off the List
We all have those lists of projects we want to get done – a home renovation, a DIY decor project, a seasonal craft. I have a loonnnnggg list and a room full of supplies, but it’s not so easy to actually get around to getting them done.
This weekend, I finally knocked one off my list that I’ve been wanting to do for a while: a coffee table basket.
My coffee table has pretty much been a catch-all for food, drinks, my sons’ Legos, a ramp for racetracks, crayons and coloring books… but certainly, nothing that looks pretty and stylish.
And to be honest, that was just the phase we were in: little boys, toddlers – then preschoolers – at home playing. Up until now, they were in the house all the time, and the living room was the main play area. So, that equals toys around all the time.
My sons are 5 years old now and just started kindergarten. Now that they are in school and also aren’t as ‘handsy’ as they were when they were little, I can finally put out some nicer thing. There’s still a power struggle between me and them – home decor vs. Hot Wheels – but at least I can set out the nice things for a few hours a day.
I wasn’t sure what I wanted to put on the coffee – books, a vase… but I knew I wanted something to anchor whatever I set out. I have a tray I use in the kitchen that might have worked, but I like it there and wanted something a little softer.
I saw a basket tray at Walmart that I really liked. This wasn’t too expensive at $25, but still, the phrase that’s always running through my head when I’m out shopping is, “I bet I can make it cheaper.“
I started pricing out the coffee table basket online. They range from $20- $50 (- nd they were smaller than the one I made), but I came across this one on West Elm – so they can go as high as $219!

I mean, seriously, come on! Maybe it had really special materials, but the difference between a store-bought basket and a knock-off instead is pretty negligible, in my opinion.
So I got to work.

The Basics Rundown on a DIY Coffee Table Tray
This coffee table basket is just jute rope and glue sticks. That’s really it. You start winding from the center out, then begin layering it up once you reach the width you want. The West Elm one is 24″ across, mine is 16″, which is fine for me. My coffee table is 24″ across so the super-expensive one would have been too big anyway.
You can see here how a 16″ basket fits on a 24″ wide coffee table.

Once I hit 16″ across, I started to layer up, and I did my basket with 5 rows high. Of course, it’s all your taste.
For the handles, I just measured out how high and wide I wanted my handles, cut 2 equal pieces, and glued them on. That’s really the long and short of it.
Tips You Should Know While Creating Your Basket
To get the best outcome, here are a few things you should know and some tips that can help.
When you are creating the bottom, pull it tight, and make sure the rope stays twisted as you glue. To begin, turn the end of the rope in, glue it real good, and keep winding around. Make sure you keep your shape like a circle, as it could become more of an oval if you’re not careful. You may need to keep twisting the rope, too, if you see it’s unraveling a little.
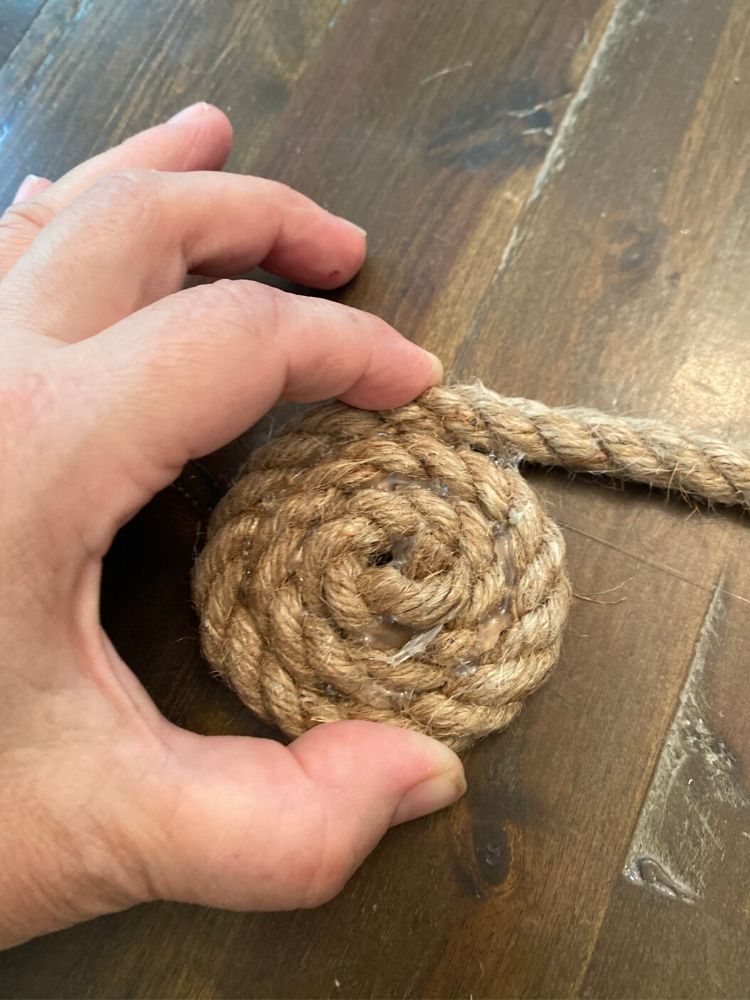
Once your bottom layer is done, start building up. You DON’T want to pull tight for this part because that will cause your sides to cave in. Pull the rope just tight enough so it sits snugly and directly on top of the layer below it.
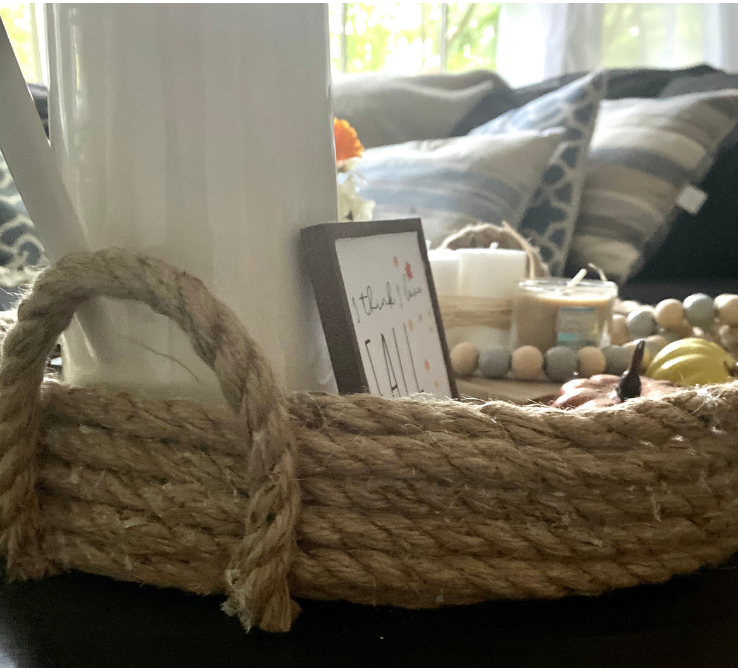
Do your best to straighten up the sides so the walls are straight up-and-down as you go. When you look down from the top, you don’t want to see any of the rope bulging out. Be sure to straighten the top layer so you have a smooth, curved line going around, not a wiggly one.
Once you reach the height you want, check that you have the same number of layers the entire way around. Ideally, you should stop at the same place on the basket where you started. Then cut the rope on a 45-degree angle so it will lay flat (-ish).


The handles are a little tricky, as you also need to cut the end of the rope on a 45-degree angle so it will lay flat on the basket. My handles started to fray a little, so I just used the glue gun to make the ends a little more secure. I even took a little Mod Podge and rubbed it on there with my finger to control the fraying.
If you don’t care for the handles being on the outside (it’s just more of a style thing), you can glue them inside. The imperfections will show a little less that way.
This will not be strong enough to use as an actual tray unless you glue cardboard underneath. It’s fine to sit on a table and use it as decor, but it’s not a functional tray without something firm on the bottom.
I decided to add the carboard after trying to move it to different locations.
All I did was trace the bottom of the tray on a big piece of cardboard and then cut it about an inch inside the circle (so it’s smaller than the tray itself). Then, I just used hot glue to glue the cardboard to the bottom. It definitely added more durability!
Materials
I used a large 98-foot spool of jute rope from Walmart. It’s about $18 for 98 feet. I had close to half leftover after I was done.
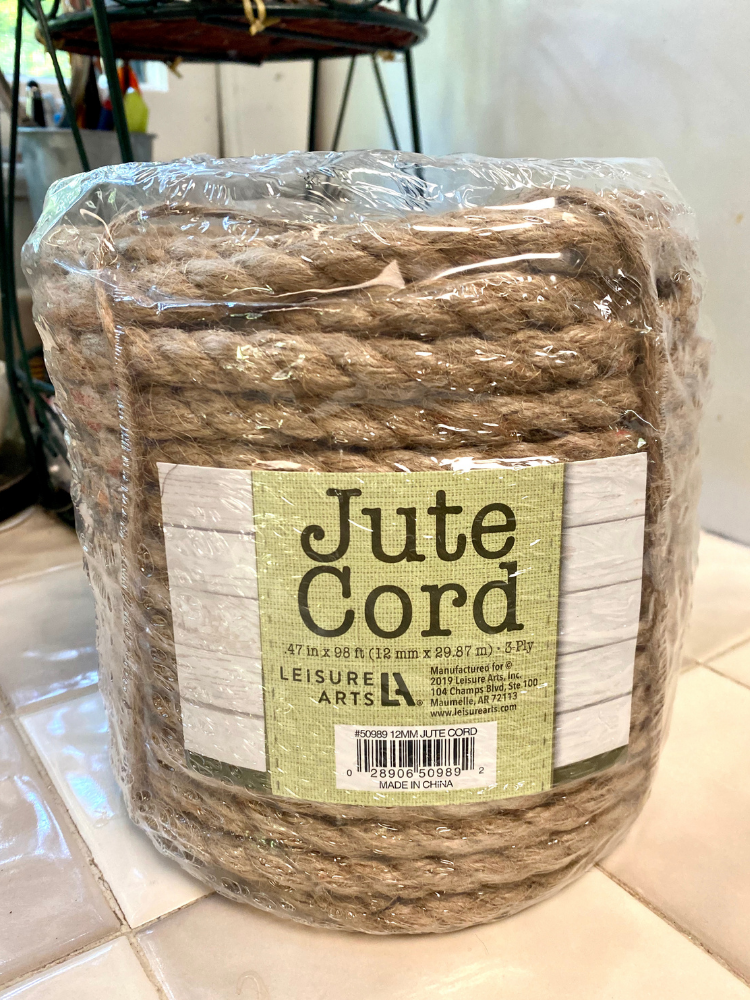
You also could use nautical rope from Dollar Tree, but I prefer the large spool from Walmart, so the entire basket is made from one piece of rope. The rope from Walmart is a little bit thicker than the 9.5 foot nautical rope from Dollar Tree. You can see how they compare side by side.

There’s also a thicker, 7.9-foot rope from Dollar Tree that’s more comparable to the jute rope from Walmart, but honestly, all of these nautical ropes sell out fast, so I just grab what I can when they are stocked.
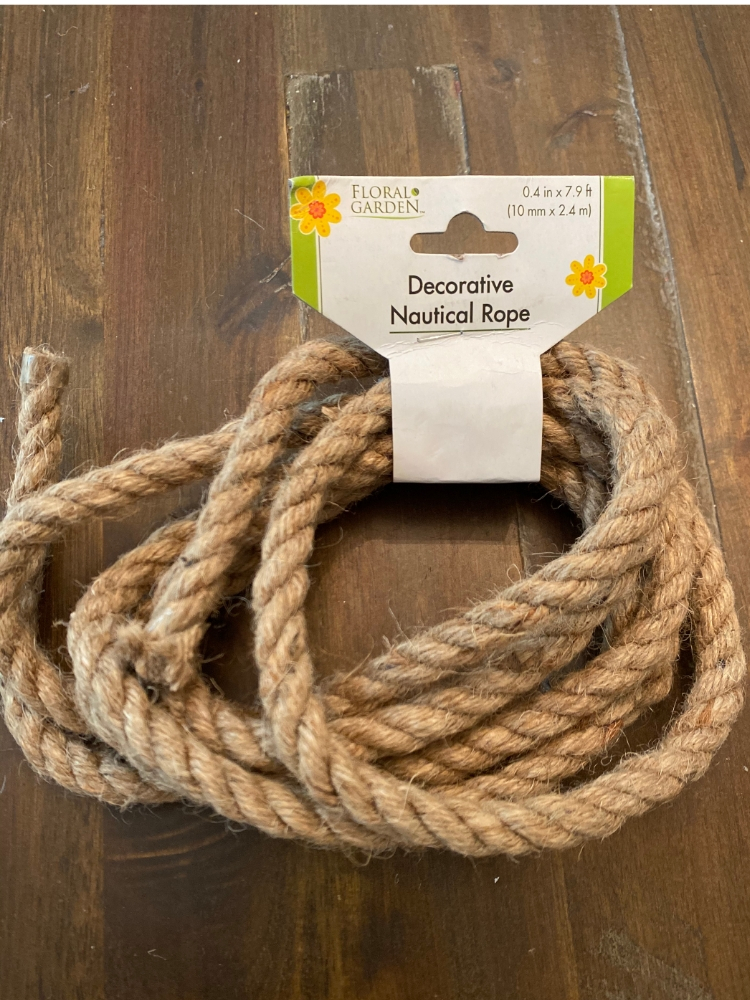
If you get Dollar Tree rope, I’d get about 10-12 packages of rope, just to be safe. It depends on how wide you want your basket as well. Just be aware that if you are getting the 9.5 ft. rope from Dollar Tree, it’s thinner than the 7.9 ft rope, so you’ll probably need more.
You probably will only need 1 package of glue sticks, but I always like to have extra on hand.
Then, you just need something to cut the rope with: wire cutters, sharp scissors, etc. To add durability, you will also need cardboard that would be large enough to fit underneath.
For succinct instructions, see below!
*** This will not be sturdy enough for a tray; it is meant to be decor, not for functional use. It will be fine sitting on a table, but not for practical use as a tray!
DIY Knock-Off Coffee Table Basket Tray
Materials
Instructions
Notes
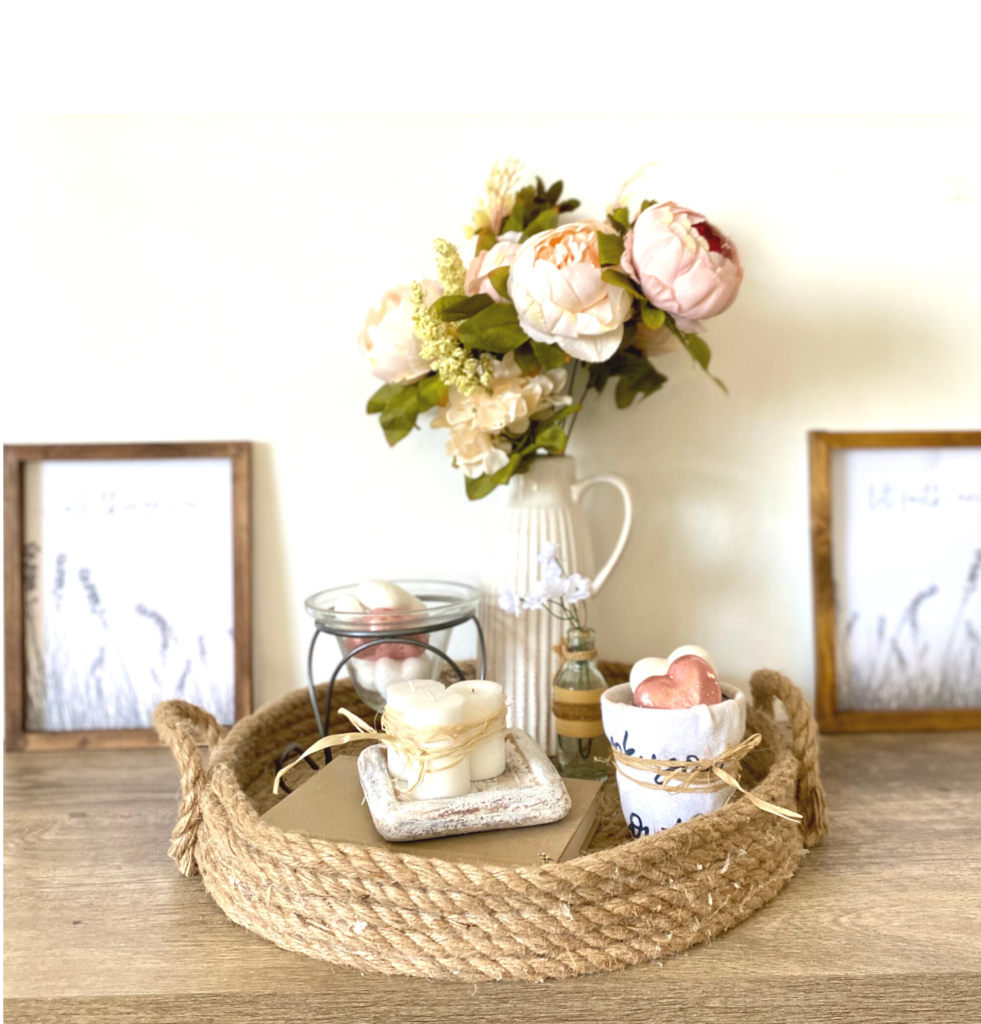
Update: Here are some other ways I styled the tray for different seasons!


More Fun, Cheap & Easy DIYs
If you’re looking for some more projects, here are some of my favorites!
This is a stylish modern farmhouse DIY wood bead tray!

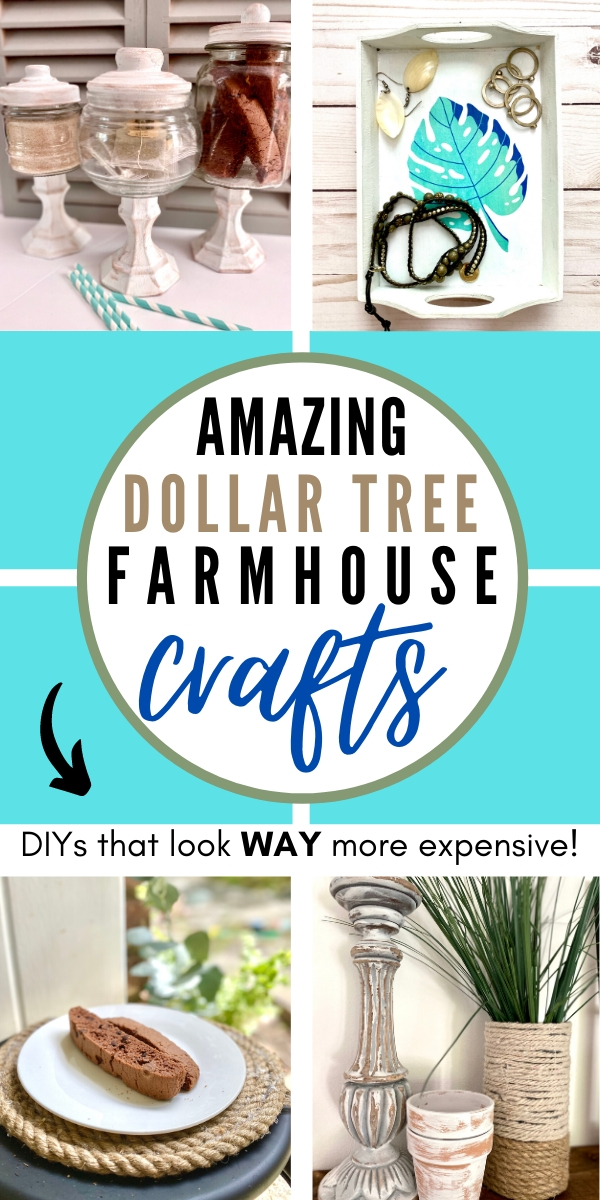
With all your extra rope, you can make trivets or charger plates – tutorial for that here! In the same post, you can also make the projects you see below: pallet tray coasters, rope vase, jewelry trinket tray, no-sew placemat pillows, apothecary jars, and faux shiplap clipboards! All made from Dollar Tree materials, by the way – and each can be done in one sitting!
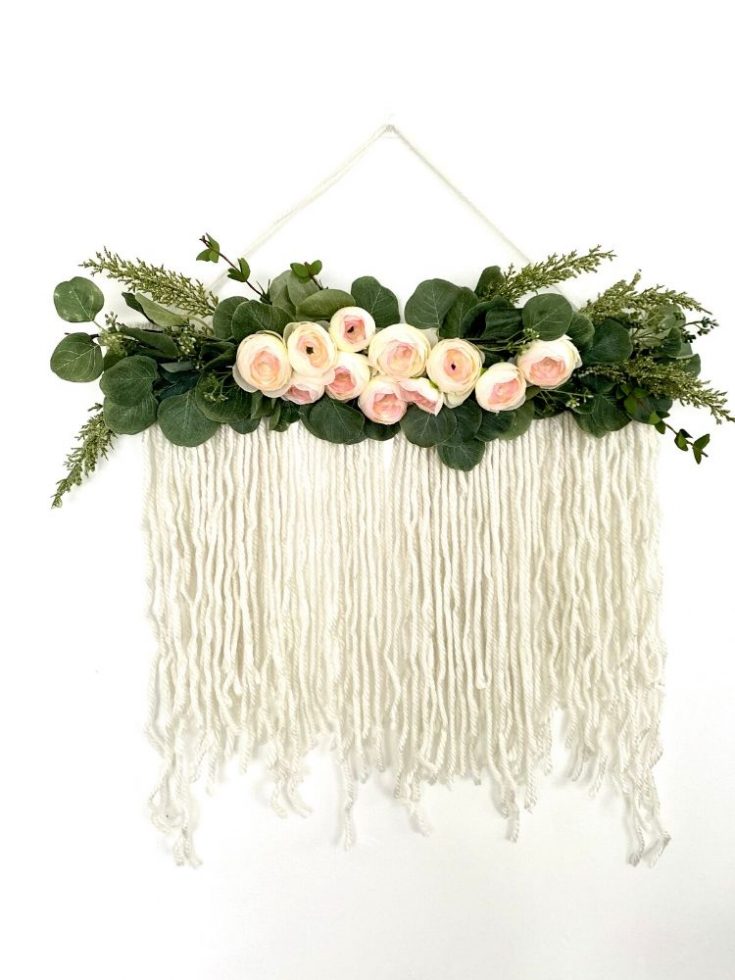
If you want to try some wall decor, here’s a farmhouse boho wall hanging that you can customize with greens and flowers of your choice.
And if you love those farmhouse signs and don’t have an expensive Cricut or Silhouette, here 6 ways you can make those signs without a fancy machine!
If you do have a Cricut or Silhouette, you can try this one: 2 Easy Ways to Make a Hat with HTV and a Mini Heat Press.
If you create this coffee table basket or any other project, I’d love to see it! Tag me on Instagram @100affections or leave a comment on Pinterest!
Other thoughts? I’d love to hear them! Leave a comment below!

Leave a Reply