
Easy DIY Tiered Tray Signs (+ Free Fall Printables to Put in Them!)
If you love tier trays but sometimes struggle with how to style them, how about some cute signs? This is a super-easy DIY for tier tray signs! Plus, you can grab some Rae Dunn-inspired free fall printables to put in them! Super-cute fall farmhouse style coming your way!

The Tiered Tray Trend is Not Going Anywhere Soon
I’m sometimes a little behind the curve when new styles are trending, but I’m getting better.
Tiered trays is one of those examples. A few years ago, tier trays starting rising on the charts for farmhouse decor, and of course, I followed suit and made my own.
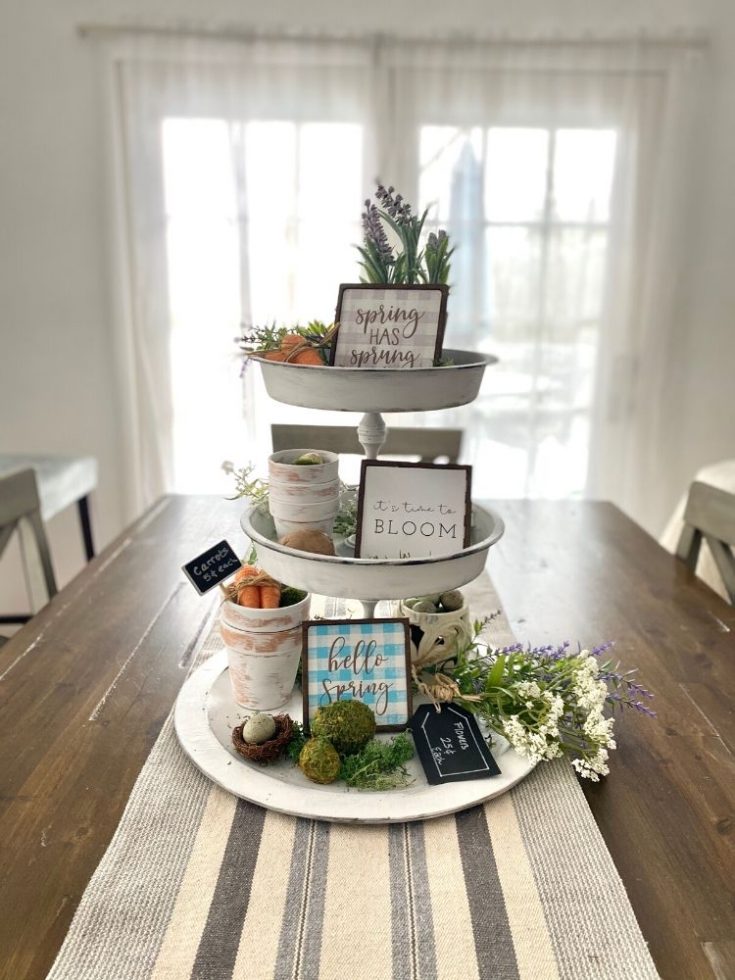 Now, once you have the tray, it’s a whole other story to decorate it.
That involved decor all its own, since it has to be somewhat mini. And if you’re changing it out every season (hand raised!), that can be a lot of product.
Usually a cute sign or two is a must when it comes to tiered trays.
DIY Tiered Tray Signs Materials
There are a few ways you can make tier tray signs that are fairly inexpensive, but I think the method that I’m going to show you today looks the best. And it also works amazingly well in different sizes, too.
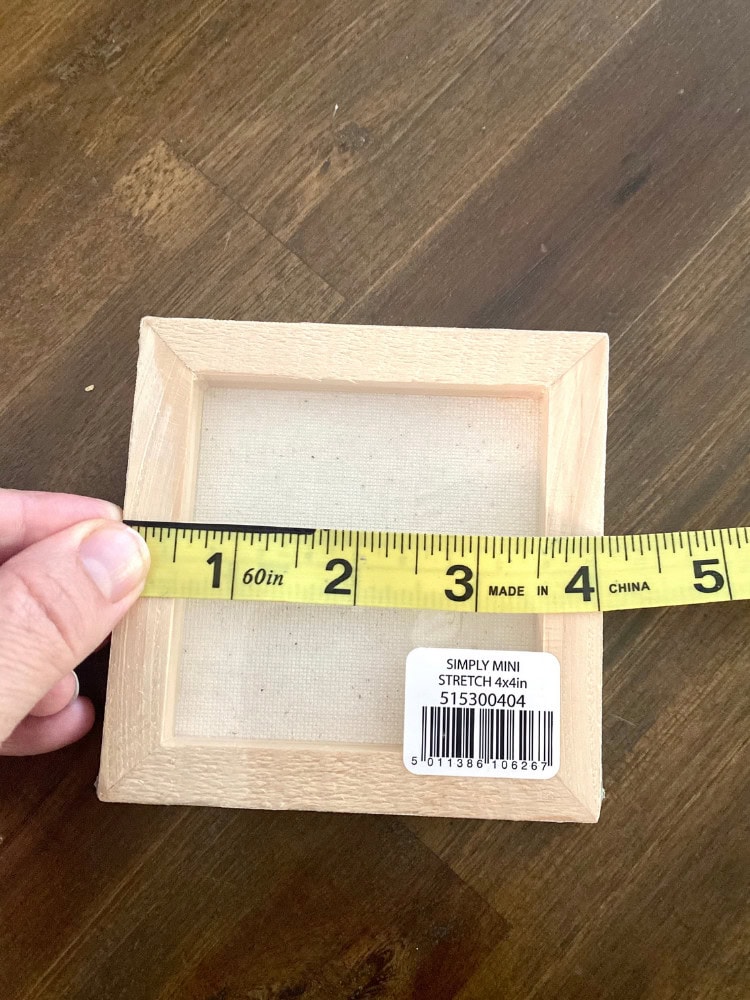
The idea is that you repurpose a mini stretched canvas and use it as a frame. The cheapest frames that I found (and used for this project) were the 4×4″ frames from Walmart. These were $1.47 each. The downside to using this frame is that the canvas is glued on and not stapled.
Typically, you can just pop the staples out and you have a clean frame. When you have the frames with the glue, it can be a little bit of a challenge to get all the glue off.
However, if you are really looking to save money, you can buy these as Walmart. If you are up for spending a little more, you can get a pack of 6 for $11.99 on Amazon or something similar at Hobby Lobby.
The thing you want to look for, however, is the size of the frame area itself, where the picture will show through.
In the above picture with the measuring tape, you’ll see that the opening is 3 inches square. The wood on the canvas frames at Walmart is just 1/2 inch thick, so it leaves 3″ for the picture itself. That’s what you’re looking for. If the inside square is smaller, it’s going to be a teeny picture or the picture will get cut off.
Beyond the frame, here are the other supplies you’ll need:
An image you want framed: a printable (cardstock and a printer, if you’re going that route), a portion of a calendar, or something you design freehand.
Stain (with rubber gloves and rags) or paint (and a paintbrush)
Glue (Elmer’s, Mod Podge, or even a glue stick)
Scissors
To Create Your DIY Tiered Tray Frame
1| Get image for framing, with an image area of 3×3″ & a 1/2″ border around it.
First, get the image you want framed. It can be a printable, a portion of a calendar, a picture. Make sure you have the image scaled down to 3×3″.
The paper it’s on to be larger, so it can stick to the frame.
Ideally, the full square should be about 4×4″.
Just make sure your picture fits inside a 3×3″ area, with an extra 1/4-1/2″ border around it.
If your image is on thin paper, consider gluing it to cardstock first.
2| Remove canvas from frame.
Then, Remove the canvas from the frame. If it has staples, just pop them out with a screwdriver or a pair of scissors.
If you have a frame where the canvas was glued on, cut the canvas front surface with a scissor or knife, and start peeling. Sometimes a knife or a widget to scrape off the glue can help. Use a little sandpaper to smooth the edges if needed.
3| Position your image inside frame and cut any excess.
Lay your frame on top of your image to ensure you have the correct placement and that it fits properly.
If your paper is larger and there is excess that shows outside the frame, trace lines on the outside of your frame so you know where to cut.

Then cut just inside your lines. Continue to trim until paper is no longer visible from the outside.
Ideally, you want your whole piece of paper to be just slightly smaller than your frame.
4| Stain or paint your frame.
If you have stain, put on latex gloves and grab a rag. Dab the rag in the stain and wipe on the wood. Use a clean rag to wipe off excess stain and just darken it to your desired color.
If there’s some glue residue, the stain may not adhere too well to those areas. You can clean that up with some paint of the same color or a brown Sharpie.
You can also use paint on your frame, and the glue should be less of an issue.
Let your frame dry.
5| Attach picture to frame.
Once your frame is dry, grab the image you want to place inside.
Put some glue on the back of the frame and press down in the correct position on top of your image. You can use hot glue, Elmer’s Glue, a glue stick, or even staples.
Allow to dry, and you have a super-cute mini-sign for your tray!
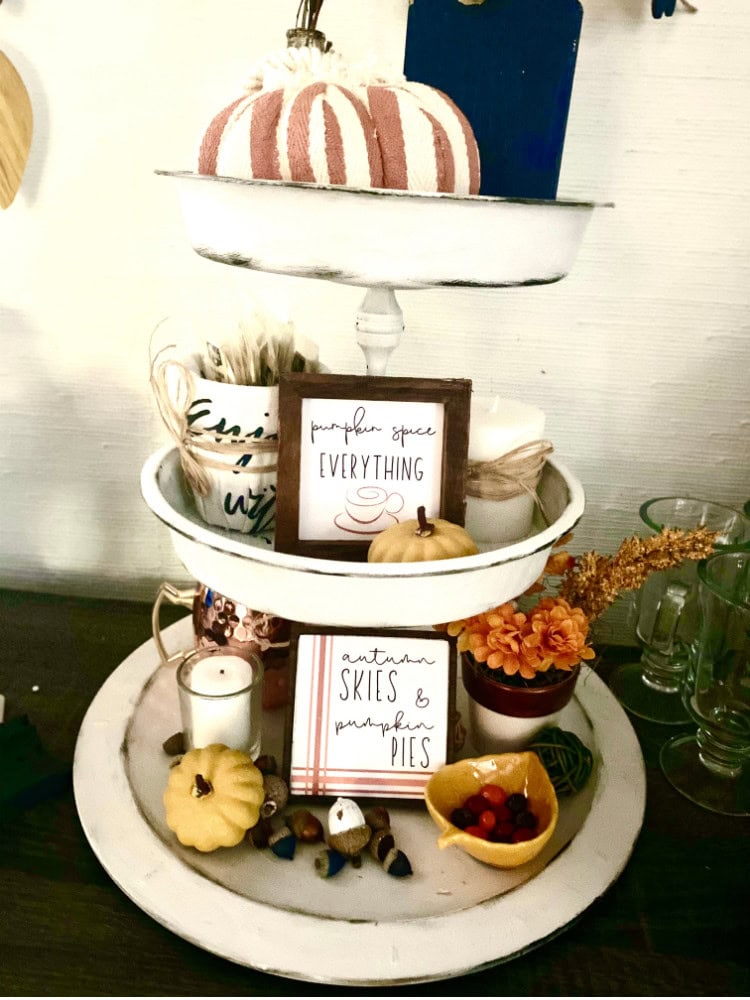
Here’s how it looks on my tier tray. The top “Pumpkin Spice Everything” sign is using the method I just explained.
The bottom “Autumn Skies” sign uses the method I’ll explain below (and you can get the printables at the end of the post for free!)
Another Method for Tier Tray Signs
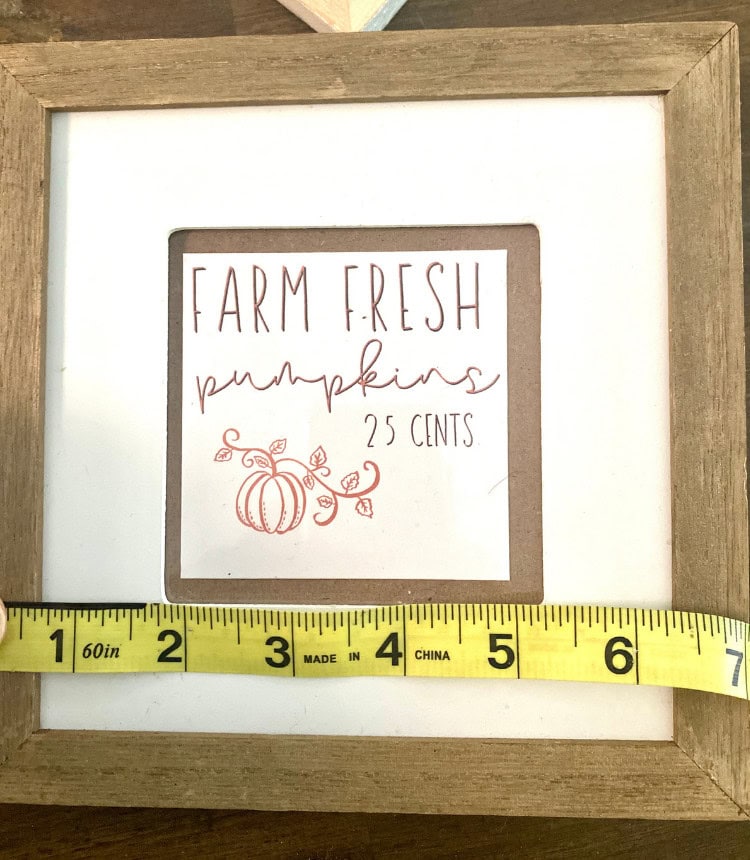
A similar way I’ll make tier tray signs is to get small signs (on clearance) at Hobby Lobby, Dollar Tree, or another store and just stick my images inside.
These usually have a 4 x 4″ or 4.5 x 4.5″ area, but 3 x 3″ images should still work in there, just giving you a little bit wider of a border.

All you have to do is measure the space, cut your image down to fit and put inside.
If you want to reuse the frame, double-sided tape works just fine! Otherwise, you can just glue it in! I recommend a glue stick for that, just so you don’t get any bubbles or bumps.
Rae Dunn Inspired Free Printables for Fall
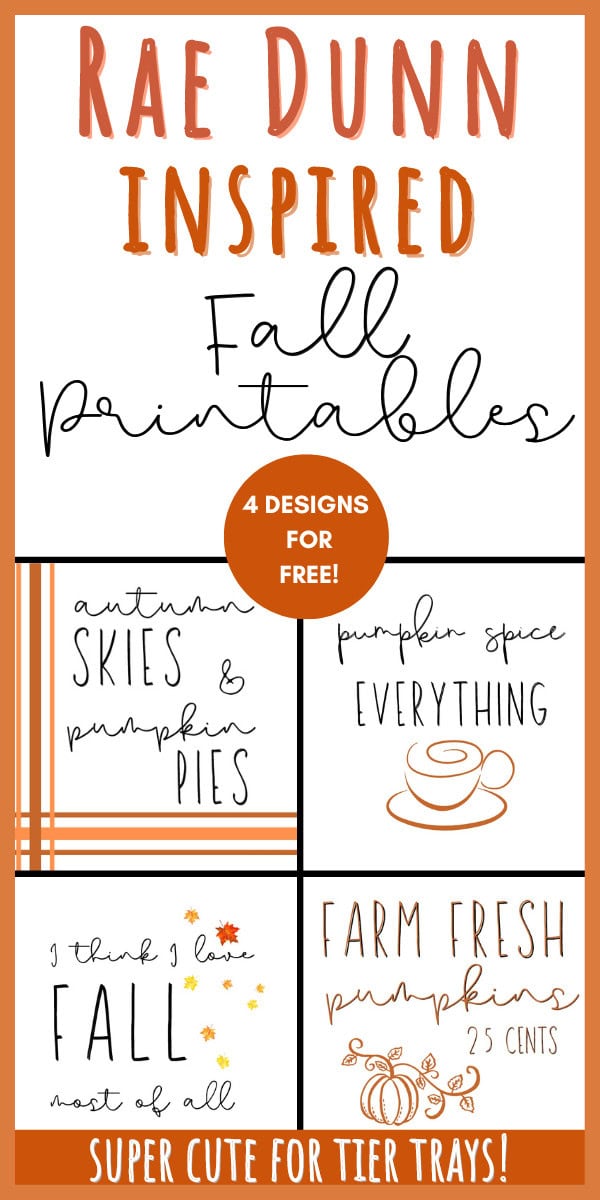
If you’re looking for some fall printables to put in the frames, I’m offering these Rae Dunn inspired printables, a PDF that has all 4 designs in 3×3″ each, for FREE!
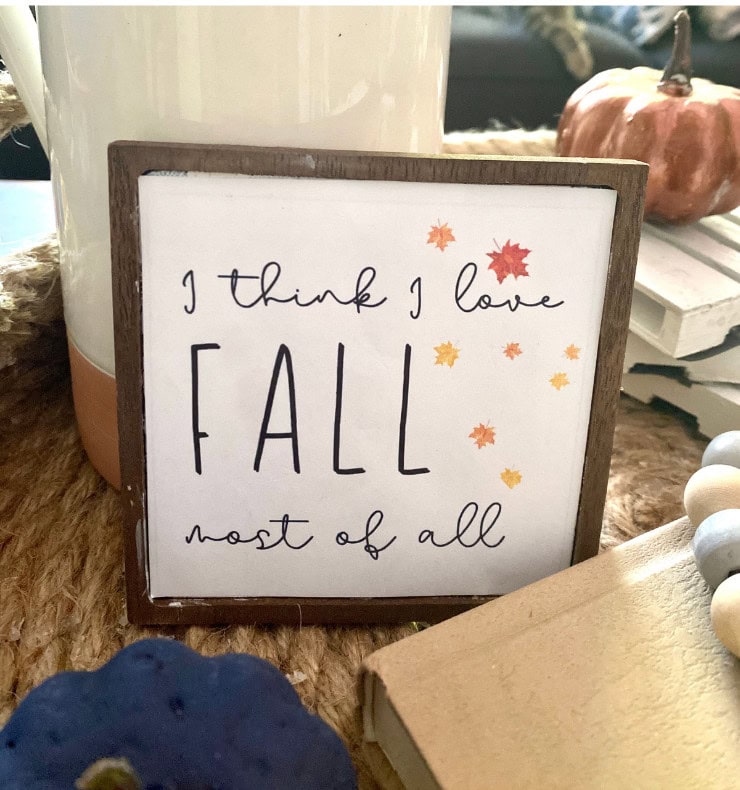
Here, you can see each of the designs in the frame I just created.

You also can put them in other frames that you have, if you want to use them somewhere other than a tier tray. Even if the frame is a little larger, you can just use a contrasting color behind to matte it!
Just fill out this box to grab the 3×3″ for all 4 designs for free!
If you’d like the square JPG that can be resized to fit into larger frames (I’m a big fan of 8×8!”), you can grab these prints for $1.99 each, or the entire bundle of 4 for $4.99 to have a complete set. Just click the links below the pictures.
In addition to a square, it can also be framed in an 8×10″ frame as well!
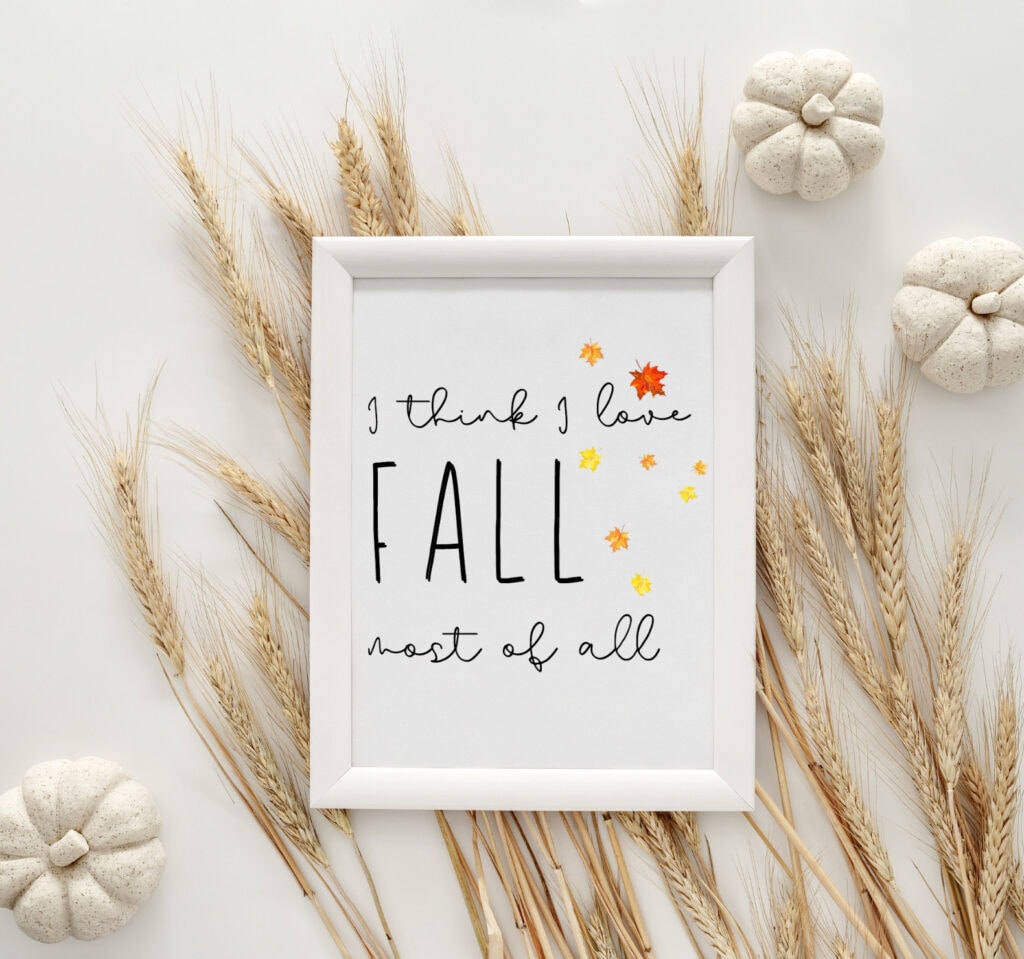
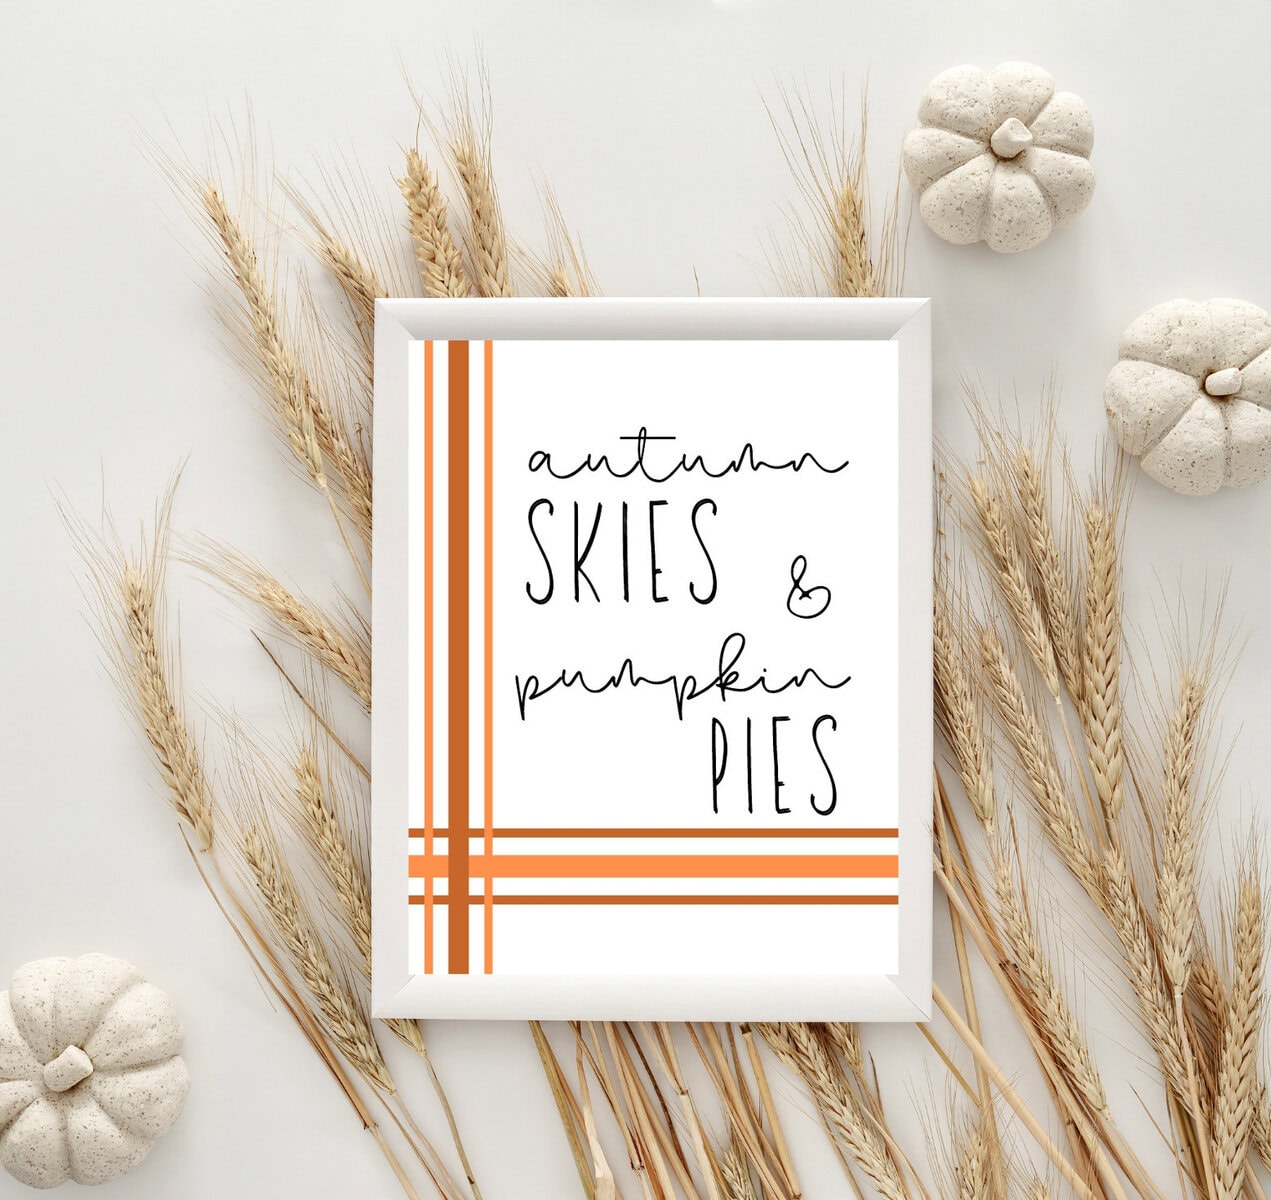
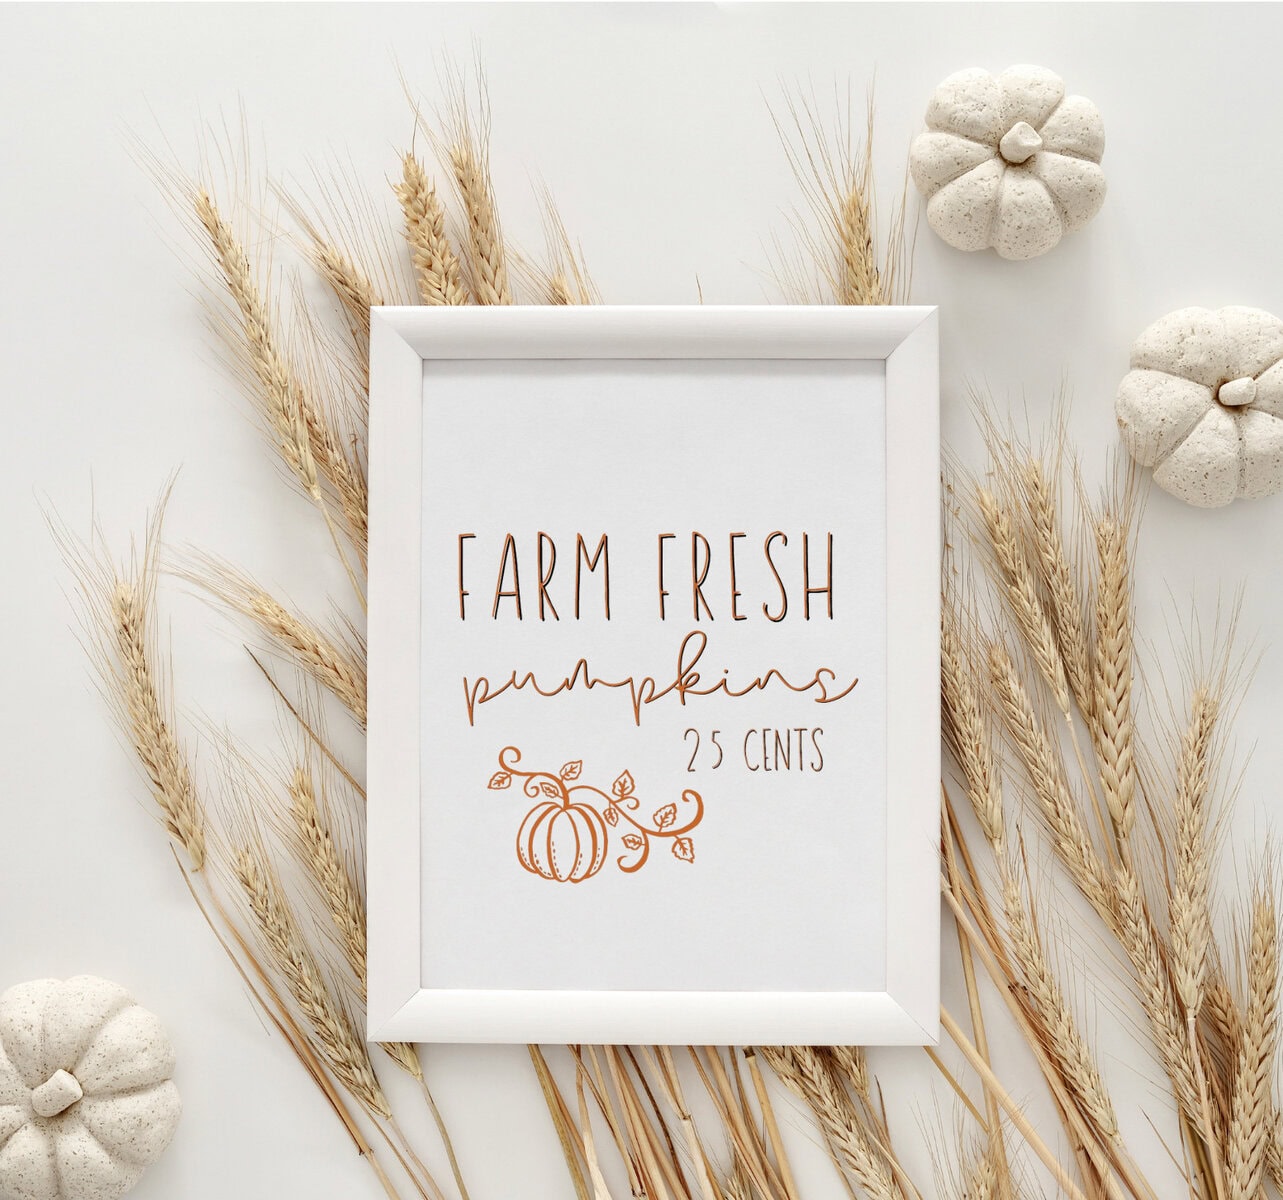
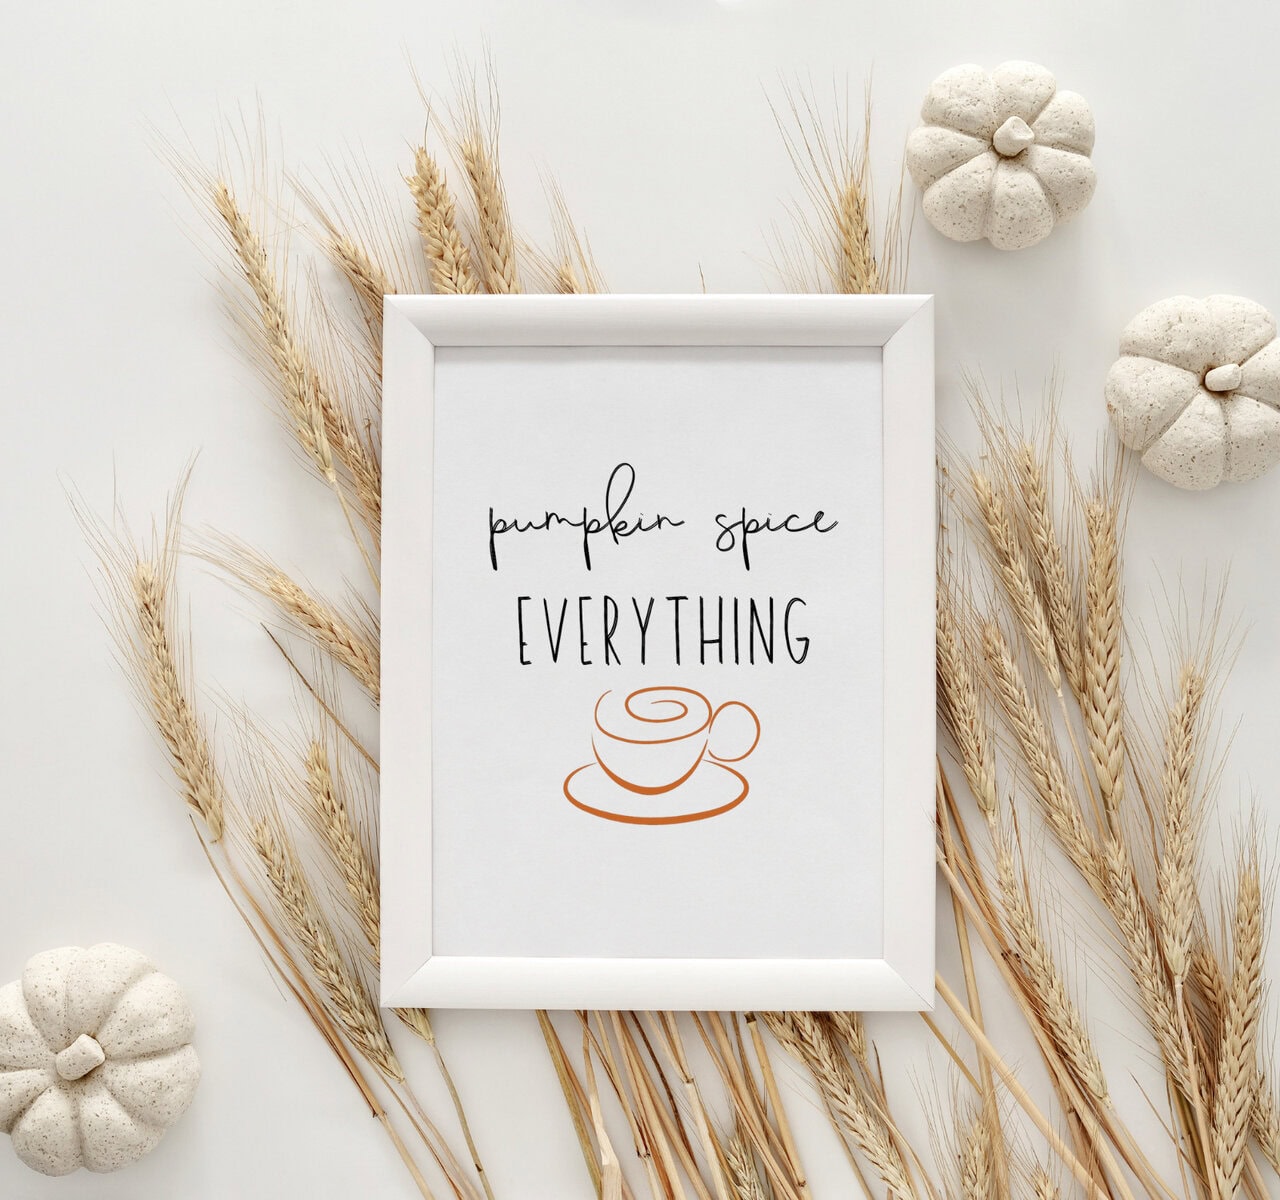
4 Image Bundle

I also have designs for Valentines Day, Spring, and Summer tier tray signs. You can get those 4 designs for each holiday! When you grab the fall printables, you’ll be added to my mailing list, and I’ll let you know when the Christmas printables are ready! You’ll get first dibs at getting those for free as well!
And now here are the succinct instructions to put it all together!
DIY Mini Tier Tray Signs
Materials
- 4x4" Stretched Canvas
- Glue (Glue Gun, Elmer's, Mod Podge, Glue Stick, etc.)
- Stain (+ gloves and rag) or Paint (+ brush)
- Scissors
- Optional: Widget, Screwdriver, Sandpaper
Instructions
1| Get image for framing, with an image area of 3x3" & a 1/2" border around it. Print from computer, cut from magazine, free hand, photo, etc. If printing, use cardstock. If your other image is on thin paper, consider gluing to cardstock first.
2| Remove canvas from frame.
If frame has staples, remove with a screwdriver or a pair of scissors. If the canvas is glued on, cut the canvas front surface with a scissor or knife, and peel off. A widget or knife can help scrape off the excess glue. You can also use a little sandpaper to smooth the edges.
3| Position your image inside frame and cut any excess.
Lay your frame on top of your image to ensure you have the correct placement and that it fits properly. If your paper is larger than the frame, trace lines on the outside of your frame as guides for trimming. Cut just inside your lines & continue to trim until the paper is no longer visible from the outside. However, leave enough border so the paper attach securely to the frame.
4| Stain or paint your frame.
If you have stain, put on some latex gloves and grab a rag. Dab the rag in the stain and wipe on the wood. Use a clean rag to wipe off excess stain and just darken it to your desired color. For areas with glue residue and the stain does not completely adhere, clean \up with some paint of the same color or a brown Sharpie.
To paint, just use paint of your choice and apply with a brush.
Allow to dry.
5| Attach picture to frame.
Put glue on the back of the frame and press down in the correct position on top of your image. You may also even use a glue stick and put glue on the edges of your picture. Staples are another option.
More DIY Inspo
Make Farmhouse Signs Without Vinyl
2 Easy Ways to Make a Hat with HTV and a Mini Heat Press!
8 Dollar Tree Farmhouse Crafts
More Inexpensive Farmhouse Printables
If you like these printables, come check out my Etsy shop with more cheap, farmhouse style printables!
Hope you loved all of these ideas! If you create any of them, I’d LOVE to see them! Please tag me on Instagram @100affections or leave me a comment on Pinterest with a picture!
Thoughts? I’d love to hear them! Leave a comment below!



Thank you !!!
You are so very welcome, Janine! 🙂
Love your work thank you so much
I appreciate this so much, Kayla! Thank you so much for coming by and your kind words!
I love these Ray Dunn prints. The ideas you have are great!
I appreciate that so much, Jennifer! That means the world to me! Thank you so much for coming by and for commenting! 🙂
I’d love to access this free design. How do I get it? I don’t see a box to click on for the free file. Please and thank you kindly.
Hi Marie!
I’m sorry there was an issue. I’m not sure what happened. I updated the post to include the sign up box, right below the project picture, before I introduce the ones you can purchase. It’s in the middle of the post. Be sure to fill out that box, not a generic subscriber box! Let me know if you run into any other issues!