
Easy & Cheap DIY Jewelry Tray (Cute DIY Gift Idea!)
Do you need a little tray to put all the things? Maybe on your bedstand or in the bathroom? A place for jewelry on your dresser? Check out this cute DIY jewelry trinket tray – not just for jewelry! It’s cheap, simple, easily customizable – and makes a super-cute DIY gift!

The All Purpose Mini Wood Tray from Dollar Tree
I find myself wandering the craft aisle at Dollar Tree often these days (because inflation, right?).
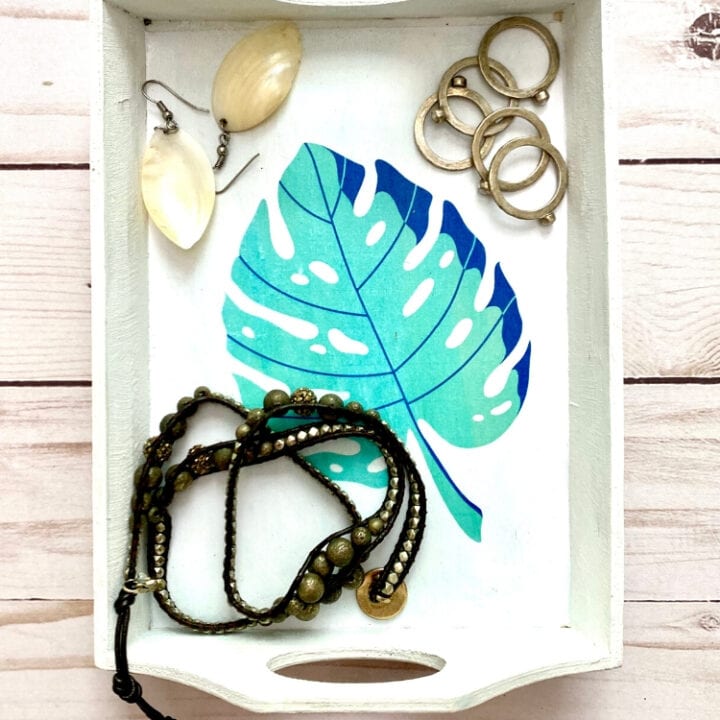
Several years ago, I made a jewelry tray from a small wood mini-tray for Dollar Tree. And over the years, I’ve adapted this project in many different ways and it’s still one of my favorites.
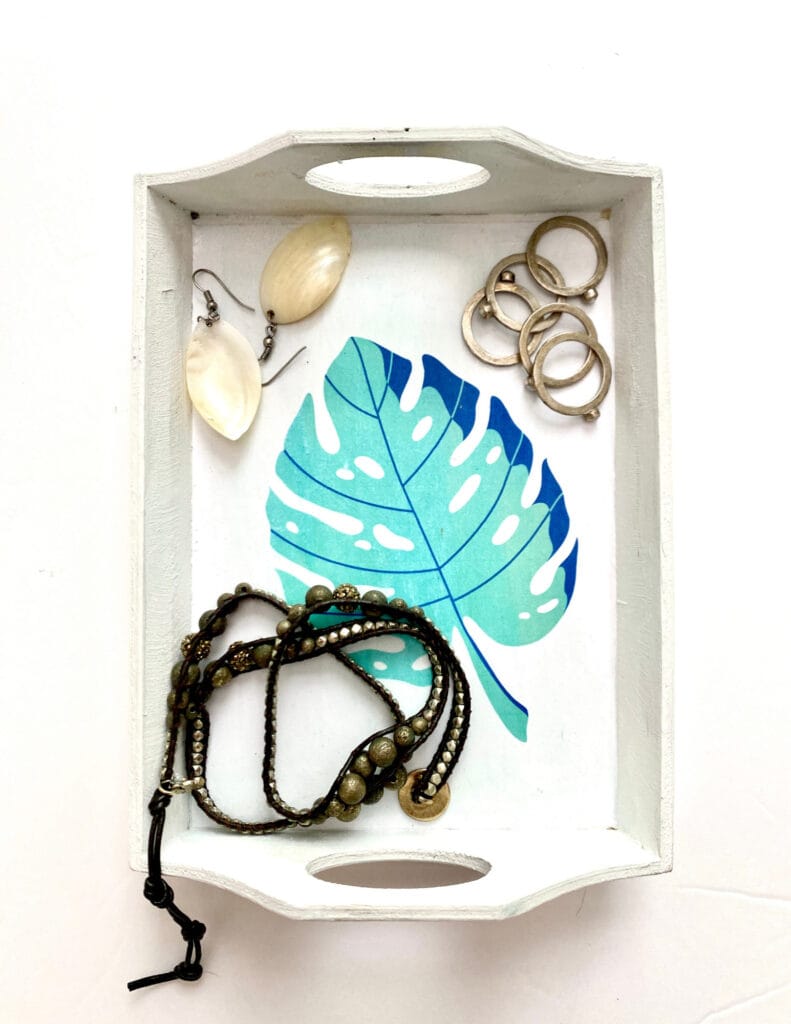
Personally, I use mine for jewelry.

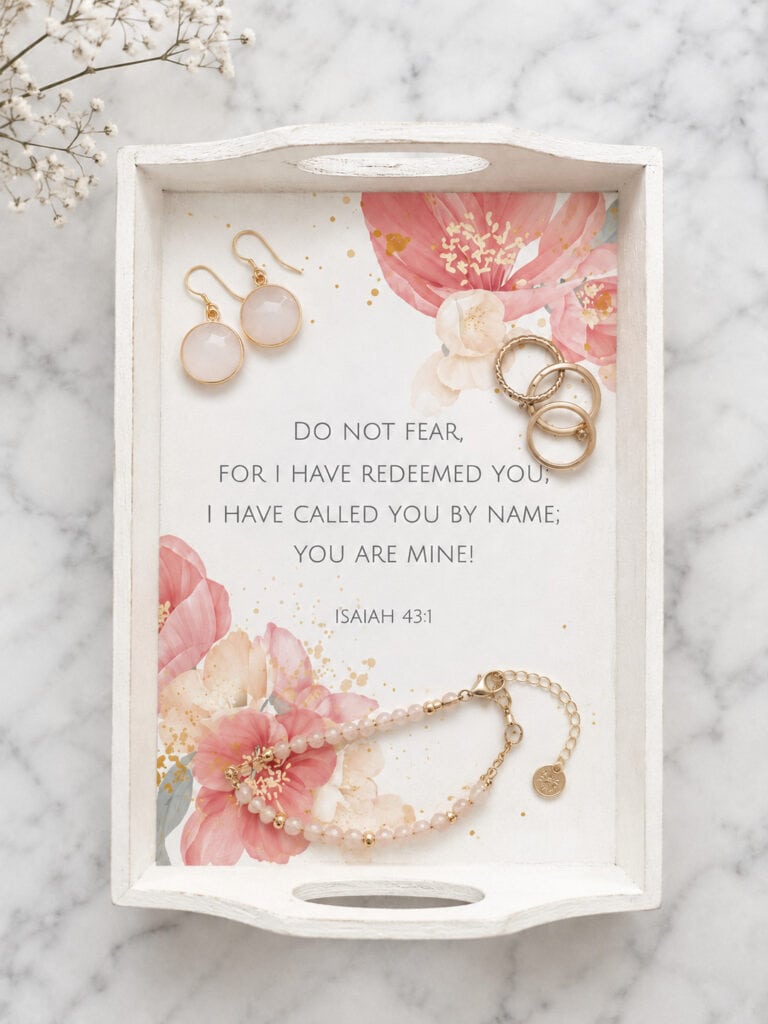
This is another one I created with a modified version of a print from my Etsy shop. This is one I keep in my bathroom!
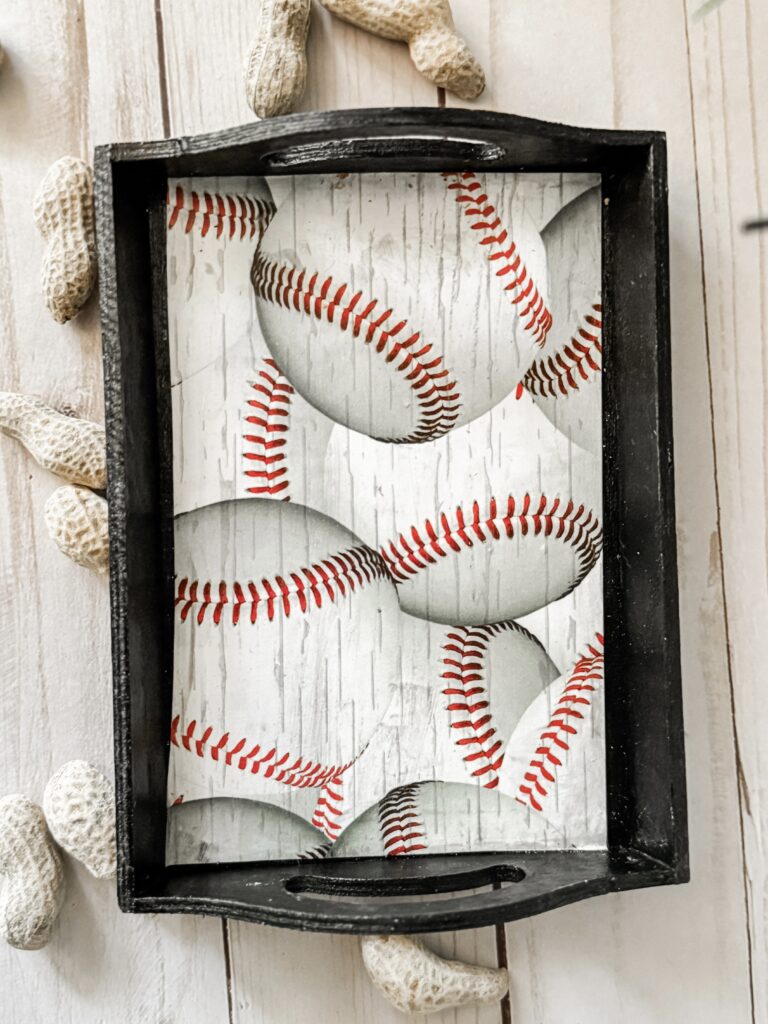
I also created a baseball-themed one for a Father’s Day gift for my husband.
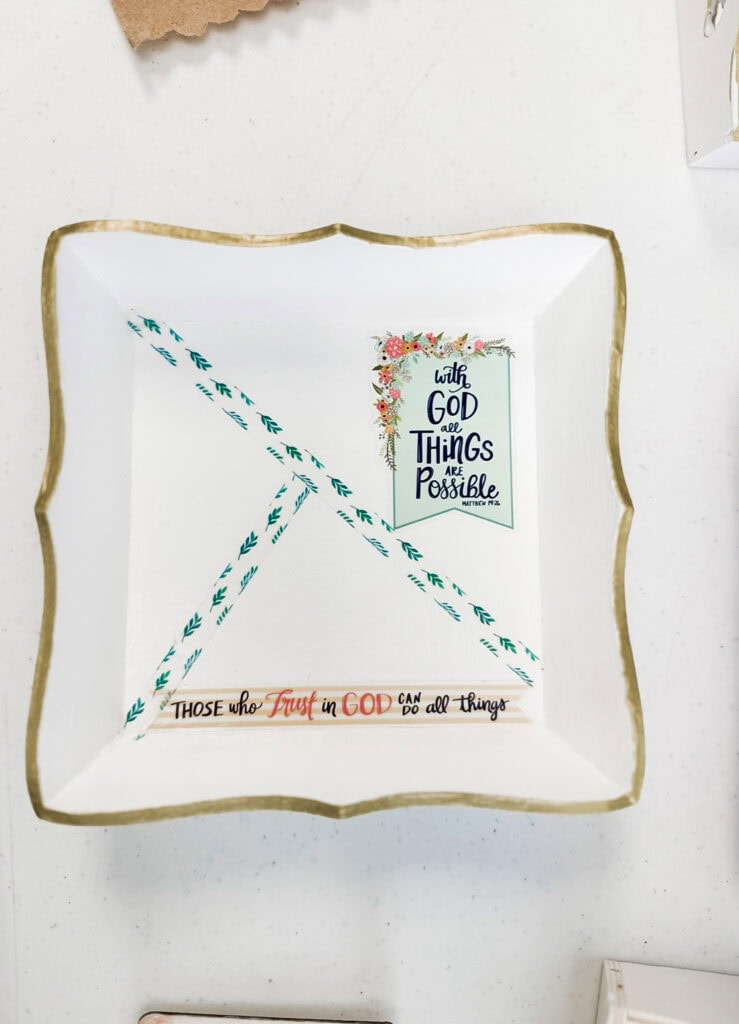
I even had the middle schoolers at my homeschool co-op arts and crafts class create ones of their own. They used tissue paper, scrapbook paper, stickers and other mediums.

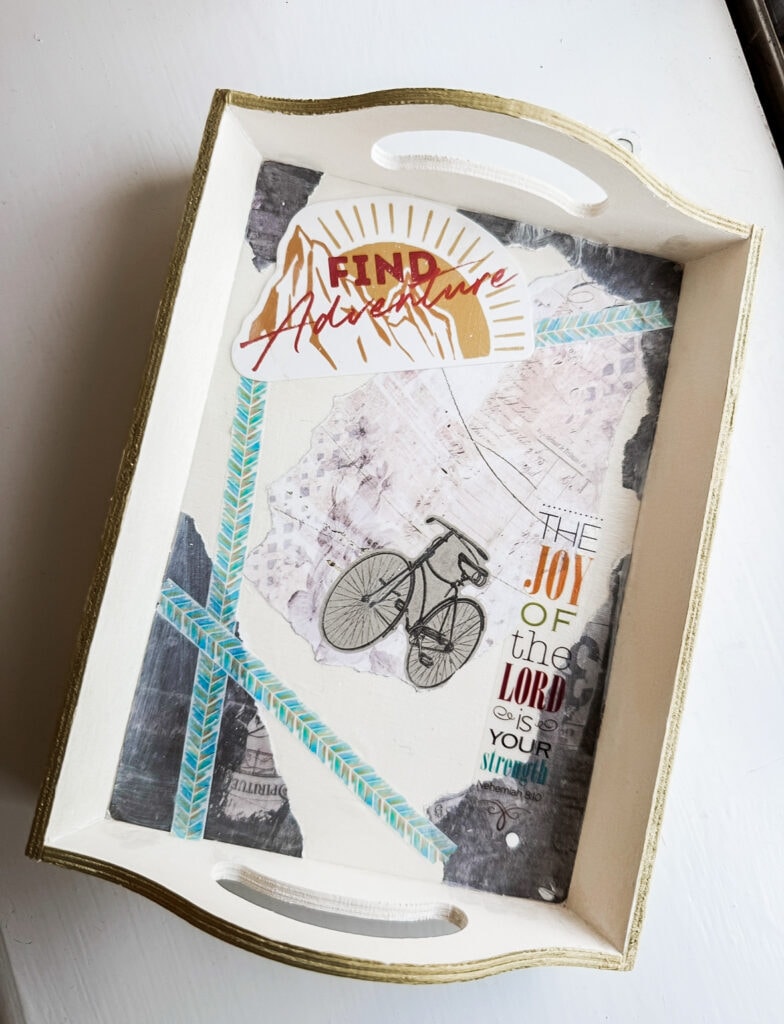
I truly love this project because once you learn the technique, you can truly create it to your own tastes.
And I always find new uses for them!
How You Can Put This Tray to Good Use
Of course, I like to use mine it as a jewelry tray. But here are some other uses for it:
Bedside Tray: Store chap stick, cough drops, ear plugs, scrunchies, eye covers, pillow spray, etc.
Desk Tray: Store your cell phone, or keep some paper clips, thumb tacks, or post-it notes handy.
Entryway Tray: Empty pockets, toss their keys and loose change! Or if you’re like my husband – cough drops!
Bathroom Tray: Store jewelry, watches, earrings before showering. Or a little staging area for some small essentials and sprays.
Kitchen Tray: A place to hold rings while working with meat, a cell phone holder to listen to your podcasts while cooking, or to store salt & pepper shakers, toothpicks, or spices you use on a regular basis.
DIY Gift Tray: Create on in a style a friend or family member would love and fill it with little goodies and treats for them!
Ok, hopefully, you can see that this goes way beyond jewelry! Let’s jump into the details!
Materials for Jewelry Tray
This post contains affiliate links. See Disclosures for details.
-
Wood trinket tray (Dollar Tree has these – the one we used was 6.5″ x 4.5″ but there is also one a littler larger you can use as well.)
-
Themed scrapbook paper (You can also use tissue paper or napkins in various patterns. Or mixed media and layer different patterns. You can also print out background wallpaper in various patterns and themes for free on Canva!)
-
Foam brush or paintbrush
-
Scissors
-
Pencil
Instructions for Trinket Tray
1| Paint the tray.
First, pick a color and paint the tray, inside and outside. I didn’t paint the bottom, but you can if you’d like.
You can choose your favorite color, a color that matches the decor where the tray will live, or a color that matches the scrapbook paper!
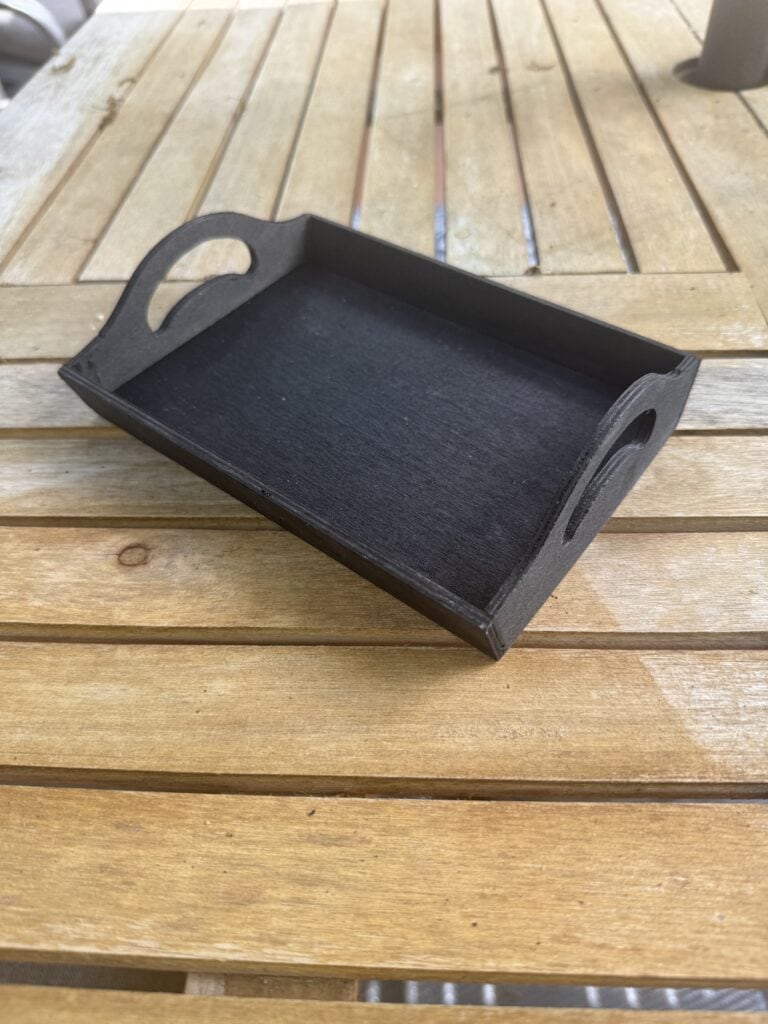
It might need two coats, so just let it dry a bit between layers. We often use a hair dryer when we are tight on time!
2| Cut your scrapbook paper.
Lay the tray down on your baseball paper and lightly trace around it with a pencil. Cut just inside the lines so it fits neatly in the bottom of the tray.
Or, you can measure the inside of the tray with a tape measure, draw a rectangle of that size, and cut.
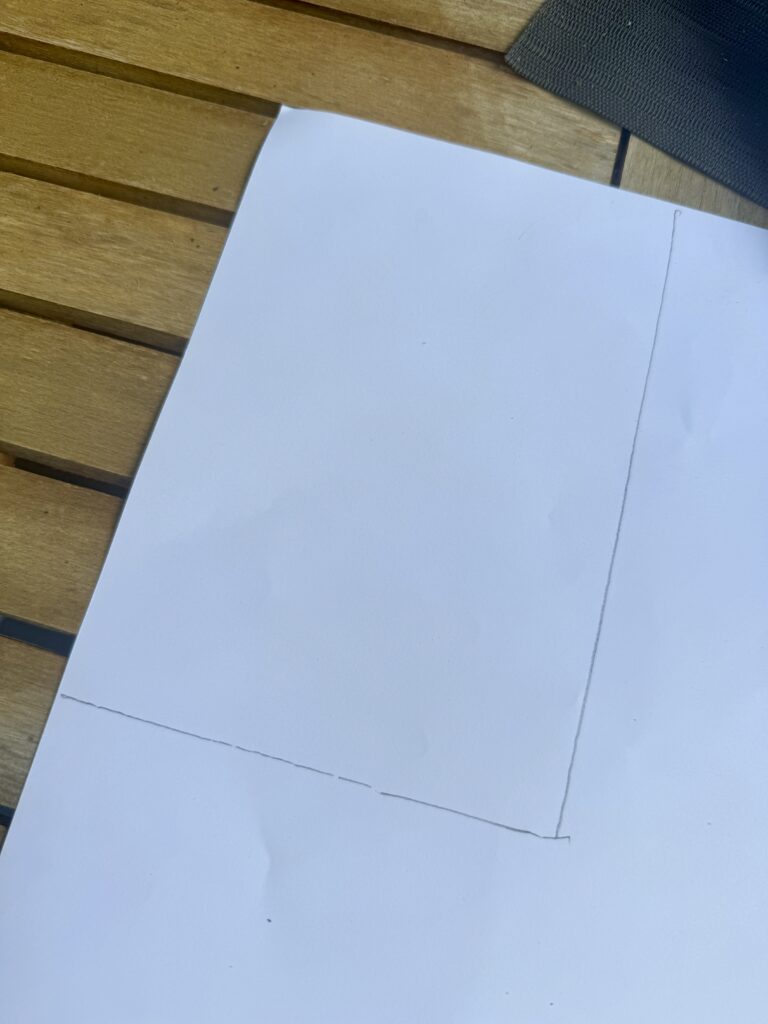
Be sure to check that the paper fits close to perfect before the next step! Trim as needed!
3| Mod Podge it in.
Brush a thin layer of Mod Podge onto the bottom inside of the tray.
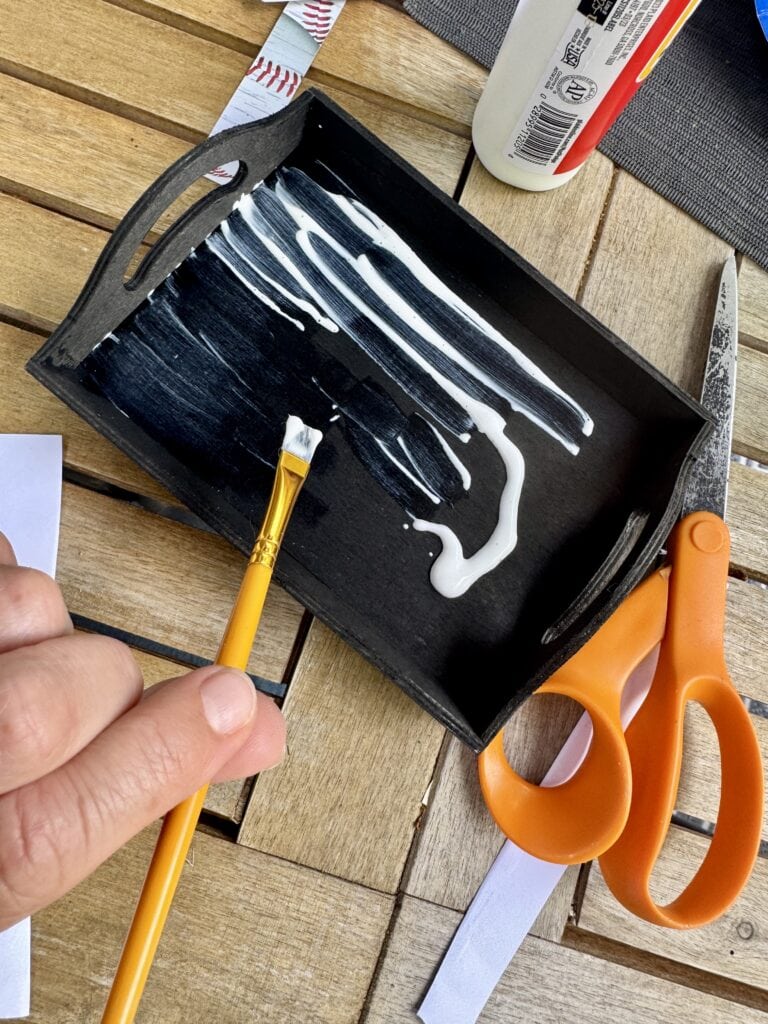
Then gently press the scrapbook paper on top. Smooth out any bubbles carefully with your finger, dry paint brush or a credit card.
4| Seal it up!
Once the paper is stuck down, brush a generous layer of Mod Podge over the whole thing — paper, inside edges, everything. It’ll dry clear and give it that nice, glossy finish.
5| Let it dry.
Give it a few hours to fully dry and cure. (Overnight is even better if you can wait that long.)
And that’s it!You’ve got the cutest little trinket tray that’s handmade, totally affordable, and perfect for a DIY gift or for yourself!
Bonus idea: If it’s a gift, write a little note on the back of the tray with a paint pen before sealing it up. Personal touches really make this a special keepsake, above and beyond just a gift.
Printable Instructions
If you’d like to grab some printable instructions for this project, you can grab that below!
Jewelry Tray
Materials
- Wooden Tray from Dollar Tree
- Scrapbook paper (napking, tissue paper, or print out)
- Paint brush
- Paint (acrylic or chalk)
- Pencil
- Paper Cutter (or scissors)
- Mod Podge
Instructions
- Paint tray with paint. Let dry.
- Find a scrapbook page or printout you want to place in the bottom of the tray on the computer. Print out on the computer.
- Trim image with a paper cutter or scissors to fit the bottom of the tray, about 4.5" x 6.5". Be sure to measure your tray for specific dimensions.
- Using the sponge brush, put Mod Podge on the bottom of the tray.
- Place printout on the bottom and smooth wrinkles out with your finger or other smooth object.
- Add Mod Podge to the top of the image as well as all over the try to seal and give it a uniform look.
- Let dry and enjoy!
Notes
*The Mod Podge could cause a little bit of the color from the printout to smear a bit. Mine was very faint. You may want to do a test before your image is sealed to the bottom. For the areas where the colors were faintly bleeding, I just added a little bit of the paint to blend it.
I hope this is fun craft you love creating – or gifting! This was one I did in my early days of DIYing, and I still love it!
More DIY Gift and Craft Ideas
If you love crafting and creating DIY gifts, here are more ideas to enjoy!
Easy Dollar Store DIY Apothecary Jars
100+ DIY Gifts for Friends (So Good You Want to Keep)
25+ Budget-Friendly Farmhouse DIY Home Decor Projects (Updated!)
Thoughts? I’d love to hear them! Leave a comment below!
And if you found this post helpful, I’d be so grateful if you pinned or shared. Thank you so much!