Easy Dollar Store DIY Apothecary Jars
Are you looking for a cheap but classy DIY? These trendy apothecary jars are made from Dollar Tree materials! For just a few bucks, you can create stylish decor for your home – or a DIY gift you can fill with treats!

Homemade Apothecary Jars for Cottage Inspired Decor
When we first moved into our house, I was into all the DIYing. I had twin babies, we were living on one small salary, and we had just moved to Tennessee and had an empty house that needed some homey-ness.
Homemade touches were my favorite- and still are. They add so much life and personality to a home. And these apothecary jars were one of my very first crafts.
And 7 years later, I still love them and still use them!
How to Use DIY Apothecary Jars
Before we get into the instructions, let me share how I’ve used them over the years.
Coffee Bar
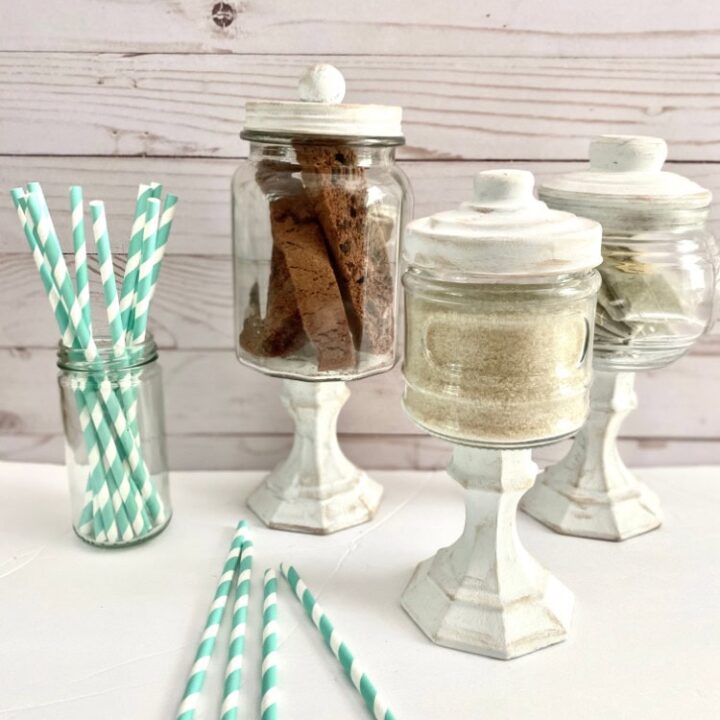
I love filling these jars with treats like biscotti as well as having a place for sugar and tea bags.
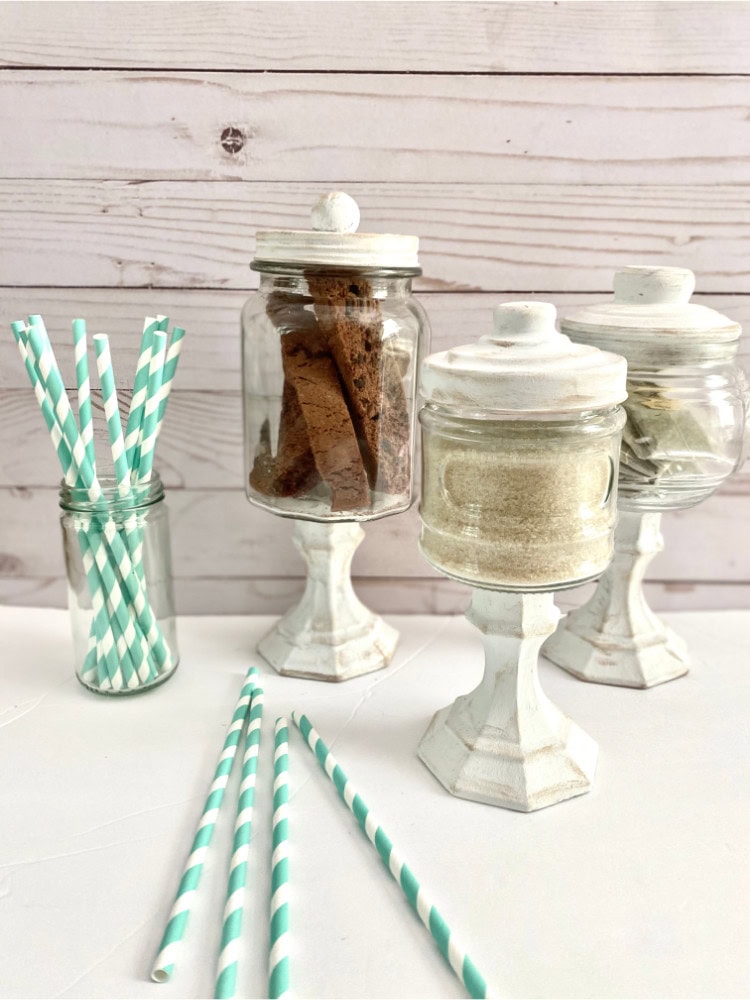
Anything you might need for a coffee bar or hot cocoa station, these jars would be adorable.
Seasonal Decor
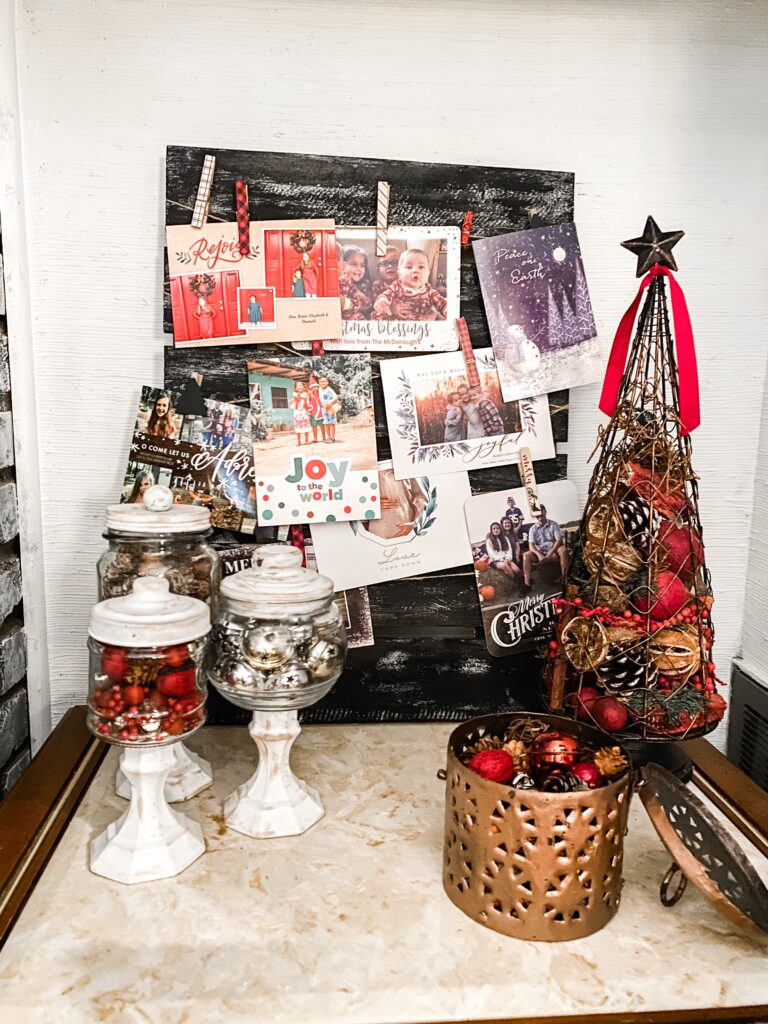
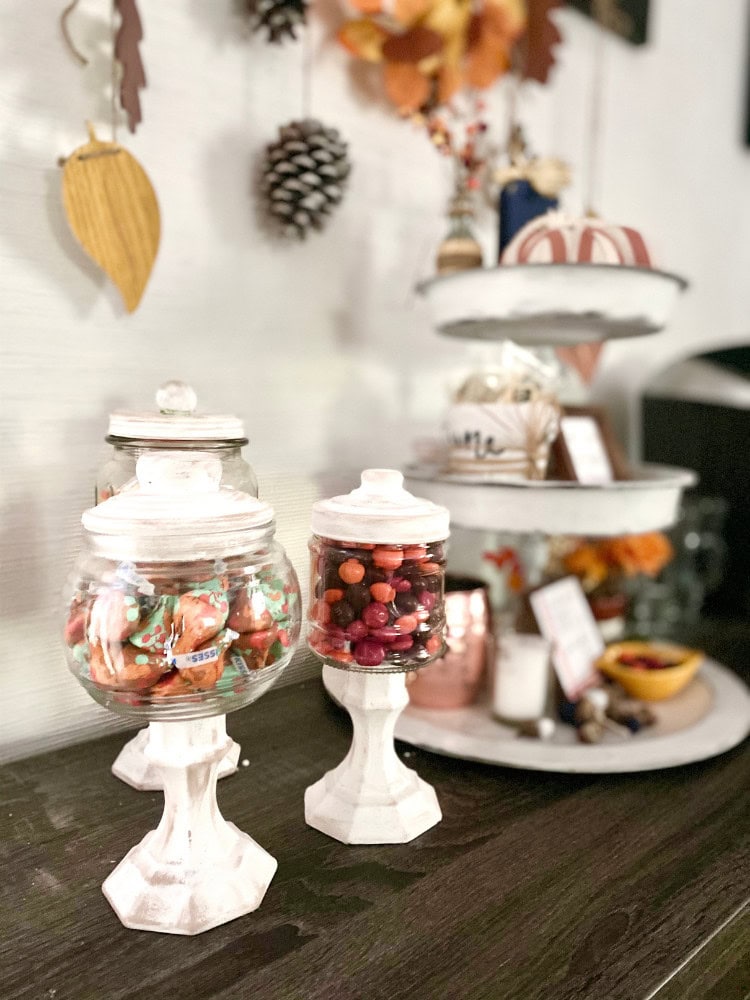
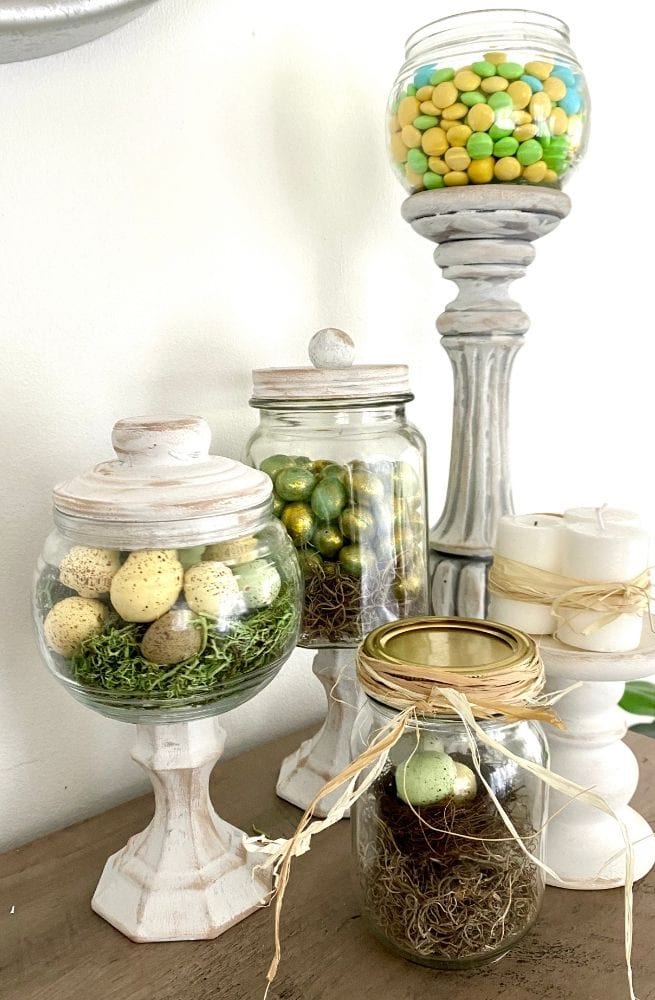
I’ve used these jars for fall, Christmas, Valentine’s Day, Easter decor. Each season has its own personality.
I’ve filled them with color themed ornaments, pine cones, holiday candy, a variety of seasonal colors. I’ve even created one to be something of a cloche!



Bathroom Storage
These jars will add a vintage touch to your bathroom decor. Fill them with cotton balls, Q-tips, or make-up pads! They would also be adorable at your make-up vanity!
DIY Gifts
I love these jars for a homemade gift. Mason jar gifts are such a fun option – and whether you want to fill it with food items or non-food items, either way, this levels up an ordinary gift-in-a-jar idea!
Party Decorations
I’ve seen gorgeous pictures of candy bars at various bridal or baby showers. I think a display of jars like this would look absolutely charming on a candy bar or candy charcuterie board!

Supplies for DIY Apothecary Jars
This post contains affiliate links. See Disclosures for details.
For this craft, you just need jars, candlesticks (both from Dollar Tree), chalk paint, and E6000 glue! {And a small rubber ball for the top of the lid, if you desire!)
You really can customize the style by the paint color you choose. I wanted a more rustic look, so I used white chalk paint and distressed with this Butter Pecan Beige chalk paint, which I use for EVERYTHING!
OK, let’s get to the instructions!
Easy Handmade Vintage-Inspired Apothecary Jars
Apothecary Jars
Materials
- Jars with lids, various sizes, from Dollar Tree
- Candlesticks
- E6000 Glue
- Chalk Paint
- Black or Brown paint and sponge make-up applicator (optional)
- Small rubber ball (optional)
Instructions
- Paint jar lids and candlesticks with chalk paint.
- Once dry, place glue on top of candlestick and place jar on top of it so it's centered. Allow to dry.
- If there's no handle on top of the garm, you can paint a small rubber ball and glue it to the top as well.
- If you want to distress your jars, place paint on a paper plate or piece of cardboard. Dip makeup sponge in paint and blot HEAVILY before using. Paint should only be like a smoky smear. Lightly brush areas where you want to distress, especially focusing on raised surfaces and edges.
- If you'd like a jar with a little faux handle on the top, I painted a small rubber ball and glued it the lid!
- Fill with all your favorite things!
Ideas for Decorating
If you want to level up the design a little more there are a few ways you can decorate these jar!s
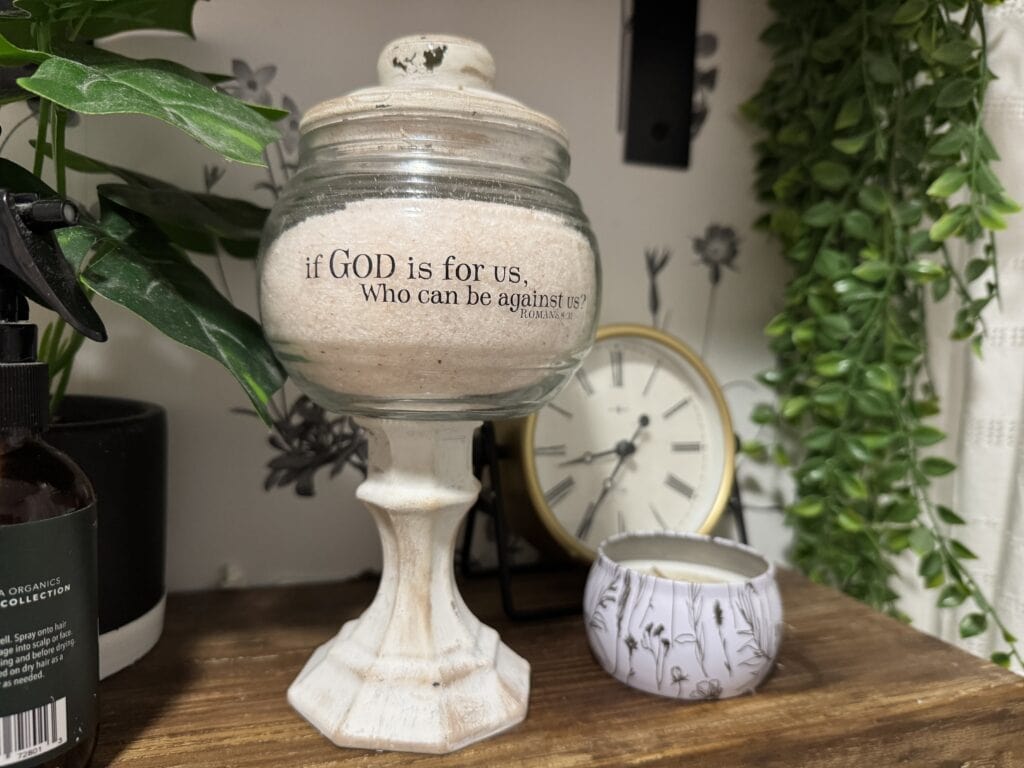
- Stickers: Yep, plain old stickers! Here are two jars where I added clear stickers. To help them last longer and make them water resistant, you can seal with Mod Podge. These are in my bathroom with Epsom salt (which creates a nice, monochromatic background!).
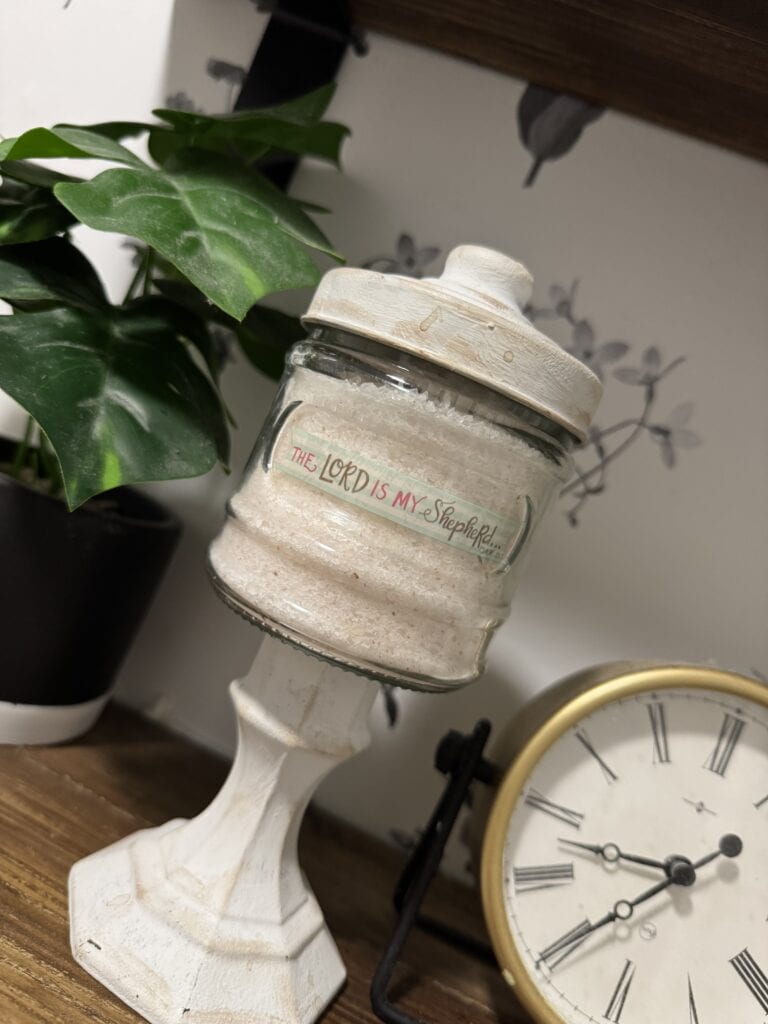
- Decoupage: You can cover the jars with pretty napkins or tissue paper for a more eclectic look.
- Labels: You can print out paper labels and use Mod Podge to seal them on there. Or you can purchase sticker labels and stick them on!
- Rub on Transfers: There are so many designs to choose from for transfers!
- Temporary Tattoos: Yes! You can use temporary tattoos on jars! If you want them to be permanent, seal with Mod Podge!
More Easy DIY Inspiration
If you’d like more ideas with crafts for the home or DIY gift ideas, check out these posts!
DIY Dollar Tree Rope Basket {Gift Basket Idea, Too!}
Genius No-Sew Hand Towel Wall Hanging (& Seasonal Craft!)
Easy Dollar Tree Farmhouse DIY Projects (done in 1 sitting!)
100+ DIY Gifts for Friends (So Good You Want to Keep)
Thoughts? I’d love to hear them! Leave a comment below!
And if you found this post helpful, I’d be so grateful if you pinned or shared!