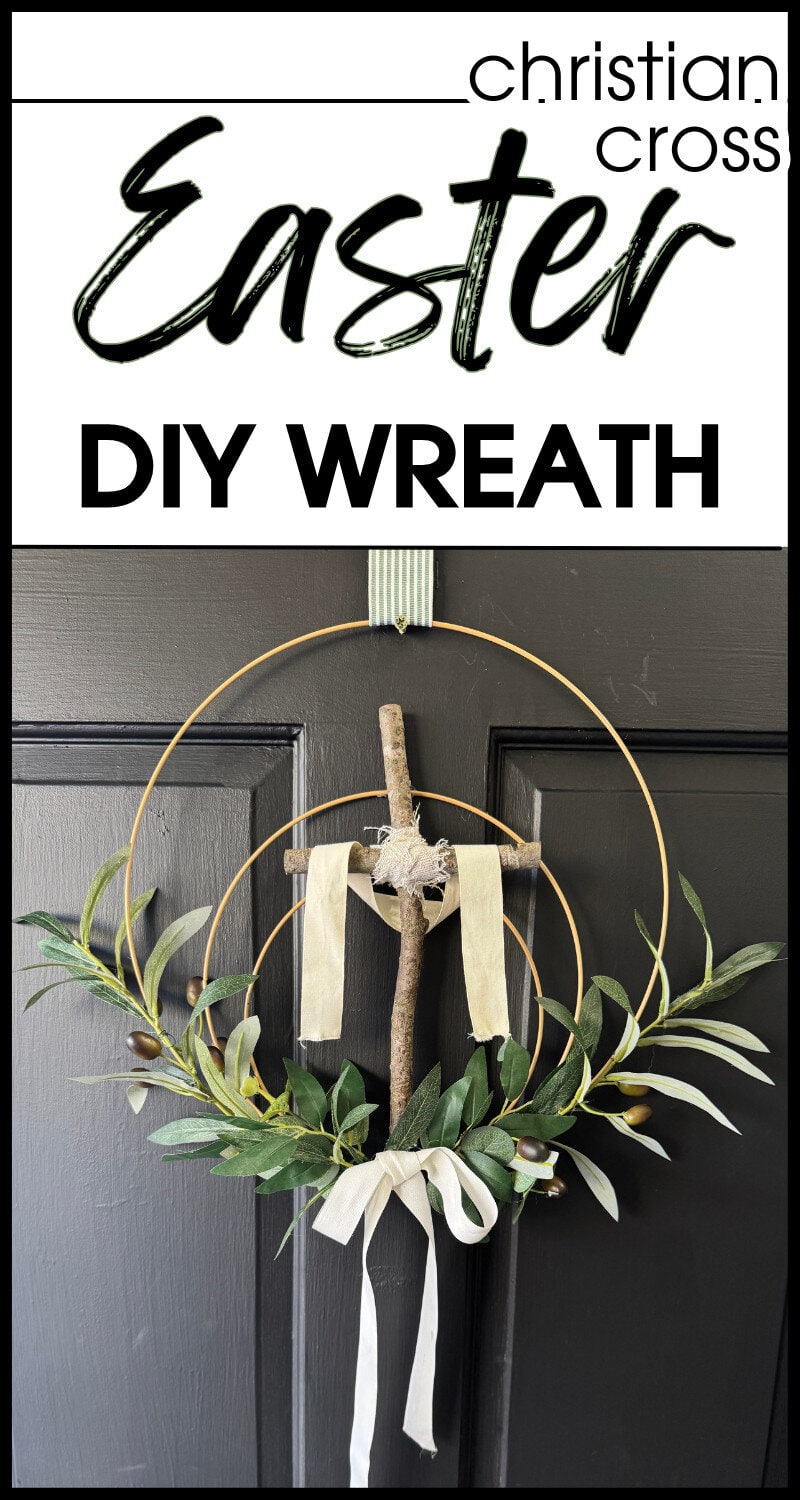
DIY Cross Easter Wreath for Christ-Centered Decor
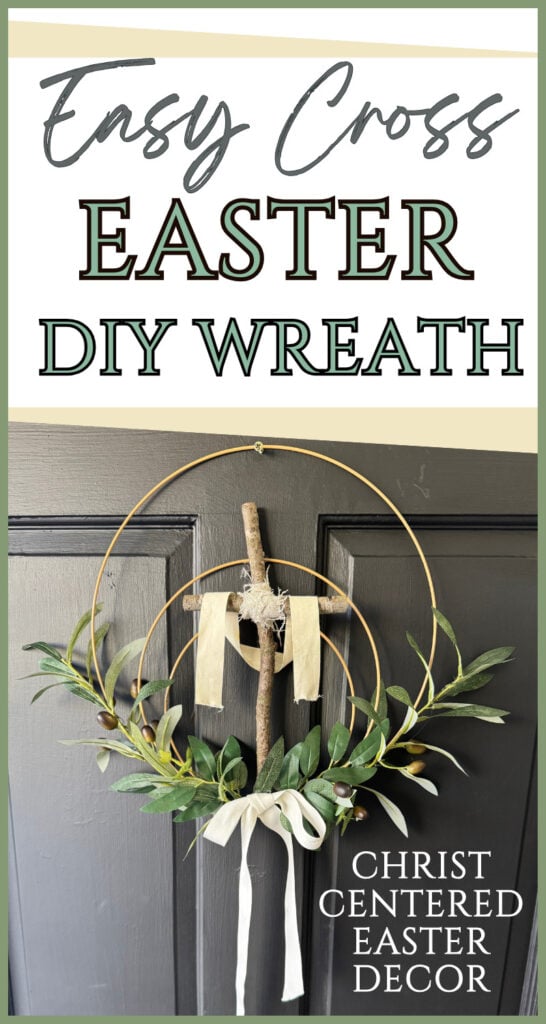
Are you looking to incorporate Christian Easter decor instead of the traditional bunny and egg themes? Today I have an easy, inexpensive DIY wreath for you that celebrates Jesus’ resurrection as soon as someone walks through your front door!
A Christ Centered Easter
If you’ve followed any of my recent posts, you know I’ve been making a move away from traditional decor and DIY (nothing wrong with those!), to a more Christ-centered home, even down to the decorations.
When it comes to Easter, this is one I feel especially strong about. While there’s nothing inherently wrong with Americana decor for the 4th of July or pumpkins for fall, Easter is ALL about the resurrection for those of us who are Christians.
It’s the event in which our faith would be in vain if it never happened! So, it’s a very big deal. And this year, I’ve been convicted to bring Jesus into everything I do. Even crafts. Even home decor. Even blogging.
So today, I want to share an Easter wreath I made that I hope will bring glory to Jesus as we celebrate His resurrection!
Easy DIY Easter Cross Wreath
I’m not going to lie – a neat, clean, tasteful aesthetic in my home is still important. I try to do crafts that are just a little bit elevated in that, for my own personal taste – more classy than cutesy. That’s just me.
So, I want to create an Easter wreath that checked those boxes while at the same time lifts up Christ. I hope this wreath does all of that!
This is a pretty simple project with just a few materials. There are a few variations to how you can create it that I’ll explain as we go!
Let’s get started!
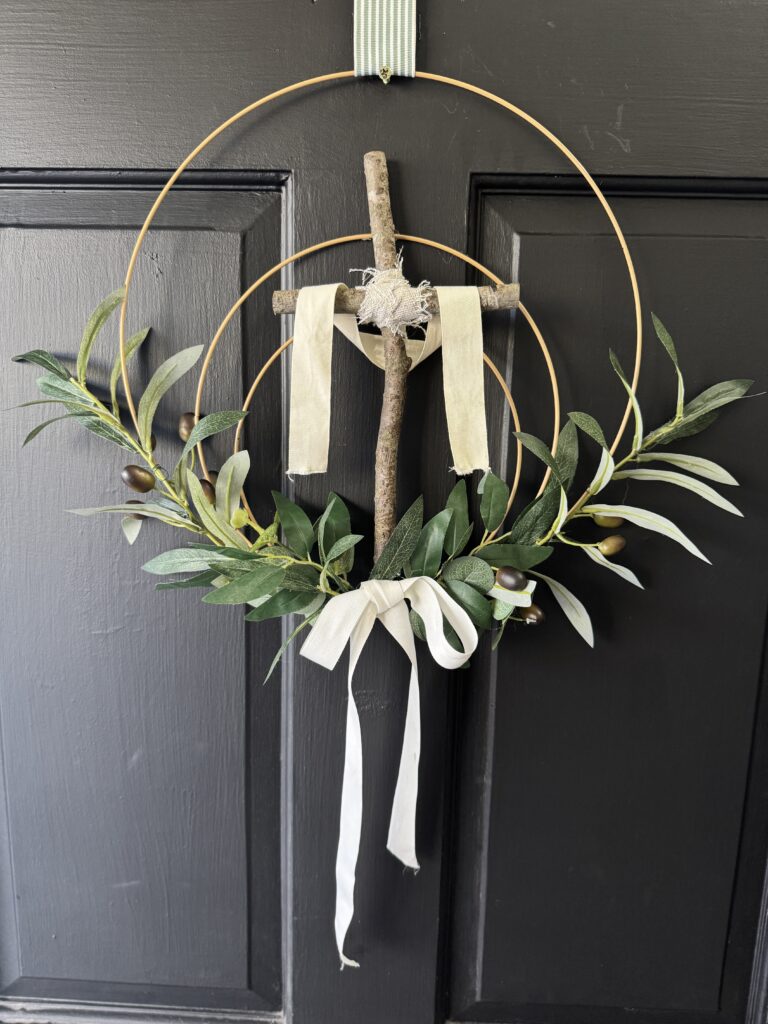
Materials for DIY Cross Wreath
This post contains affiliate links. See Disclosures for details.
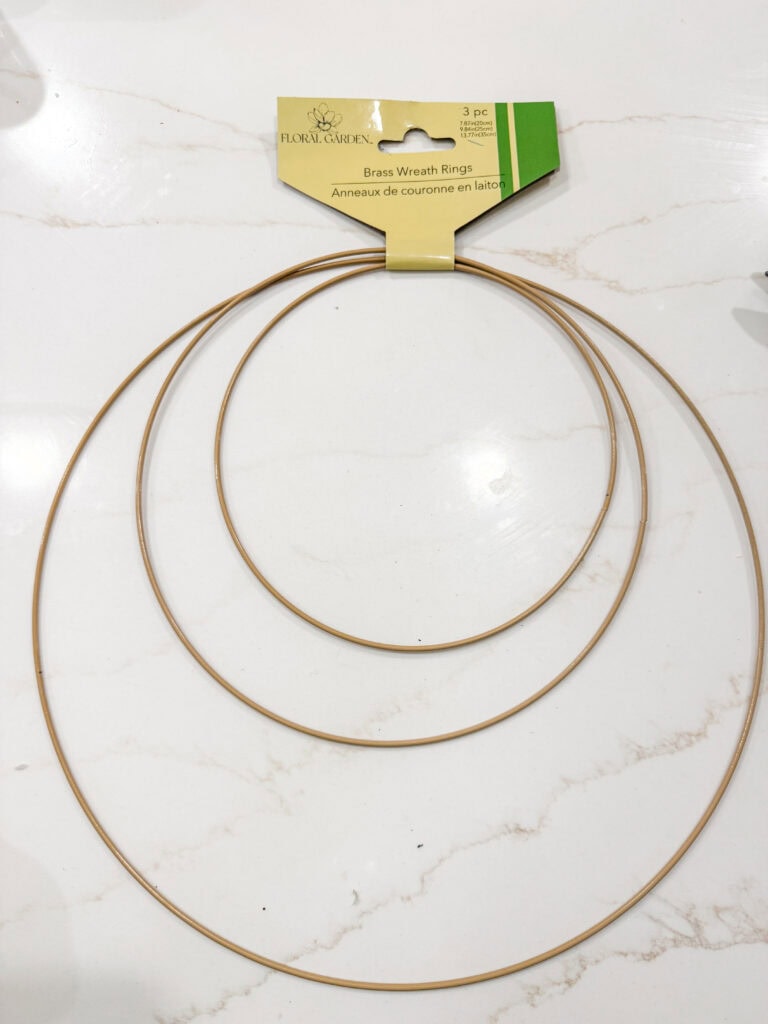
For this wreath, you’ll need a set of metal wreaths. You’ll be using all 3!
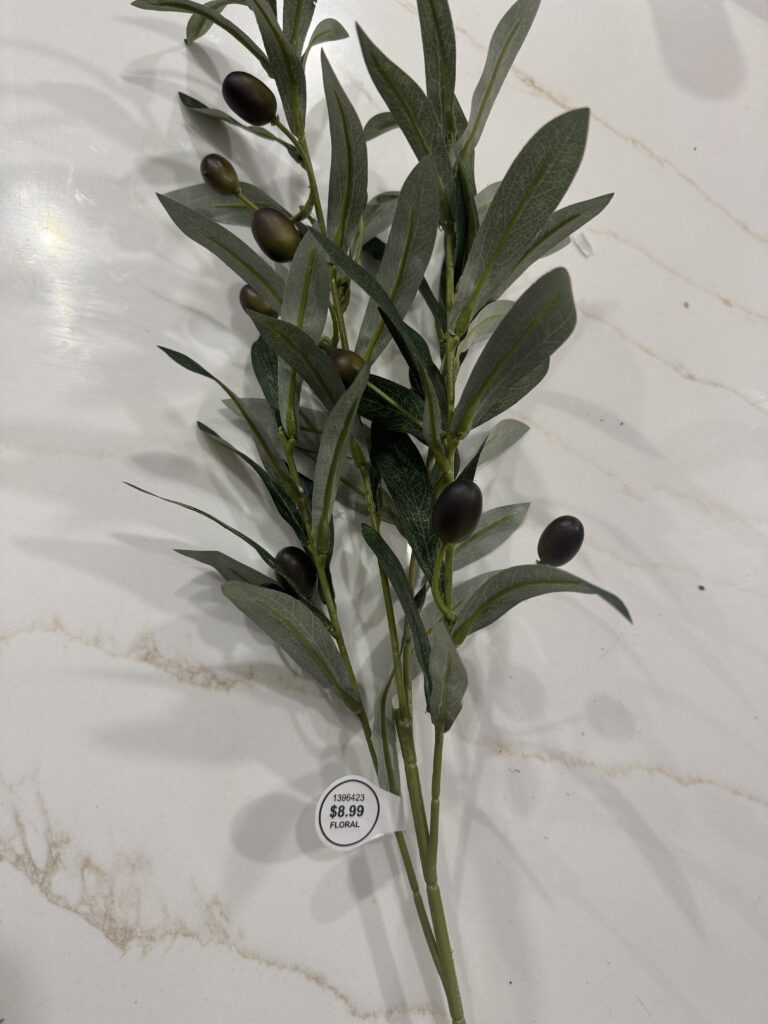
Not only are the branches super pretty and a little different, it’s a reference to Christ’s last night on earth praying in the Garden of Gethsemane, which is believed to be part of an olive grove.
Wood sticks
I used sticks from my yard for a more rugged, rustic look. You can also you trimmed-down paint stirrers, extra long craft sticks, or even a ruler! If you use these supplies, consider staining them!
I tried to keep it simple, so I just used sticks. And they’re free!
Ribbon/Fabric
I used old fabric scraps to join the crossbeams together. You can also use jute string, yarn, or any kind of rope you’d like. Or none at all and just glue it.
You’ll also need a cream-colored ribbon for the bottom of the wreath and another piece to drape over the horizontal beams of the cross, if you choose that option. You may also want another length of ribbon to hang the wreath.
Floral wire
Floral tape
Snips/wire cutter
This set right here has all 3 (floral tape, wire, and wire cutters) in one!
Steps to an Easter Cross DIY Wreath
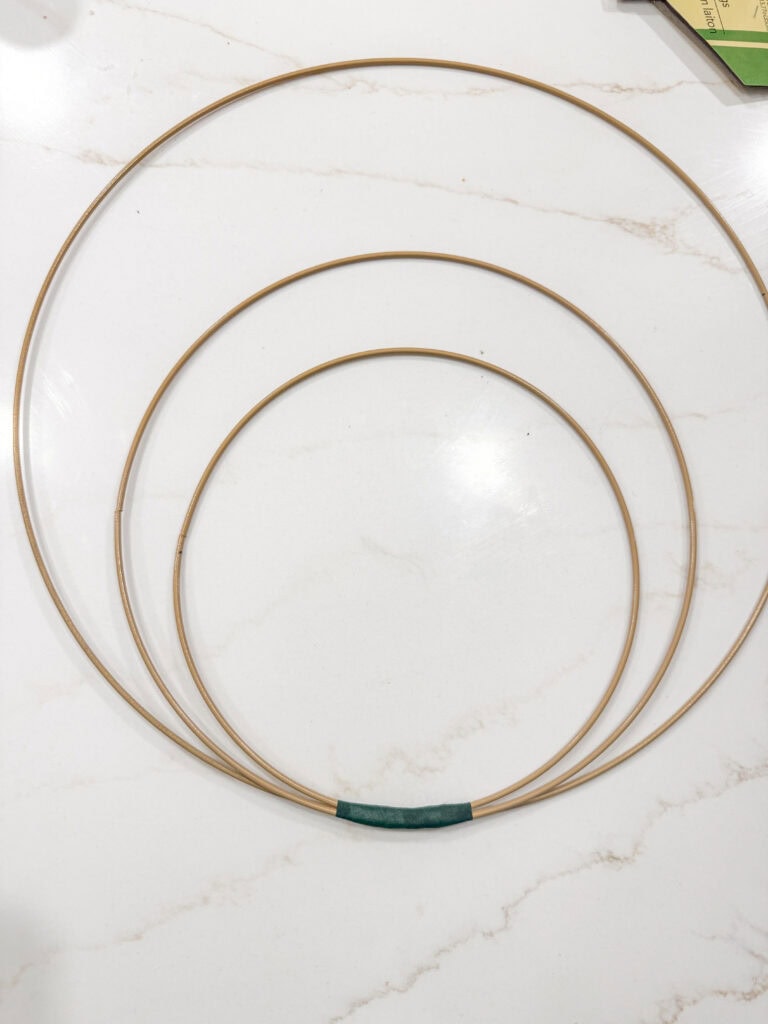
1| Attach 3 wreaths together
Using floral tape, attach all 3 wreaths together at the base. Secure the tape with a dab of hot glue.
2| Attach the branches
Using the snips, cut off a few of the olive stems from the branch. Arrange them so they go out in 2 different directions from the base.
Use floral wire to attach them to the metal wreath, so they fan out about a 1/3 of the way up the sides of the circle.
Continue to attach branches until it reaches the fullness you desire. Leave a small gap at the center to attach the cross (see step 5 for picture).
3| Create the cross
Lay your sticks on the table in the shape of a cross. Place your ribbon, jute string, or fabric strip behind the cross and begin wrapping the cross beams. You can attach the ribbon to the back of the stick with hot glue first if you’d like.
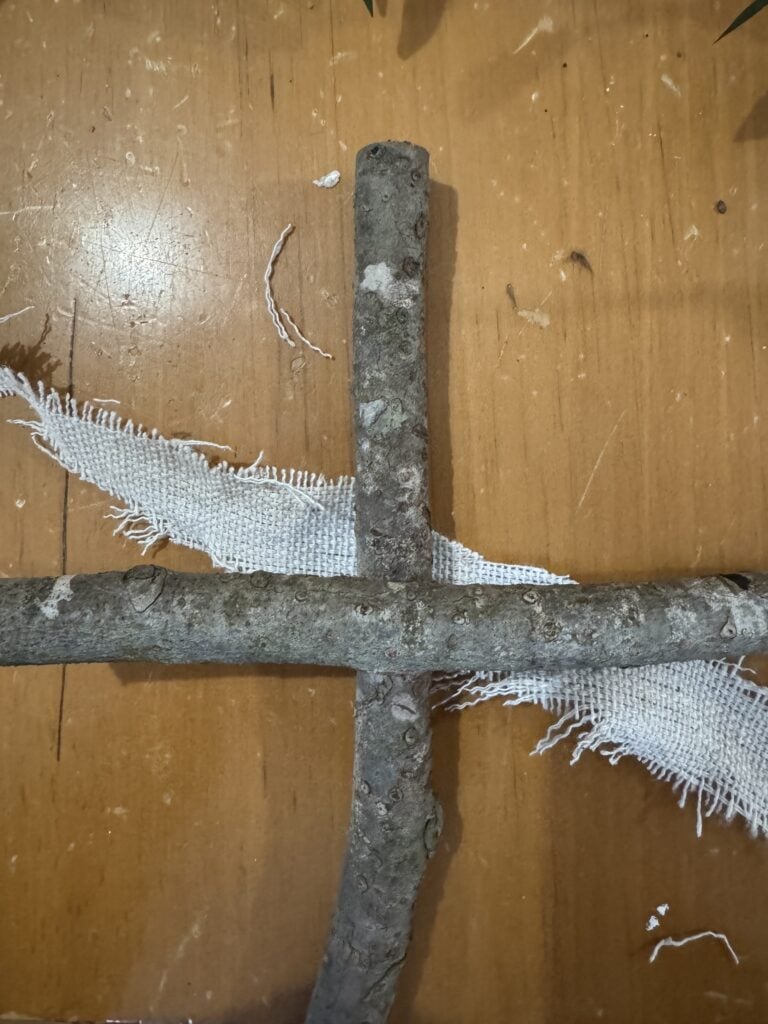
There’s no rhyme or reason to how you do this. Just keep winding it over, under, around all the beams until they are attached.
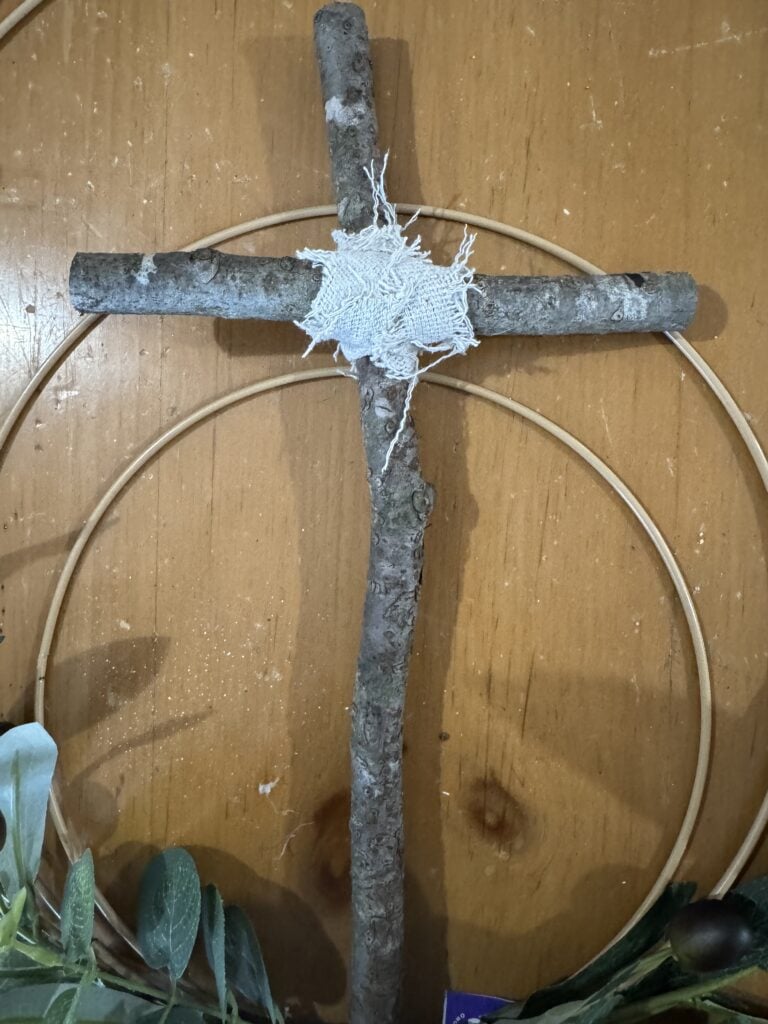
Once you’ve fully wrapped the cross beams, with the ribbon on the back of the cross, secure with hot glue.
4| Attach cross to wreath
This part takes a little finesse, depending on what kind of wood cross you make. I used sticks, and fortunately, the base of one of my sticks was pretty much cut at a 45 degree angle! That made it a lot easier to attach.
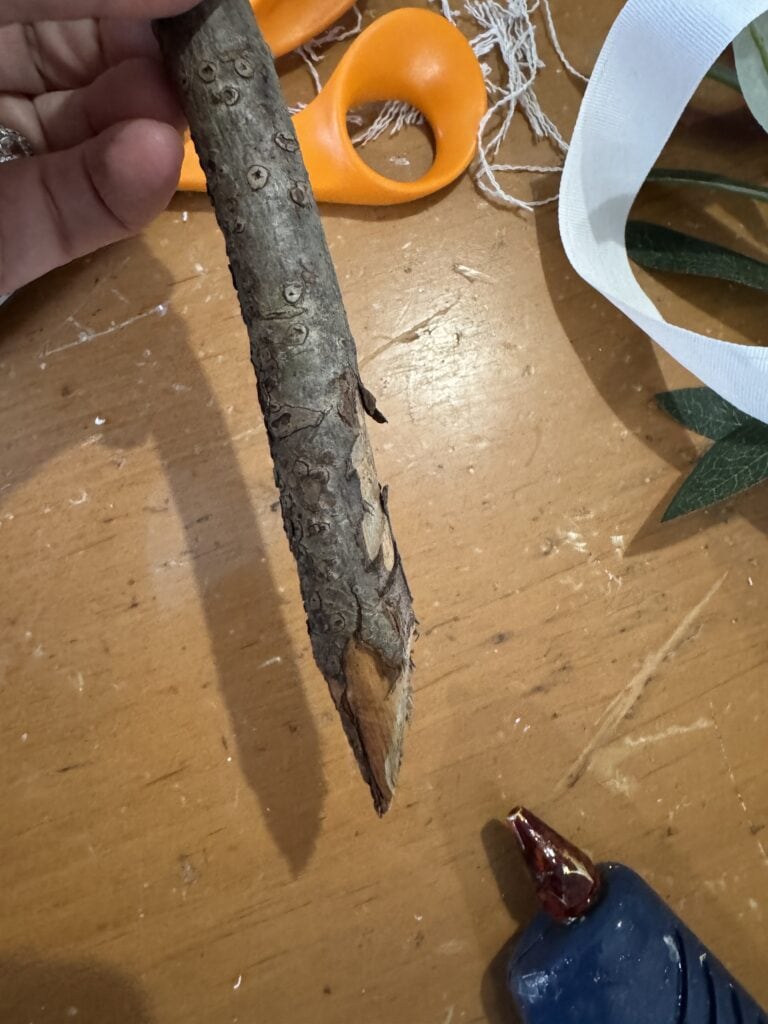
If necessary and you’re able to, cut the stick at a 45 and hot glue it to the front of the wreath.
Then, wrap the base (a lot) with floral tape so it blends in with the base and helps it stay more secure. You can also see the gap in the greens referenced in step 5.
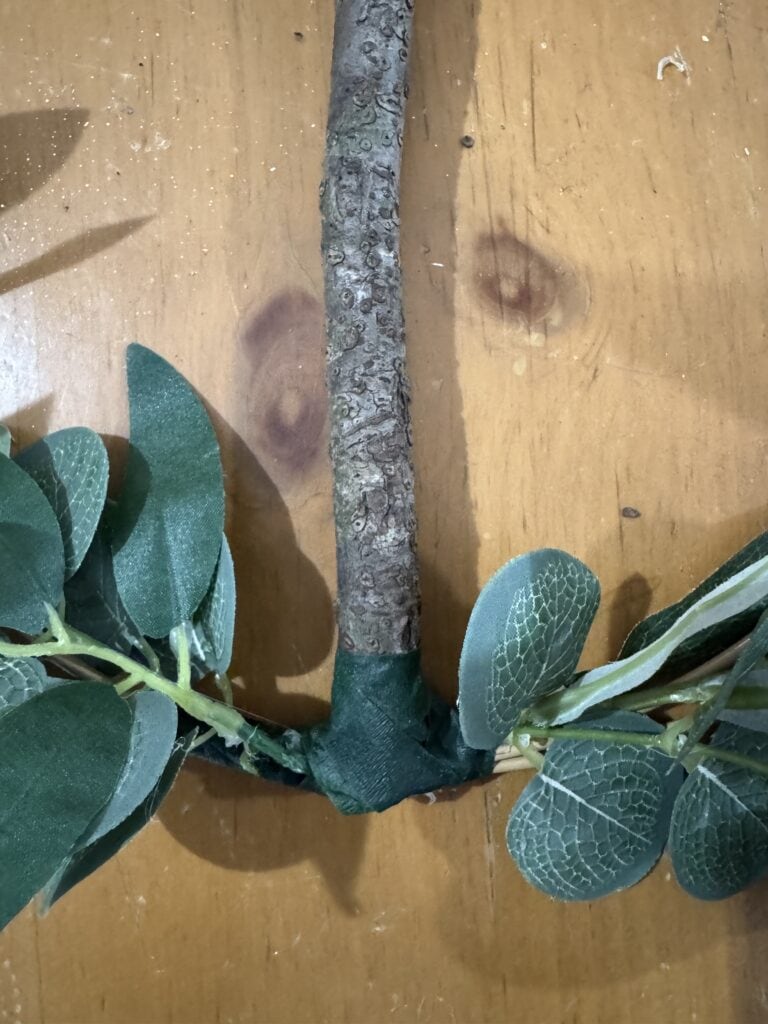
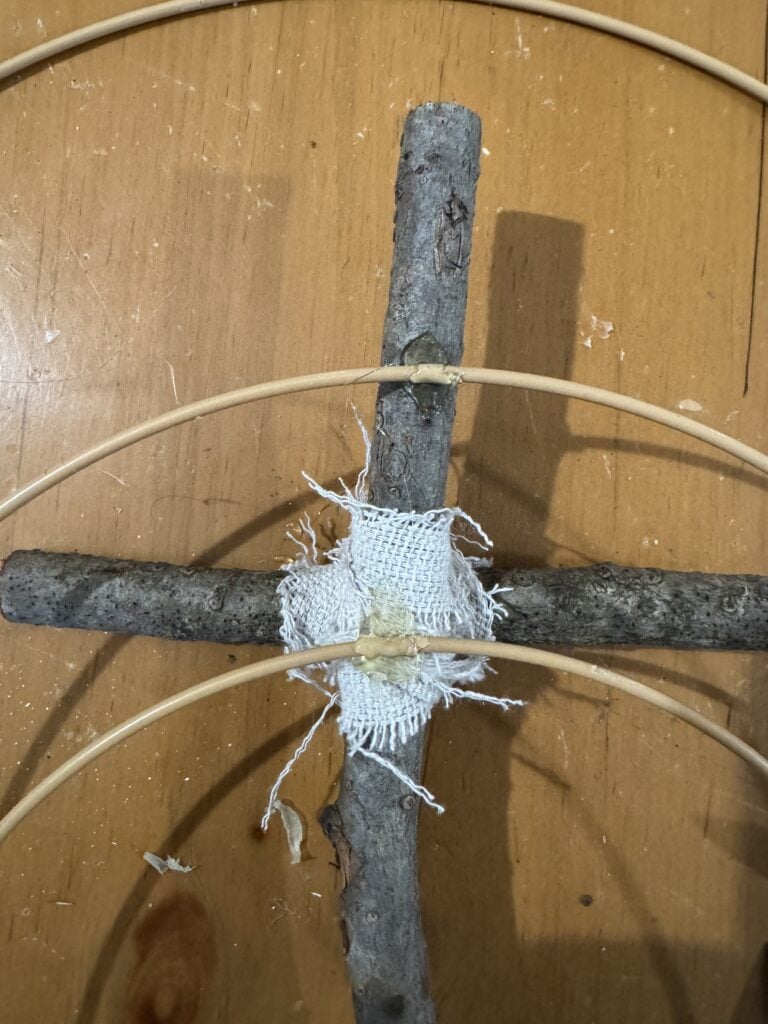
You should also glue the top part of a wreath to the closes metal hoop to the fabric center.
5| Add in florals to cover base
At this point, I just hot glued a few more olive branch stems to cover the front of the cross. You can also put flowers there, or even just put a ribbon that is big enough to cover it.
6| Add ribbon to finish the wreath
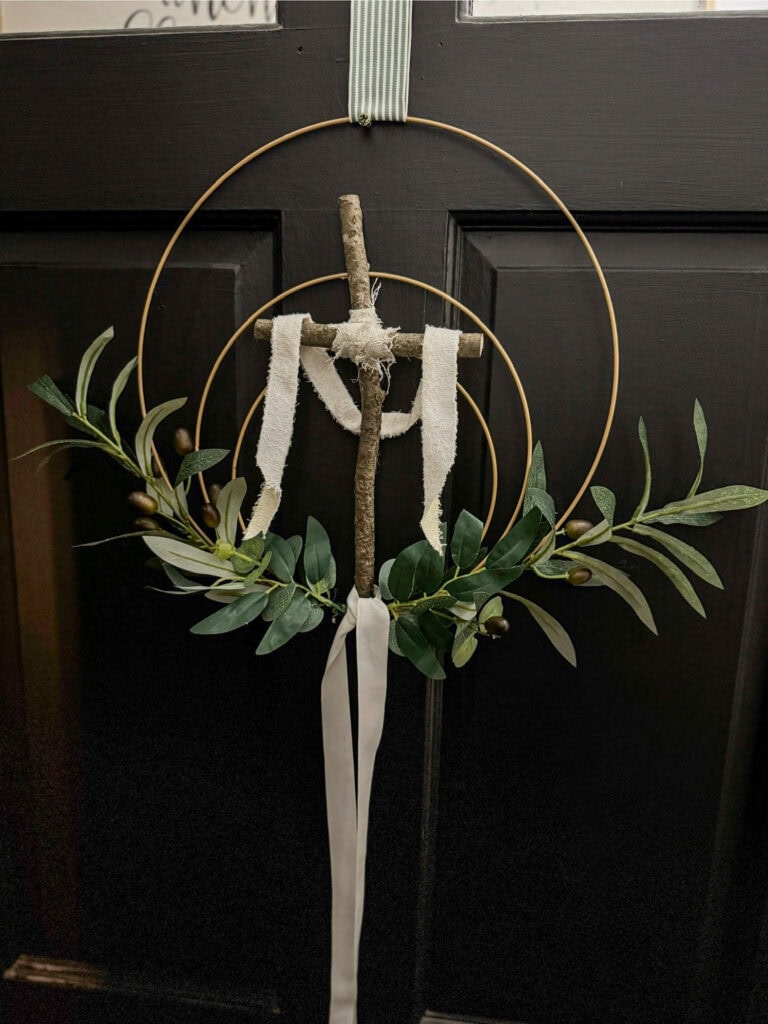
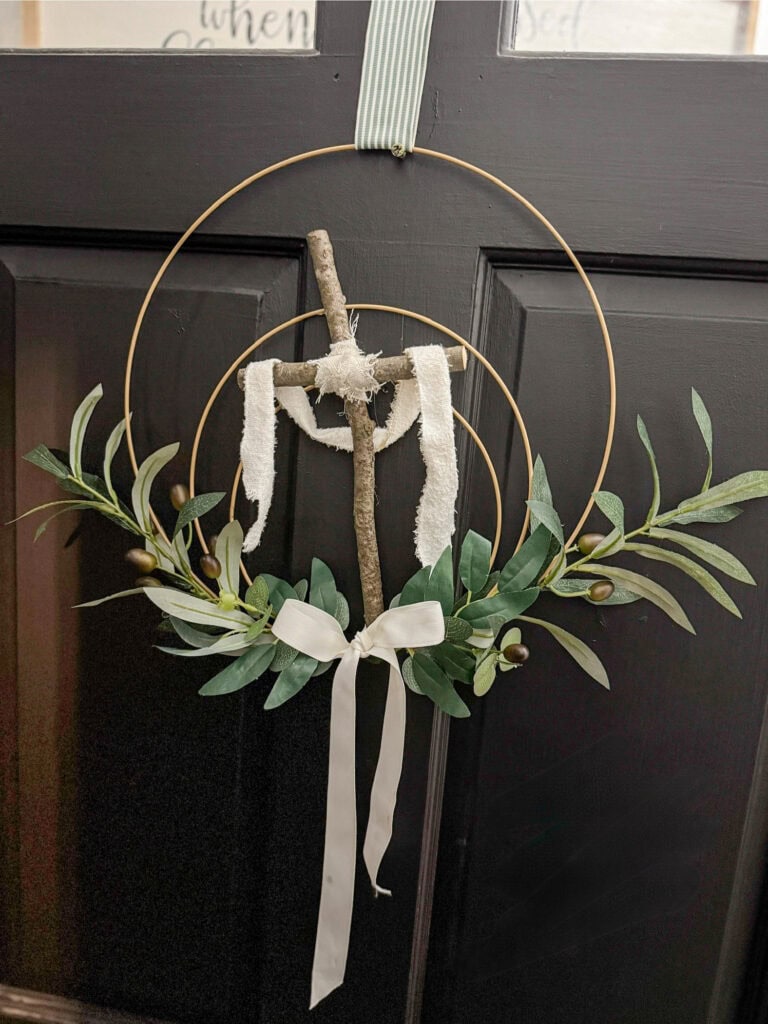
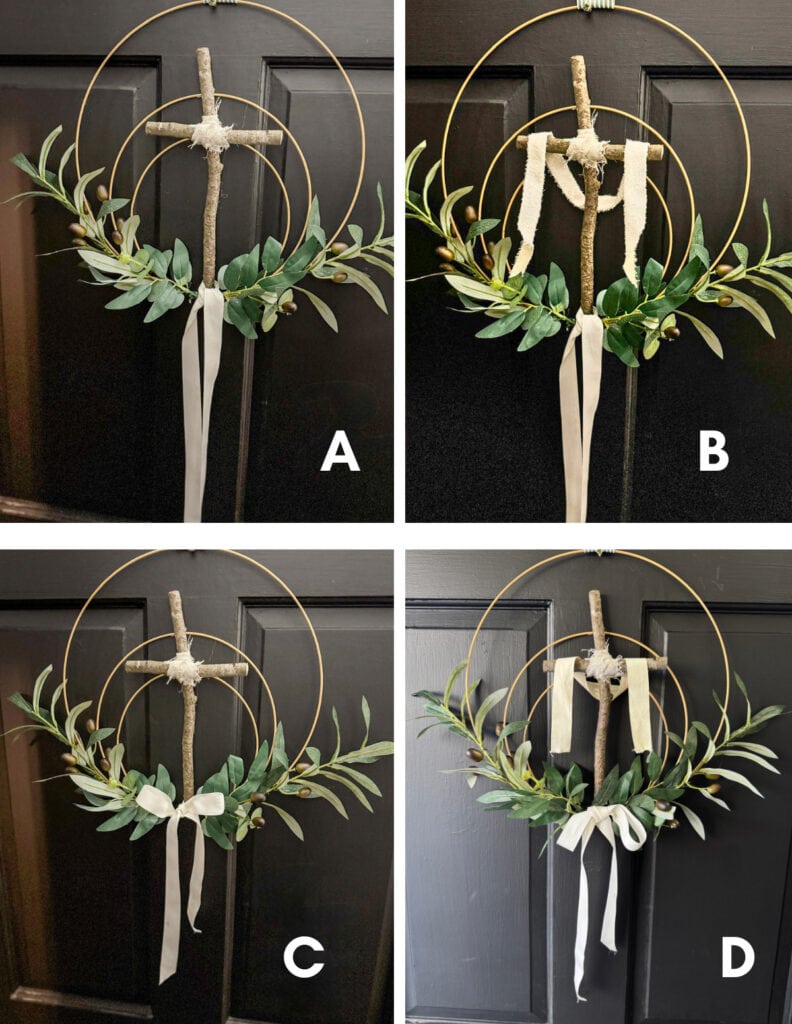
This is where you have some options. It’s easier to show in pictures that explain! Here are 4 different variations.
A| Tied ribbon at the bottom, no fabric over cross beams

B| Tied ribbon at the bottom, with fabric over cross beams
C| Bow at the bottom, no fabric over the cross beams

D| Bow at the bottom, with fabric over the cross beams
Below you can see them all side by side, to compare.
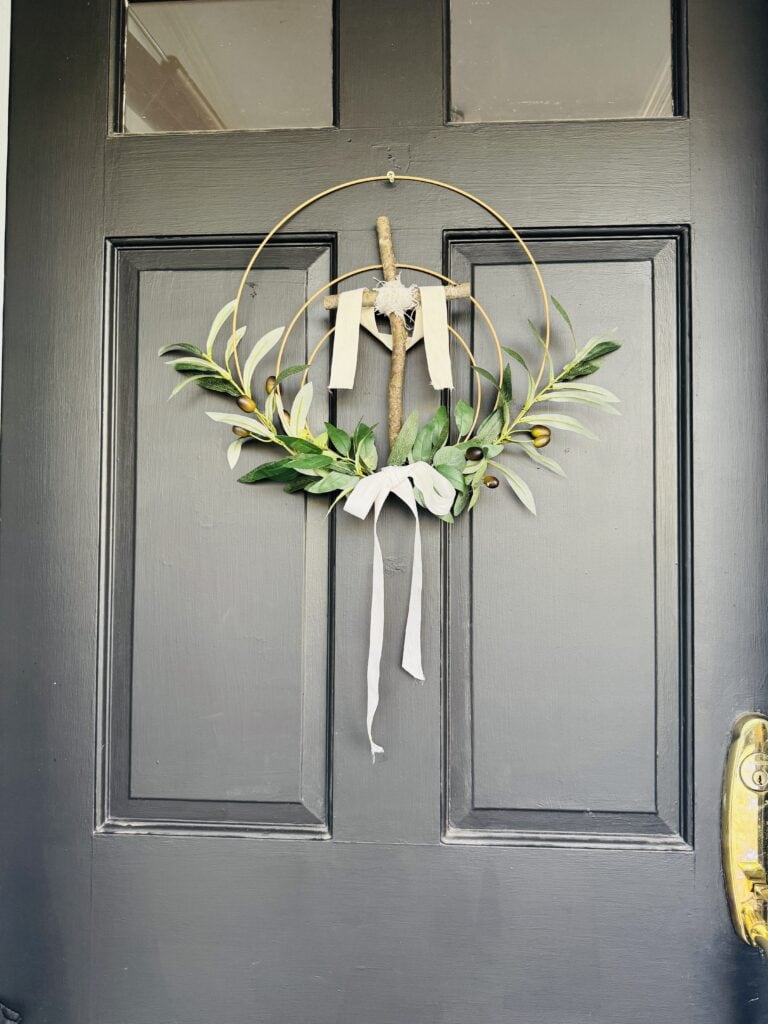
You also can hang on a nail or screw.
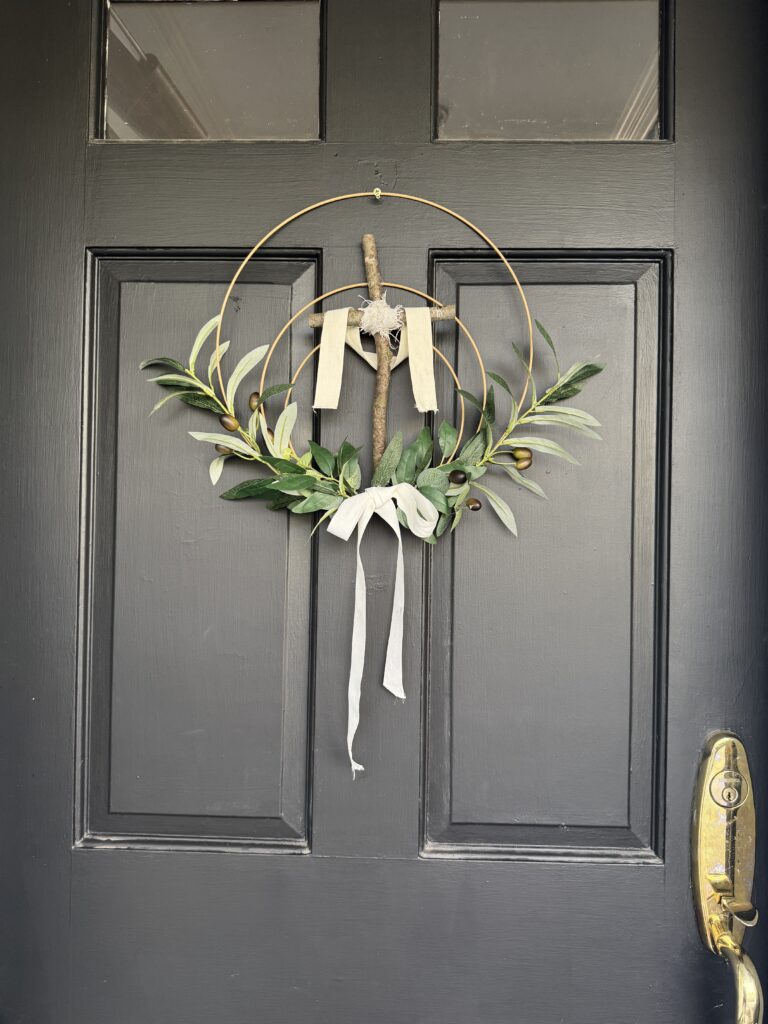
Or you can hang it with a ribbon through the top.
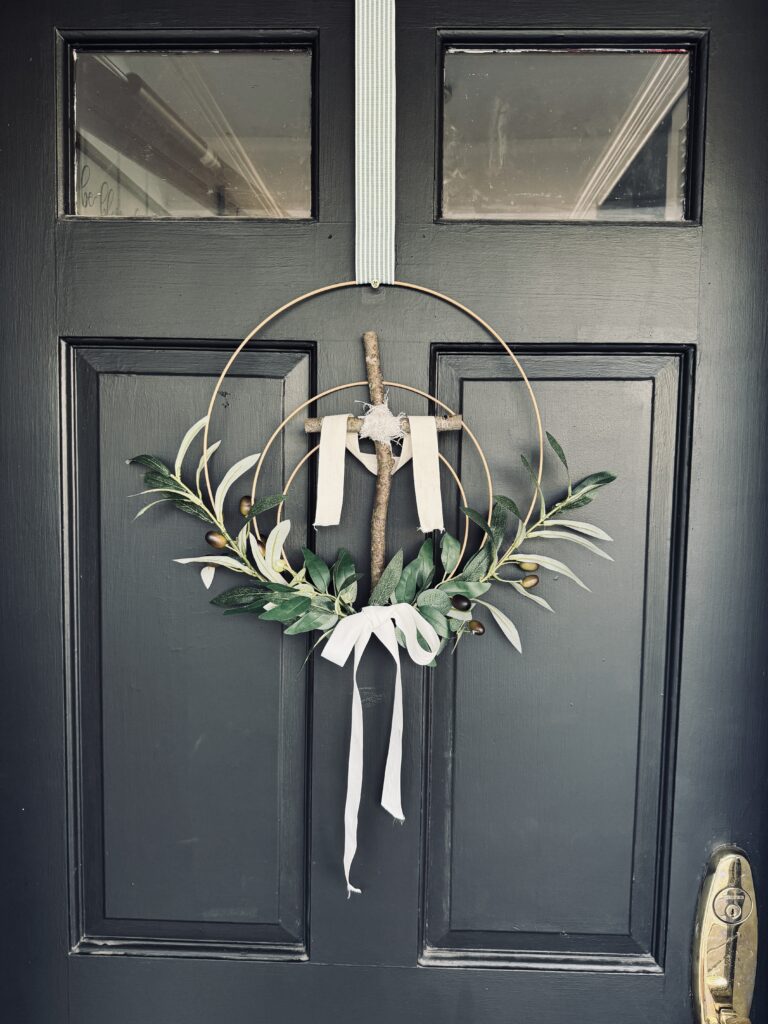
This is the version that I finally settled on (for now, lol. It might change).
And a few close ups.

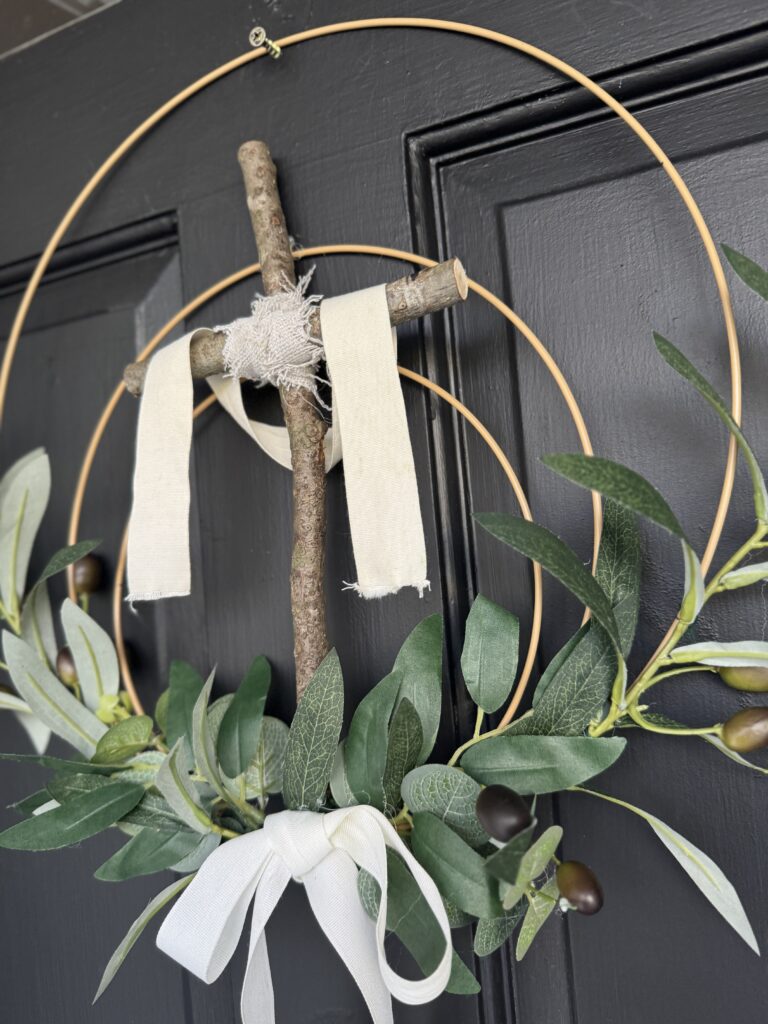
And that’s all there is to it! I hope this is a wreath you enjoy making and enjoy displaying!
It’s a simple way to declare Christ’s resurrection – and I love that the metal hoop wreaths looks like a sunburst, almost as if it’s shouting ‘He is Risen!’
More Christian Easter Ideas
If you’re looking for other Christ-centered Easter ideas, these other posts might be helpful!
Easter Christian Easter Treat: Chocolate Oreo Pops
25 Meaningful Christian Easter Crafts & Activities for Kids
18 Christian Easter Treats for a Christ-Centered Celebration
20 DIY Christ-Centered Easter Decorations
If you make this wreath, I’d love to see it! Tag me on Instagram @100affections or leave a photo comment on Pinterest!
Other thoughts? I’d love to hear them! Leave a comment below!
And if you enjoyed this post, I’d be so grateful if you pinned or shared! Thank you so much!