Are you planning or attending a party and would like to create a dessert that will wow? Try a caramel apple charcuterie board – it’s a fantastic way to offer delicious & sorta healthy food that everyone loves in an gorgeous and festive way!

Why I Love Charcuterie Boards
While I realize that, technically, a charcuterie board is created from cured meats and cheeses, along with other foods that complement them – nuts, crackers, seasonal fruit. Here in the states, we’ve commandeered that definition to include pretty much anything we want to throw on a wood board.
Either way, they are still my favorite dish to bring or serve at a party, because…
1| A snack board allows you to utilize so many creative ideas in putting together an appetizer or dessert for guests
2| No cooking or baking skills required to put together an out-of-this-world grazing board. It’s all in the presentation.
3| It’s ideal for a last-minute dish.
4 | Grazing boards make for great community – casually milling around a coffee table, in the dining room, at the kitchen island, nibbling and chatting. They bring people together!
5| A snacking board is aesthetically gorgeous, in my opinion and always impressive in its visual appeal, even if it’s so simple!
Homeschooling world has provided endless occasions where I need to bring a dessert or appetizer – and it take the pressure off when I can put together a charming charcuterie board.
They always impress in their optics, and most people enjoy grazing and tasting, and not committing to a full appetizer or dessert: a fun way to sample it all.
Apple Dipping Board for a Guaranteed Win

While a caramel apple board is typically thought of as a dish for fall parties, it really is not. It’s not your typical knock-off for classic caramel apples.
I think of it more of an ‘apple dipping board’ rather than just a caramel apple board. It resembles more of fondue than just caramel apples, including melted chocolate – both white and dark – and other yummy dips.
I brought this board to 2 different occasions, and I set it up 2 different ways (more on that later!).
So let’s get to the details of creating this gorgeous board in a few simple steps!
Steps to Creating an Apple Dipping Board of Your Dreams
This post contains affiliate links. See Disclosures for details.
Step 1: Select Your Board
While this isn’t the most exciting step, it’s a necessary one. The size of your board will determine just how many options you can include.

There are all types of boards that can work for charcuterie: a cutting board, pizza board, large wooden serving tray, a vintage bread board.
There really are no rules, but wooden bread boards in any variety achieve the vibe you’re going for! Even thrift stores can have some wonderful options!
Though wood boards come in various shapes, I personally like large round boards with a rim, especially if you’re transporting!
But really, any board will work.
Because you’ll need to put your spreads in some kind of small serving bowls, which take up a pretty good amount of real estate, a large board works best.
For one gathering, I realized that the toppings took up most of the space, so I had a separate board for the apples.

The second go around, I set it up a little differently, which I really liked better (I’ll explain more in the last step!).

And if you really want to take it up a notch, the board would make a great gift for the hostess, if you wanted to leave it behind!
Step 2: Choose and Prepare Your Apples

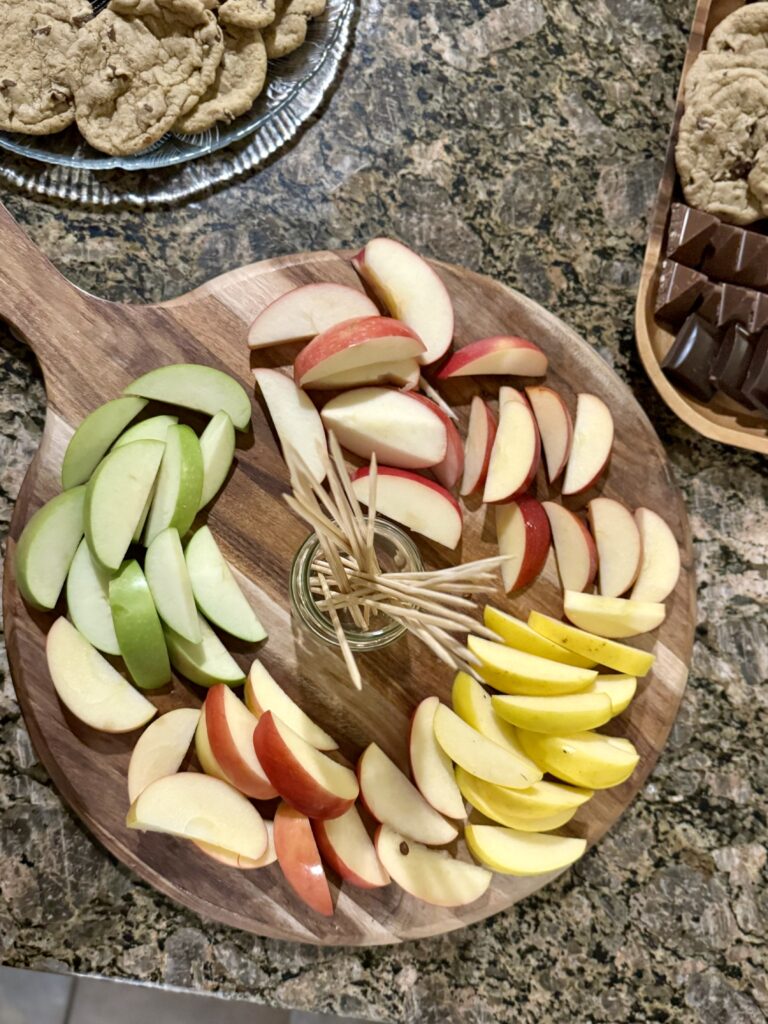
First, you’ll want to select a variety of apples. I chose gala apples because those are my favorite. But I also wanted some variety in color, so I included granny smith apples as well.
Really, you can choose any type of apple – red delicious, fuji, honeycrisp apples … any variety of your favorite apples will work! I recommend mixing both red and green for aesthetics, but any apple will do!
Then you want to core and cut your whole apples into slices as close to the time you’ll be serving.
If you are transporting your apples and can’t set it up on location, there’s a few tricks to keep the different types of apples from browning.
First, you can soak them in salt water – about a 1/2 tsp. salt to 1 cup cold water (multiply as needed!).
Let them soak for 10 minutes. I found that not rinsing kept them from browning a little bit better as opposed to rinsing. There was a very slight salt taste, but not really noticeable if you didn’t know they had been soaked!
You also can soak apples in Sprite or Mountain Dew. I’ve never tried that method, but I’ve heard it’s a good one!
Sprinkling it with a little bit of lemon juice is always a favorite trick, but there may be a slight fresh lemon juice taste. However, if the apples are being dipped in caramel or chocolate, it should be unnoticeable.

Step 3: Select Your Dips

As you think of dips, think of your guests:
Are there allergies? Are there other dietary concerns? You just want to make sure you have an option for everyone!
Popular choices are caramel sauce (of course), dark chocolate, and white chocolate. (You can also create chocolate dips by melting dark or white chocolate chips and adding in little bit of coconut oil!)
I also think an almond butter or peanut butter dip would also be an amazing choice! A marshmallow dip would also be wonderful as would a cookie butter dip (hello, Trader Joe’s!).
For my first board, I chose a simple caramel dip and chocolate dip, along with a cinnamon fluff dip and peanut butter cream cheese dip. I included the cinnamon and peanut butter dips because I didn’t have the apples on skewers, and guests could just dunk the apple slices right into the dip.
For the second board, I really didn’t have the space for that, and the apples were on skewers; the dips might have been to0 thick for dunking the apples. So, I limited it to the caramel and chocolate sauces.

There are really no rules -just choose your favorite sweet dips! Just about everything goes with apples!
As you are choosing your dips, think of your space.
If you’re using 2 boards, you should have lots of room for a variety of dips. If you are placing apples and dips on one board, you’ll have a little less space. You’ll also need room for the small bowls of toppings, so just plan according!
I also included a small spoon for easy dipping.
Step 4: Select Your Toppings

Picking the toppings is the fun part, in my opinion!
There really are no boundaries to the caramel apple toppings you can include, as long as you have a varied selection of toppings.
Likely, the dips will be sweet, so including some salty toppings is a delightful contrast in flavor. But it’s really a personal preference.
Here are the various toppings I chose to include on my board:
Cinnamon Graham Cracker Crumbs
Crushed ‘Nilla Wafers
Crushed M&Ms
Crushed Heath/Snicker Bars
Crushed Oreas
Granola
Chopped Nuts

Some other favorite toppings you could include:
Shredded Coconut
Mini Marshmallows
Mini Peanut Butter Chips
Toffee Bits
Crushed Pretzels
Seasonal or Rainbow Sprinkles
Butterscotch Chips
Mini Milk Chocolate Chips
…or come up with your own toppings! Just let your creative juices churn!
If you think about the toppings that are generally served at an ice cream bar, you’ll have limitless ideas for toppings!
You can put your own fun twist on it to suit all taste buds!
Step 5: Assemble the Board
Regardless of whether you use two boards or just one, the layout is pretty much the same.
You’ll spread out the dips and toppings in smaller bowls throughout the board.
As a rule for charcuterie boards, you’ll want to spread out varieties and colors.
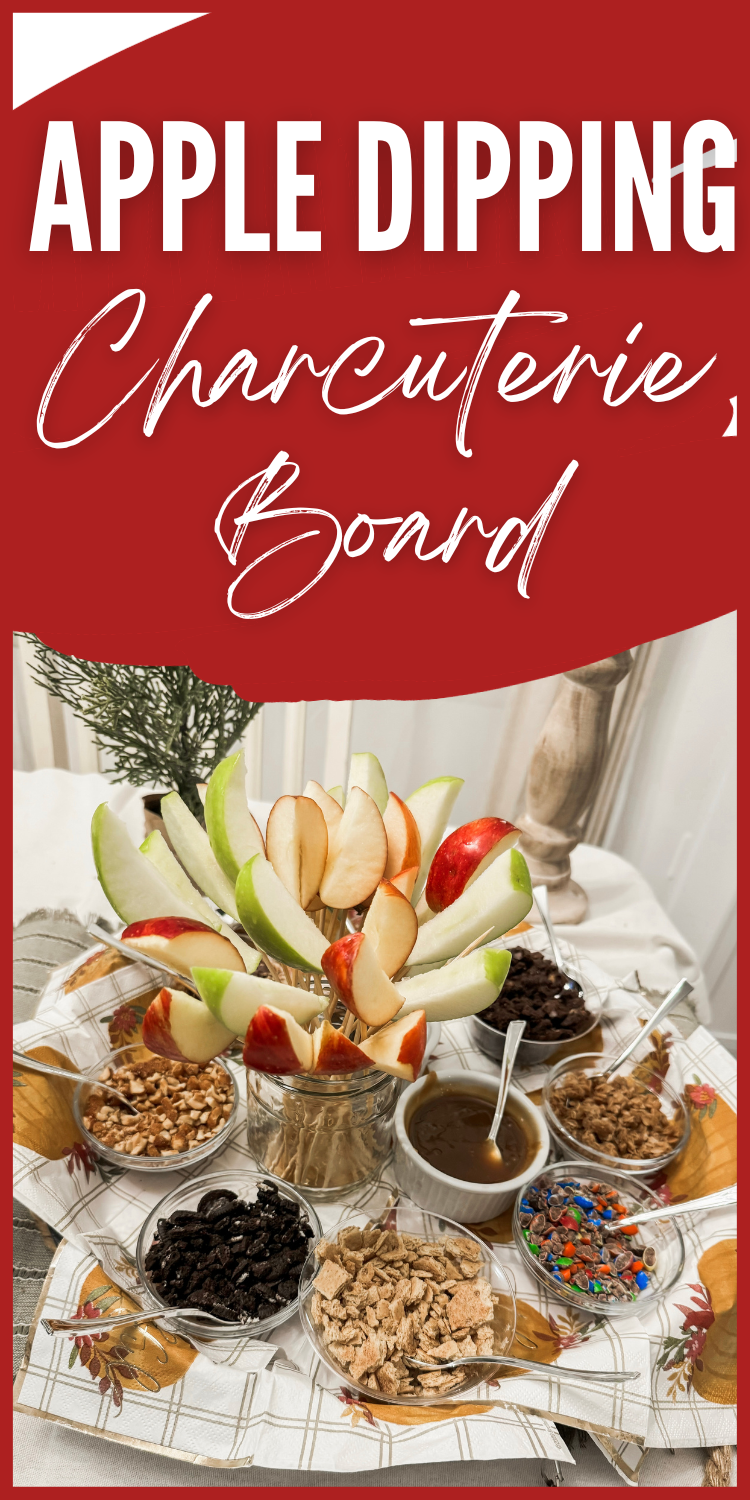
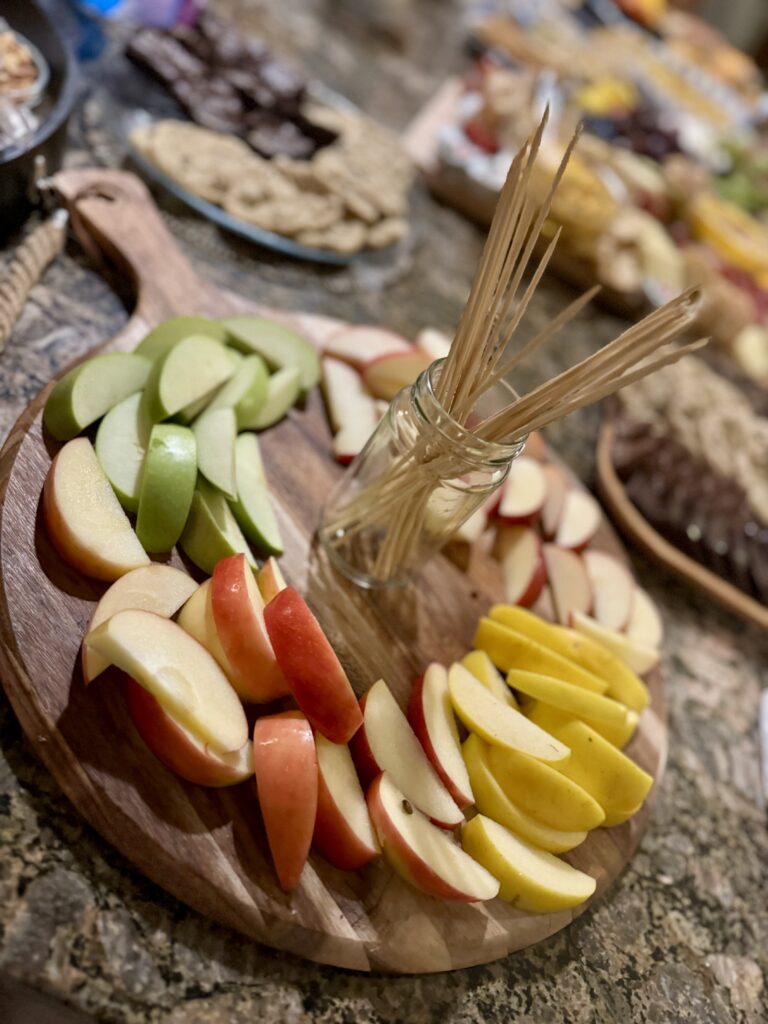
When I created 2 boards, I set the apples on one board, with a jar of skewers (I snipped the long ones so they were more user-friendly) in the center of the board.

When I just used 1 board, I place the sliced apples on the skewers and then put the skewers in a jar.

I thought this method was a better way, for a few reasons:
Ease of transporting the boards
Easier for kids to have the apples already speared
Pretty as far as aesthetics
So, in that case, spread out the dips and toppings, with a jar of apples on skewers in the center.
You could also use lollipop sticks, but I liked having a point on the skewer.
But be sure to warn guests who have little kids that there is a sharp point inside the apple and they might need supervision!
The dips and toppings can each be placed in a small bowl, along with a small spoon. I purchased small plastic bowls and silver spoons from the party section at Dollar Tree (they also carry small glass bowls similar to these as well, which I love!)
You can also be creative and use ramekins and other cute small containers.
If you have extra space on the board, you can add a few cute and seasonal decorations!
If you have a board that is more of a tray or has a rim, I definitely recommend that, especially if you need to transport it! I was bringing my board to our party location, and it was a little tricky getting a flat board there, without ruining the display,
A Simple Caramel Apple Dessert Board That’s a Total Winner

That’s it! I think this is such a fun way to serve a sweet treat that really requires very little advance prep – no baking or cooking involved! The best part is that it is SOOOO easy!
And after a night of eating, this is a light, refreshing, but super-tasty treat!
It’s not just the perfect fall dessert board, but it’s amazing for the holiday season or any gathering: girls’ night, movie night, Thanksgiving, Easter, Christmas – any time you’d like!
Be creative, let it suit your own personal party-goers and their tastes, and it will be a board to remember!
More Charcuterie Board Ideas
If you love creating boards like I do, here are a few more you might enjoy! These are some of my favorite things to serve!
Simple DIY Bread Board Appetizer
Dessert Dip Charcuterie Board: 100% Crowd-Pleaser Dessert Idea
Sweet & Savory Fall-Themed Charcuterie Board That’s Simple to Make (Customize to any season!)
Fabulous Easter Candy and Dessert Charcuterie Board Your Gathering Needs
35 Kid-Friendly Charcuterie Boards for the Most Picky Eaters
30 Incredible Brunch Charcuterie Boards, Guaranteed Crowdpleasers
More Appetizer Ideas
If you’re looking for other appetizer ideas, give these a try!
40+ Best Individual Appetizers for Social Distancing: Party Approved!
30 Healthy Game Day Appetizers (Clean | Paleo | Whole30)
40 Slow Cooker Party Appetizer Recipes Guaranteed to Wow
If you create this, I’d love to see how it turned out! Please share on social media and tag me on Instagram @100affections and I’ll share in my stories!
Other thoughts? I’d love to hear them! Leave a comment below! 🙂

Leave a Reply