
So-Easy DIY Winter Mason Jar Cozy (Crochet or Sweater!)
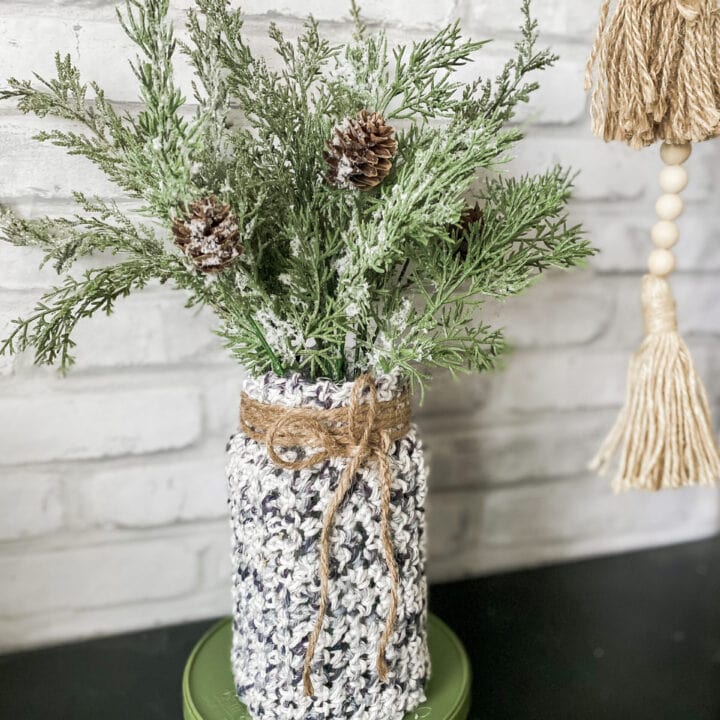
If you’re looking for a simple winter craft, try this DIY crochet jar to use as a vase, luminary, or office supply holder! A beginner at crocheting can do this – and if you’re not crafty, you can use a sweater – which is a great way to recycle materials! Keep reading to see how to create a home decor craft or gift using upcycled, repurposed materials!
Crocheting – Not Just Your Grandma’s Hobby
It was ages ago when I first learned to crochet – probably as a tween or young teenager.
My mom showed me the basics, but she was left-handed and I’m right-handed, so I couldn’t quite figure out the mirror image.
When I went to Florida recently to visit my 94-year-old nana who still crochets up a storm, she showed me the basics again.
This time, I was determined to try to get it. I crocheted on the drive back to Tennessee, and I even made (a very uneven) winter headband. I didn’t really pick up the crochet hook again until probably a two years later.
My church was having a crochet night for our ladies’ event, and this time, I was very determined to get it!
It didn’t click too well that night with the other women, but I went home and YouTubed beginner crocheting to try to figure out what I was doing wrong.
After watching this video and getting down the single chain stitch, I finally got it. It took me a little time to get the muscle memory in my hands to crochet properly, but once I knew what to do, it fell into place.
Easy Beginner Crochet Project: DIY Mason Jar Cozy
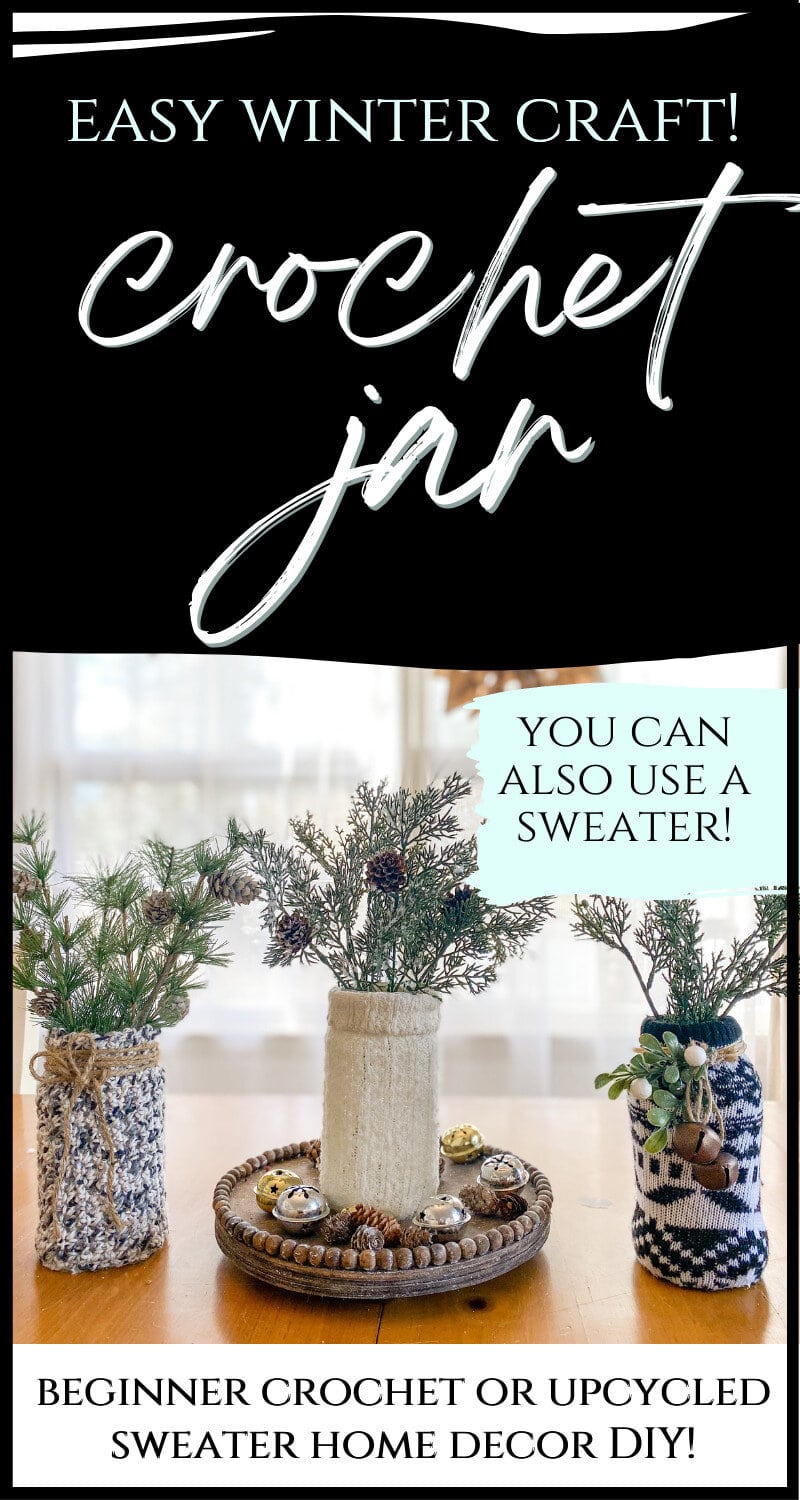
Crocheting has been a new fun hobby for me – not just to make things, but I’ve been very pro-actively trying to spend less time on my phone. This gives my hands something to do when I’m supervising my sons or hanging out with them while they watch TV.
My skills are very basic, so I’ve been trying to create a few things that are within my skill set – meaning, they are basically squares or rectangles – or even where I can join two sides together.
This post is more about making the jar than the crocheting, so I’m going to link some YouTube videos you can watch to learn the crochet skills if you don’t know how.
I definitely recommend that you do a few practices until you get the hang of it before creating this.
I’m also going to include instructions for creating this jar using a sweater if you don’t want to crochet.
This is the video I used to learn, and this is all you’ll need.
Materials You’ll Need (Many are Free and Recycled!)
Jar (mason, spaghetti, yogurt, etc.)
Yarn of your choice | Old sweater
Glue gun and hot glue sticks
Jar decorations: string (jute, raffia), ribbon, faux stems
Jar insert of your choice: (branches, faux stems, fairy lights, flameless candles, etc.)
Directions for a Crochet Mason Jar Cozy
If you are crocheting a sleeve for a spaghetti jar, you’ll want to make your initial chain about 20 links and 20 rows. Measure around jar when you’re creating your first row, and periodically check to see how many rows you’ll need.
It should cover from the bottom of the jar (not under) to about 1/4″ above it.
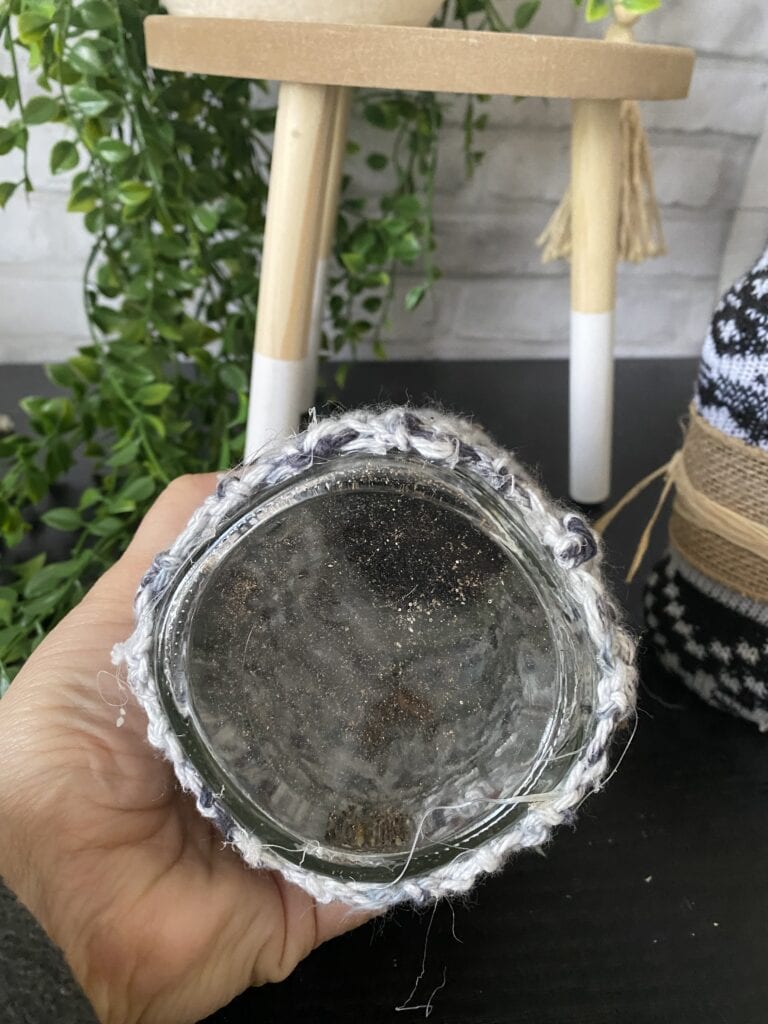
You do not even need to make a sleeve if you feel like joining the two ends is two difficult. Just make the crocheted area large enough to go around the jar and glue the two ends side by side.
This will create a seam, but if you glue it close enough, it should be undiscernible.
Directions for a Sweater Mason Jar Cozy
I found it easiest to use the sleeve of the sweater to cover the jar, so you can just slide the jar inside.
If the sleeve does not have the pattern you want and you need to use the front or back of the sweater, there will be a seam on your jar. That’s fine – just be sure the seam faces the back.
Mark length and width with a Sharpie (mark a little bigger – it can always be trimmed) and cut out rectangle piece.
For the length of the sweater, you’ll want to make it big enough so you can fold it over the top rim of the jar and glue it as well as fold under the jar and glue it.
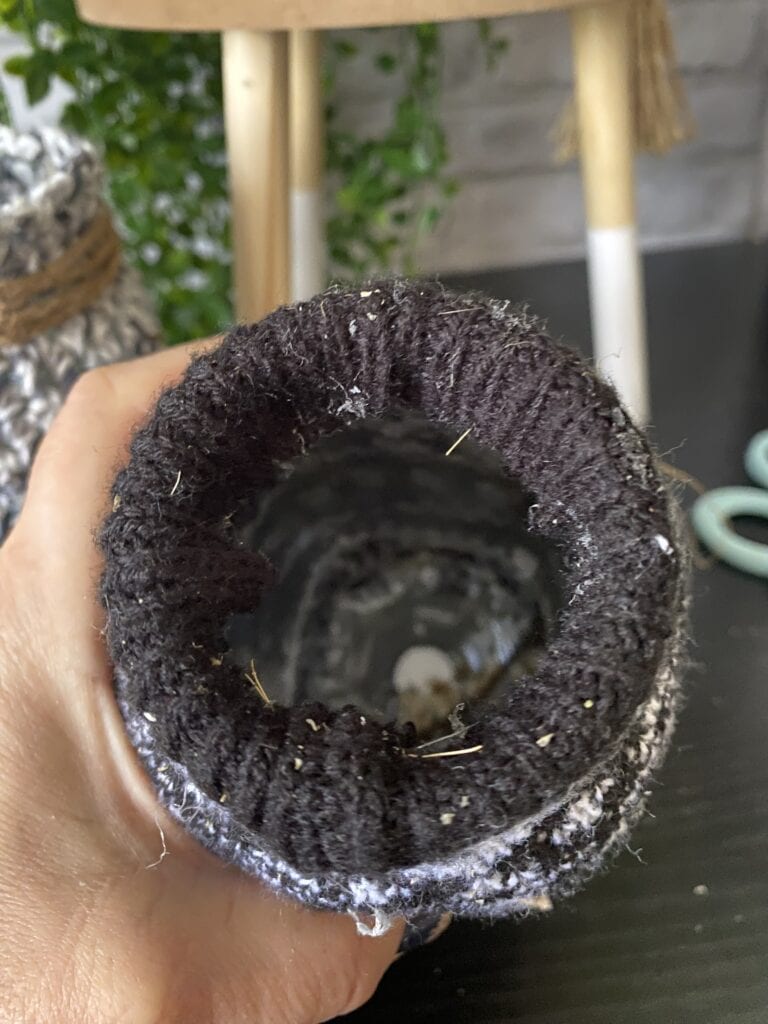
But, if you need to create a neat bottom edge, you can glue underneath the jar about a 1/2″.
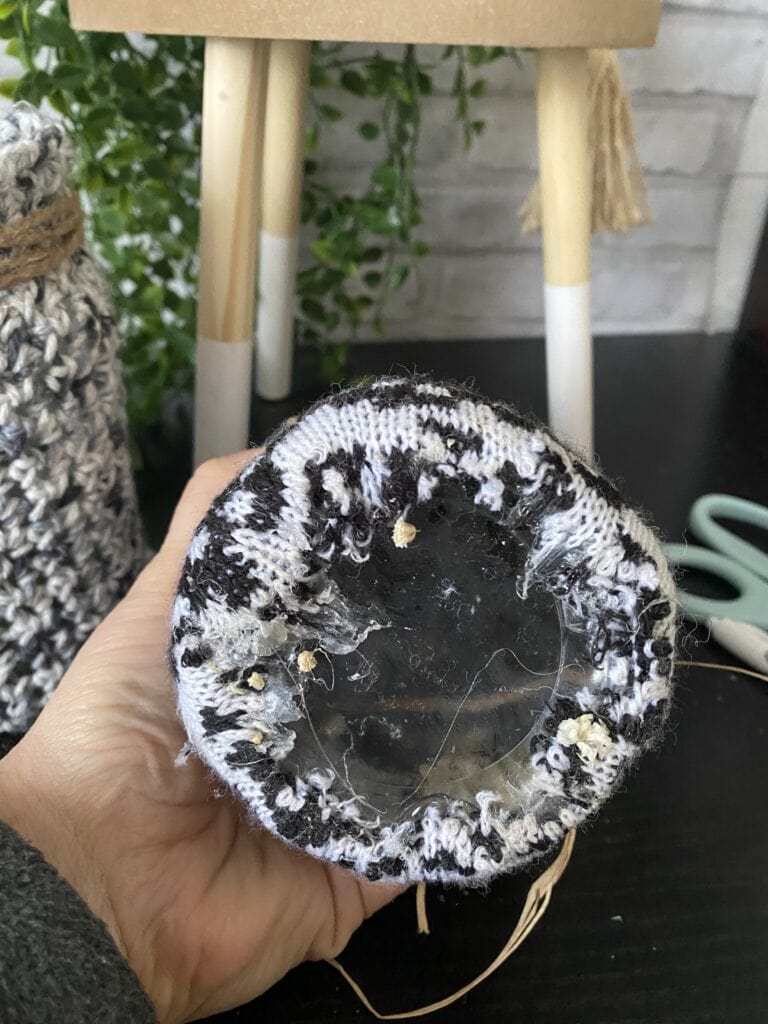
If you happen to be using a jar where it looks clean and neat to glue it down to the length of the jar and not under it (this is usually a straighter jar that doesn’t have a strong curve at the bottom), that is preferred.
Putting the Sleeve (Crochet or Sweater) on the Mason Jar
If you’ve created a crochet sleeve or if you’re using a sweater sleeve, you’ll want to slide the jar inside the sleeve, create a neat edge at the bottom and glue. Be sure to put your glue on the yarn and not the glass.
Then, stretch the material to the top of the jar and depending on the edge at the top, you can extend it just past the top of the jar.
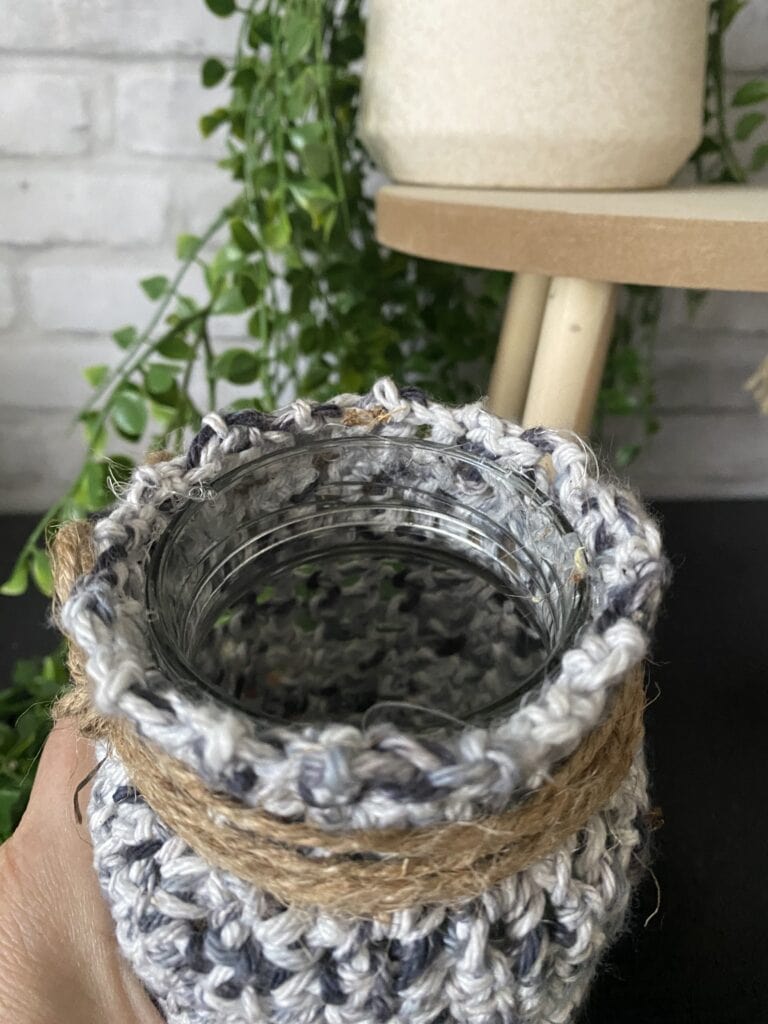
Or you can fold it over the top and glue.
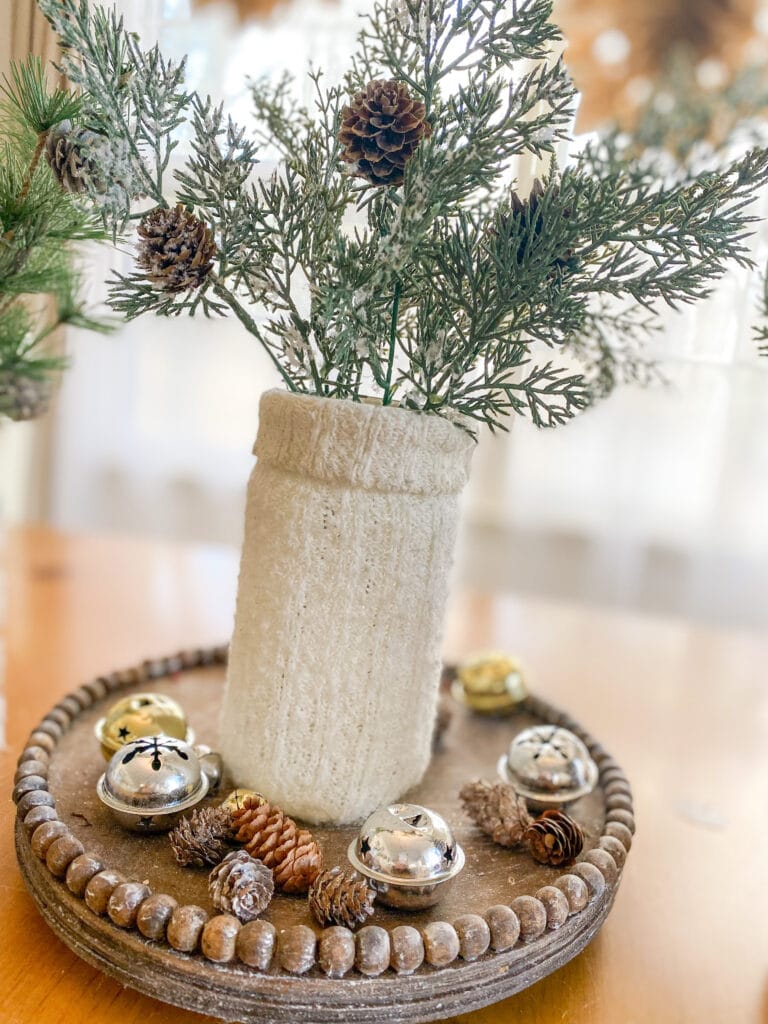
Or, you can even just fold the top over and make an adorable turtleneck! This is perfect for a simple, winter tablescape centerpiece!
Putting a Rectangle Sweater or Crochet Piece (No Sleeve) on the Mason Jar
If you don’t have a sleeve but just a rectangle piece of material, you’ll want to glue the bottom corner down so it’s neat and then glue up the seam.
Because the material will stretch, you should be able to wrap it around the jar to see how much you need.
If you’re using a sweater, you can trim it down before you glue. If you’re crocheting, ideally, you’ll have measured how much you need before you glue it down.
So basically, glue one corner on the bottom of the jar and put glue on that entire edge of the material (not the glass). Then press the fabric to the top of the jar and glue down.
Stretch the material around and glue the other side so both sides meet as closely as possible.
Depending on your top edge, you can either leave it to extend just of the top of the jar, ou can fold it over to go inside the top and add glue. Or, do it turtleneck style.
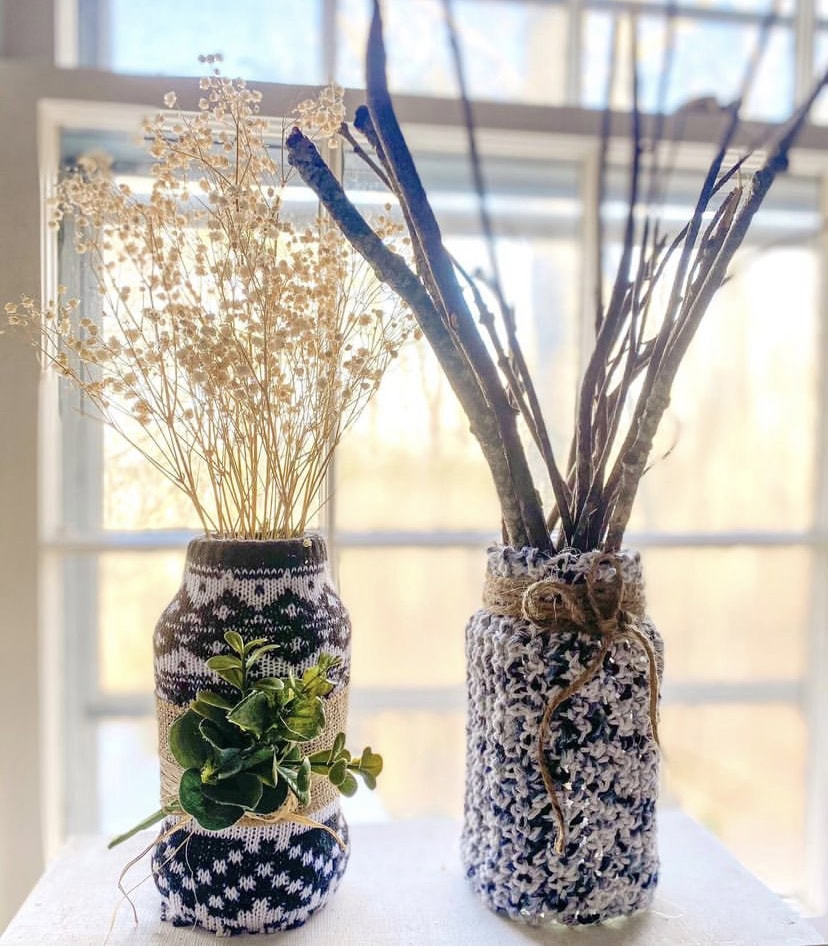
All three styles are seen below.

Decorating Your Mason Jar
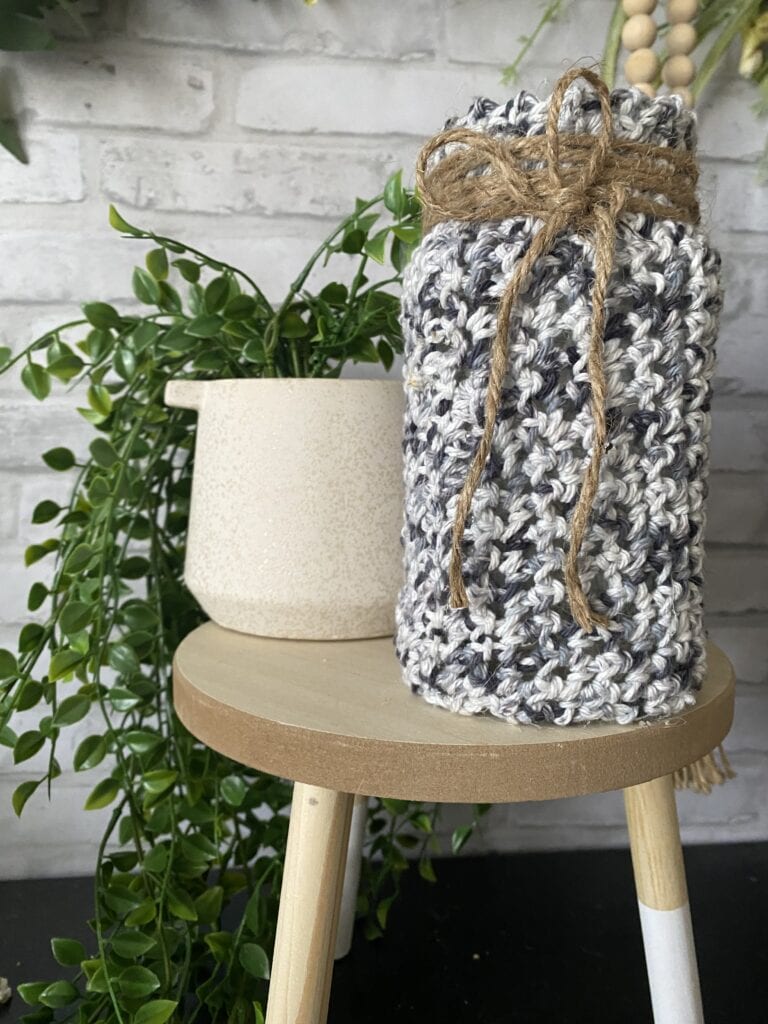
This really is up to you as well. For one of my jars, I just wrapped jute string around the neck of the jar.
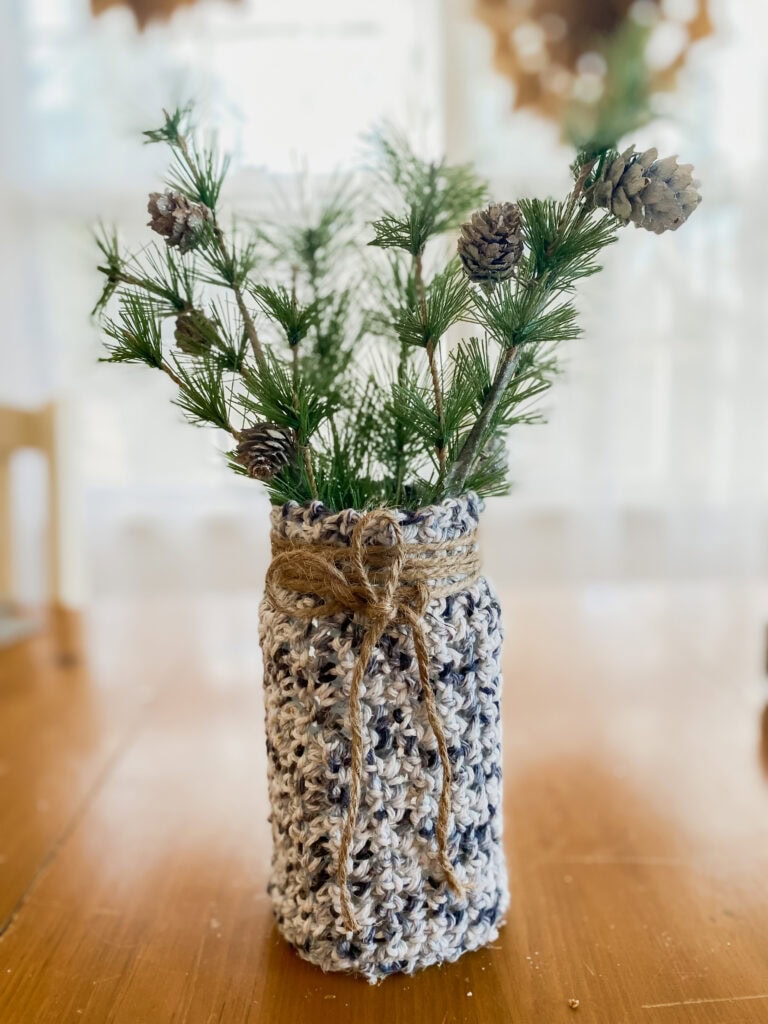
For the other jar, I wrapped burlap ribbon around the jar to measure the length, cut it and glued it around. Then, I laid down a faux eucalyptus stem and wrapped raffia string around it several times.
Below is another version of the black and white sweater jar.
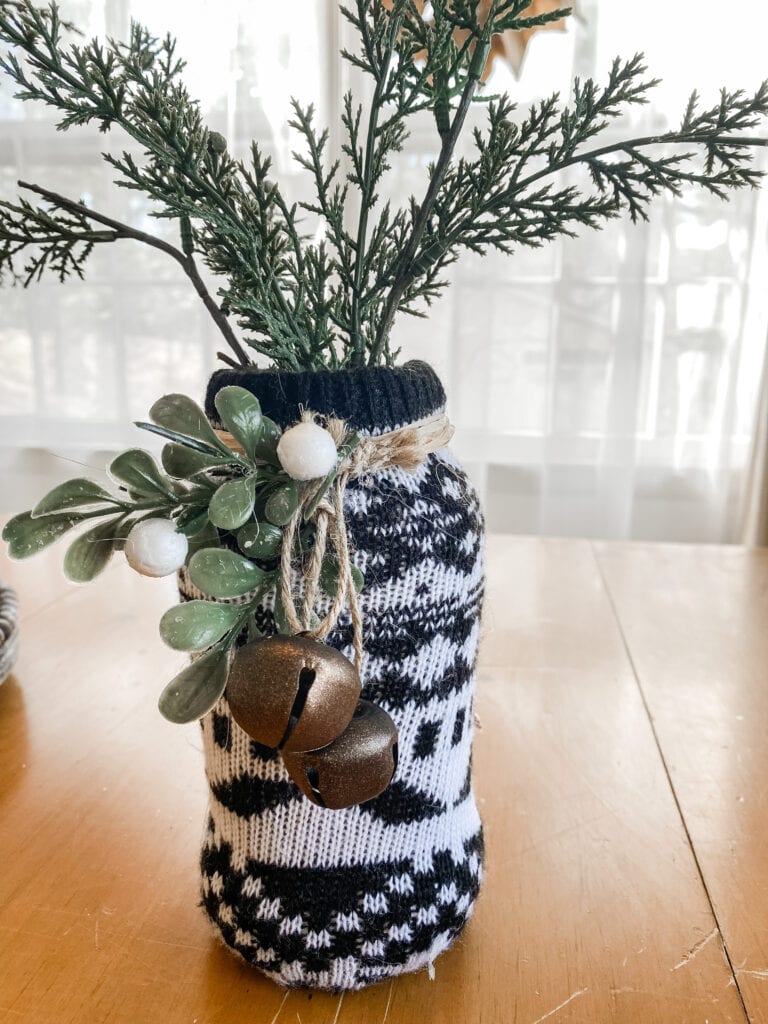
Or, you can also just keep it plain, which I love also, just folding the top over like a turtleneck!
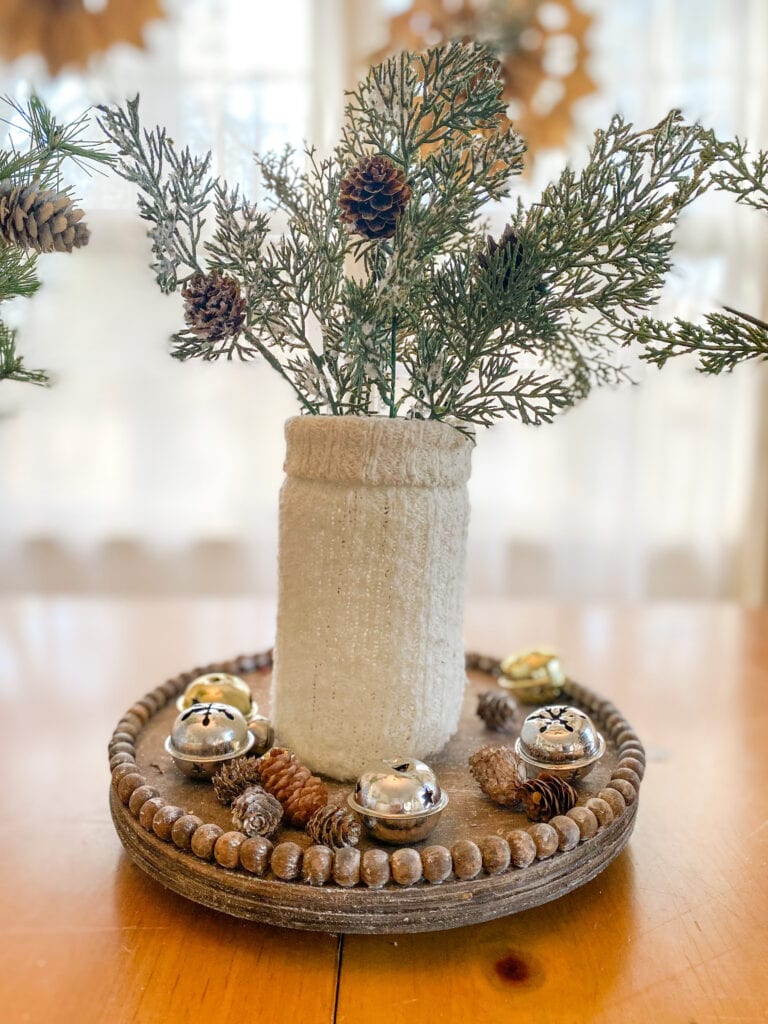
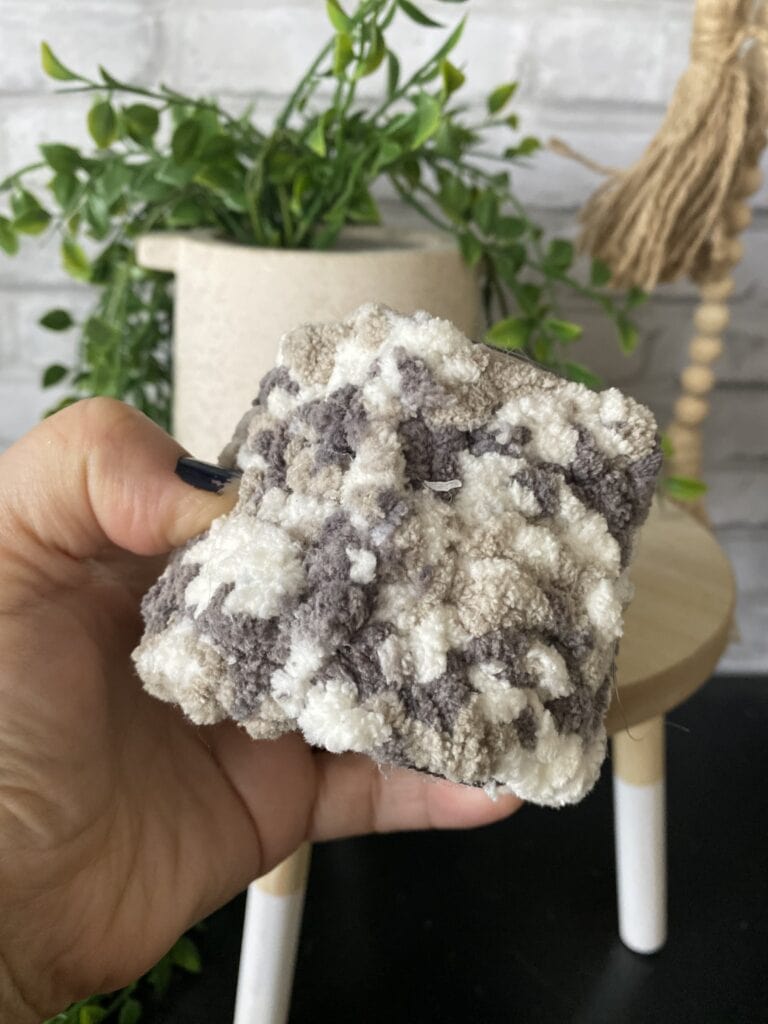
For these baby jars using yogurt jars, I didn’t add any embellishments because the yarn was thick and bulky (those were made from the highly imperfect first-try headband I made!).
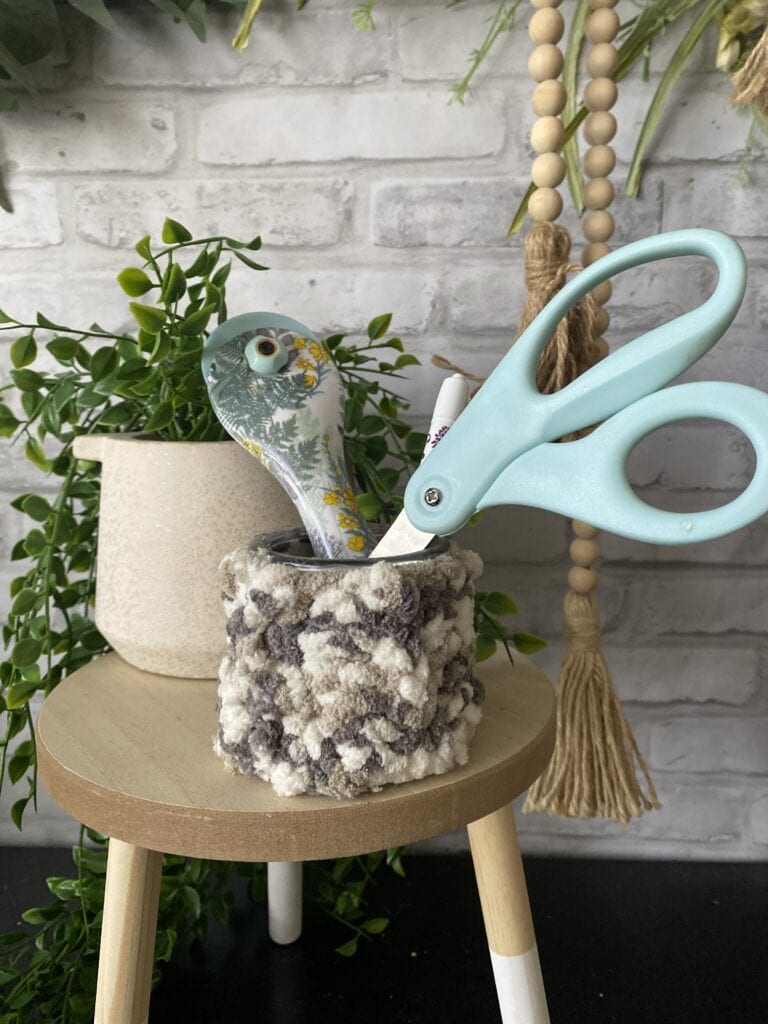
These can be used as luminaries filled with fairly lights or flameless candles or tea lights, centerpieces, cozy office pen holders, even as gifts!
The rest is up to you!
Below are succinct, printable directions!
Easy DIY Crochet or Sweater Jars
Materials
- Jar (mason, spaghetti, yogurt, etc.)
- Old sweater or crocheted sleeve
- Glue gun and hot glue sticks
- Jar decorations: string (jute, raffia), ribbon, faux stems
- Jar insert of your choice (branches, faux stems, fairy lights, flameless candles, etc.)
Instructions
Directions for a Crochet Jar
1| Begin basic crochet chain, measuring around jar when you're creating your first row (a spghetting jar is about 20 stitches).
2| Begin crocheting additional rows, periodically checking to see how many rows you'll need. (It should cover from the bottom of the jar (not under) to about 1/4" above it.)
3| To create sleeve, attach both sides by stitching together. If you do not want to attempt this, leave it as a rectangle piece and proceed to "Putting a Rectangle Sweater or Crochet Piece (No Sleeve) on the Jar" - last section.
Directions for a Sweater Jar
1| Cut sleeve to fit the length of the jar with a little extra to go just under and over the bottom about 1/2" and top rim of jar.
2| If you happen to be using a jar where it looks clean and neat to glue it down to the length of the jar and not under it, that is preferred.
3| If you aren't using a sleeve but the front or back of a sweater, wrap sweater around jar. Mark length and width with a Sharpie (mark a little bigger - it can always be trimmed) and cut out rectangle piece.
Putting the Sleeve (Crochet or Sweater) on the Jar
1| Slide the jar inside the sleeve, create a neat edge at the bottom and glue. Be sure to put your glue on the yarn and not the glass.
2| Stretch the material to the top of the jar and depending on the edge at the top, you can extend it just past the top of the jar or fold it over the top and glue.
Putting a Rectangle Sweater or Crochet Piece (No Sleeve) on the Jar
1| Take rectangle piece of material and glue the bottom corner down so it's neat and then glue up the seam and press down. (Put glue on yarn, not glass).
2| Stretch the material to wrap it around the jar to see how much you need.
If you're using a sweater, do a final trim before you glue. If you're crocheting, ideally, you'll have measured how much you need before you glue it down.
3| Stretch the material around and glue the other side so both sides meet as closely as possible.
4| Depending on your top edge, extend material to cover the top of the jar. Or, you can fold it over the top and add glue.
Decorating Your Jar
Glue ribbon, raffia, jute string, embellishments to your liking.
Use jars as luminaries filled with fairly lights or flameless candles or tea lights, centerpieces, cozy office pen holders, even as gifts!
More Easy DIY Projects for the Home
If you like simple and/or cheap DIY projects, here are some others you can try!
Easy Dollar Tree Farmhouse DIY Projects (done in 1 sitting!)
Easy Rustic Farmhouse DIY Dollar Tree Centerpiece; Any Season!
Easy & Stylish DIY Modern Farmhouse Wooden Bead Tray
DIY Dollar Tree Rope Basket {Gift Basket Idea, Too!}
DIY Knock-Off Coffee Table Basket Tray (for a Fraction of the Cost)
Genius No-Sew Hand Towel Wall Hanging (& Seasonal Craft!)
If you try any of these projects, I’d love to see them! Please tag me on Instagram @100affections!
Other thoughts? I’d love to hear them! Leave a comment below!





Wow very nice mason jar “sweaters” 🙂 They look absolutely amazing as decoration pieces
Just one question: they are just glued to the jar right?
Hi Denisa! Thanks for your kind words! The bottoms and tops are glued for the crocheted jars. For the ‘sweater’ jars – nope! I just slip the sweater right over. You certainly can glue them if you want to keep them permanently. I wasn’t sure if I’d want to use the jar again, so I just slid them on for the season and can slide them off if I change my mind! Hope that helps! 🙂