Really Cute Handmade Christian Bookmarks: Easy & Fun!
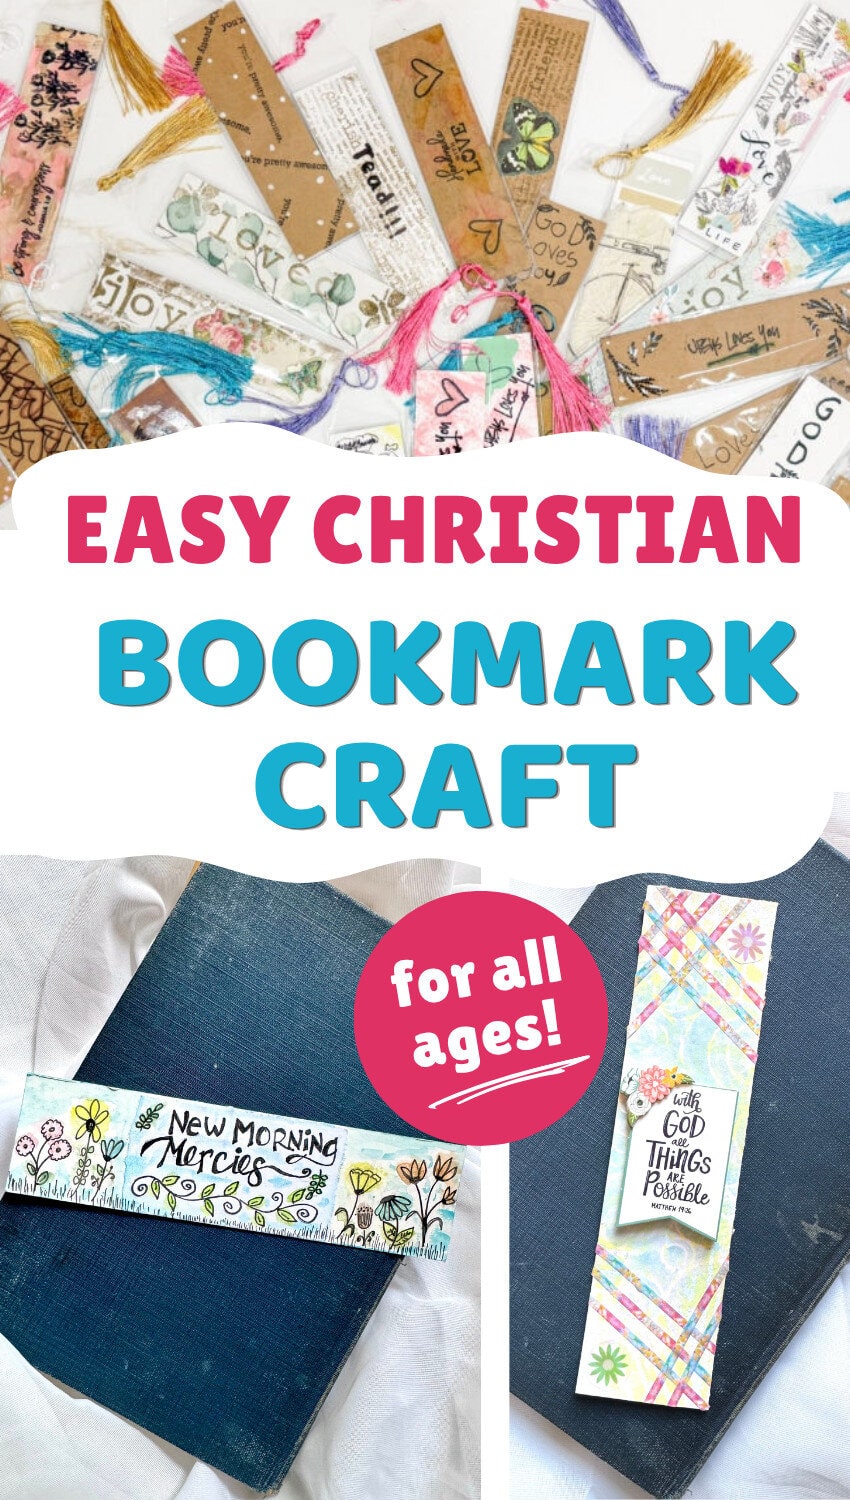
Looking for an easy bookmark craft that reflects your faith? Create these homemade Bible bookmarks with simple mixed media touches — handmade Christian crafts perfect for gifting or to use yourself in your own devotional time.
Bible Verse Bookmarks: An Easy and Fun Christian Craft
I first got the itch to make handmade Christian bookmarks when I signed up to teach an arts and crafts class for the middle schoolers at our homeschool co-op.
Even though my background is a former English teacher, that ship had sailed for me, and now I just wanted to teach the fun stuff!
As someone who loves to craft, I tried to think of some ideas that would be fun for middle school kids, and we ended up using various mixed media techniques on different craft materials… notebooks, trays, flowerpots… and of course, bookmarks, which is what I’m sharing with you today.
I’ve gotten a lot of mileage from this craft. Our other homeschool group that does a service project once a month made these same Christian bookmarks to share with the ladies at the assisted living center for Mother’s Day and put inside the Little Library that we built.
Of course, there are so many ways to make Bible verse bookmarks, but we’ve found these to be simple, a lot of fun, and really adaptable for all ages – kids all the way up to adults!
They also make great DIY Christian gifts for all ages!
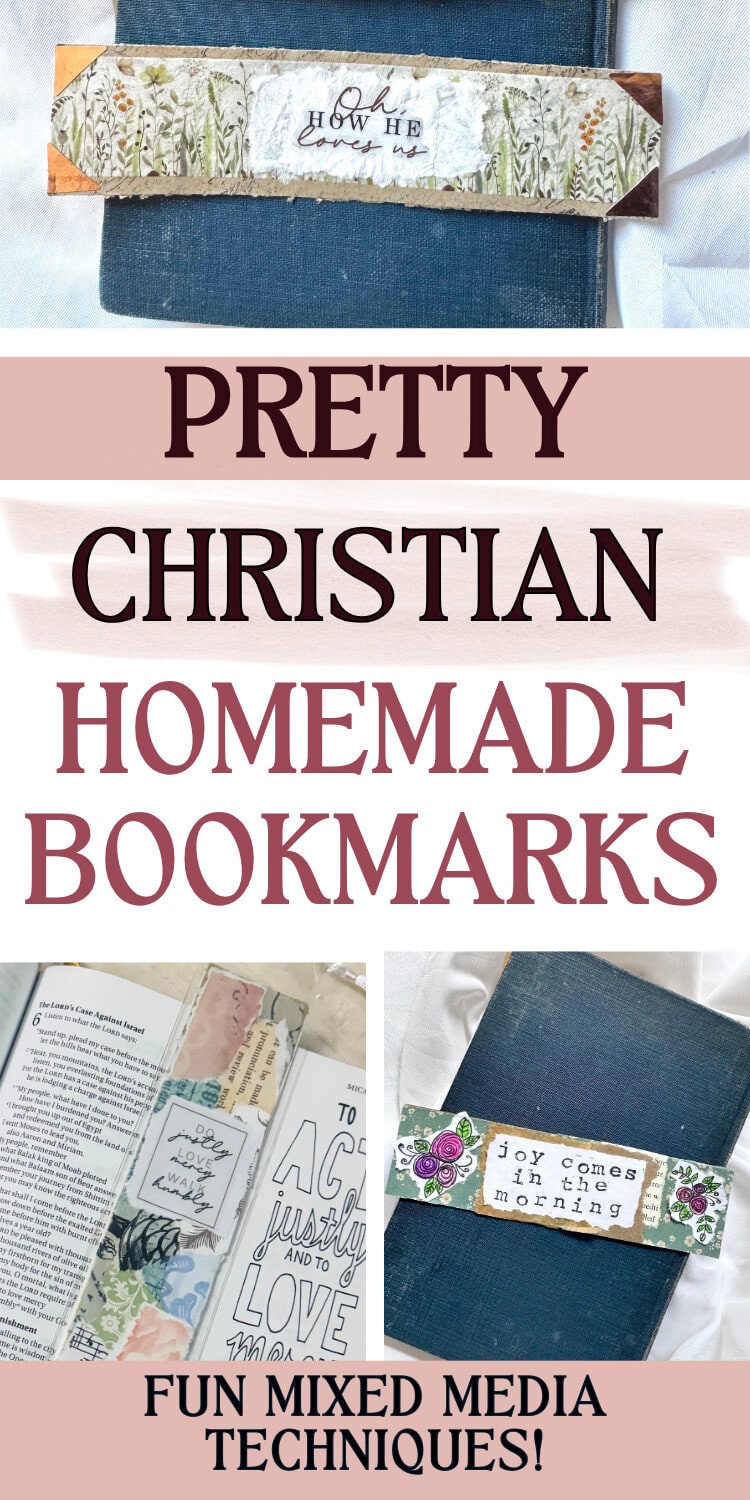
How to Make Homemade Bible Bookmarks
First, I’ll share the process and different approaches, then I’ll share some pictures of the ones our group came up with!
This post contains affiliate links. See Disclosures for details.
1| Gather materials
Bookmark base (We used these bookmark crafts sets with covers and tassels, which really leveled up the end result. You could also cut cardstock and laminate. For bookmarks, 80 lb. – 110 lb. cardstock is recommended.)
Glue Sticks | Mod Podge (+ brushes)
Decorating materials
These are the ones I’ve used for variety of bookmarks. You certainly don’t need all of them – pick a few, several, or all! This just gives you a lot of options
- Base Papers (Tissue paper, scrapbook paper, napkins, etc. I love that you can buy a variety pack of napkins just for projects like this!)
- Bible Verse Stickers (Amazon has a great variety in color and transparent Christian stickers.)
- Christian Stamps
- Alphabet Stamps
- Paint Pens
- Stencils
- Washi Tape
- Pressed Flowers
- Distressed Ink
- Micron Pens (for drawing and doodling – waterproof!)
- Watercolor paints or watercolor pencils
- Old calendars, magazines, books, coloring book pages, etc.
2| Cover bookmark base if desired
You can do this in a variety of ways:
- Wrap with scrapbook paper, old magazines, tissue paper, napkins
- Collage it with different paper varieties
- Use a stencil and paint or distressed inks
- Cover with washi tape
- Paint with watercolors
- Hand drawn art and doodles
For a really interesting base, you can take a mixed media approach and combine several of the above!
In the examples below, I’ll walk through various options for covering the bases as I explain the techniques used.
3| Add your Christian elements
Once your base is done, you add your Bible verse or Scripture sentiment. Primarily, I did this through stickers and stamps. However, you are absolutely free to hand letter or use Bible verse print outs!
Handmade Christian Bookmark Techniques
The easiest way explain the process is to walk through techniques used for individual bookmarks. Feel free to take note of which ones you really like and want to put your own spin on.
You’ll see some without the plastic covers because I realized after the fact that they photograph better without the glare!
1| Tissue Paper | Napkin Base
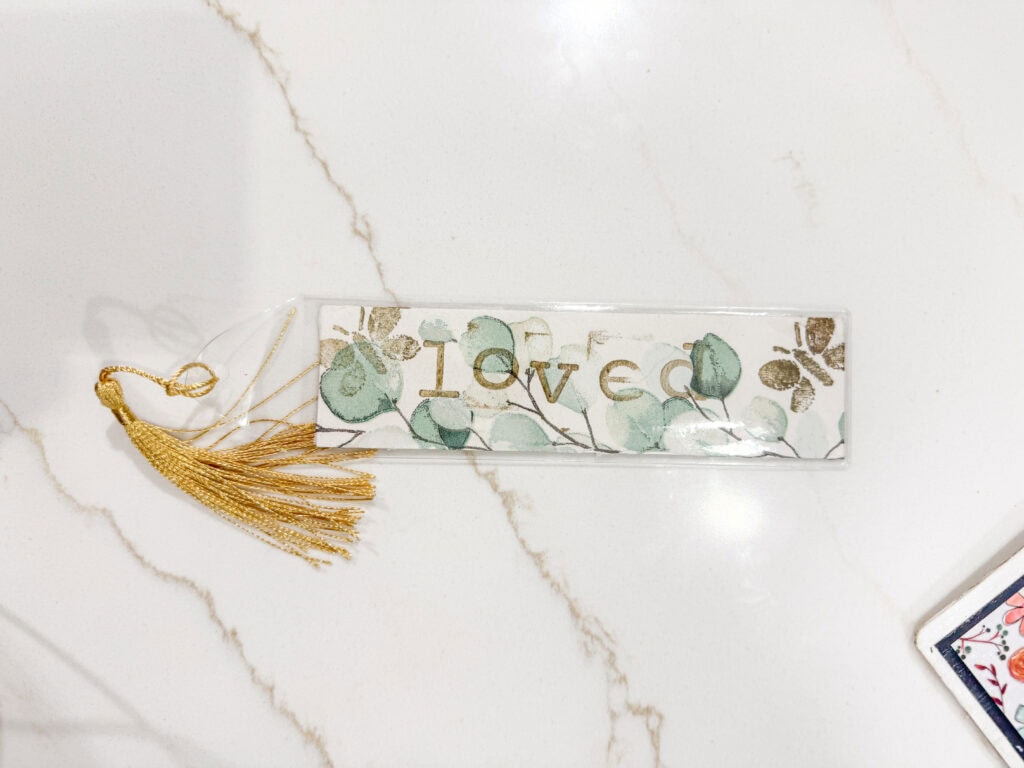
This bookmark below one was covered with a napkin, decoupage style with Mod Podge, then stamped with the word ‘loved’ with individual letter stamps. I added butterfly stamps to finish it off.
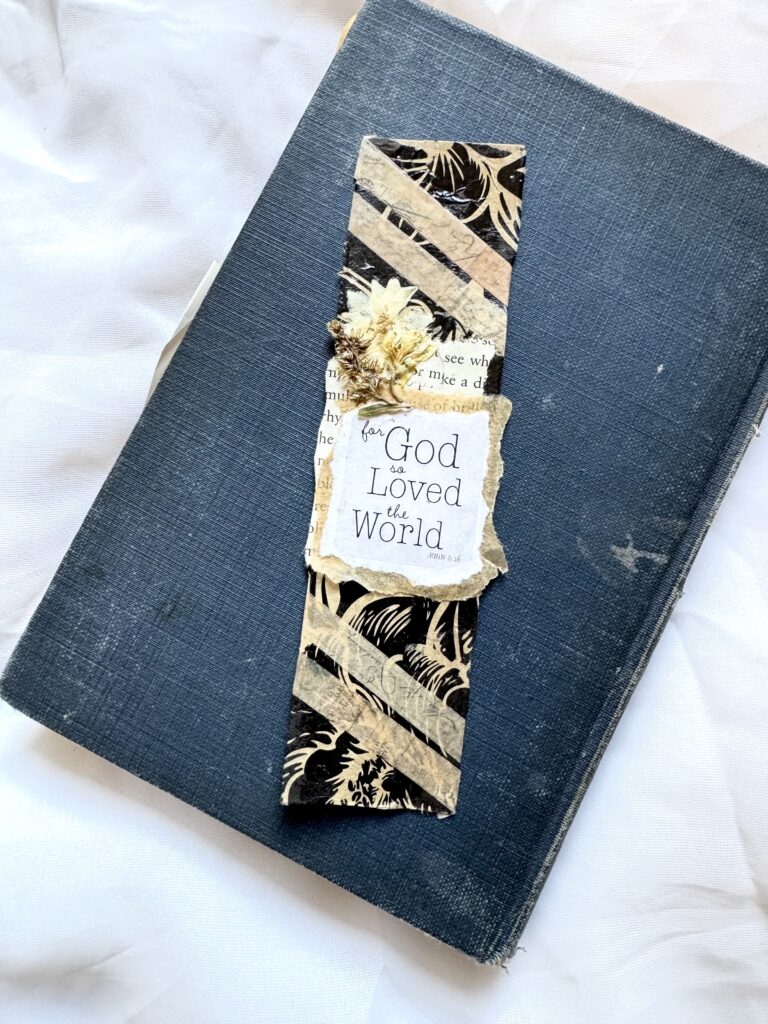
This next one is similar to above, but I used tissue paper for the base. Then I added washi tape to create the diagonal lines.
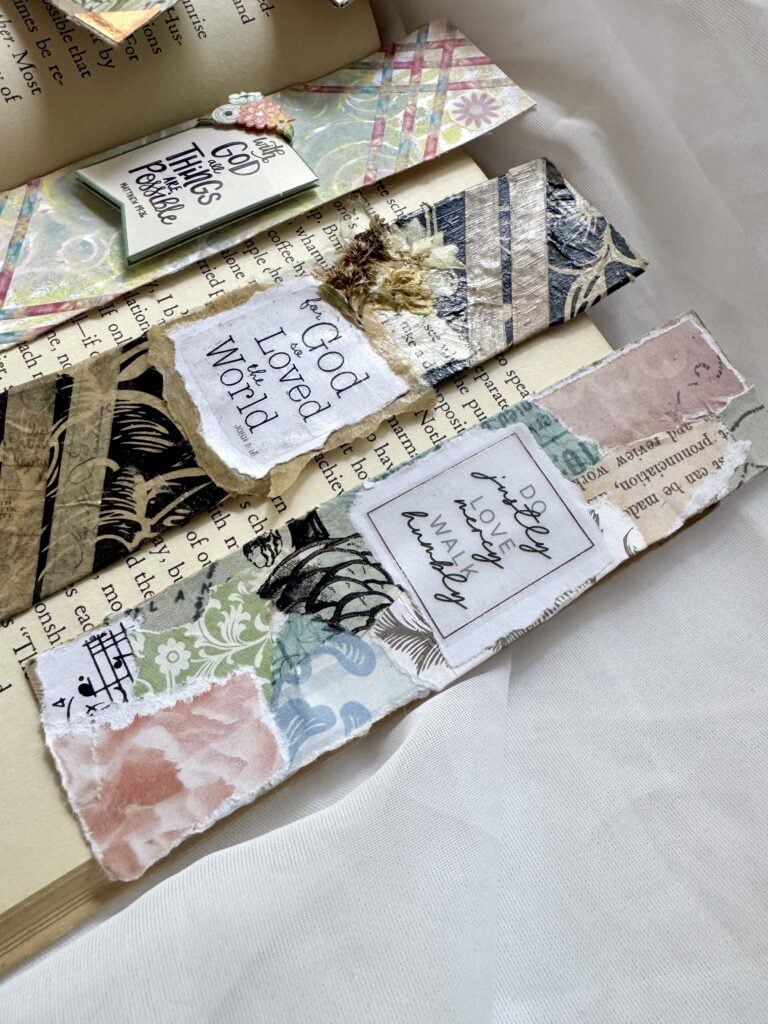
For the focal point, I used ripped book pages, pressed flowers, and a clear sticker placed on top of torn paper, on top of unbleached parchment paper!
If you like lots of layers, this is a fun one!
2| Paper Collage Style
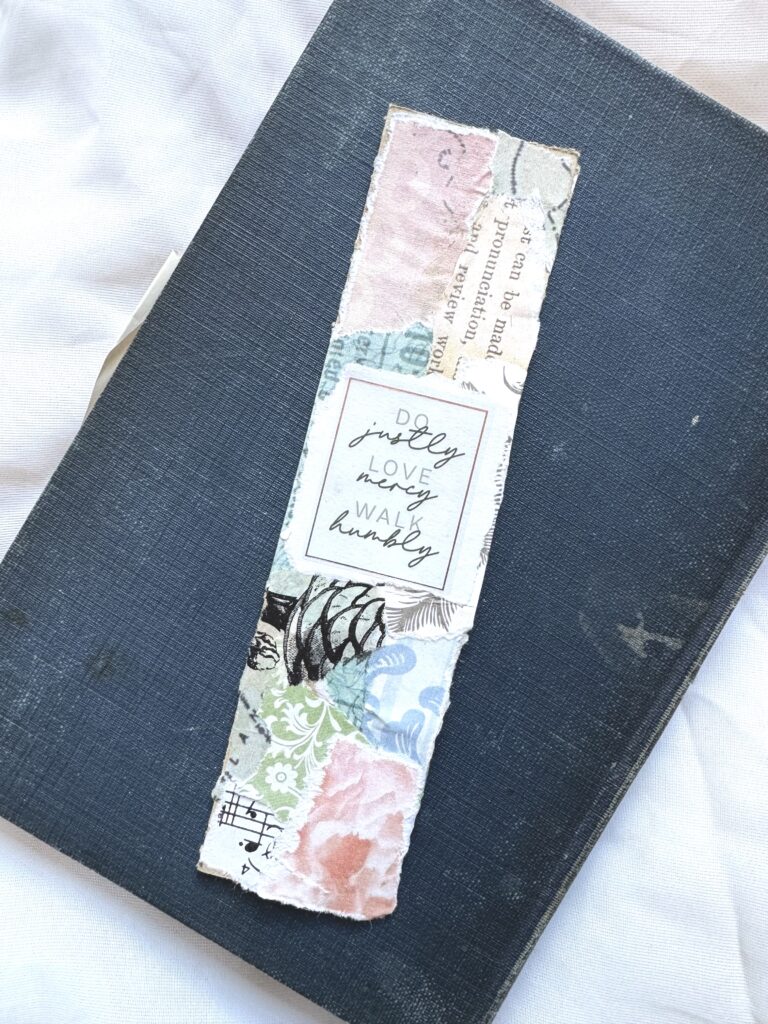
For this bookmark, I layered different pieces of torn scrapbook paper randomly using a glue stick. There was really zero strategy behind the composition.
Then I added a clear sticker placed on top of torn white paper.
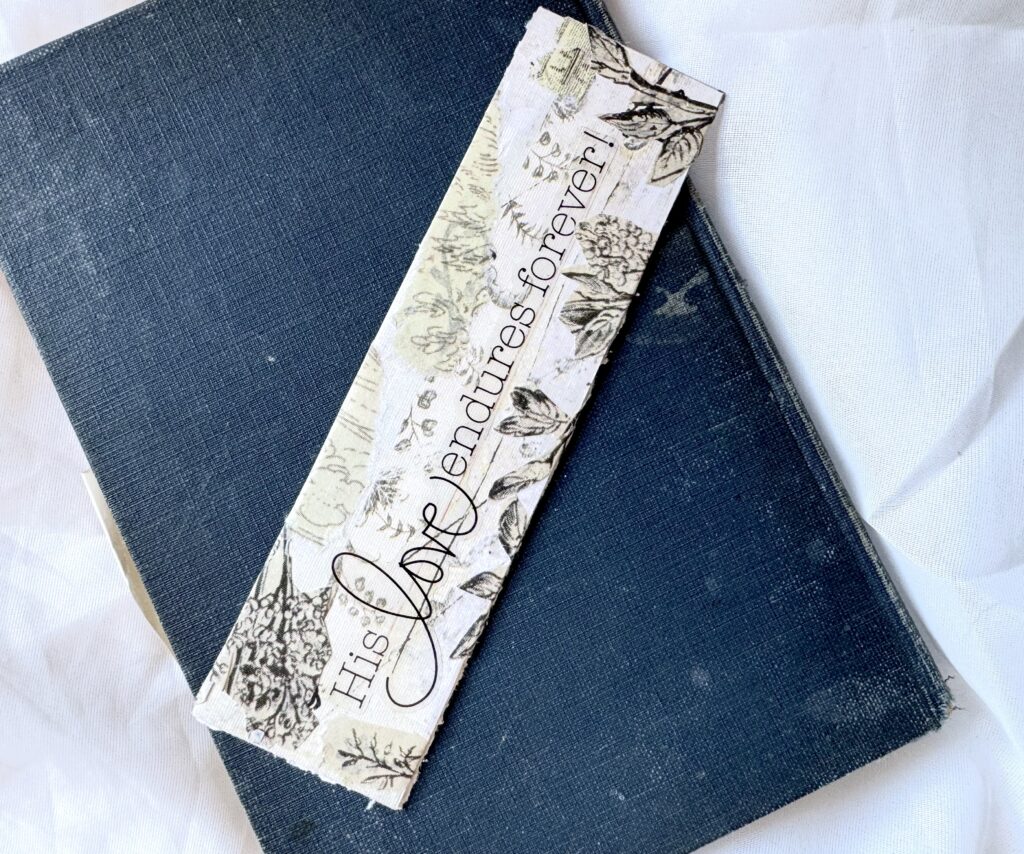
The next one below used a collage background along with fussy cut botanicals on top to add more texture and dimension. It also gave the bookmark a little more of a vintage feel. The transparent sticker was added right across the front!
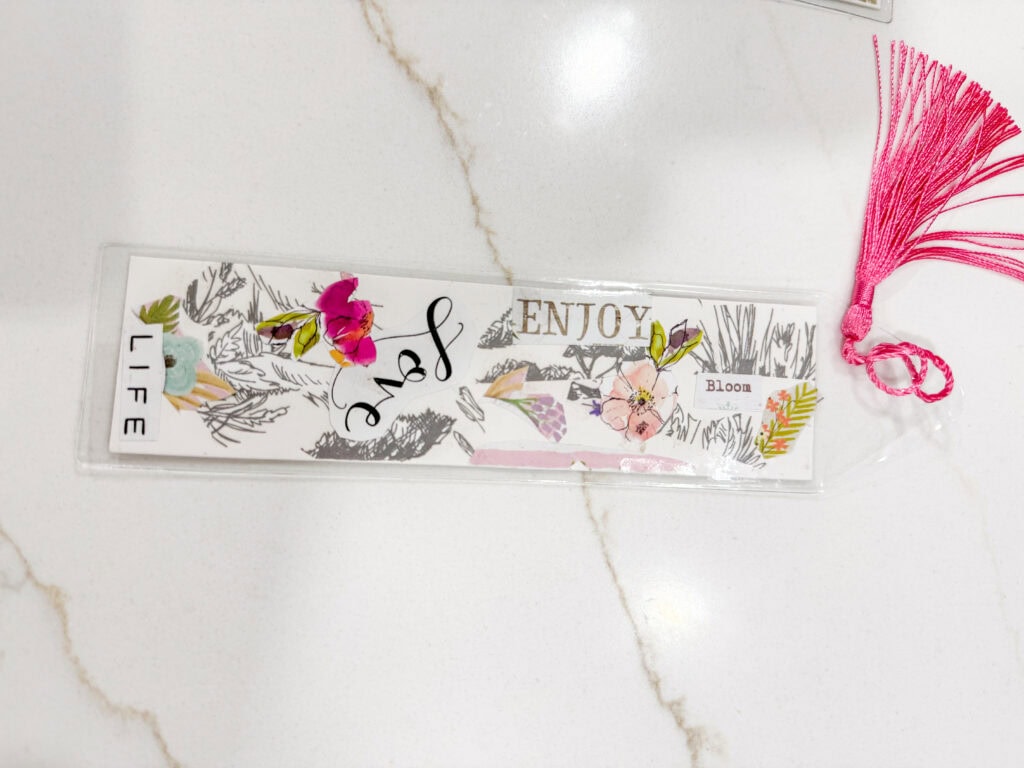
This one below isn’t specifically Christian, but you can see a similar collage technique: a background created with scrapbook paper, then fussy cuts of florals and botanicals (from an old calendar!). Word cut-outs were glued on as well as stickers.
3| Stencils and Distressed Inks
If you really want to play with mixed media materials, this is a fun one!
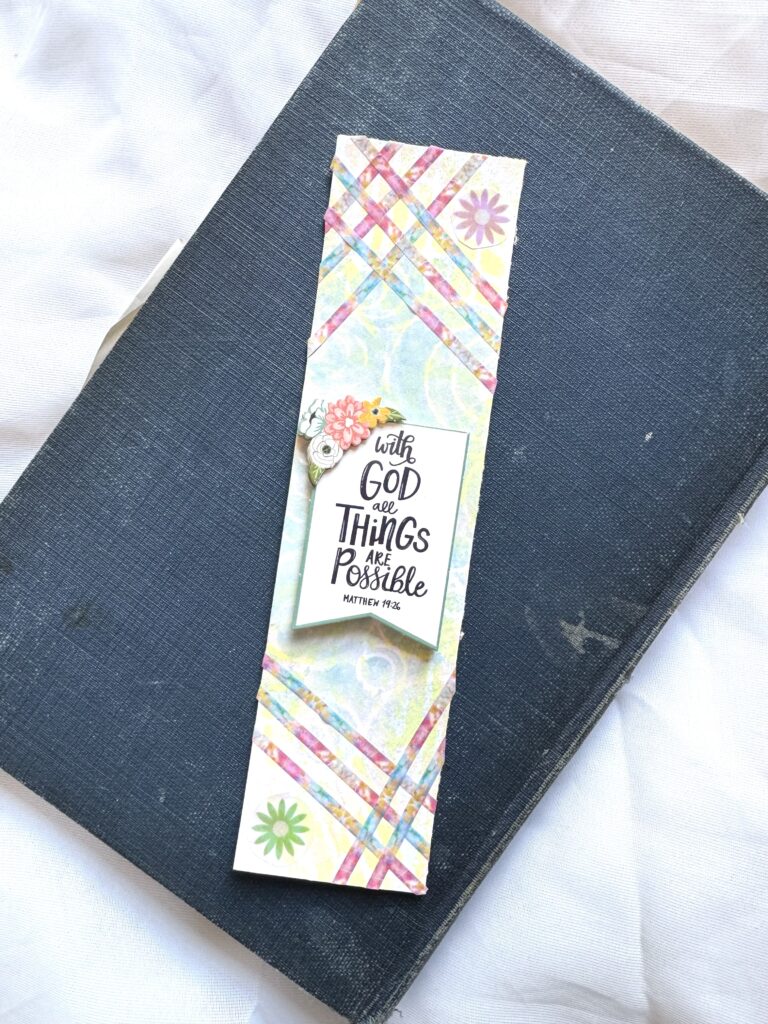
Here, I used 3 different stencils sprayed one at a time with different color distressed ink. That created a really unique and colorful background. You also could use acrylic paint with the stencil if you wanted to.
Then, I added washi tape to create the checker-board look. The center Bible verse is a raised sticker. And those little flowers were part of some vellum I had in my stash!
4| Washi Tape
Washi tape is a very easy way to create depth and interest!
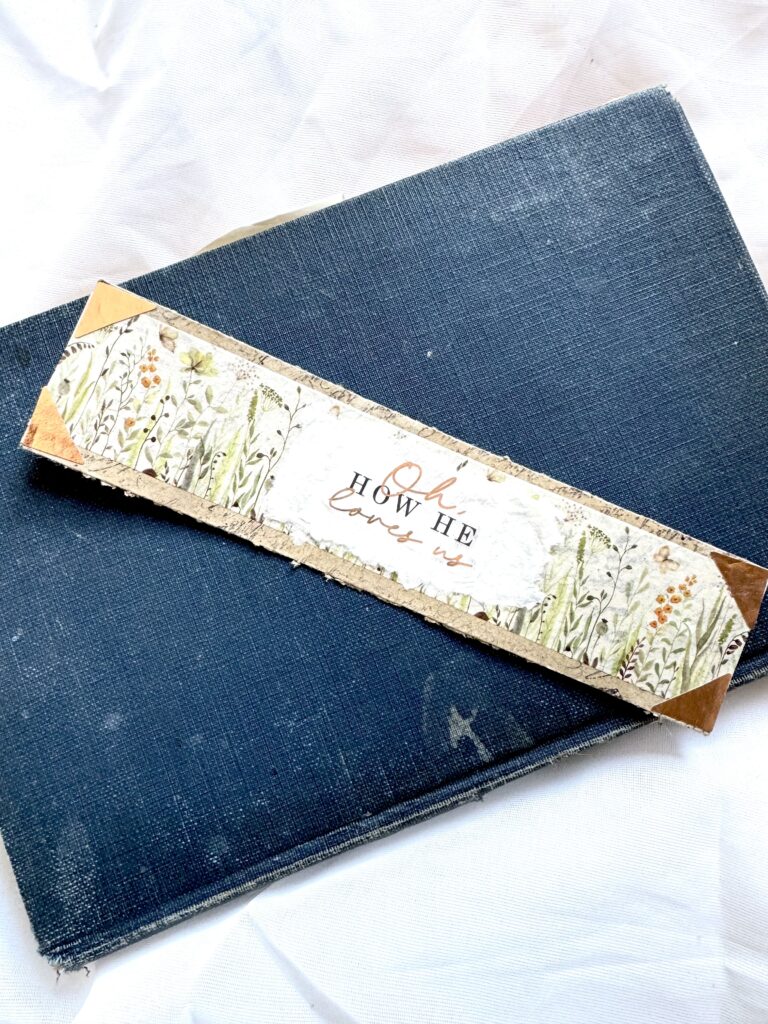
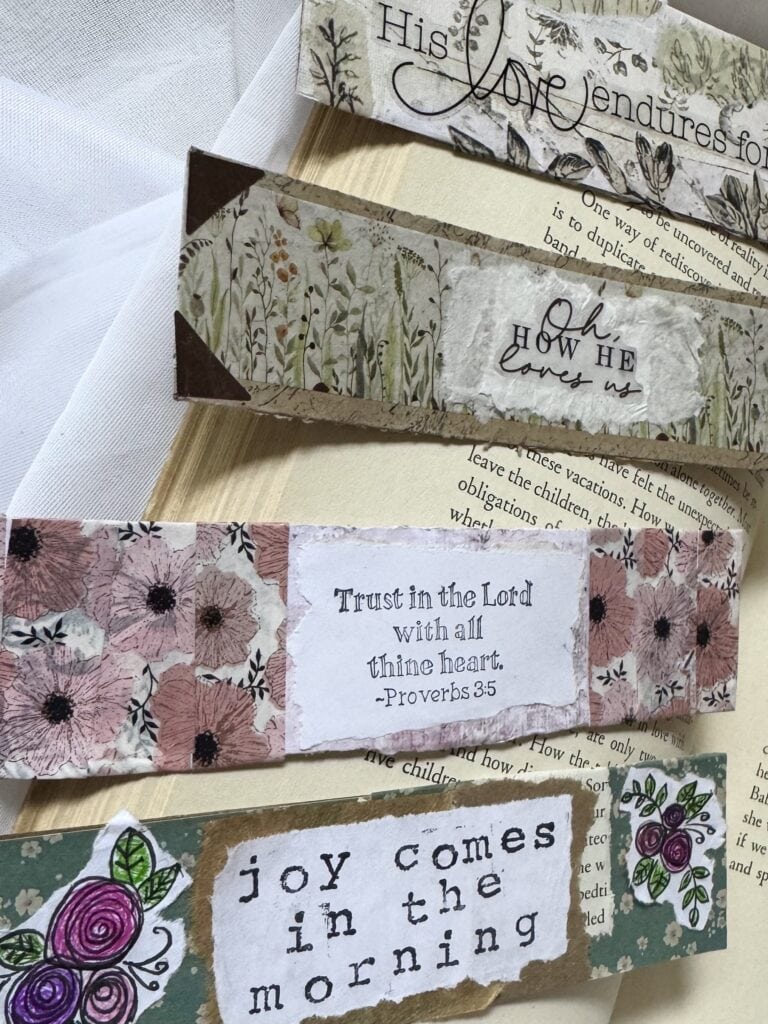
For the one below, I used a script stamp on the base (you can’t really see it), and then just ran a piece of 1″ washi tape through the center.
The gold corner stickers and the center sticker were both from a planner sticker set I had laying around! The paper underneath the transparent sticker is just a few layers of tissue paper.
I did seal this one with Mod Podge to keep everything in place.
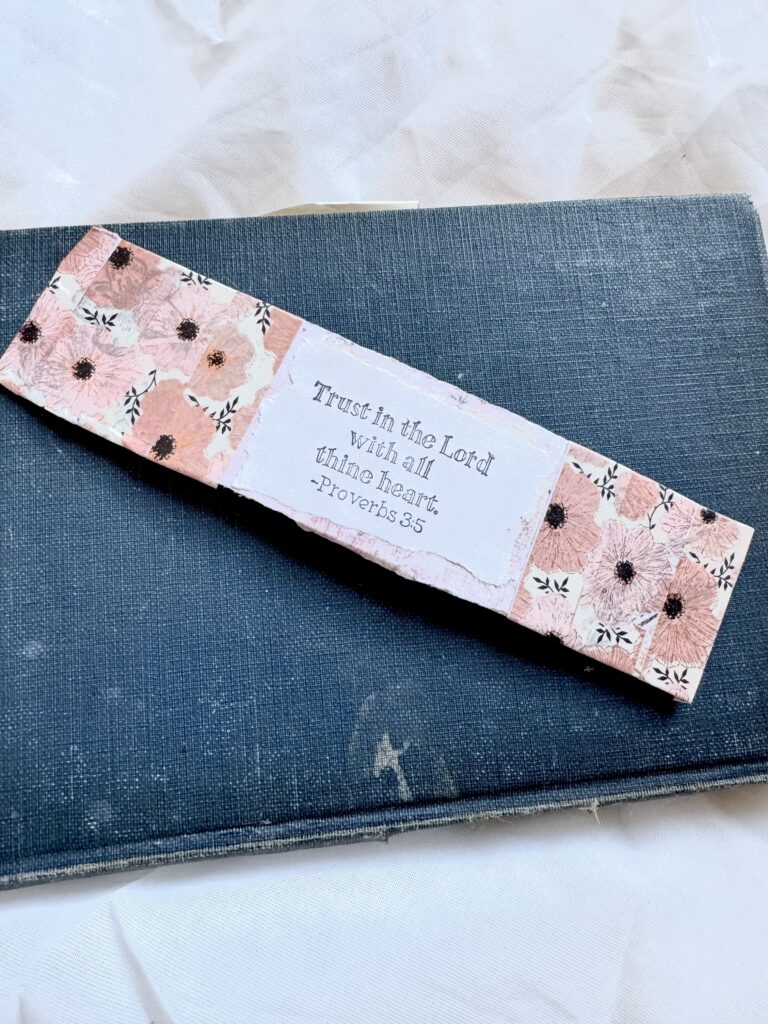
For the next one, I covered it with pretty pink scrap paper first, and then added on floral stamps. However, I messed that up pretty good (real life, y’all!), so I just covered it over in washi tape!
The center is a Bible verse stamp on torn white paper.
Pro Tip: Better to stamp on a piece of paper and add it to the bookmark rather than stamp right on top. However, it’s nothing that a few additional layers can’t fix!
5| Watercolors and Doodles
Watercolor and doodling is something I’m new to, but I’ve really enjoyed the learning process!
For this bookmark, I drew my designs in pencil first (key!!!), then traced over them in micron pens.
After that, I used watercolor pencils to color in the doodles, and then added water to create bursts of color outside the lines.
Then I used watercolor paint to add a blue wash in the negative space.
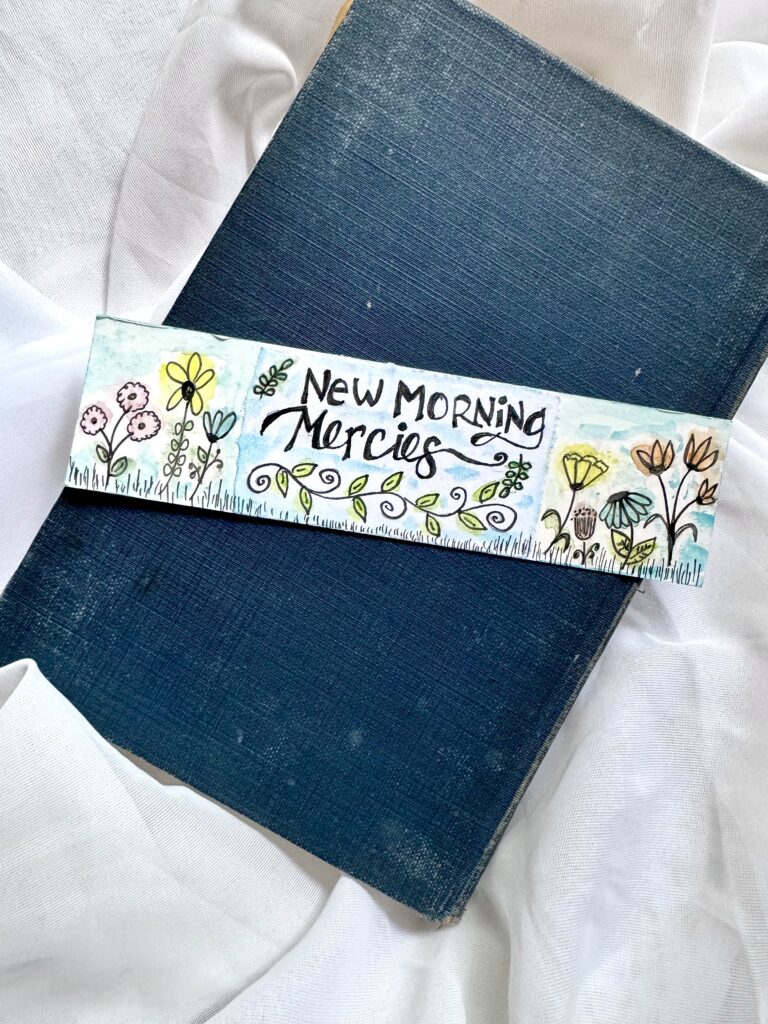
I wasn’t crazy about my handlettering, so I tried another version with stamped letters and hand drawn flower doodles colored with fine tip pens, and I was much happier with that one!
6| Stamps & Paint Pens
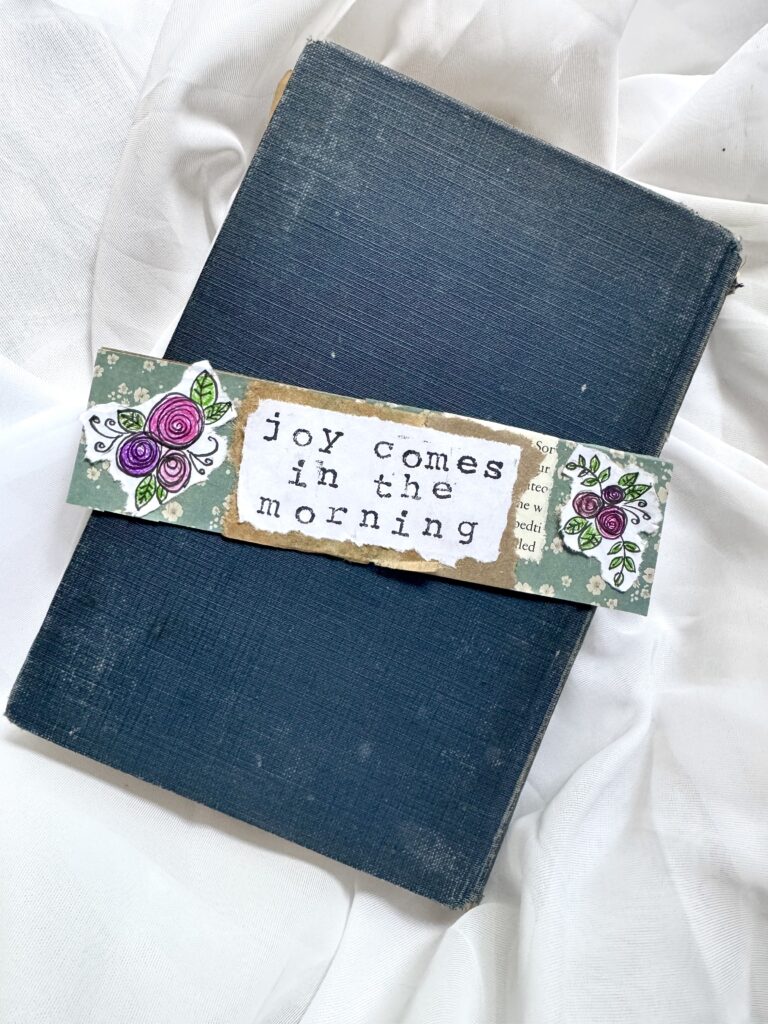
Below are projects that our kids did mainly using stamps and paint pen accents, but also a few other techniques mixed in.
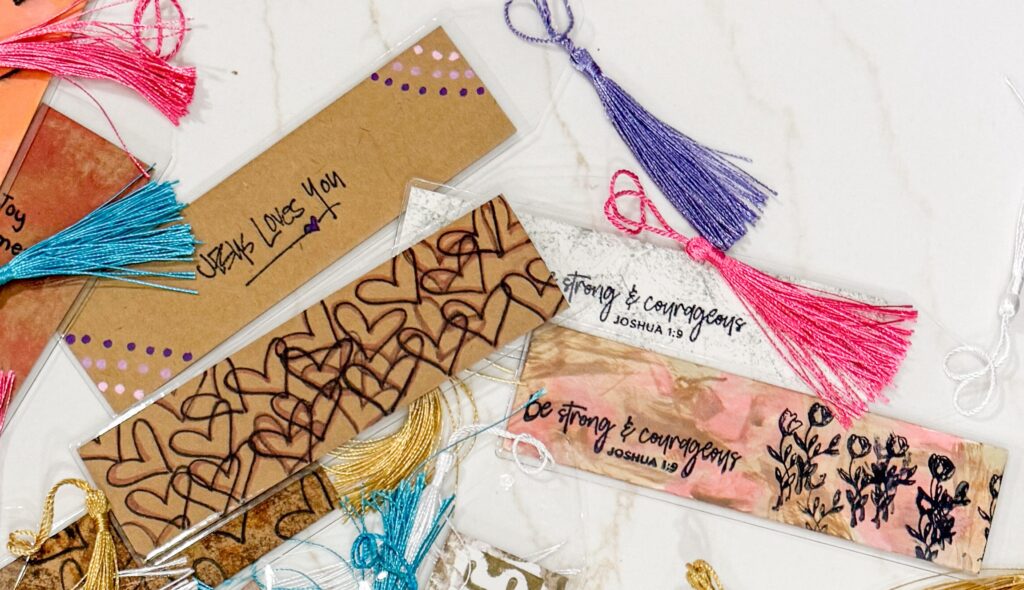
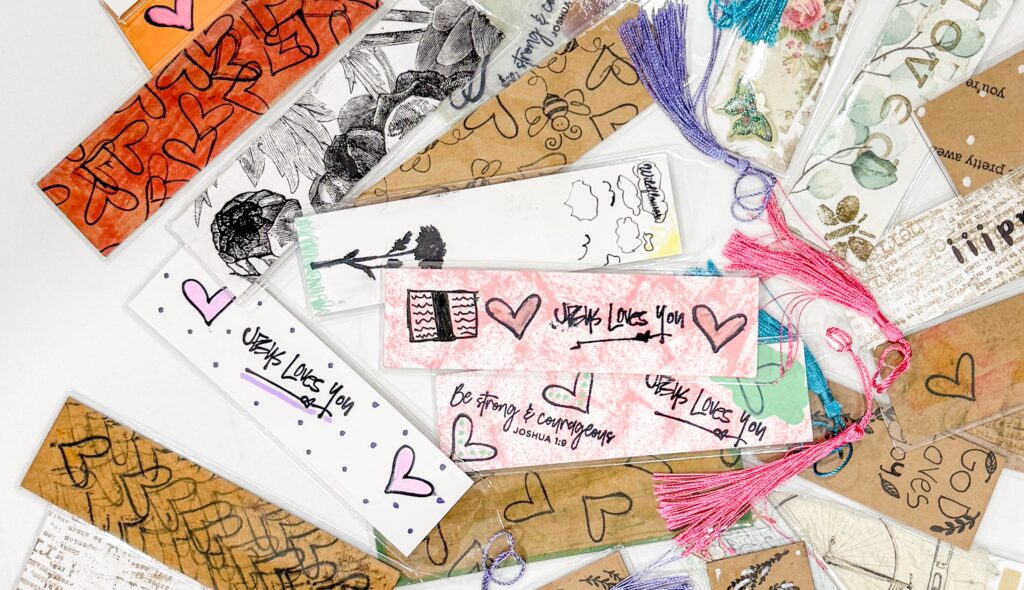
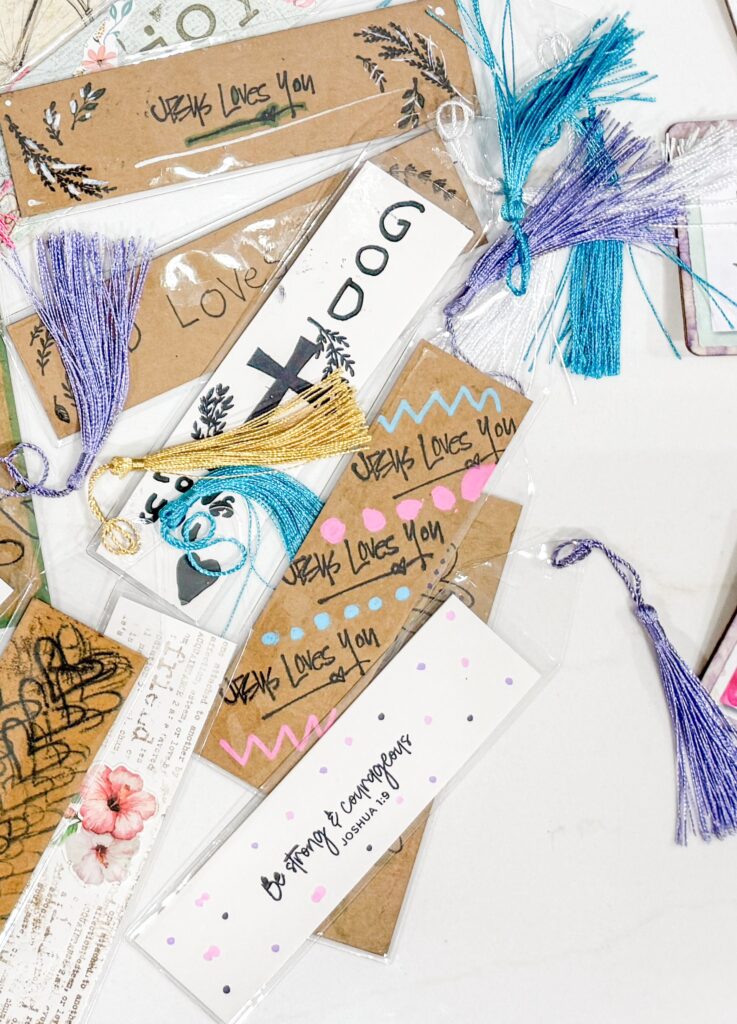
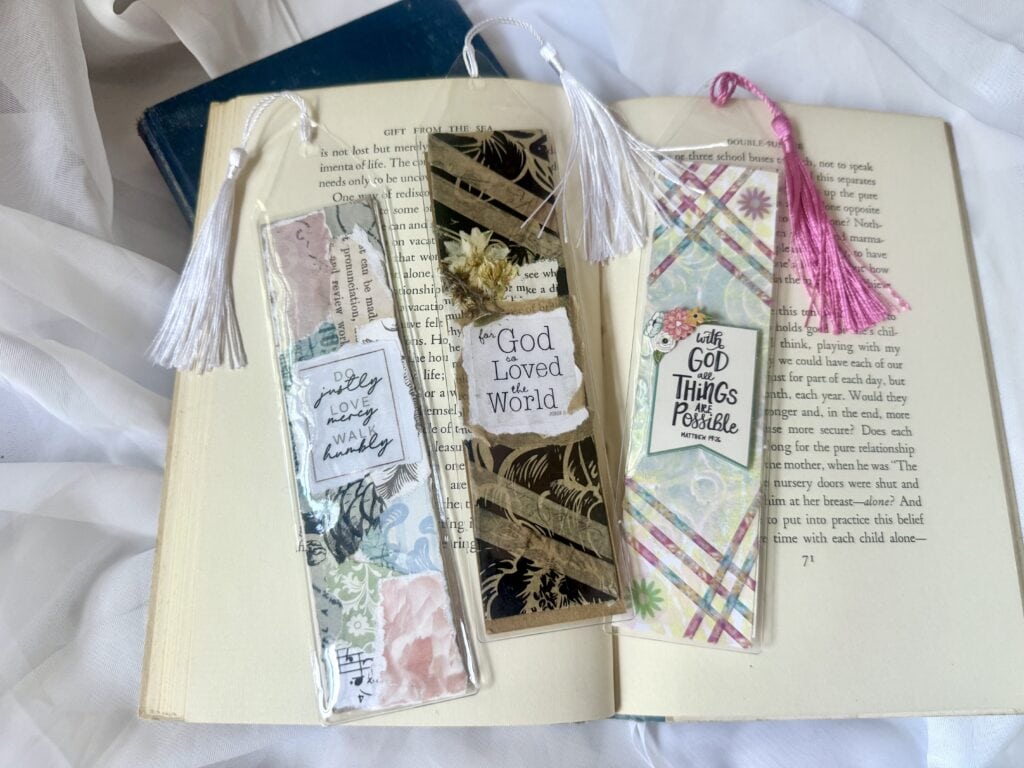
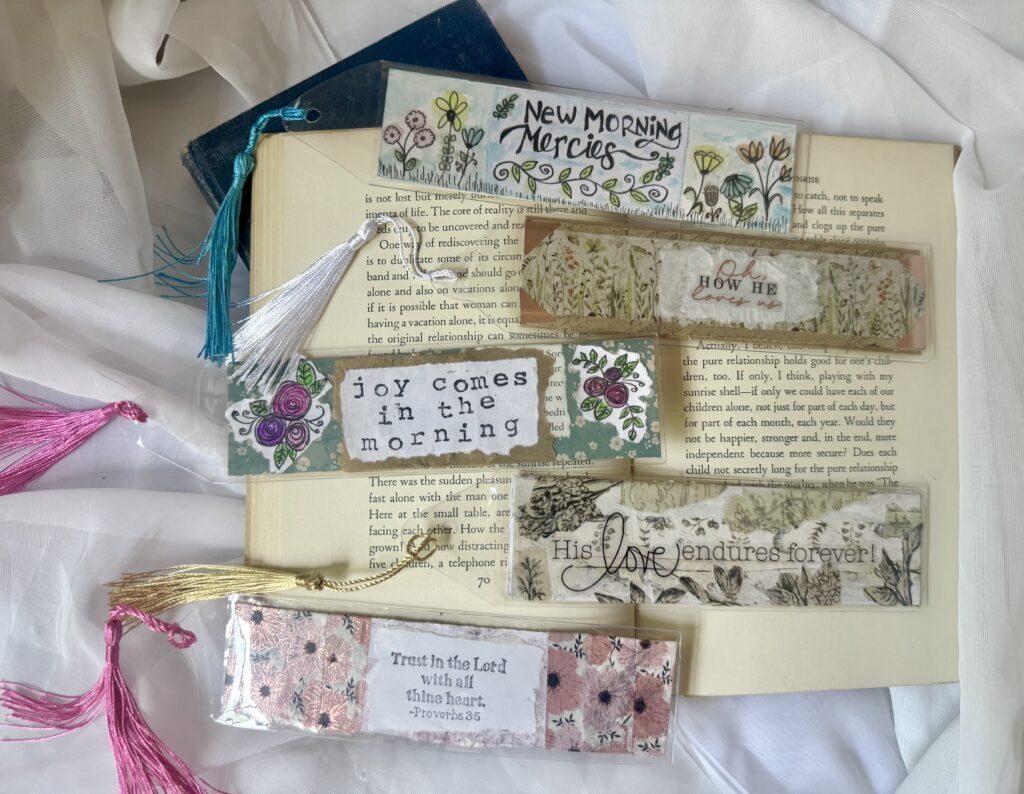
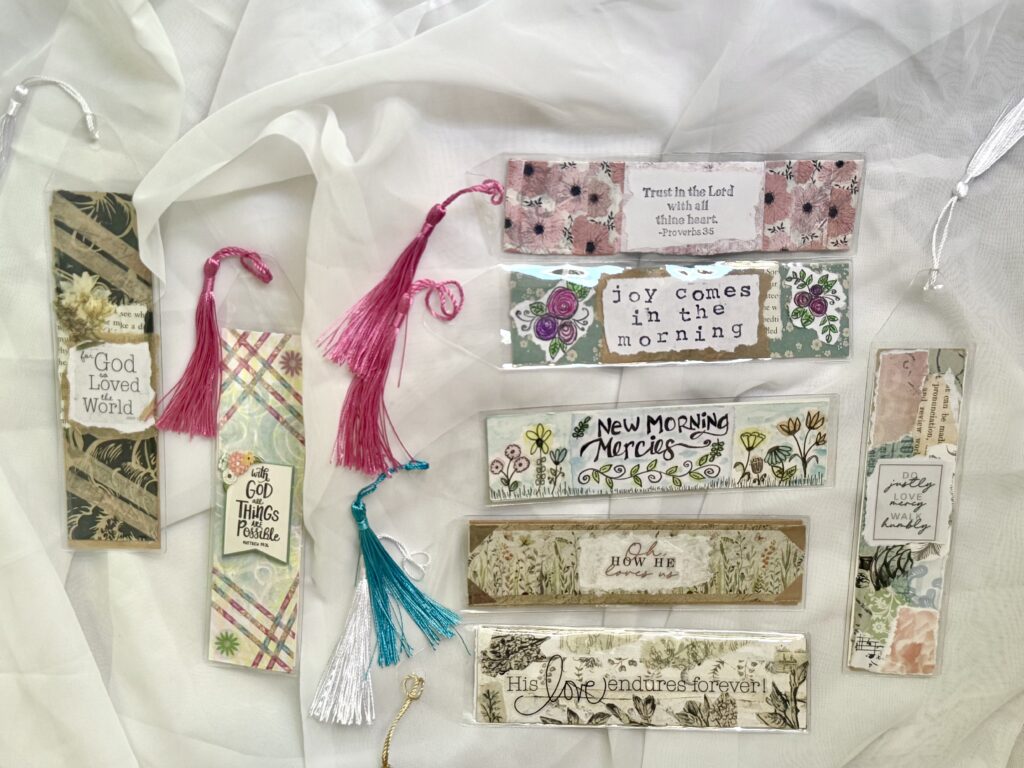
And below are the whole smattering of the Scripture bookmarks one of our groups made. 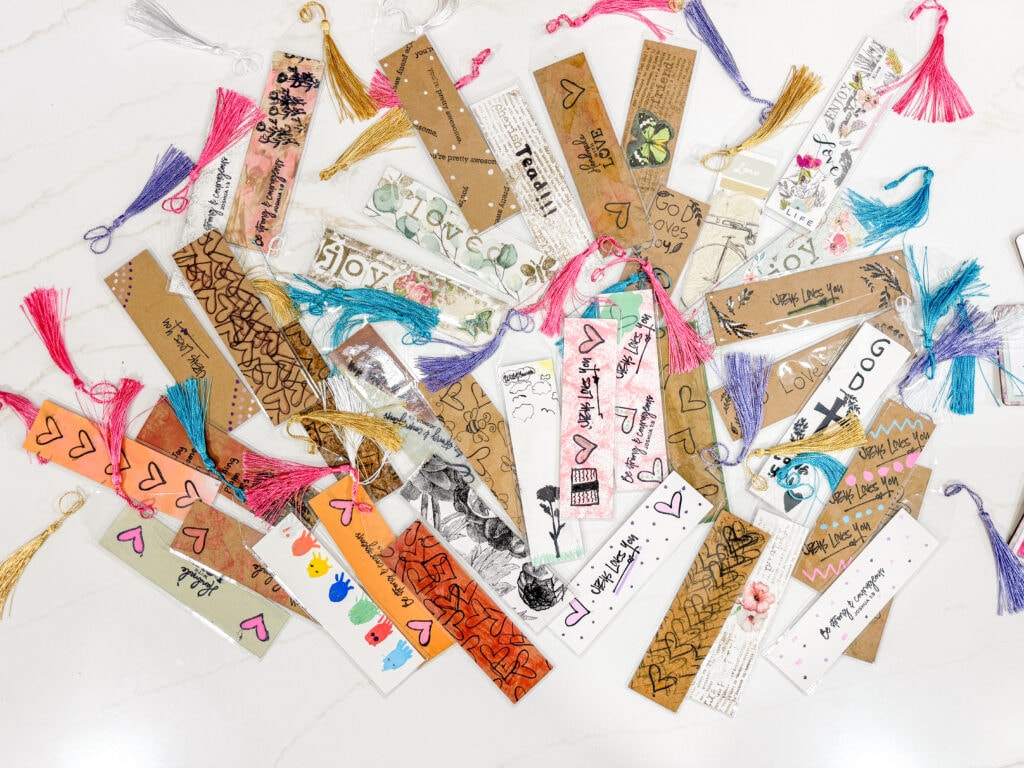
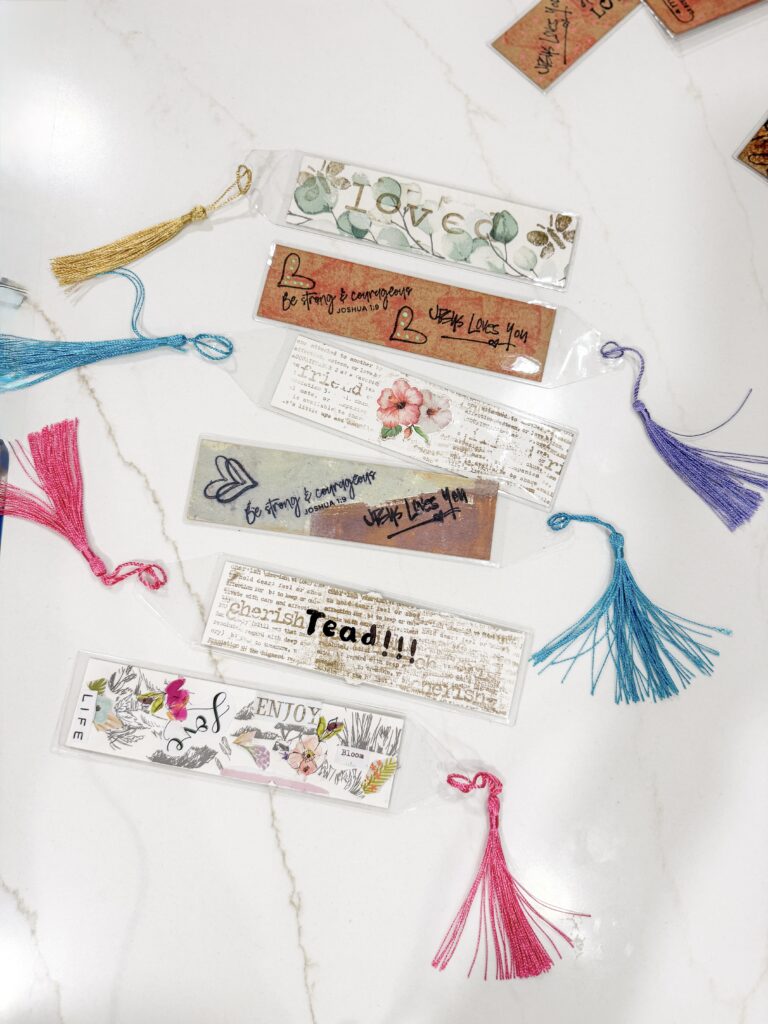
Below, you can see the vertical bookmarks all finished off in their clear covers with tassels.
Here are the horizontal bookmarks:
And here are all of them!
I hope you found some easy techniques that you can try to make homemade bookmarks! I’m sure you’ve heard this before, but it’s really not about a perfect end result. Just enjoy the process!
God’s love will be felt in these projects, and seeing these creations handmade with love bring smiles to you and to anyone you give them to!
If you like creating Christian crafts, be sure to check out 15 Christian Crafts for Adults: Polished DIY Gifts and Craft Ideas!
Thoughts? I’d love to hear them! Leave a comment below!
Pinterest user? I’d be so grateful if you pinned. Every pin supports this site in a big way. Thank you so much!




Our small group is doing Max Lucado’s book on the Holy Spirit. It is a thoughtful topic and i am using crafts to help the group work through its concepts.
Each week, we study a chapter concept and ive prepared a short craft to bring it to life. So far we’ve made tealight covers to highlight the flame, a card to send the message, etc. Were continuing this fall with the rest of the lessons and I have crafts in mind to go with the lessons.
The holy spirit can be a hard topic to teach around, but I have found the crafts have been good anchors…
I love these ideas, Marty! I totally agree about the crafts… doing something with our hands is exactly why kinesthetic learning is so effective! Really cements the topic! I’d love to see some of your projects! Feel free to share them with me! kate@ahundredaffections.com