DIY Patriotic Terra Cotta Pots Centerpiece – 3 Ways!
Looking for a fun and festive way to decorate your table or porch for Memorial Day or the 4th of July? This DIY patriotic centerpiece brings color, charm, and a nostalgic touch to your summer decor. And it’s a craft that’s a lot of fun to make – 3 different ways!

Americana Aesthetic for Summer Decor
I am a Christian first and foremost, but I come from a very patriotic family. My grandfather was a lieutenant colonel in the Army during World War II. My husband’s grandfather was a captain in the Army during the Korean War. Both were pilots.
Our sons are named for both of these American heroes, and we are so grateful for every person who served and serves today to defend our freedom.
When Memorial Day comes around, it’s all things patriotic around here. And it stays that way until 4th of July, and sometimes the entire summer.
So if you are all about the Americana aesthetic around your home, I’ve got a fun idea for you today, and there’s more where that comes from.

Patriotic DIY Flowerpot Centerpiece
This post contains affiliate links. See Disclosures for details.
I was in Hobby Lobby the other days, looking for some patriotic decorations.
They had a great selection, but the items were still full price! It’s very rare that I pay full price for anything at Hobby Lobby.
These painted jars became the base of my inspiration.
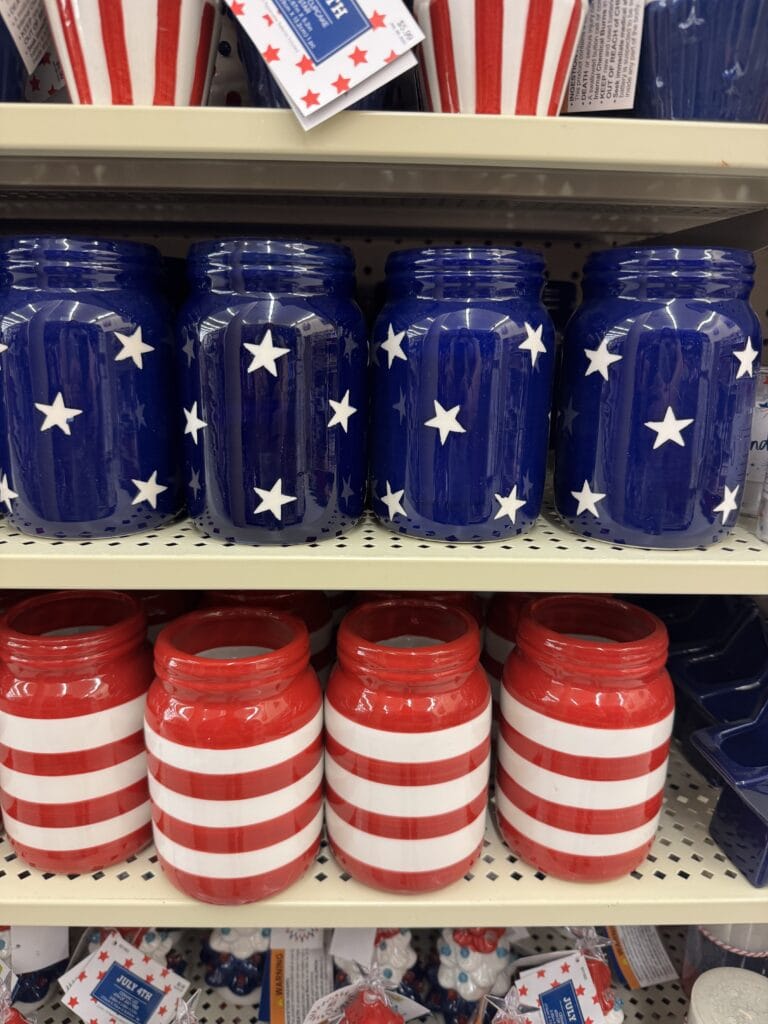
I decided to expand that idea and make a variety of flower pots to go along with the stars and stripes.
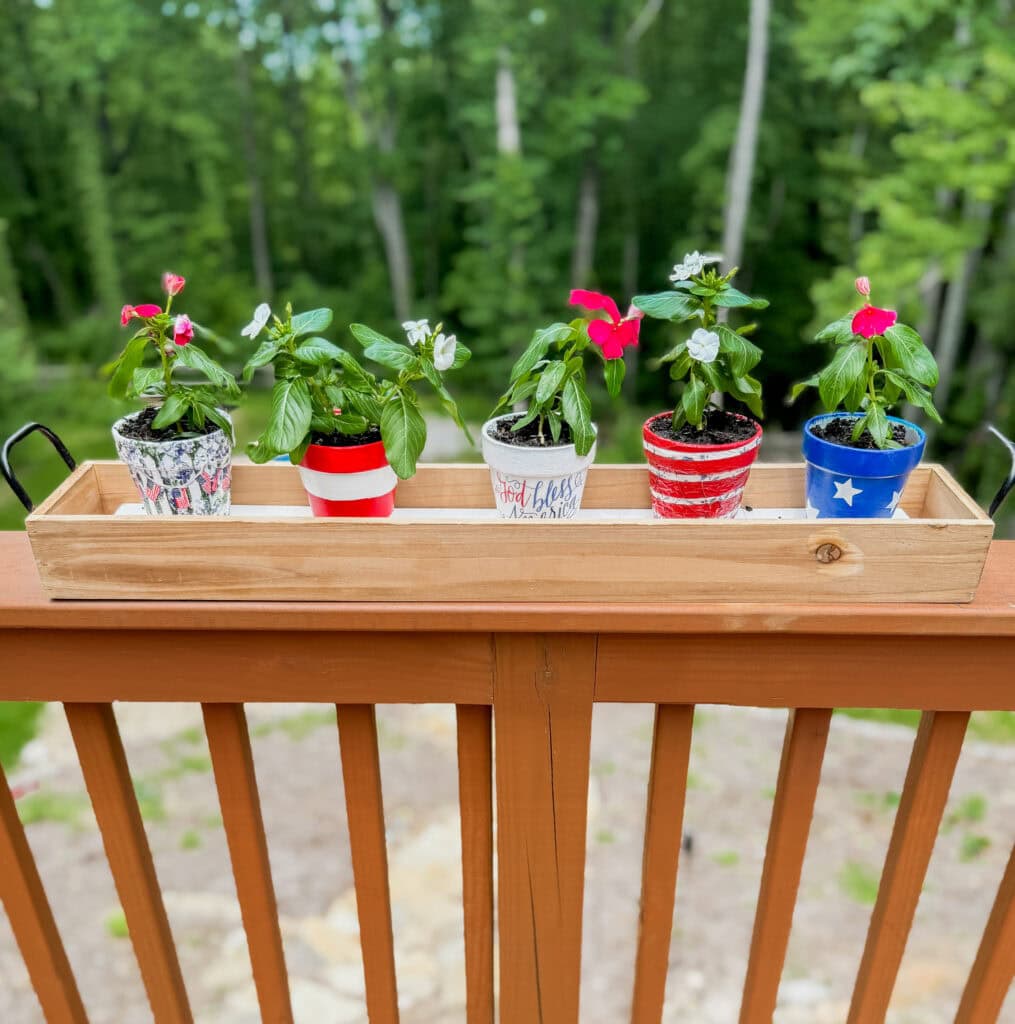
I created this project using a long wooden tray, five terra cotta pots decorated with a few easy techniques. The end result was a simple and festive 4th of July craft that you can use all summer long, if you like!
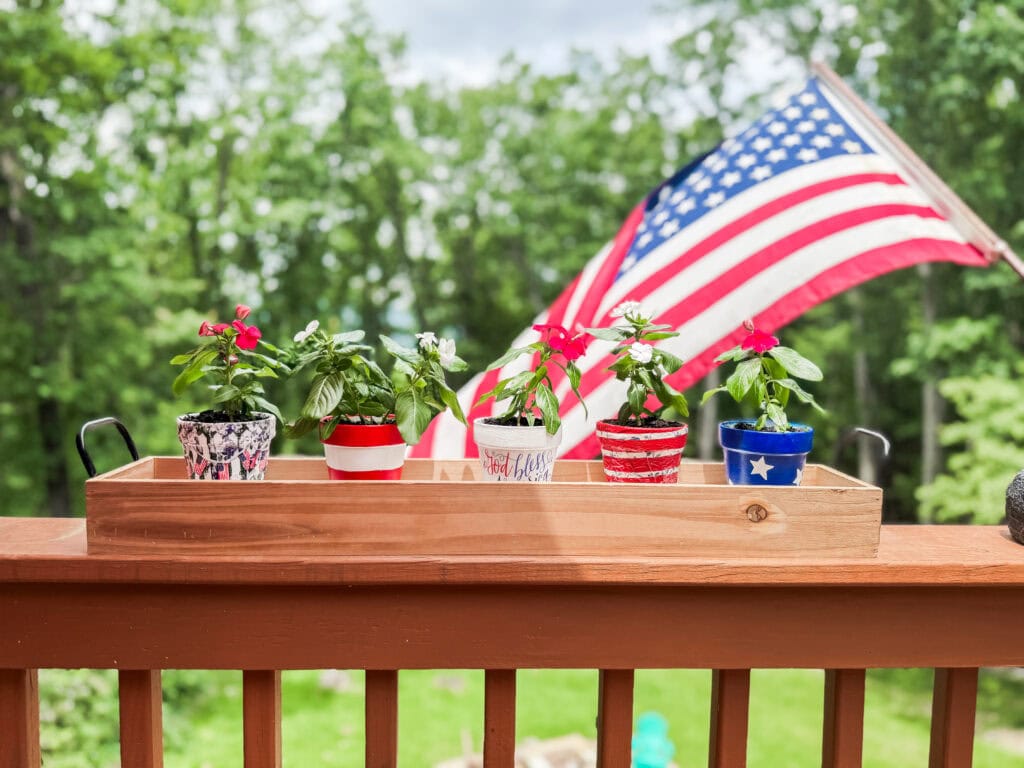
Of course, you can vary it how you desire, but I’ll explain how I did mine.
Supplies You’ll Need:
- 1 long wooden tray with handles (this is the one I have)
- 5 small terra cotta flower pots
- White acrylic paint
- Red, white, blue acrylic paint
- Painter’s tape
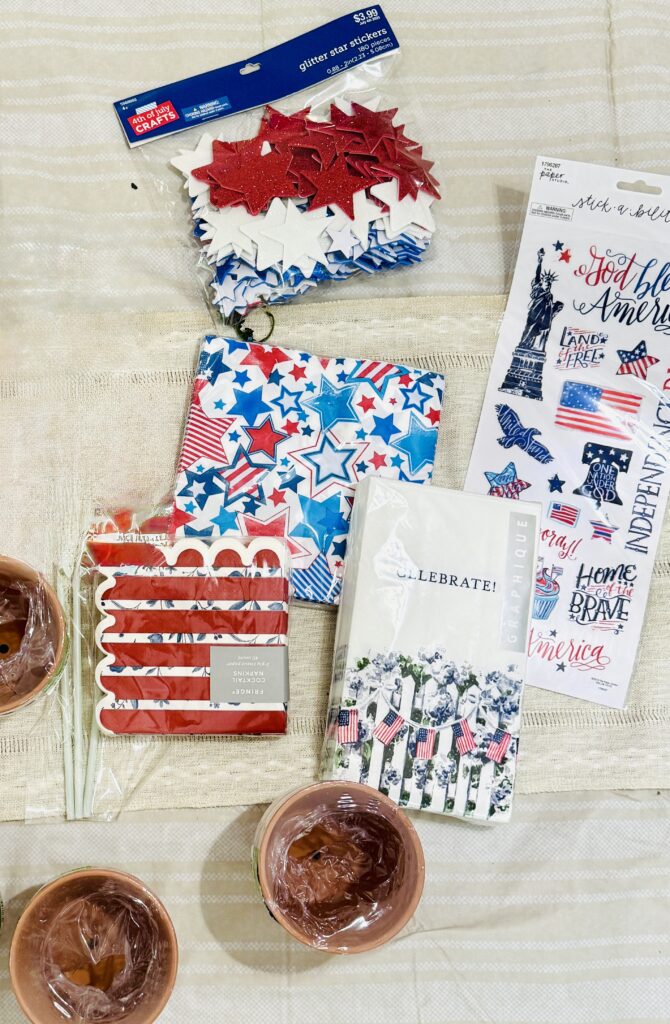
- Foam star stickers
- Patriotic-themed napkins (I got mine at Home Goods – I typically love their selection, but Amazon has a nice variety also!)
- American-themed stickers (mine from Hobby Lobby had clear background; Amazon has a nice selection of vinyl stickers, too.)
- Mod Podge (gloss)
- Foam Paintbrushes
- Potting soil
- Red and white vincas (or whatever flowers will work best for where you’re placing them. Impatiens are nice, too!)
Mod Podge Best Practices
I’m stating these before all the projects because they apply to all of them.
*It’s best practice to apply multiple thin coats of Mod Podge if needed, vs. one heavy coat. It will make your project tacky and maybe peel.
*Let Mod Podge completely dry between coats!
*If your flowerpots are going outside, it’s best to use Outdoor Use Mod Podge, especially if you live in a humid climate. You may even want to use an additional waterproof sealer, as Mod Podge is water resistant (as opposed to waterproof).
***Use a foam brush to help you smooth out the wrinkles. My fingers were sticky and kept pulling up the napkins. A foam brush is soft enough where it won’t tear the napkin but will still smooth out wrinkles.
Instructions
1. Paint All the Pots White
Start by giving all five terra cotta pots a base coat of white acrylic paint.
You’ll need this for the background for all of the pots. It doesn’t have to be perfect. But be sure to paint the inside of the pot about 1″ down, so you’ll see white paint if the soil doesn’t reach the top.
Give a second coat to 3 of the pots as the white will be visible.
Let them dry completely before moving on.
2. Decoupage Two Pots with Napkins
Take your patriotic-themed napkins and gently separate the top printed layer.
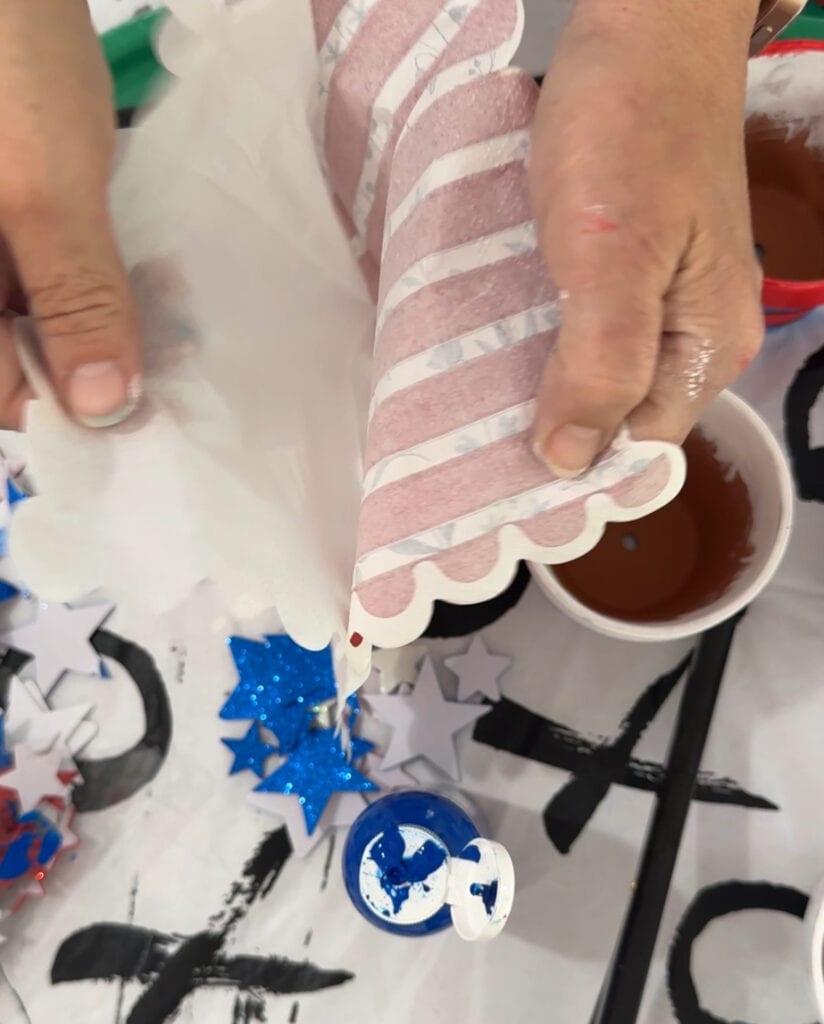
To separate, I usually make a small tear on the edge and that allows me to separate more easily.
Apply a thin layer of Mod Podge on the pot, press the napkin on, and smooth it out gently.
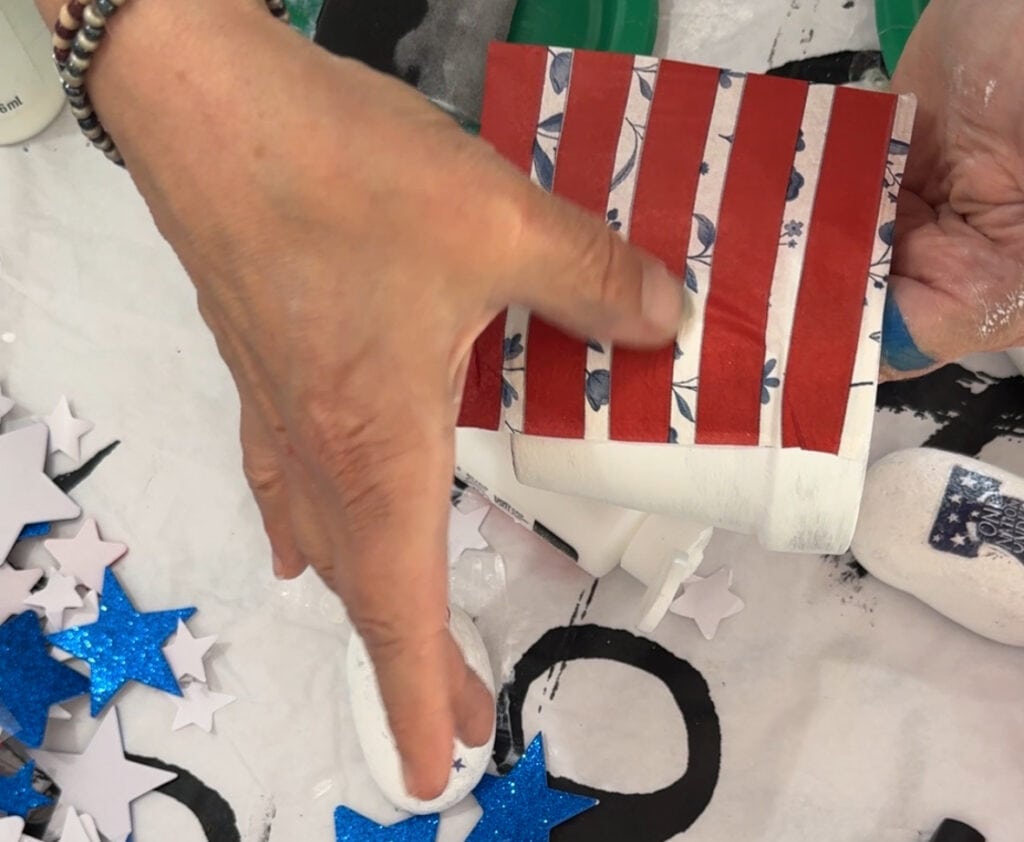
Once dry, seal with another coat of Mod Podge.
Allow to completely dry between coats. I like to let mine dry for 24 hours before doing another coat.
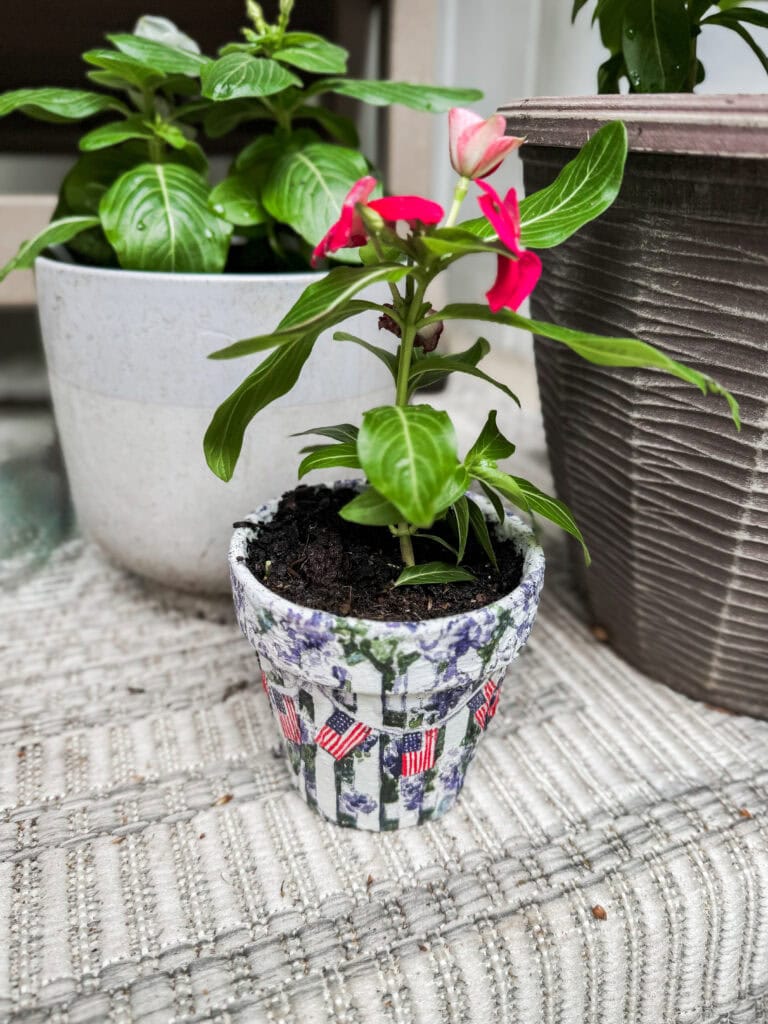
Decoupage with Napkins Helpful Tips
***Busier napkin patterns are easier to work with. They are more forgiving with wrinkles and the patterns don’t need to line up perfectly.
***Stripes and straight lines are trickier, since the bottom of the pot is more narrow than the top.
To create stripes, it’s a best practice cut strips of your stripes and Mod Podge them on separately.
Here’s what happened with the pot with the striped napkin. I tried it 3x, and it still wasn’t right.
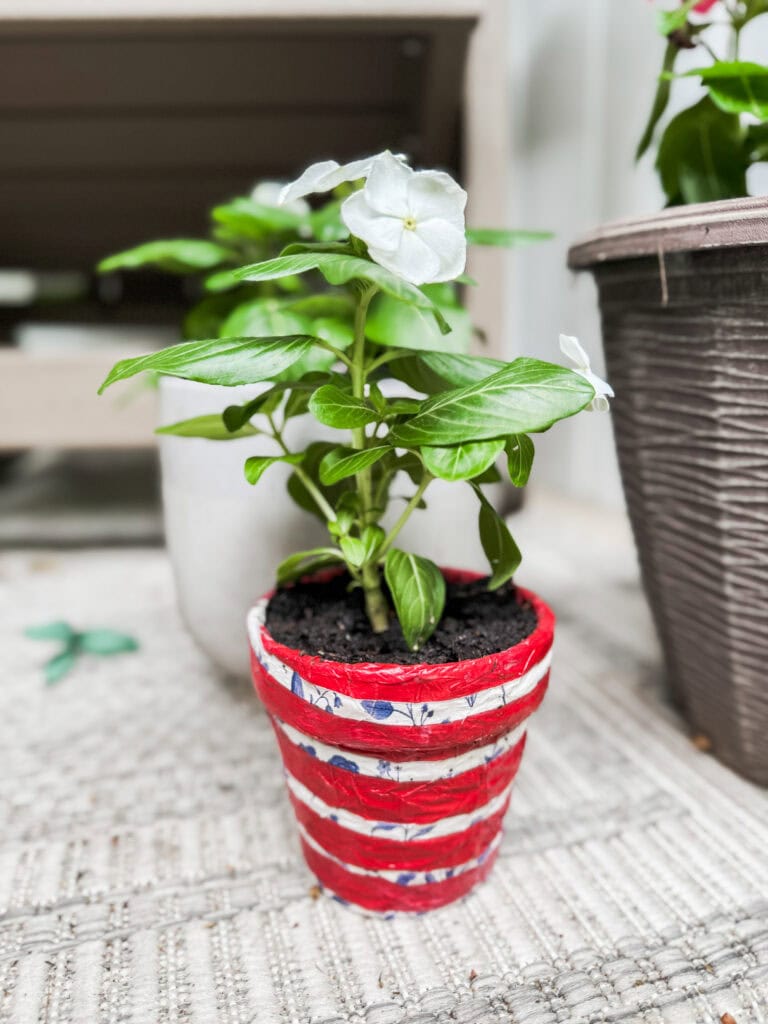
A few mistakes I made:
*My first mistake was not cutting strips and trying to Mod Podge it on in one piece. Can’t do that with stripes.
*There might have been an extra ply of napkin I didn’t realize.
*I didn’t let the Mod Podge dry before adding another layer and I laid it on too thick.
*The situation got worse when I realized I probably should have used Outdoor Mod Podge in our humid climate.
However, I gave it another shot rectifying these mistakes (I still used glossy Mod Podge but I cut strips and thinned out how much Mod Podge I used, making sure I had just 1 ply of napkin.)
Not perfect, but MUCH better!
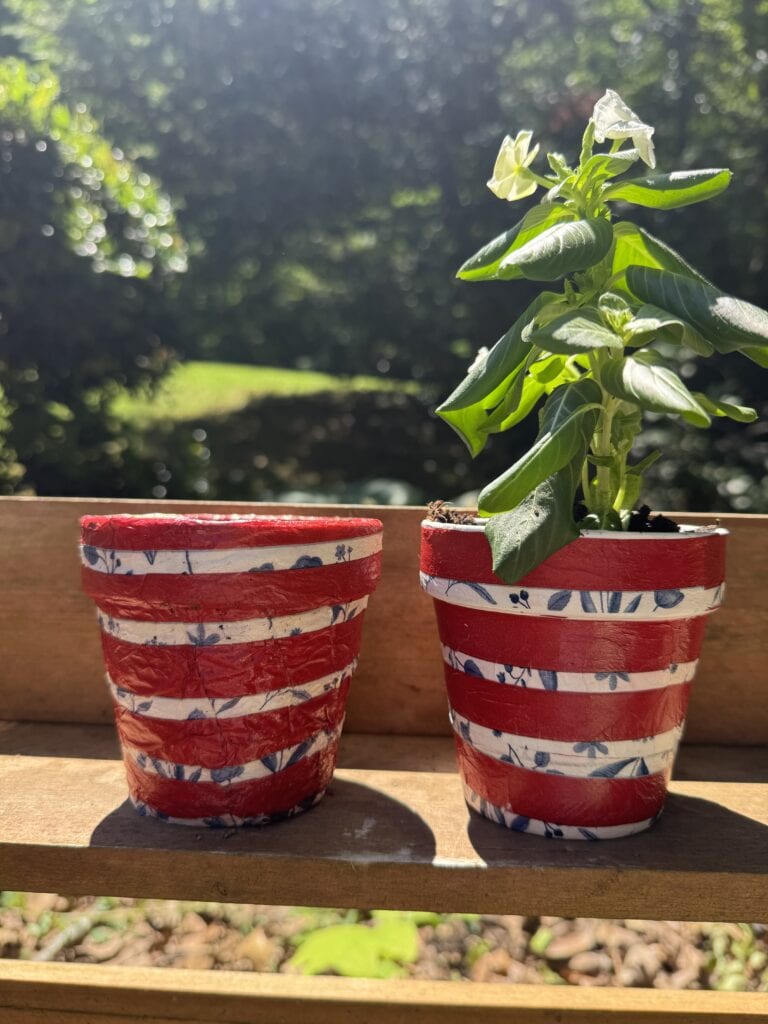
Let me be your cautionary tale!
So proceed with caution in your napkin types!
3. Paint One Pot with Red & White Stripes
Use painter’s tape to mask off clean, even stripes around one pot.
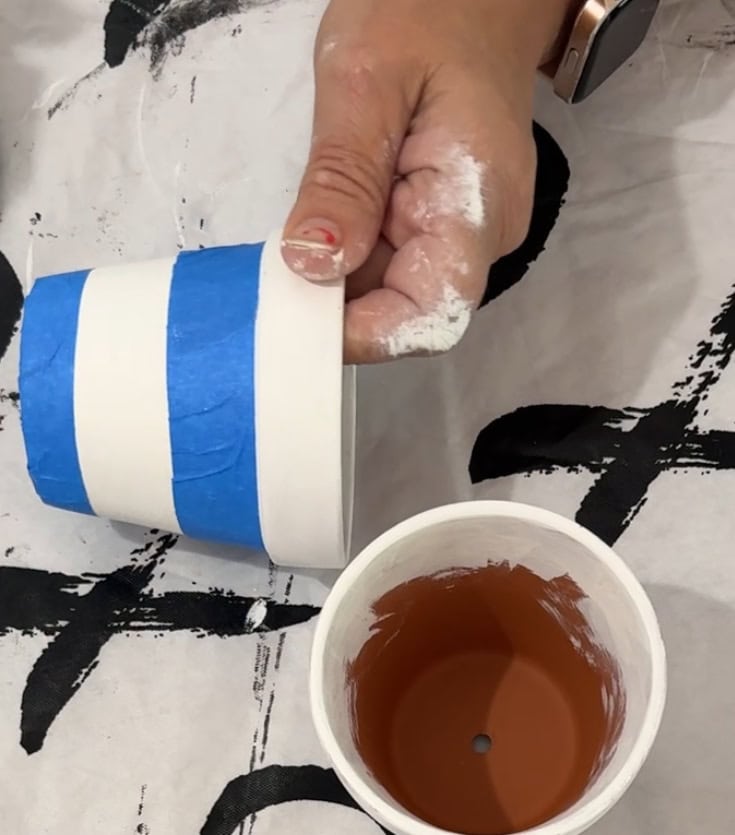
Paint the exposed areas red. You might need to add a second coast.
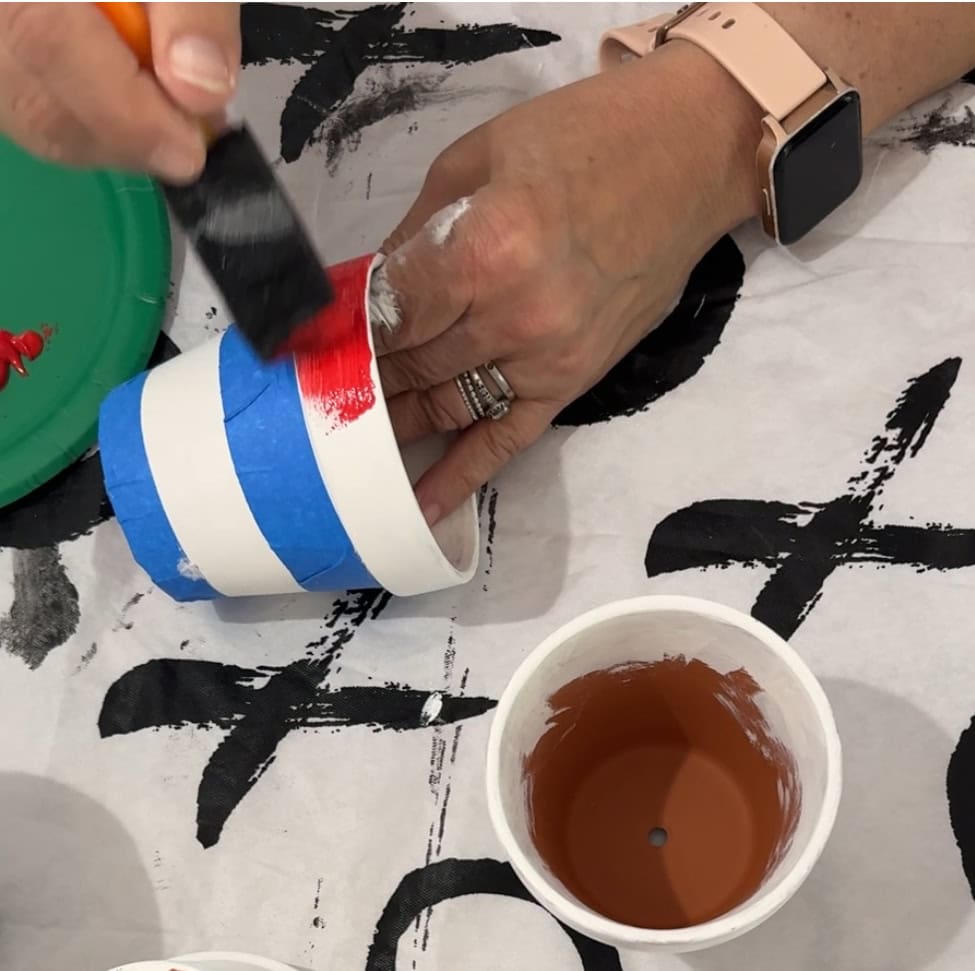
Let dry completely (again, I like 24 hours!), then carefully remove the tape to reveal your crisp red and white stripes.
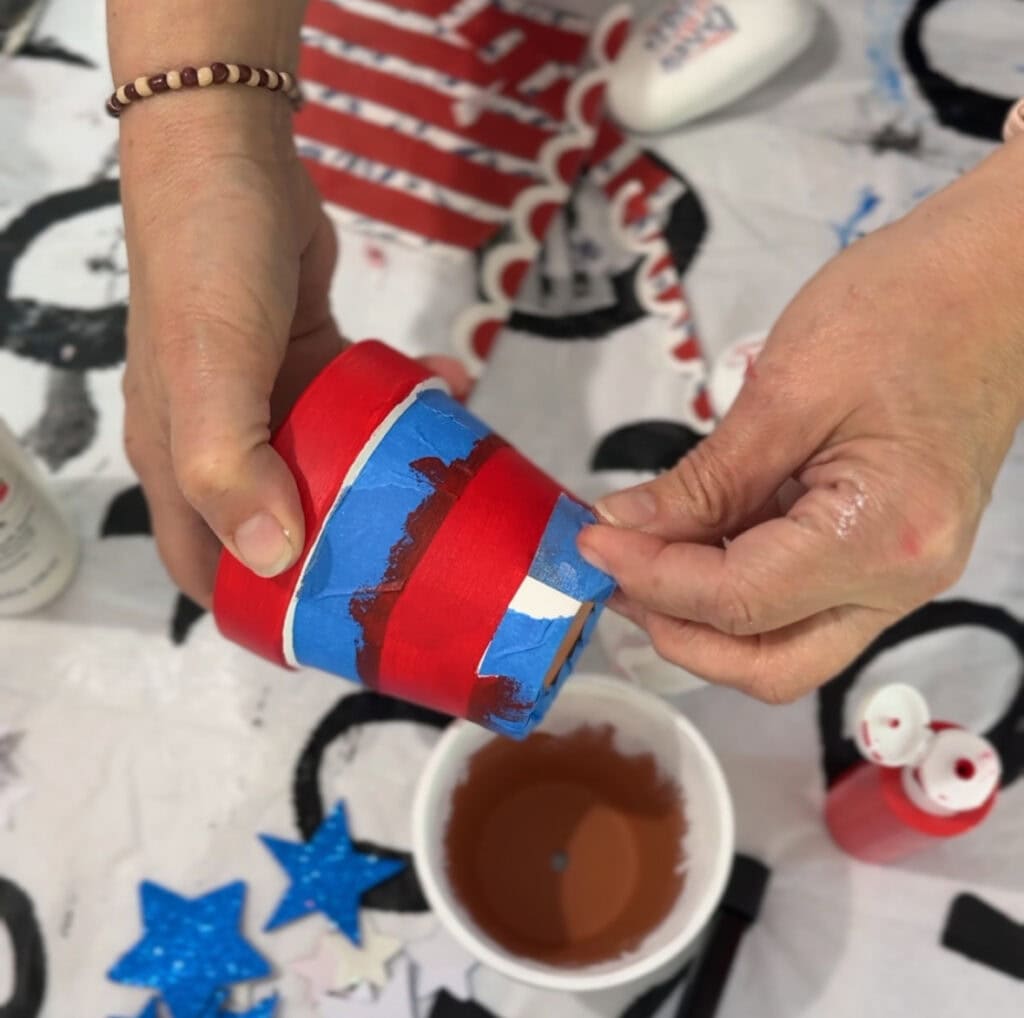
Touch up any areas with white paint and a very thin, fine paint brush.
Once completely dry (I recommend 24 hours to let paint dry), seal with Mod Podge. Allow 24 hours for Mod Podge to fully dry also.
Be sure to seal the bottom as well.
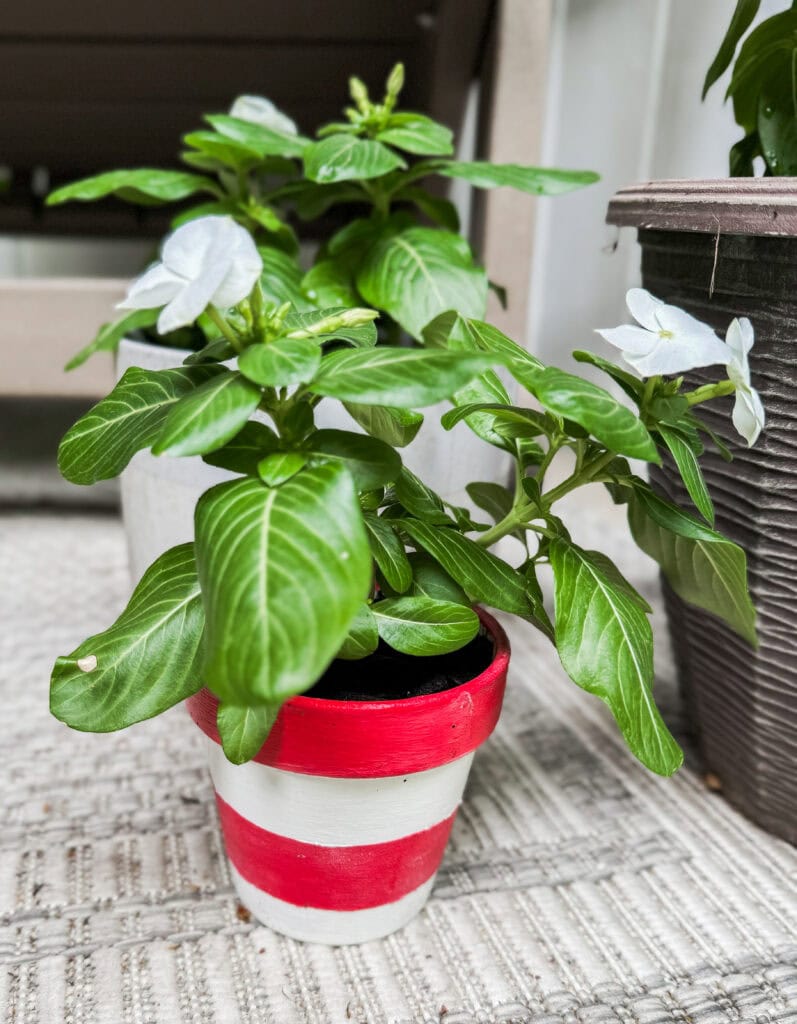
So cute!
4. Create a Starry Blue Pot
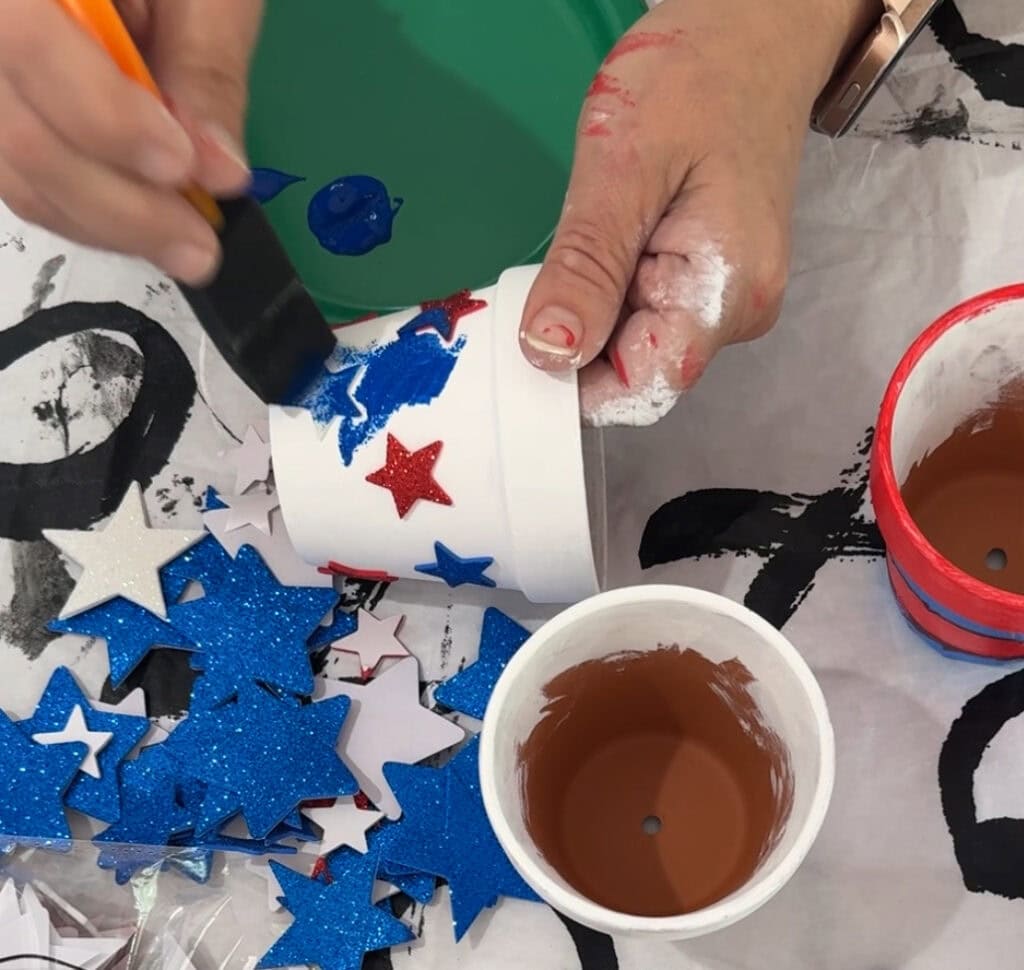
Stick foam star stickers onto a dry white pot. Then paint over the entire pot with blue paint.
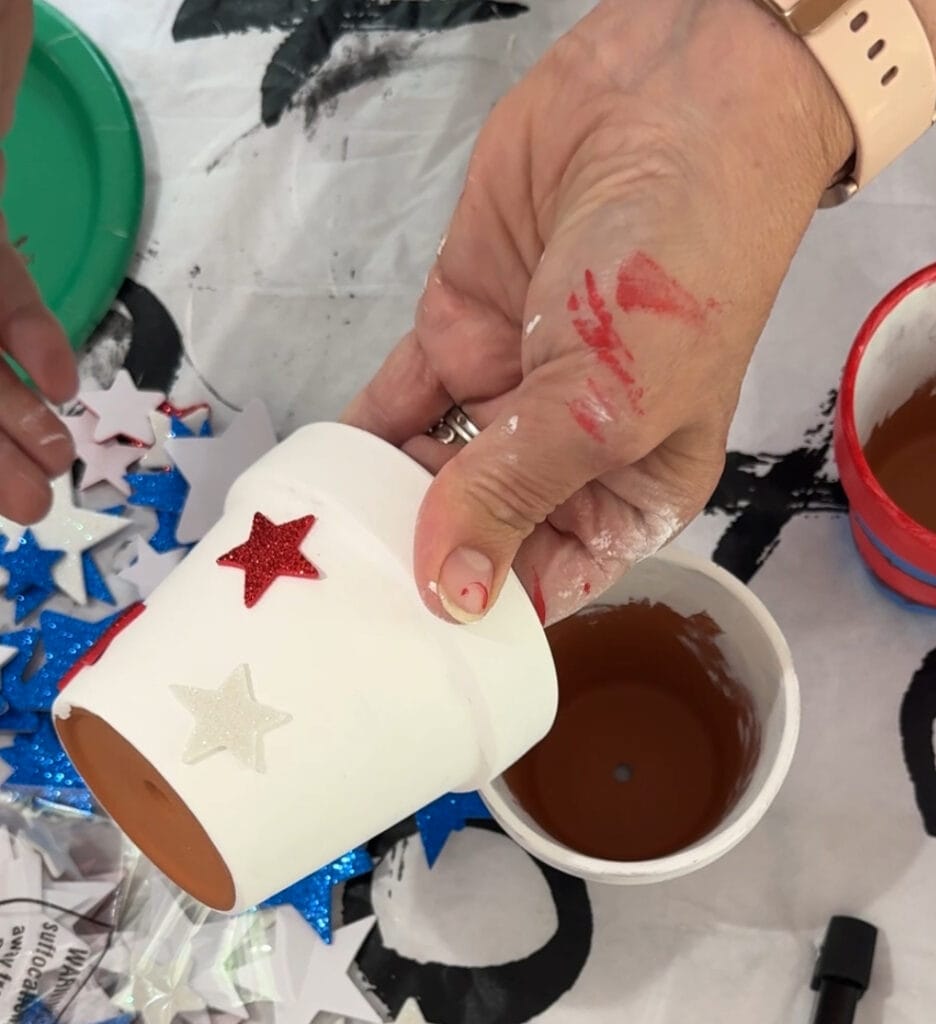
Using a foam brush is key to getting the paint as close to the edge of the stars as possible. Using a ‘dabbing’ motion, make sure all those areas are filled with blue paint.
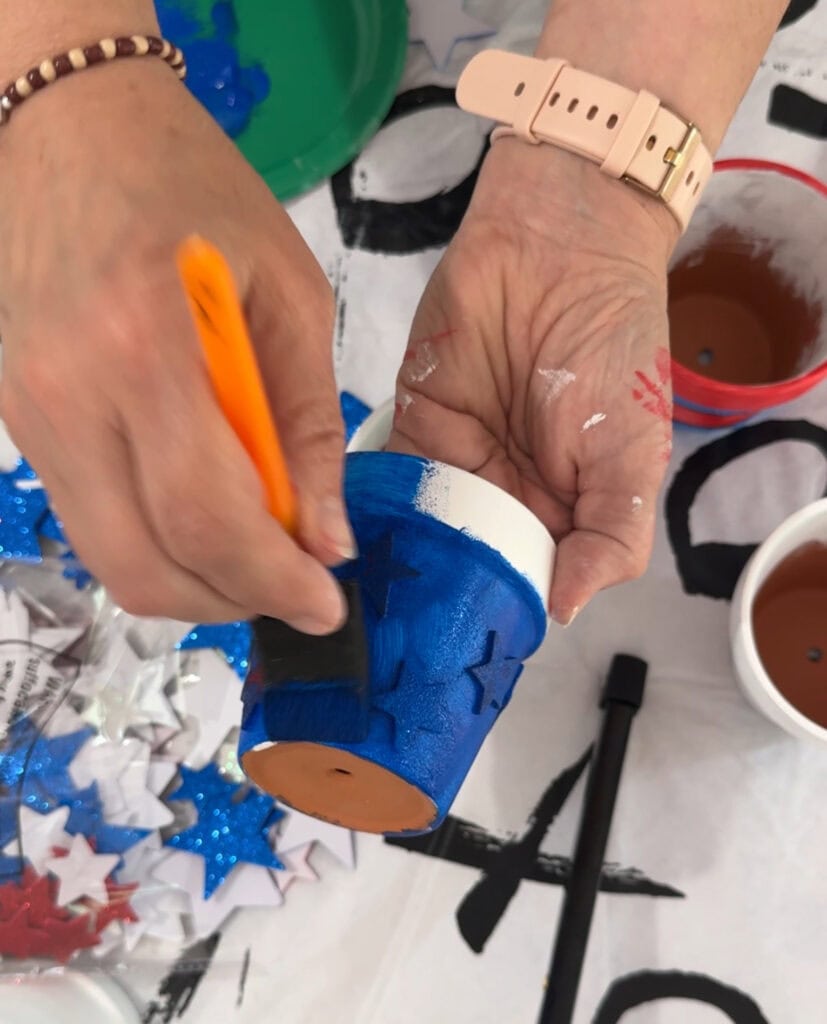
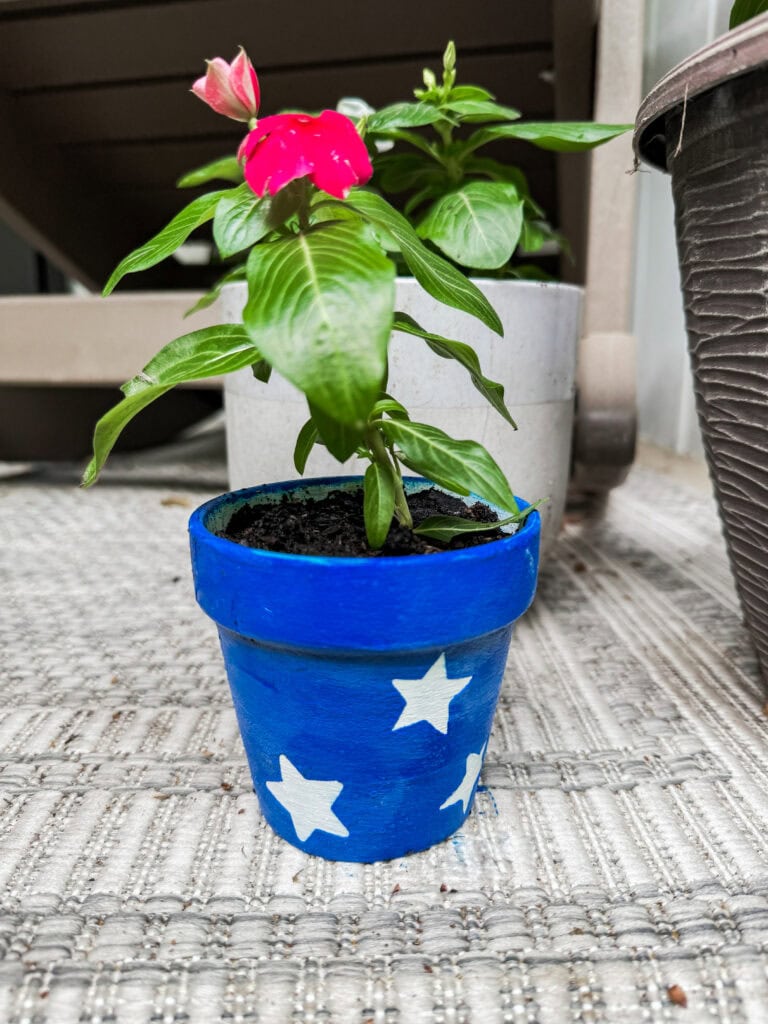
Once the paint is dry, gently peel off the star stickers to reveal the white stars underneath. Touch up as needed with white paint and thin brush.
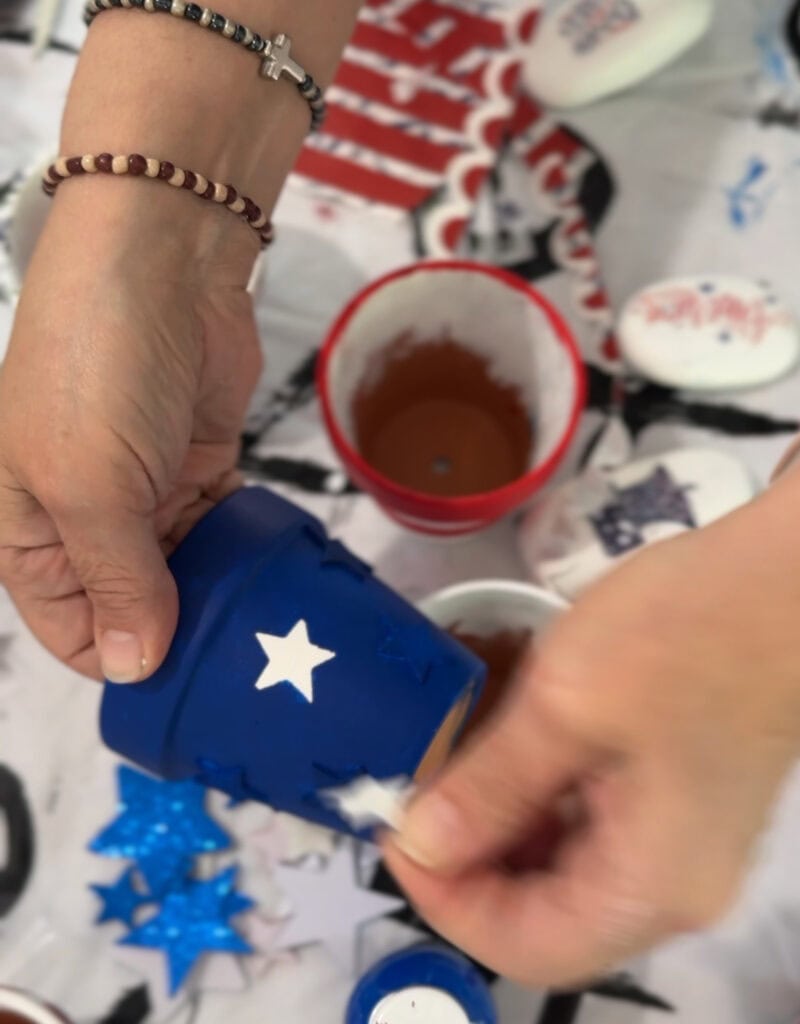
Once completely dry, seal with Mod Podge. Be sure to seal the bottom as well.
Again, I recommend letting paint dry 24 hours, then letting Mod Podge dry another 24 hours.
5. Add a Sticker to the Last Pot
Keep one pot simple: just add an American-themed sticker (a flag, USA, etc.) to your white pot for a clean and classic look.
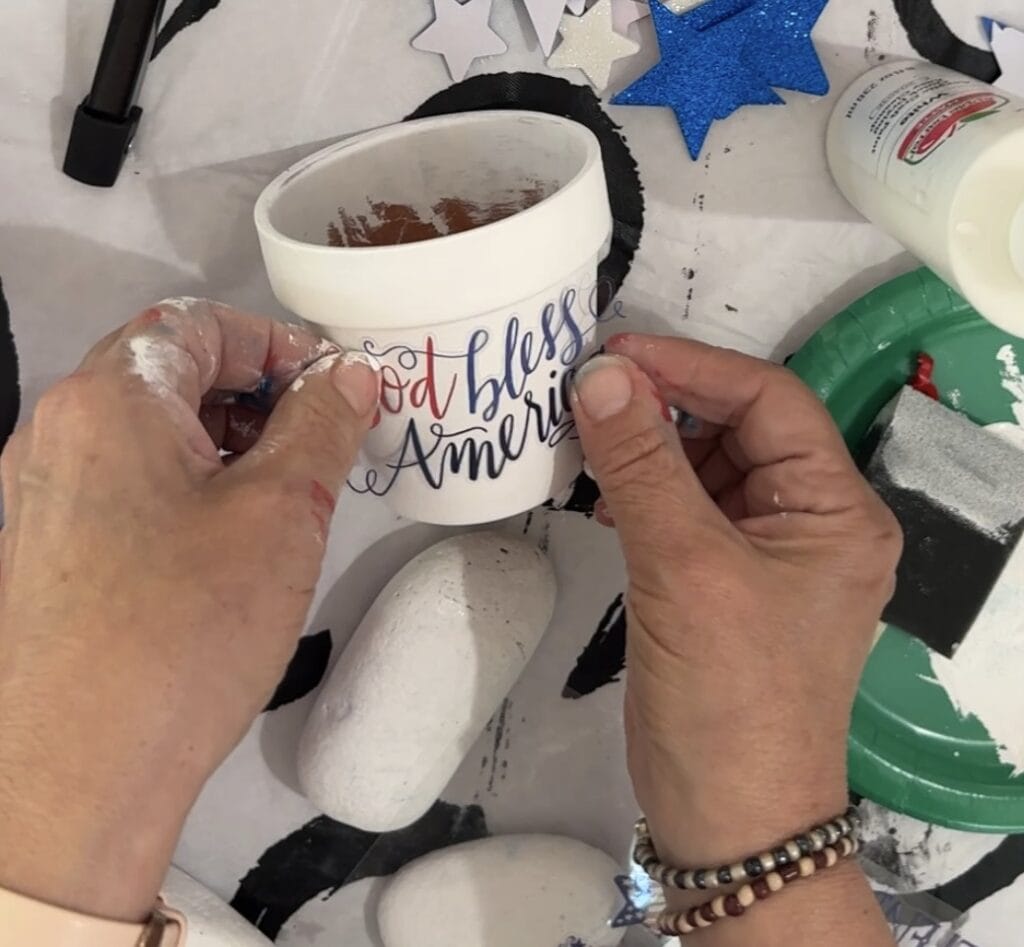
You’ll want to choose a larger design that takes up most of the front of the pot.
Even though it’s a sticker, I added Mod Podge first to make sure it really stuck.
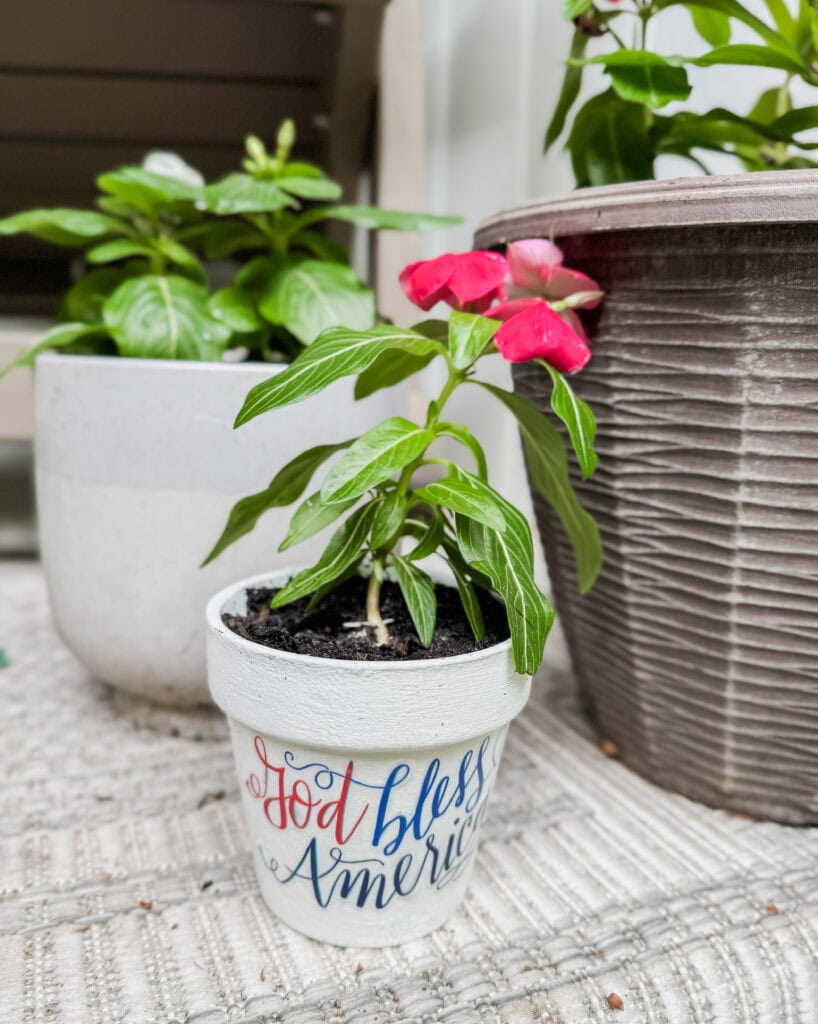
Then, I finished with a coat of Mod Podge to protect the design, including the bottom.
If it looks a little cloudy on top of the sticker after the Mod Podge dries, you can scratch off the Mod Podge from the top and just leave it near the edges.
6. Pot Your Flowers
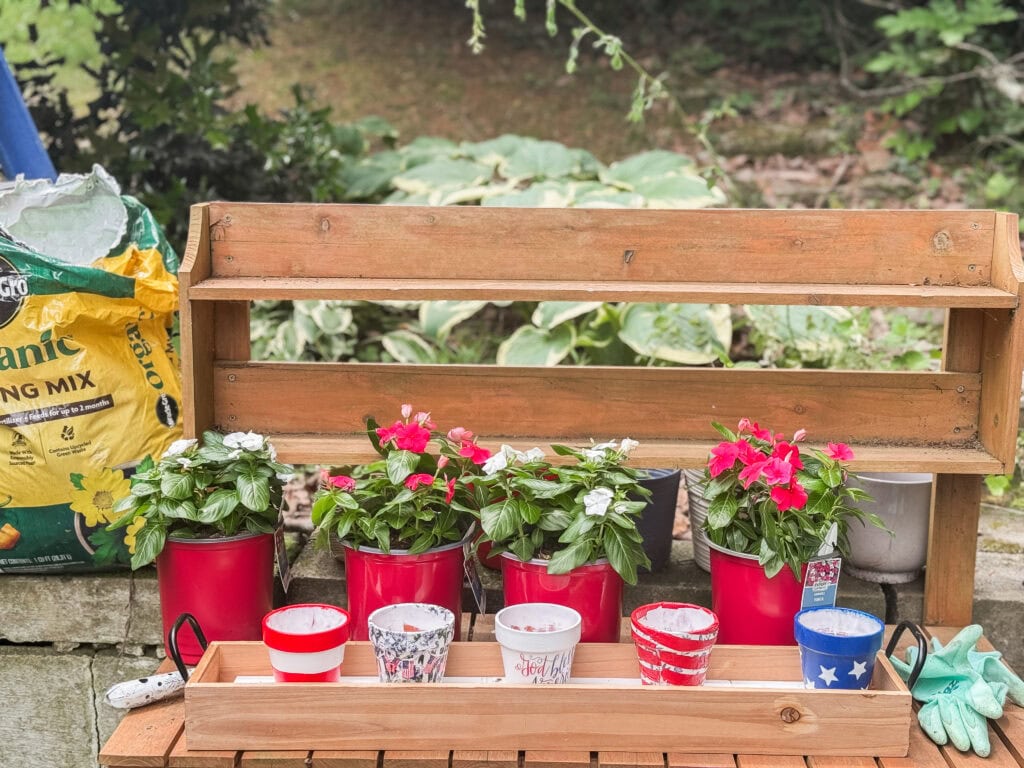
First, decided the color arrangement of the pots in the tray. I spaced out my red stripes as well as the blue stars and the decoupaged pot that was mainly blue. I kept the white one with the sticker in the center.
I wanted my vincas to alternate in color, so I had to plan that out before I started filling them.
I got it to work out where there was not only contrast in the spacing of the pots but also the flowers that filled them!
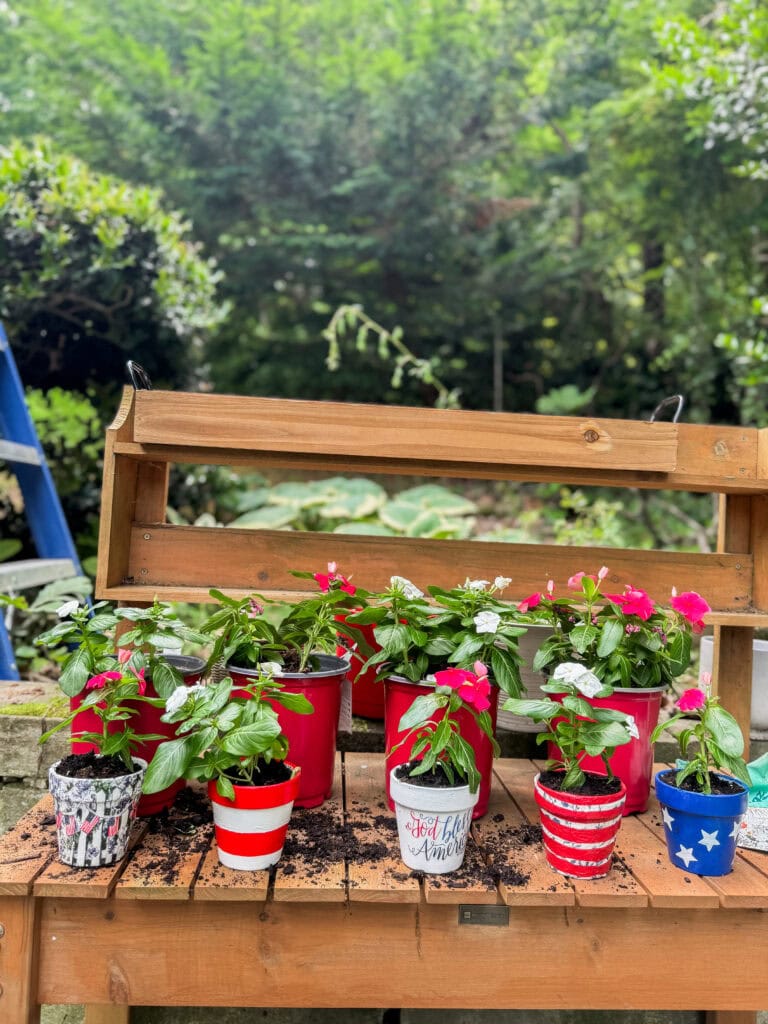
Once you’ve sorted all that out, fill each pot with potting soil and tuck in bright red and white vincas.

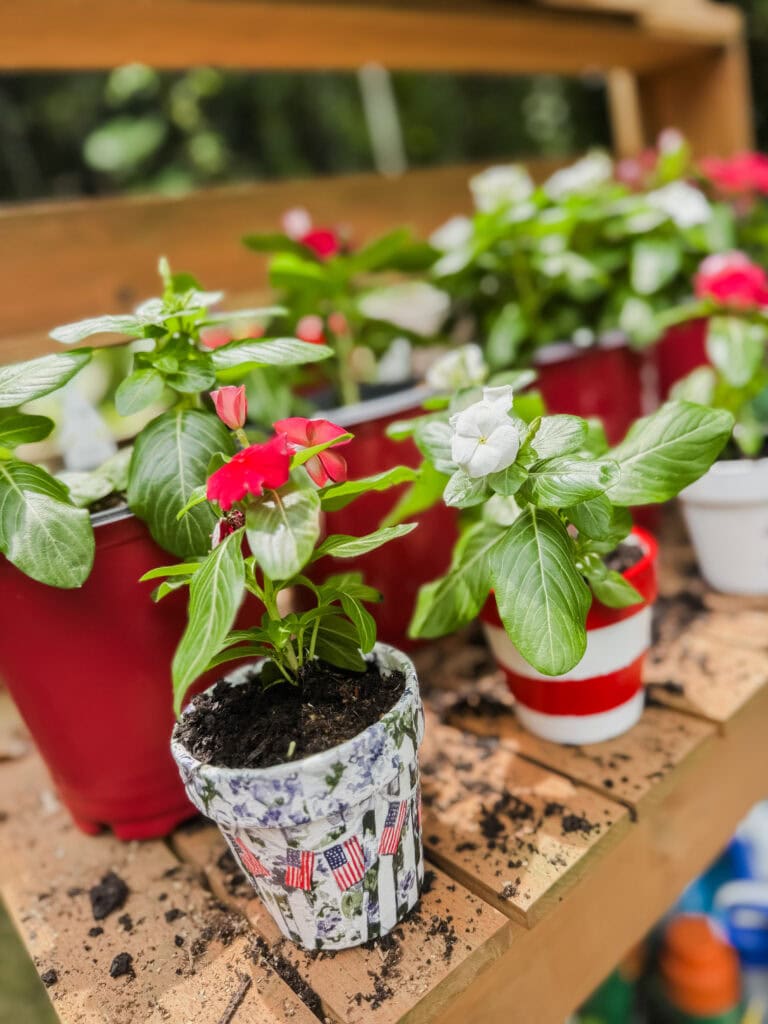
These are such hardy, happy summer flowers—and they pair perfectly with your patriotic theme.

7. Assemble in the Tray
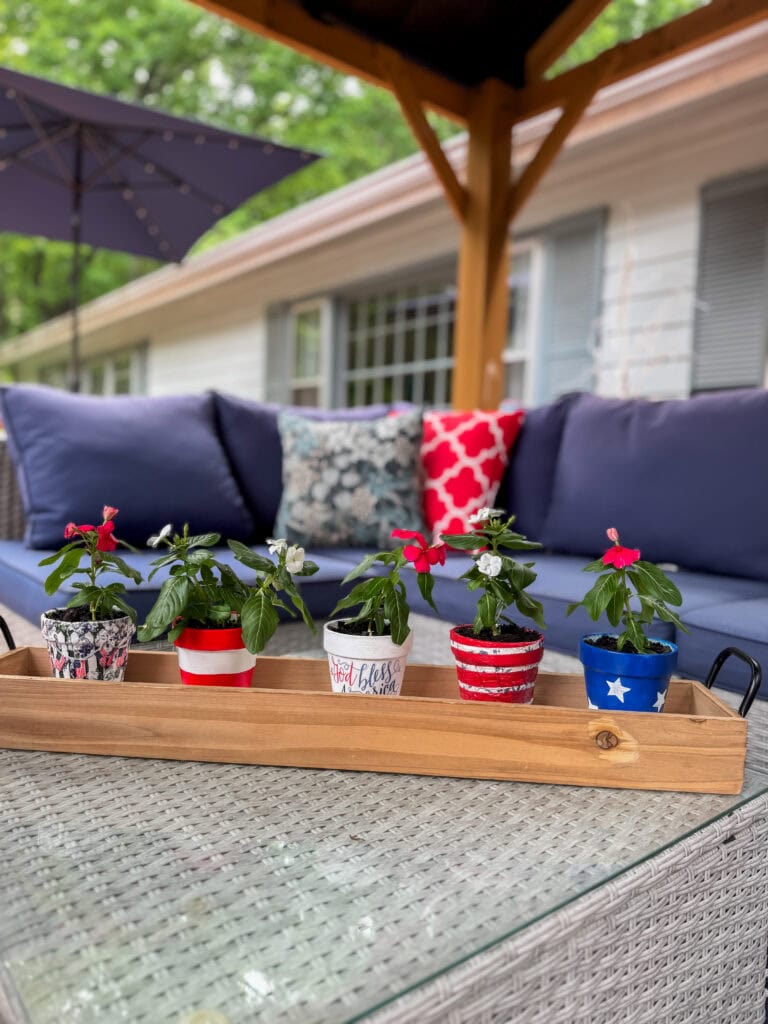
Arrange your finished flower pots inside the wooden crate.

I kept mine simple, but you can add mini flags or ribbon around the pots for extra flair if you’d like.
I added some extra white trim in the bottom of the tray to give the pots a little ‘lift.’
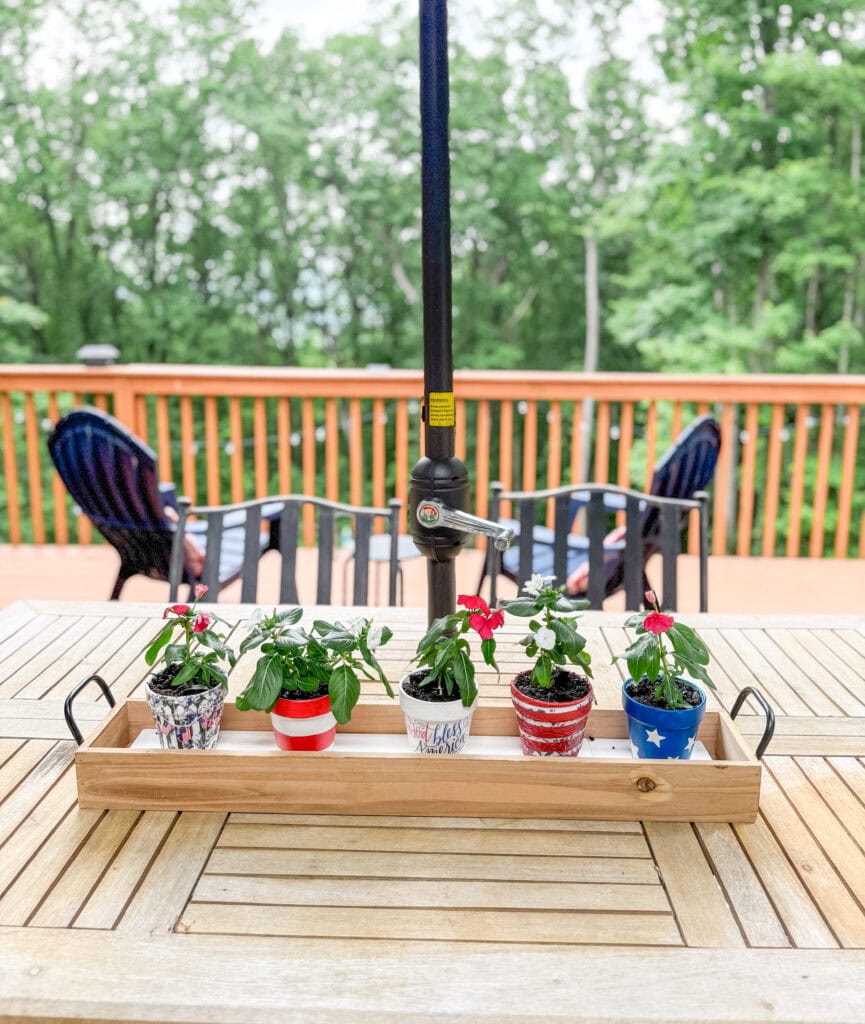
I think they came out so cute!
Tips & Ideas
Here are some other ideas pertaining to this craft:
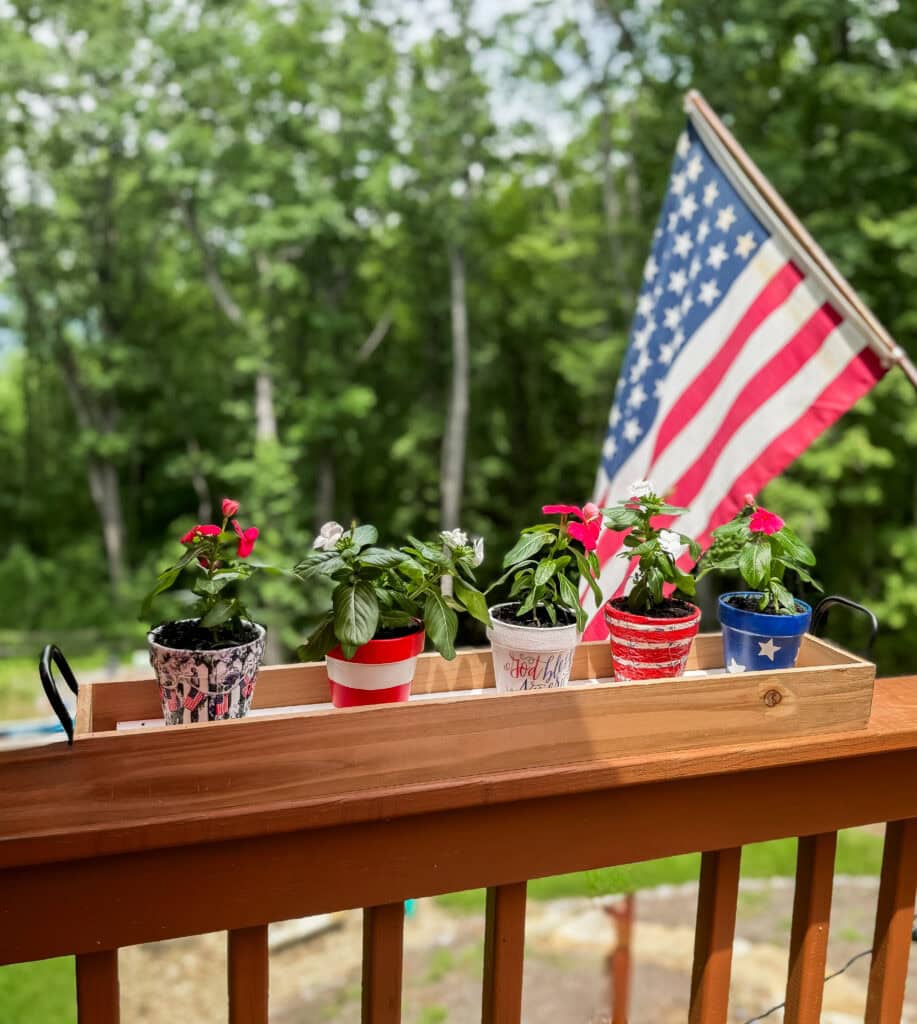
- These make adorable centerpieces for picnics and American celebrations. You can add these to our porch, patio, or inside for a festive organic touch.
- Once you get the hang of decoupage, you can use this same method with seasonal napkins or tissue paper for pretty much any occasion, in any style.
- You can make this a family craft time. Let your kids help paint or decoupage their own pot.
More Red, White, and Blue Ideas
If you’re looking for more inspiration for Memorial Day, 4th of July, or to create an Americana aesthetic in your home, check out these posts:
25+ EASY Patriotic DIY Home Decorations to Celebrate America
30+ Easy No Bake 4th of July Desserts (Red, White & Blue!)
Patriotic Wall Art Free Printables for 4th of July & Memorial Day
A Salute to Freedom
This simple DIY project is a great reminder that all our freedoms are a result of the sacrifices of many brave men and women.
Freedom is no light thing, and their willingness to sacrifice for it is a clear picture of what Jesus said, ‘Greater love has no one than this: to lay down one’s life for one’s friends.’ (John 15:13)
We are the recipients of enormous sacrifice, and while these crafts are cute and fun, I hope they remind us of the huge price that was paid, and we honor all those who have served.
God Bless America!
If you try this project, I’d love to see it! Tag me in Instagram @100affections and I’ll share it in my stories!
Other thoughts? I’d love to hear them! Leave a comment below!
And if you enjoyed this post, I’d be so grateful if you pinned or shared. Thank you so much!