
Mother’s Day Flower Oreo Pop Gift (+ Free Tags)
Are you looking for something special and clever for a Mother’s Day gift? This adorable Oreo Pop Flower Bouquet is a cute, consumable DIY gift that kids can make easily! Free printable tags included!
Moms Deserve All the Thanks
It really is hard to figure out a way to thank moms for all they do. Any token really doesn’t seem like enough.
However, as a mom myself, let me assure you that a token really is enough. It’s an acknowledgment of how hard a mom works, that all the work is seen and appreciated.
If you have several moms in your life (they don’t have to be your own!) that you want to show a little love to, creating a consumable treat like this is a sweet idea that really does communication appreciation and thanks.
These Oreo Pops are a clever idea that can be made in bulk to be given out to lots of moms as a favor or small gift – such as at a Mother’s Day Tea or church event.
They also can be made in bulk with kids in a classroom setting for each child to take home to their mom.
Moms, you can even make these with your kids to give to aunts, grandmothers, and other ladies in your child’s life. Or Dads can make them with the kids to give to mom!
So many ways to enjoy this treat!
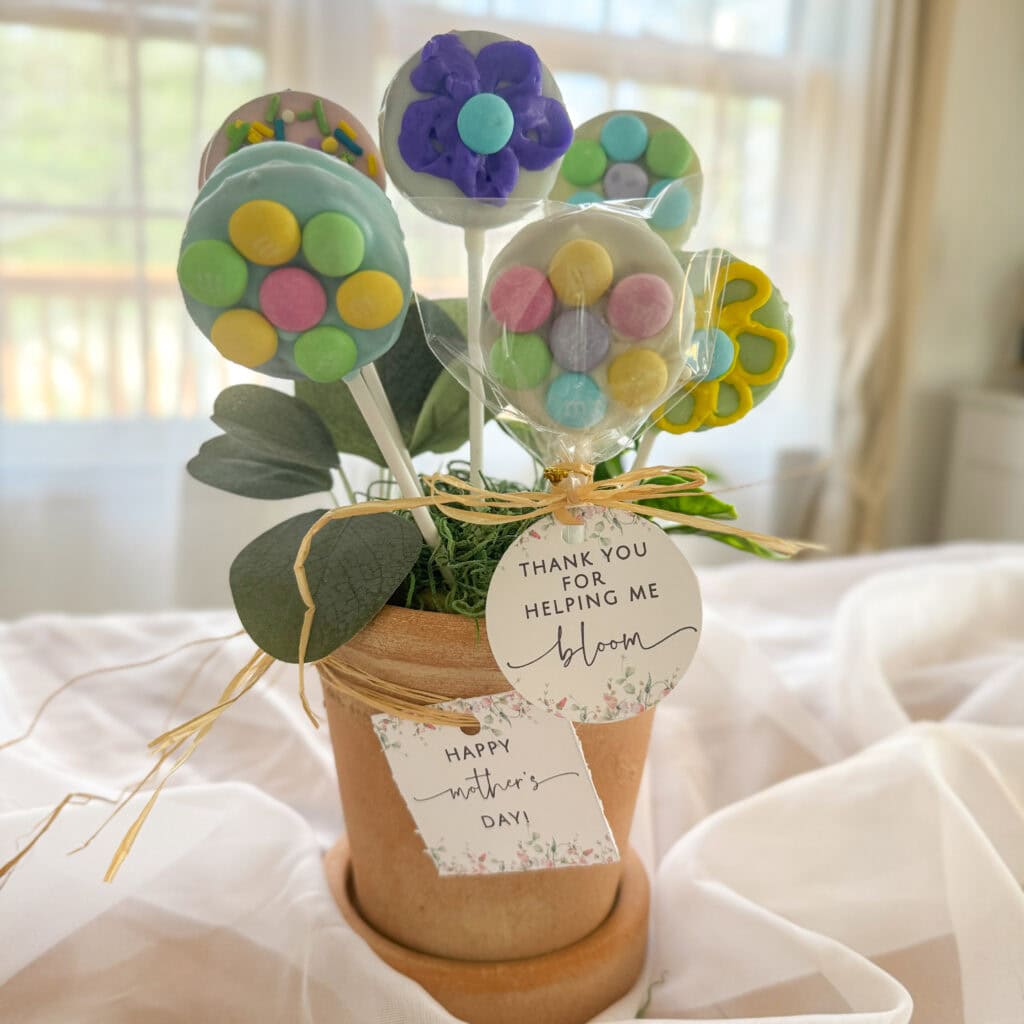
So let’s get to it!
Materials for Oreo Flower Pops
This post contains affiliate links. See Disclosures for more details.
I got all my materials at Walmart. I linked them up in case you want to just add them to your cart!
Almond bark (3 squares for 10 Oreo pops; 4 squares for a dozen +, etc. Roughly, 1 square = 3 pops)
Gel food coloring (if you want to make different colored Oreos pops)
Double Stuff Oreos (make sure it’s Double Stuff!)
Small tubes of writing icing (not gel!) You can also use bigger tubes in pastel colors with a variety of tips.

Small jars (repurposed spice jars) or flower pots (floral foam & fake moss if using a flower pot)
You can see in the picture below the materials I used. Please note – I did not use the edible markers; they did not work well with the almond bark, so I used writing icing entirely.

Instructions for Flower Oreo Pops
1| Melt almond bark
Melt bark in microwave starting for 1 minute, using a microwave safe bowl. Then, stop and stir in 30 second increments, so it doesn’t burn. Often, if there are still chunks, you can stir it and it will melt, without needing to microwave again.
I wanted to make different colored pops, but I didn’t want to buy several different bags of melting wafers. So I added a drop or 2 of food coloring per melted square.
For example, I melted 1 square to make 3 white pops. Then, I melted another white square, added a drop of red food coloring, to make 3 pink pops. And I just kept repeating that process for each color (yellow, blue, green).

2| Add sticks to Oreos
While bark is melting, add pop sticks to Oreos. Hold the Oreo firmly in your hand to keep the sides from separating. Insert stick in the cream of the Oreo, about 3/4 of the way through.
Be sure to use Double Stuff Oreos so the cream is thick enough to hold the stick. I did use Mega Stuff one time, and they were a little heavy. I think Double Stuff works the best.

3| Coat Oreos with melted bark
Add a dollop of bark to the top of the Oreo and swirl it with a spoon to flatten.


Tap the stick on the side of the bowl so the excess chocolate will drip down the sides and create a flat surface.

Liberally add melted bark to the sides of the Oreo so the sides of the cookies are covered. Be sure to make sure the chocolate gets on the place where the stick meets the cream, to act as kind of a seal.

Tap again on the side of the bowl so the excess will drip off.
Finally, flip the cookie over and add a dollop of bark and swirl. Be sure to gently tap the stick on the side of the bowl so the excess chocolate drips off and create a flat surface on top.

4| Allow chocolate to harden if decorating with icing. (If decorating with sprinkles or M&Ms, add immediately before chocolate hardens.)
Place cookie pops on a piece of parchment paper on top of a baking sheet.
If you want to add sprinkles or M&Ms, you should do this before the chocolate sets.
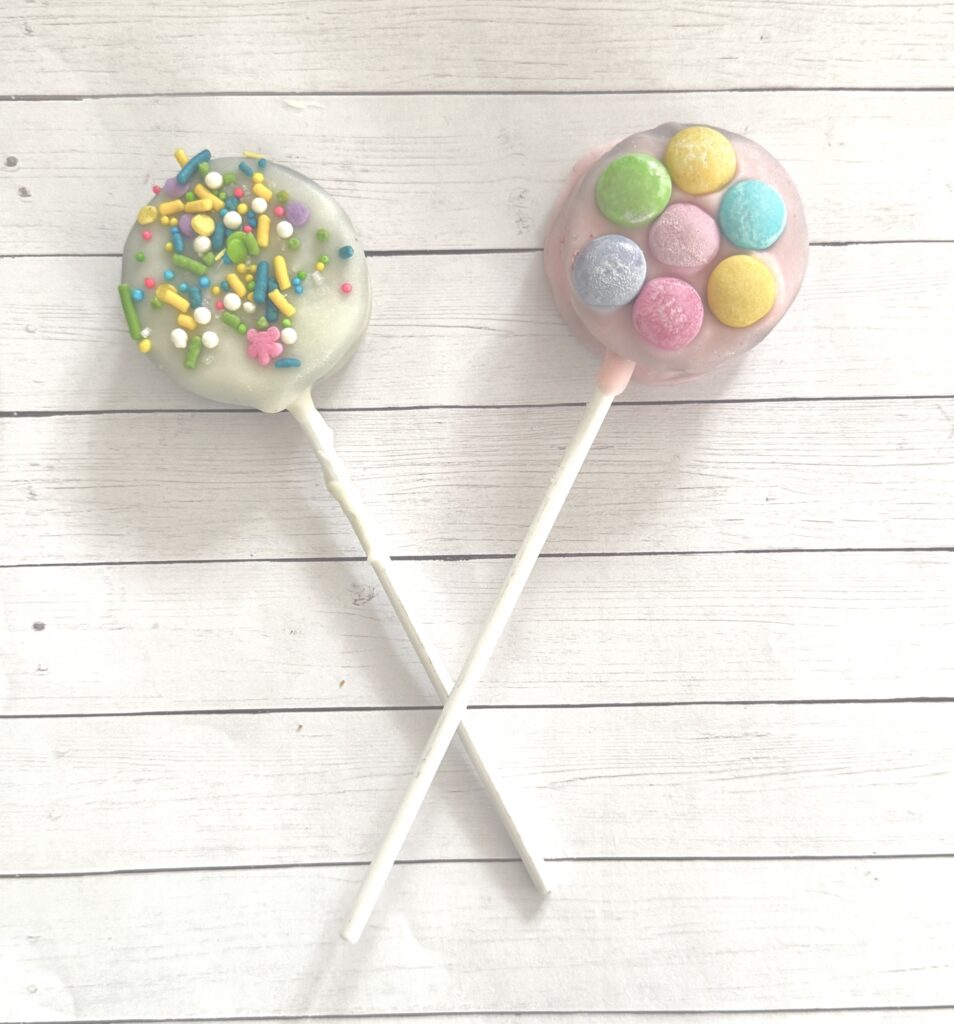
Drizzle spring sprinkles over the top or add M&Ms in the shape of a flower – one center M&M and 6 around the center one. You can use any color pattern you like.

Below you can see a few color patterns I used, with different colors of almond bark. The M&Ms look a little cloudy because of the condensation, but that wipes right off.

If using icing to decorate, allow them to air dry for a few hours. Or you can place them in the refrigerator or freezer to speed things up.

5| Decorate the cookies using writing icing.
This step really depends on how creative you are! I kept it simple, but you can be as creative as you like.


I tried to experiment with different icing tips which can give you a variety of different looks for the petals.
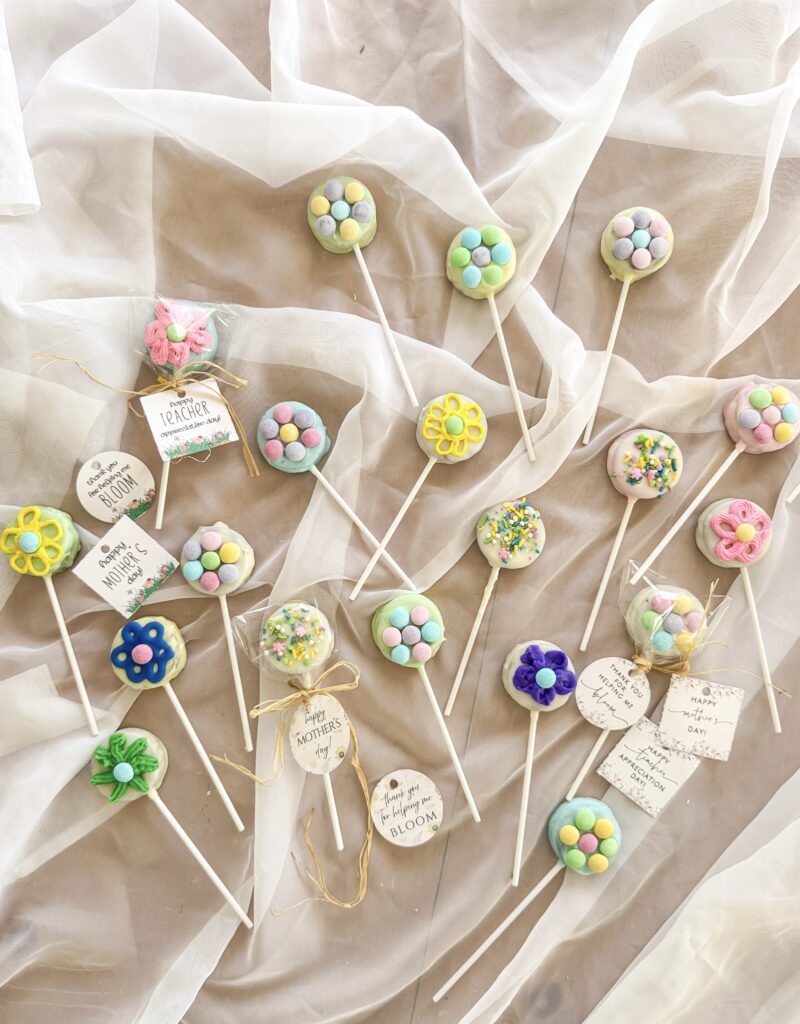
My sons wanted to help so they aren’t perfect or professional by a long shot! But I think it will mean a lot more knowing that the kids participated in creating these gifts!
6| Add decorative tags
There are 2 different tags you can get for free (just fill out the specific box for this printable at the END of the post – not one of the generic, floating subscriber boxes in the middle of the post).
One says, ‘Thank you for helping me bloom.’

The other simply says, ‘Happy Mother’s Day!’
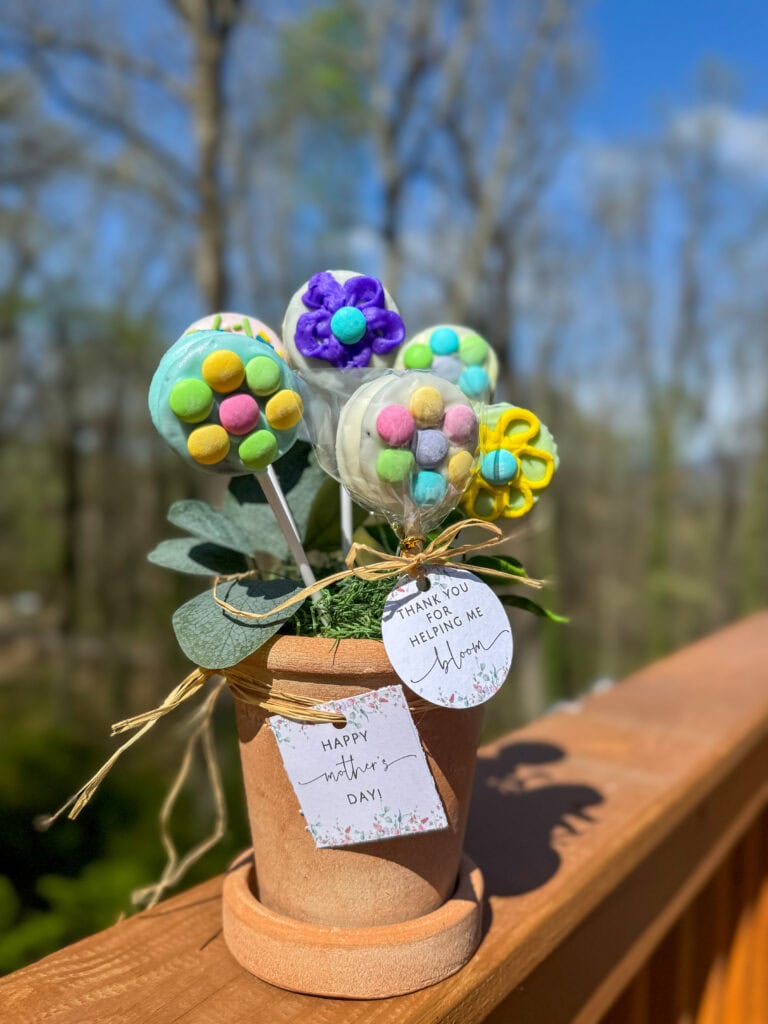
Your child can write a message or simply sign his or her name on the back.
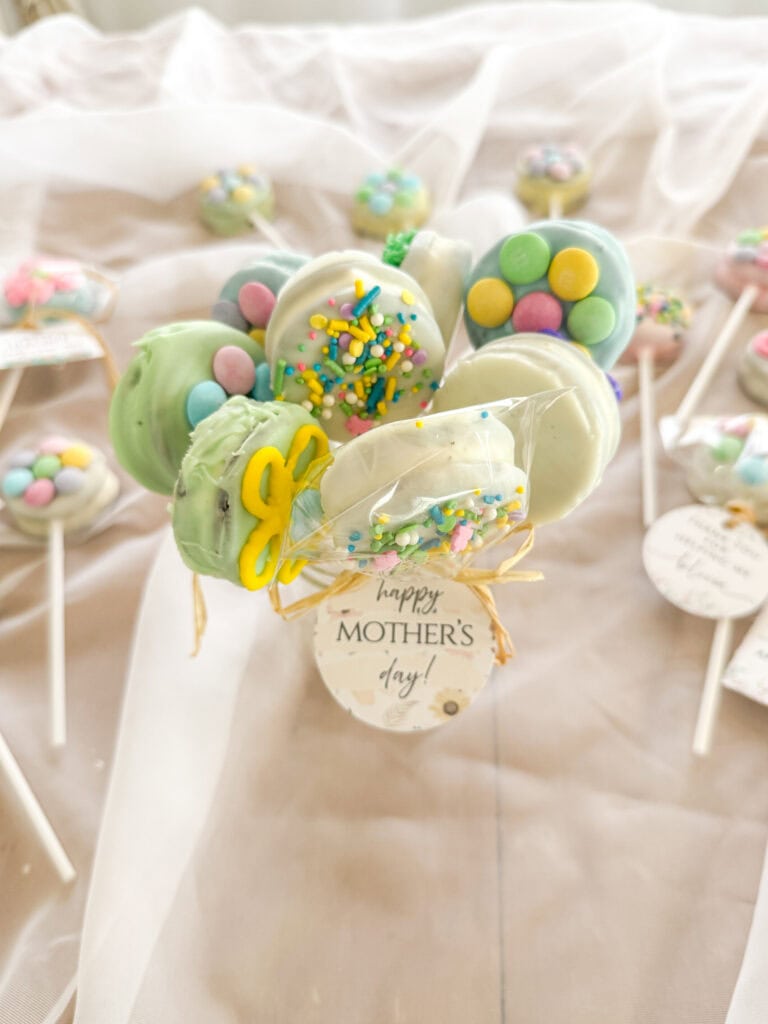
There are 3 different designs for each saying. Below you can see a sample of each design.

You can either cut out the tag in a square shape or use a 2″ round circle punch for a round tag!
Just print out on cardstock, cut, hole punch and tie on!
Suggestions for Gifting
Give as a single flower gift.
If you have a lot of moms you need to make these for, you can give these out as a single gift, with a gift tag and cellophane wrapper at the top.
Make a mini-flower bouquet.
Your child may want to give a few flower pops to one special lady. In that case, you can put 2 or 3 in a small jar like a mini bouquet.
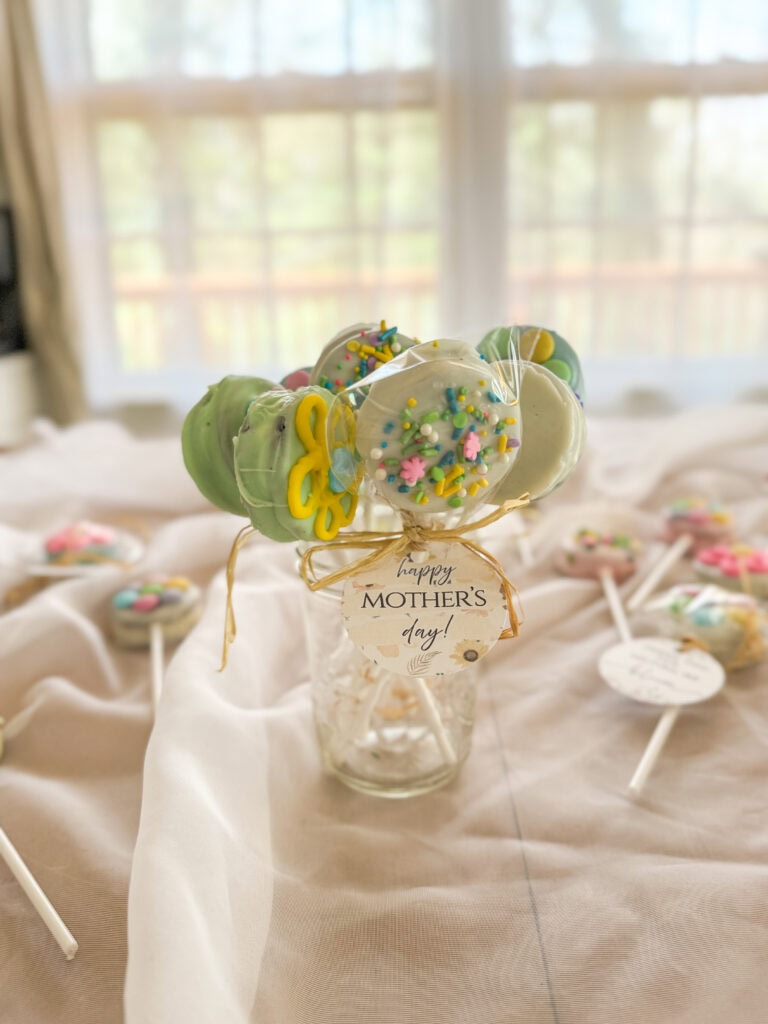

I used repurposed glass spice jars, and they worked perfectly!
Share a larger bouquet.
Another way you can give these Oreo pop flowers are in a large terra cotta flowerpot bouquet.

This might be a way you give to many ladies at once. Maybe you’re having a Mother’s Day Tea and want to give these pops as a small gift or favor.
You can display this flower pot and have the ladies take one as they exit.
Or maybe you’re having a Mother’s Day brunch, and this flowerpot can be set on the dessert table.
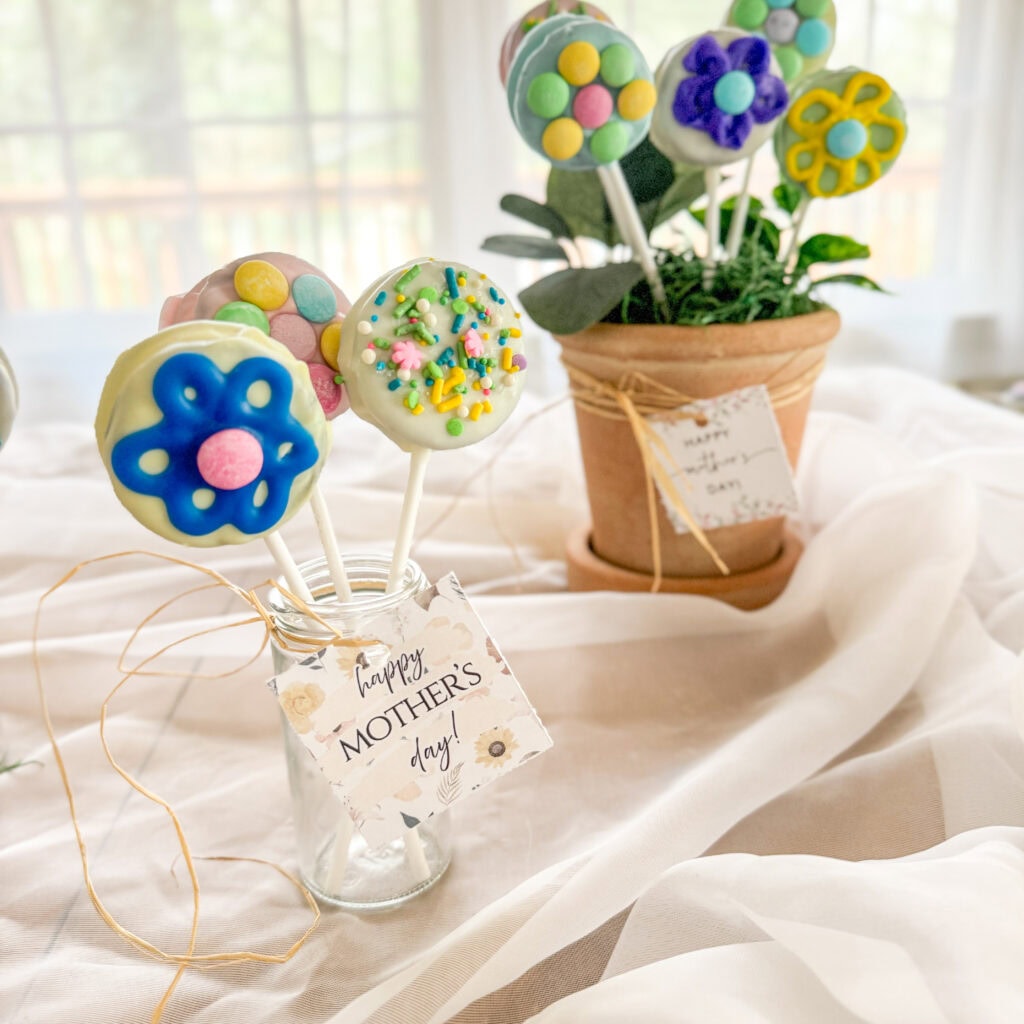
I created a gift like that this way:
1| Cut a Styrofoam cube down to fit inside a flower pot.

2| Cover with fake moss.

3| Poke a few faux leaf branches in the foam.

4| Add the flower pops and tie on tag with raffia ribbon.
You can also make the tags a little bigger by printing them out on 2″ sticker labels (works with Avery Presta 94501 labels), punching a 2.5″ circle on cardstock, and sticking the label on!
Such a simple and fun way to thank all the moms and show them how special they are!
For a succinct and printable version of these instructions, see below!

Mother's Day Flower Oreo Pops
Ingredients
- Almond bark (3 squares for 10 Oreo pops; 4 squares for a dozen +, etc.)
- Food coloring
- Double Stuff Oreos
- Tubes of writing icing
- 6" Plastic treat sticks
- Cellophane pop covers
- Pastel M&Ms
- Spring-themed sprinkles
- Parchment paper
Instructions
- Melt almond bark in microwave for 60 seconds and stir. Continue to heat in 30 second increments until melted. Stir big chunks to avoid burning. (If creating different colors, melt 1 square at a time and add 1 -2 drops of food coloring after melting. 1 square = 3 pops).
- Add sticks to center of Oreo, until about 3/4 way through.
- Spoon bark on top of Oreo and spread. Tap stick on bowl to let excess drip off. Repeat this on the side of the Oreo. Flip Oreo and repeat again.
- Lay Oreo on parchment paper on baking sheet to harden - at room temperature, refrigerator, or freezer - if decorating with icing. If adding sprinkles or M&Ms, add immediately before chocolate hardens.
- Create M&M flowers by adding 1 M&M in the center and 6 more around it, in a pattern of your choice.
- Create flowers with an M&M center and with icing petals in designs and colors of your choice.
- Allow decorative icing to dry - on counter, refrigerator, or freezer
- Wrap in cellophane covers if distributing! Tie off with twist tie or raffia. Add tags if desired!
***Bonus idea: These pops are also great to sell at a spring-themed bake sale! (These butterfly cookies are also a fun idea for a spring bake sale!)
Another Idea for These Gift Tags
If you’d like another way to use these gift tags, you can include them on a small flower bouquet gift!

They look gorgeous on a DIY flower wrap! You can check out how to create one here!
More Mother’s Day Gift Ideas
And if you want even more Mother’s Day gift ideas with free printables, take a look at this post: 30+ Easy Free Printable Mother’s Day Crafts (Cards & Gifts She’ll Love!)
And here are more special ideas for Mother’s Day:
25+ Unique Mother’s Day Gift Basket Ideas
50 Creative DIY Gifts for Mom for Mother’s Day
30 Completely Precious Mother’s Day Crafts for Grandma
35+ Completely Precious Mother’s Day Crafts for Toddlers
And if want to see other DIY gift ideas that kids can make, be sure to check out this post as well!
This project also is a fun Teacher Appreciation Day gift idea! You can grab the Teacher Appreciation gift tags (same design and sayings) right here!

And speaking of tags…
Grab Your Free Printable Mother’s Day Tags Here
To get these tags, just fill out the box below! Be sure to hang on a few seconds, and you’ll be immediately redirected to your download!
If you tried this idea, I’d love to see it! Tag me on Instagram @100affections and I’ll share in my stories. You can also leave a picture comment on Pinterest!
And if you enjoyed this post, I’d be so grateful if you pinned or shared. That would be a huge help – thank you!
Other thoughts? I’d love to hear them! Leave a comment below!