
Front Porch Decorating: Summer Modern Farmhouse on a Budget
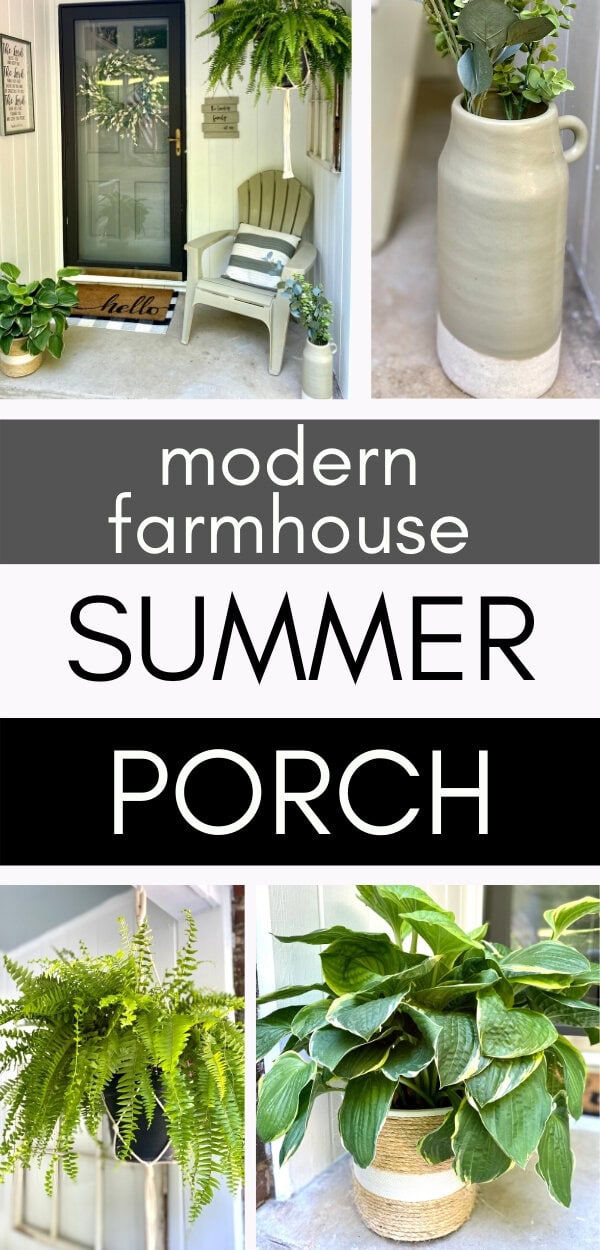
If you’re looking for some cheap ways to decorate your porch for summer, take a look here! You can create a relaxing modern farmhouse feel to your front porch, even if you are low on space and/or low on money! Come take a look and see how I made it happen!

Switching From Spring to Summer Porch Decor
I wasn’t planning on switching my porch over from spring to summer decor. In my mind, there’s so much overlap between the two – colors, flowers, greenery – you really could get away with decorating for spring and just leaving it until the fall.
But two things made me change my mind:
Reason #1: My Porch Itself
When we bought our house, I fell in love with our red door. But, I think I liked the ‘idea’ of a red door more than I actually loved the door. I struggled every season to decorate (except maybe Christmas) because that red door clashed with everything. So painting it had been on my to-do list for quite some time.
Also, the alcove on the porch itself was light blue, which I could probably live with, but it wasn’t my color of choice. So, it really needed to be painted.

So, if I was going to pull everything down to paint, I wasn’t sure I wanted to put it back up the way it was. I was feeling like I wanted to start over with a fresh palette.
Reason #2: My Porch Decor
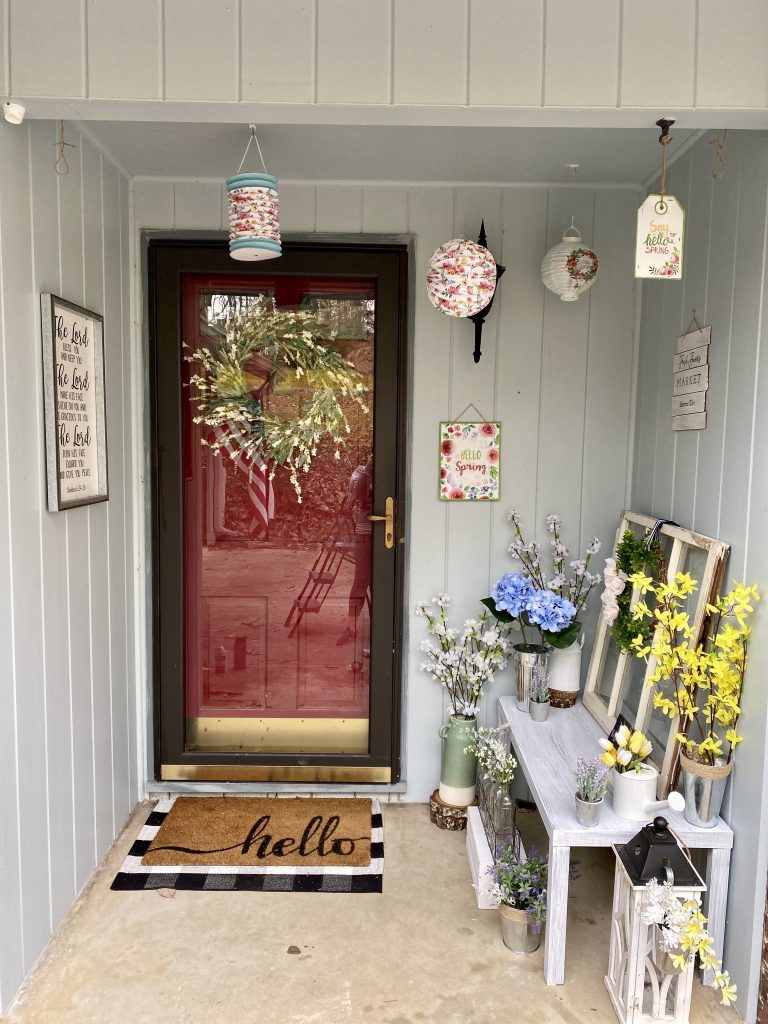
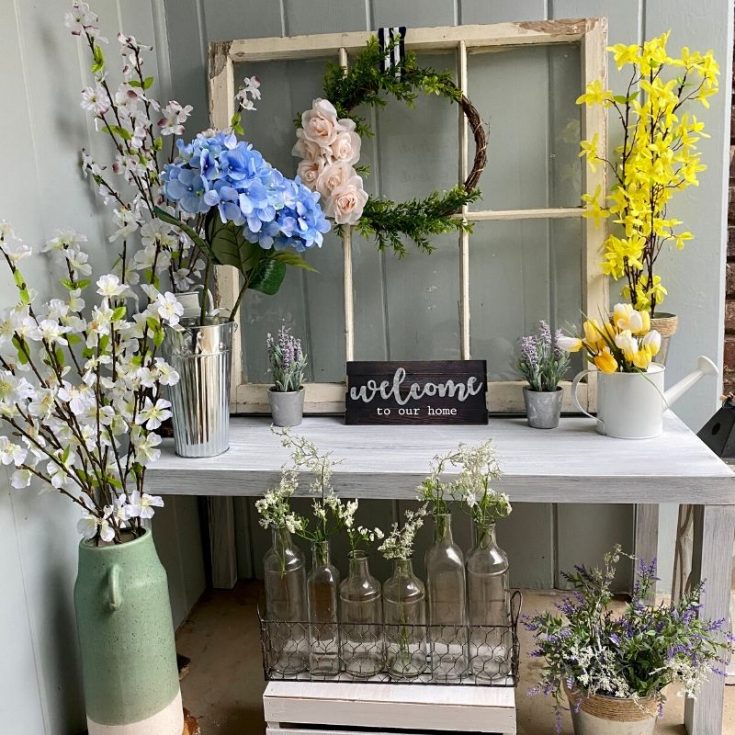
I chose a Fresh Market Flowers theme for spring, which I loved (you can read more about how I decorated my porch for spring and picked a theme, on a budget, in this post).
But the flowers I picked – dogwood blossoms, forsythias…those were actually spring flowers and not summer flowers. So, I wasn’t too enthused about putting those back out after I painted.
So, those two things combined made the decision for me to switch over from spring to summer decor on the porch.
My Picks for My Summer Porch
I gave it a little thought as to what I wanted my porch to look like. I went back and forth about the colors, and in the end, I went with my two favorites: grey and white.
We have old architectural bricks on the house, so it’s a little busy. I wanted something clean and simple for the porch, with a nice contrast and a neutral palette. So, I went with a charcoal grey door and a white alcove.
As for the decor, I didn’t want to do fake flowers for the summer. I do NOT have a green thumb and didn’t want to be bothered with watering annuals, so I just wanted some bright, lush green plants.
I also wanted more a minimalist look. My past porches have had a lot going on, and I think that was my enthusiasm in finally having a porch to decorate.
However, I wanted the summer porch to just be soothing and relaxing, so I went with neutrals: tan, white, green, black.
While I usually go with a more rustic farmhouse look, if I had to classify the porch, I’d say that this go-around is a little more minimalist modern farmhouse with a splash of rustic.
When I saw this picture, it became a little bit of my inspiration:
View this post on Instagram
First, let me say – my house looks nothing like this. And my porch is probably a 10th of the size. But that overall feel is what I was looking for.
For more inspiration, you can check out 35 more summer porches!
Modern Farmhouse Porch for Summer on a Budget
Paint
So I did a few things to achieve this look on a budget. I already mentioned the paint. Two gallons for about $20. I used about half of the white paint (interior/exterior in flat white – so I’ll get use out of that indoors as well) and maybe 1/4 of the grey. I’ll be doing the interior doors in the hall the same color.

Greenery
Since my porch area is small, I chose just 2 plants – a hanging fern ($13 from Home Depot) and a planted hosta for $17. I bought the plant hanger from Hobby Lobby for 40% off their spring collection. I think it ended up being about $3.
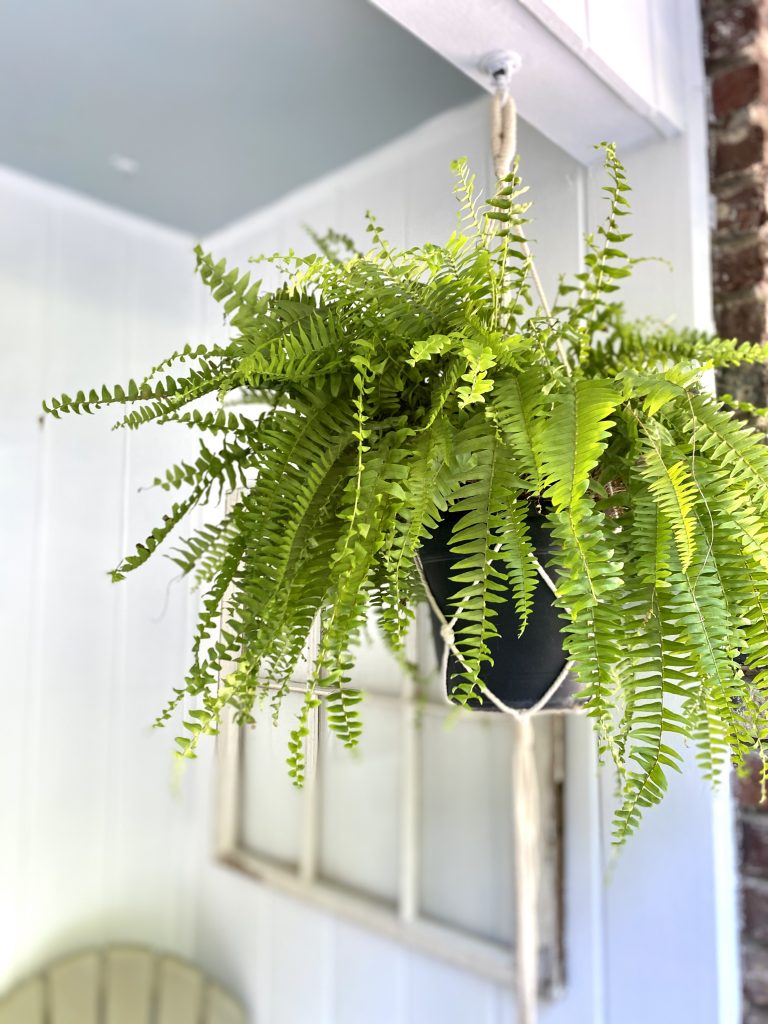
Now, I think that hosta is meant to be planted, and I’ll do that at the end of the summer. But for now, I love how it looks on the porch, since I didn’t want fake.

DIY Planter
As for the planter, I just used the original bucket and hot-glued some rope around the edges.
I got the rope at Walmart – 1/4″ rope, 100 feet as well as the white rope, which was just a little thinner 1/8″, 40 feet.
You just need to give the bottom row a pretty good gluing all the way around. After that, just keep spinning your planter to the rope wraps around it. Give it a squirt of glue every few rows, just for a little more securing.
Once I got it rolling, I didn’t need much glue at all (note: if you live in a hot area, I’ve heard that hot glue can melt outside! Gorilla glue would work just fine).
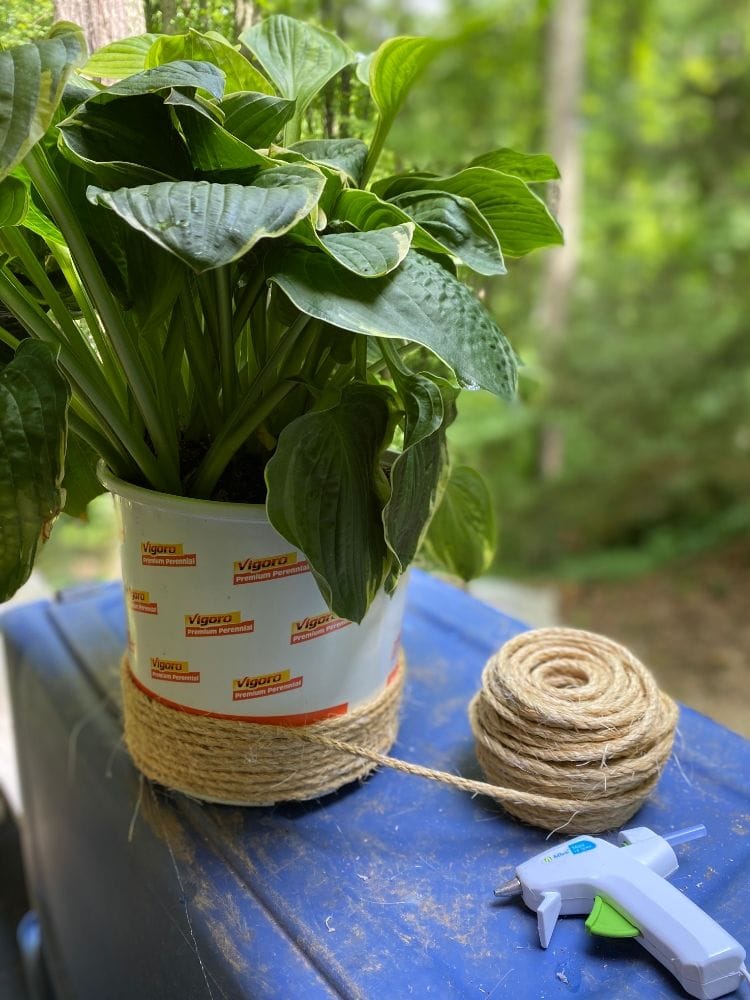

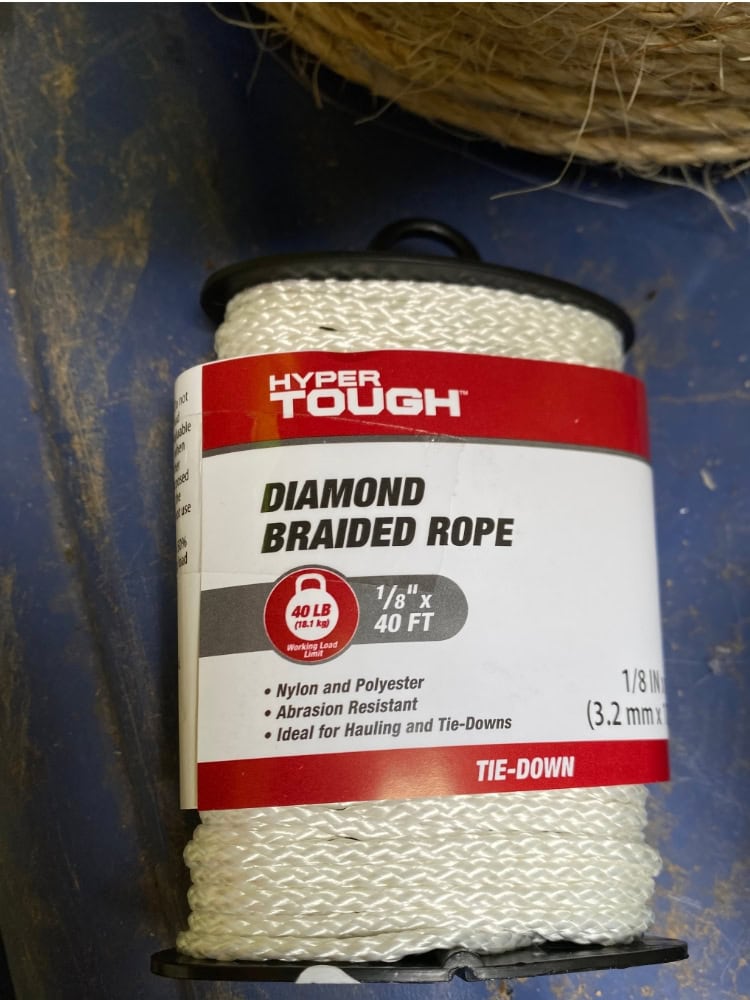
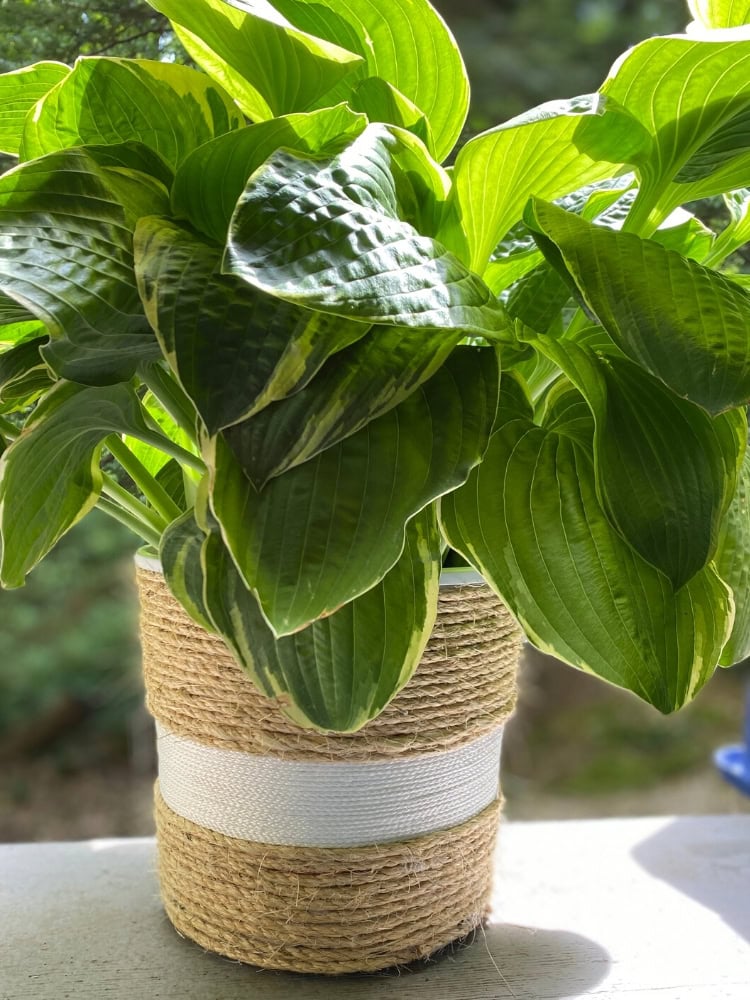
In retrospect, I would have liked the white and tan rope to be the same 1/4″ thickness, but I just used what I already had at home.
Here’s another planter I made using just the tan rope:

Chair and Pillow
Both of those were yard sale finds. I think I got the chair for $5 at a yard sale last summer. The pillow…I can’t even remember but I know I bought it before my sons were born, so that was more than 5 years ago, lol.
Then, I bought some Rustoleum Spray Paint in Fossil to paint the chair.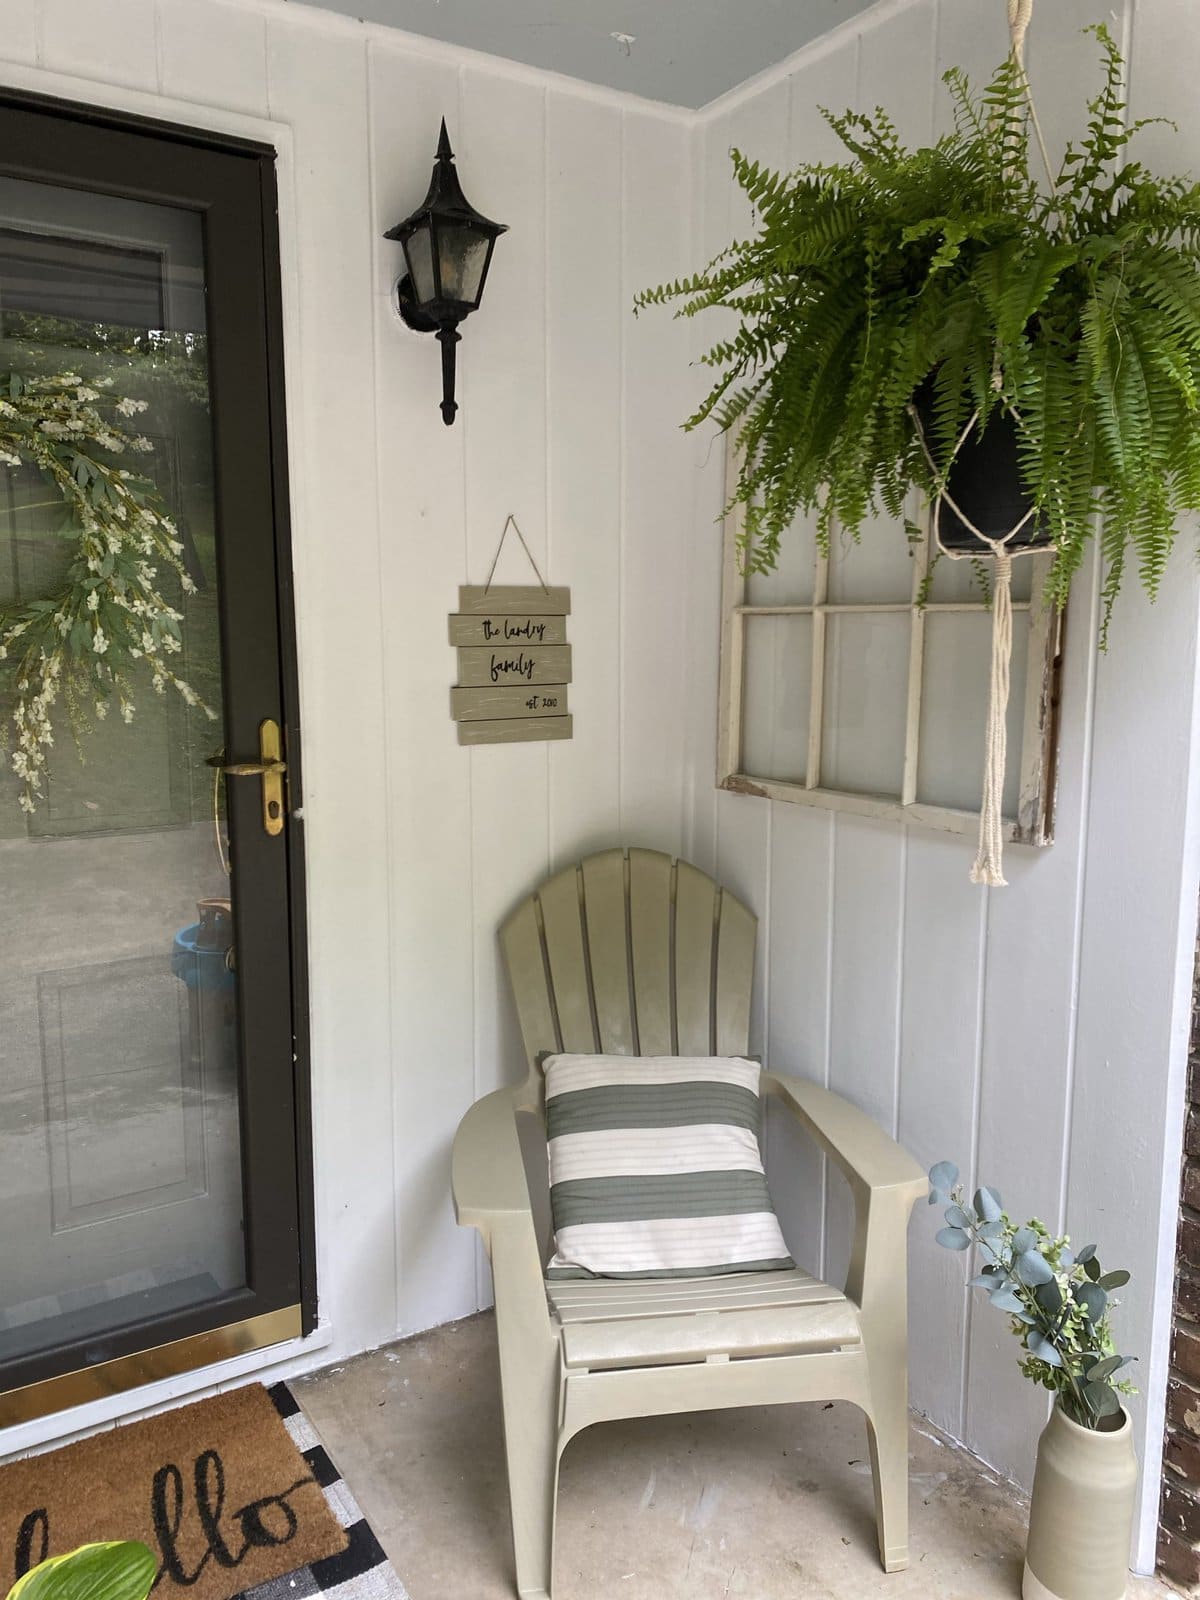
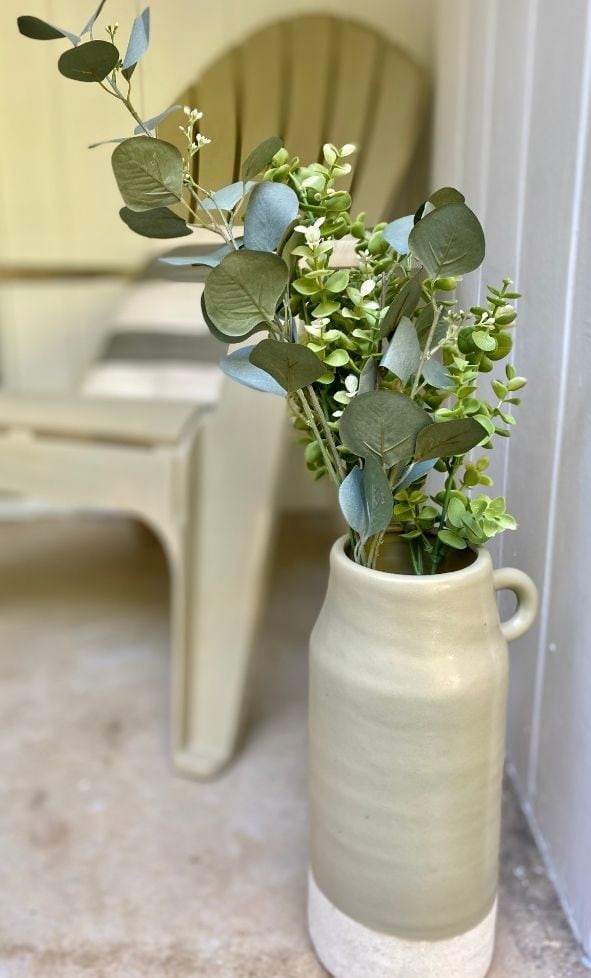
I also used the spray paint on the sign (which was a Dollar Store makeover) and on the ceramic container (that top part used to be mint green, which I bought as part of a farmhouse bundle on Facebook Marketplace).
The greenery inside is fake – the eucalyptus from Walmart for $3 and the other greens were part of the bundle I got on Marketplace.
Signs & Wall Decor
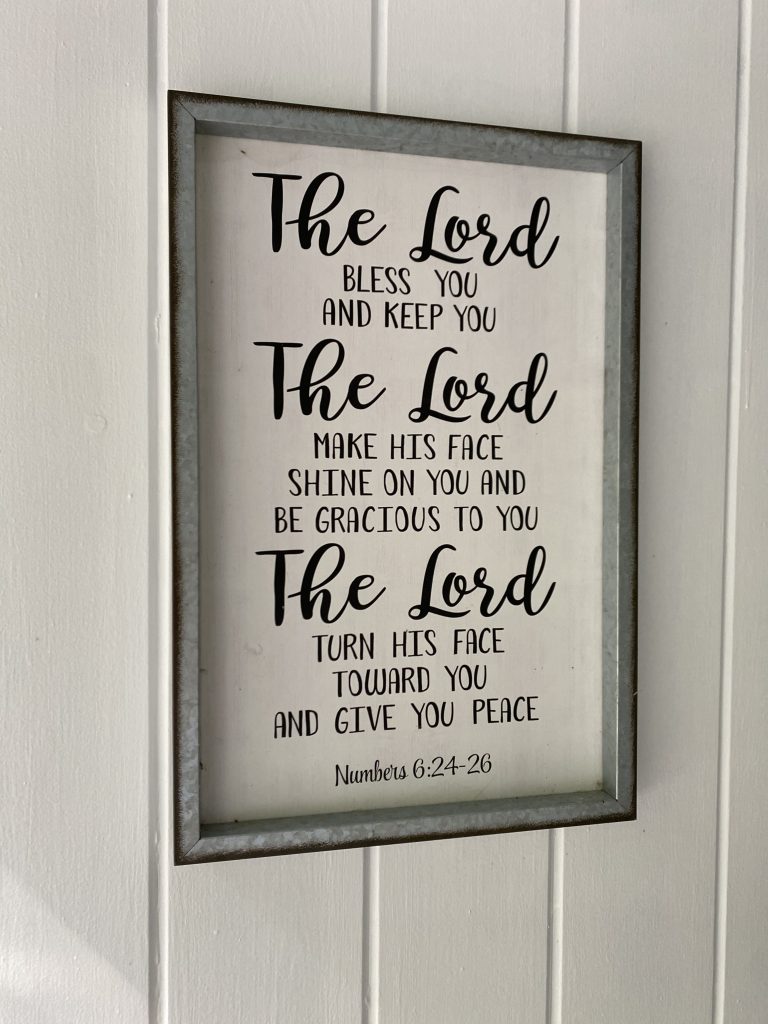
The Blessing Sign on the left I got from Hobby Lobby last year when I first moved into our house in December 2018. I really wanted something meaningful on our porch that would welcome our guests, and the Aaronic Blessing was perfect.
And, if you like Kari Jobe, you know this song is trending now, which just makes me love it more. I got it half off for about $17.
The small sign with our family name was a Dollar Tree upcycle, originally an Easter sign that I just used the back of!
I used the same spray paint as the chair and ceramic flower holder (which was a satin finish – not my favorite but I wanted it to match).
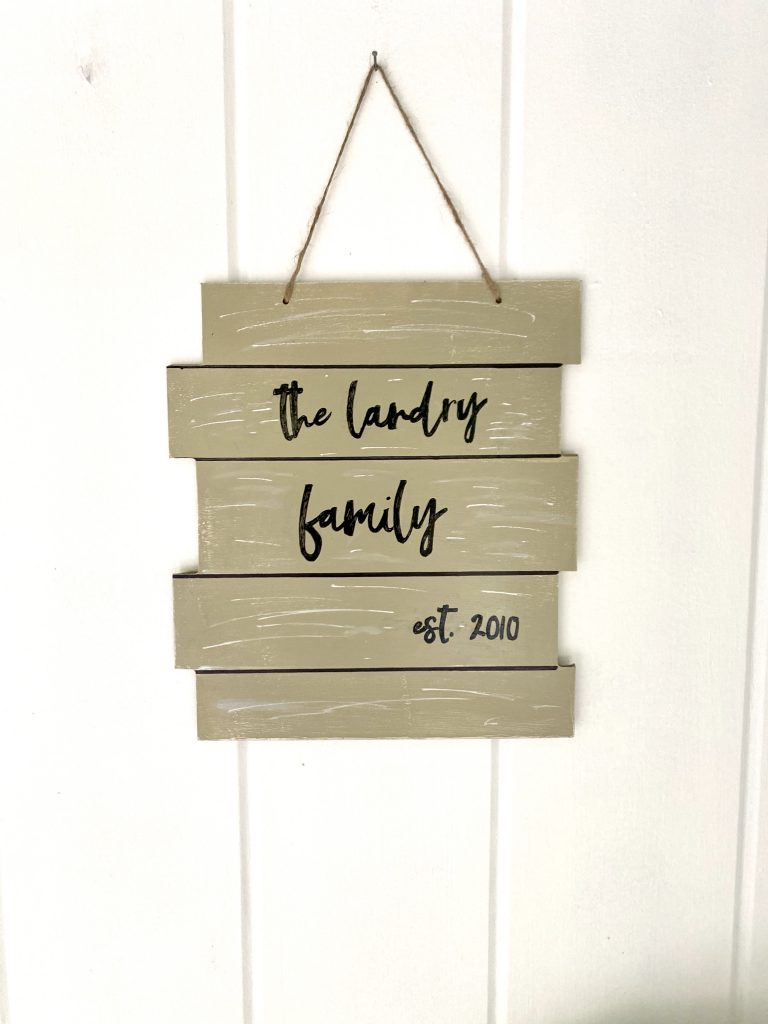
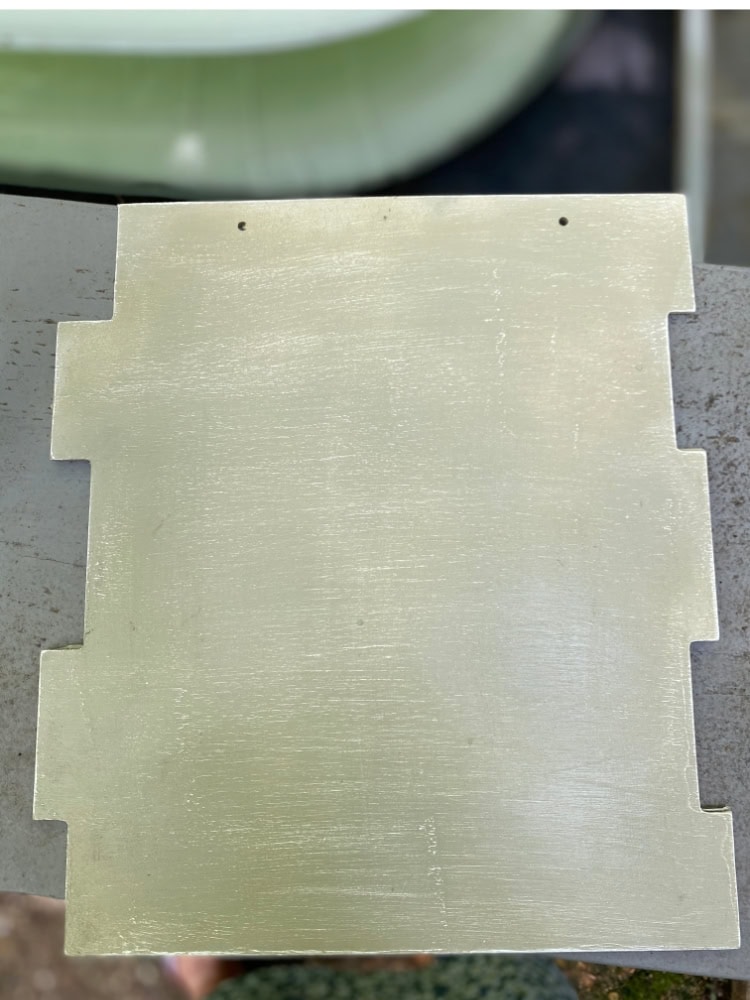
To create the sign, I spray painted it and used a ruler and a black Sharpie to create the faux shiplap lines.
(I had previously chalk-painted this sign white, before I spraypainted it tan, planning to make a white sign. I didn’t want white on a white porch, so I went with tan. After I spraypainted it, I used soft-grit sandpaper to scratch the surface to rough it up and let some of the white come through. You don’t have to do that if you want to distress it).
Then, I created and printed out the text for the sign, in Bellamy font.
To make your own sign without a Silhouette or Cricut is pretty easy.
Once your print out your text, color with pencil on the backside of the paper, where the letters are. Make sure you press pretty hard.
Then, lay it down on the sign – pencil-side against the board, text side up – where you want the text to go. Trim and use painter’s tape to hold it in place. Using a ballpoint pen, trace over the letters so it transfers a pencil line on the sign to fill in.
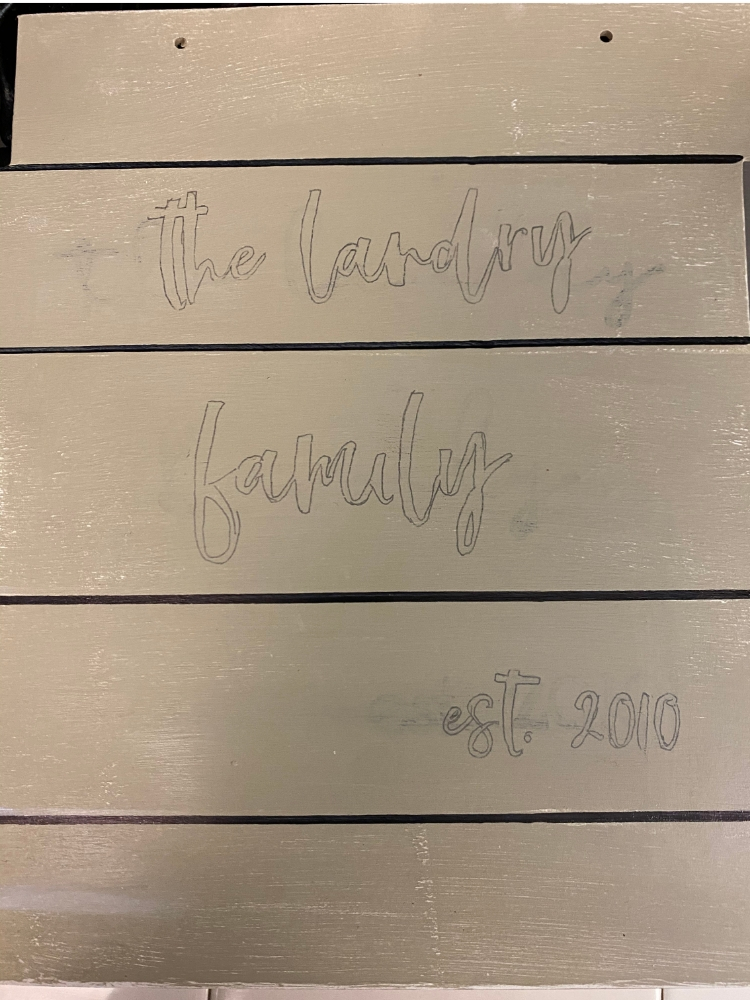
Once you finish tracing, take an extra-fine point Sharpie or paint pen and retrace your lines and fill in! Super-easy!
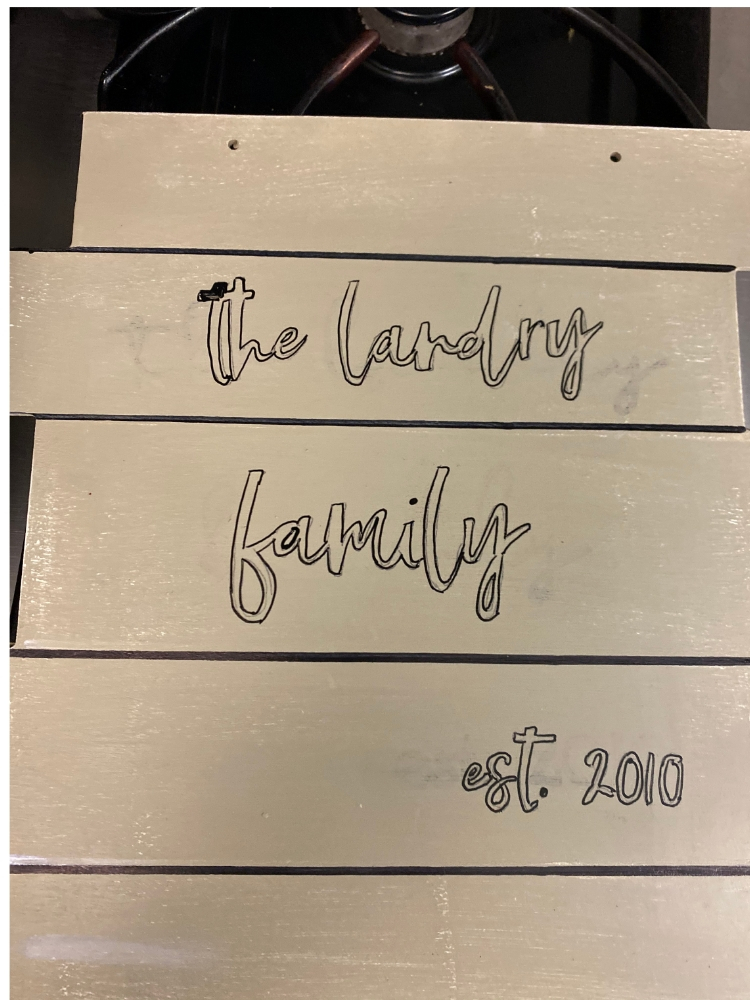
Once it’s fully dry, take a clean eraser and remove any extra pencil lines. You can also take paint and touch up any mistakes. You can see some of my first version bleeding through in the picture above. I cleaned that up once I was finished by smudging some spray paint with a Q-tip!
To distress it a little further, I use a white chalk marker, added a few lines and smudged them a little. That’s it! You can also use white paint and a make-up sponge to distress (just make sure you blot it REALLY good).
The sign is a little small for the space, but it will work for now!
The vintage window was one I found on Facebook Marketplace back in New York for $10 before we moved to Tennessee. Yes, I lugged that with me for future projects, much to my husband’s annoyance. Happy to say, I won that battle.
In the future, I will probably hang a wreath on it, but because the fern is there, I didn’t want it to be too busy.
The wreath on the door I had purchased last spring at TJ Maxx for about $20.
Lighting
Finally, even though I didn’t have to, I really wanted to update that light. I found this farmhouse light at Walmart for $24 and it was perfect!
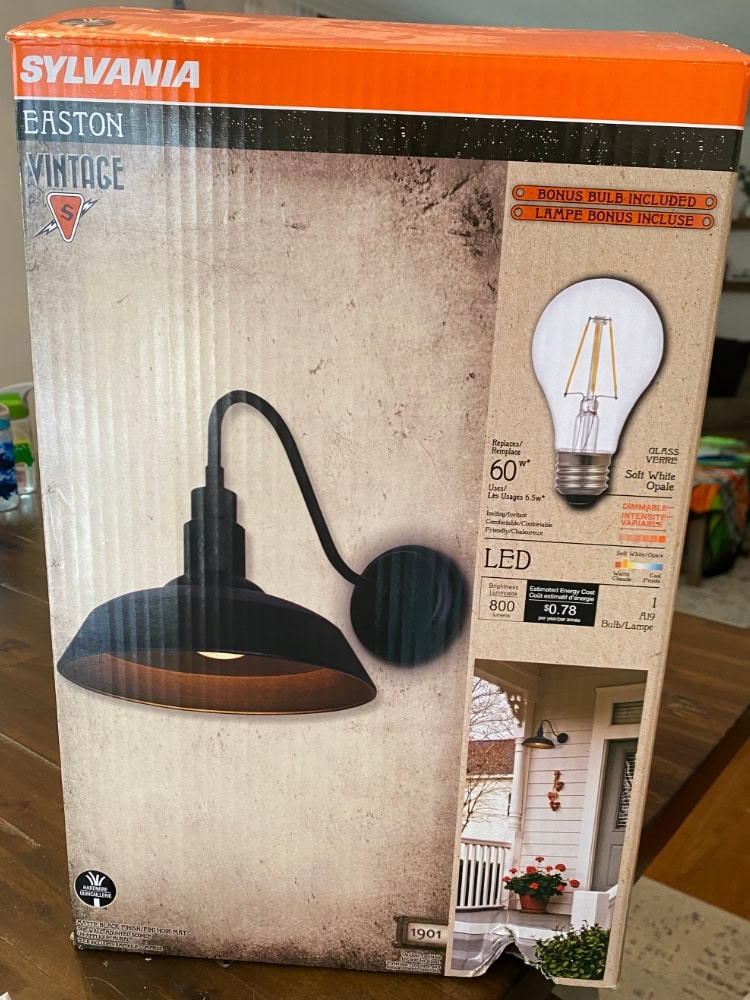
We are having issues with getting our circuit break fully shut, so it’s not installed yet, but I’ll update once it’s all done!
Here’s our (mostly) finished product, minus the light! But me being me, I’m sure there will be a few more tweaks down the road! (Updated: Yes! See below! lol)


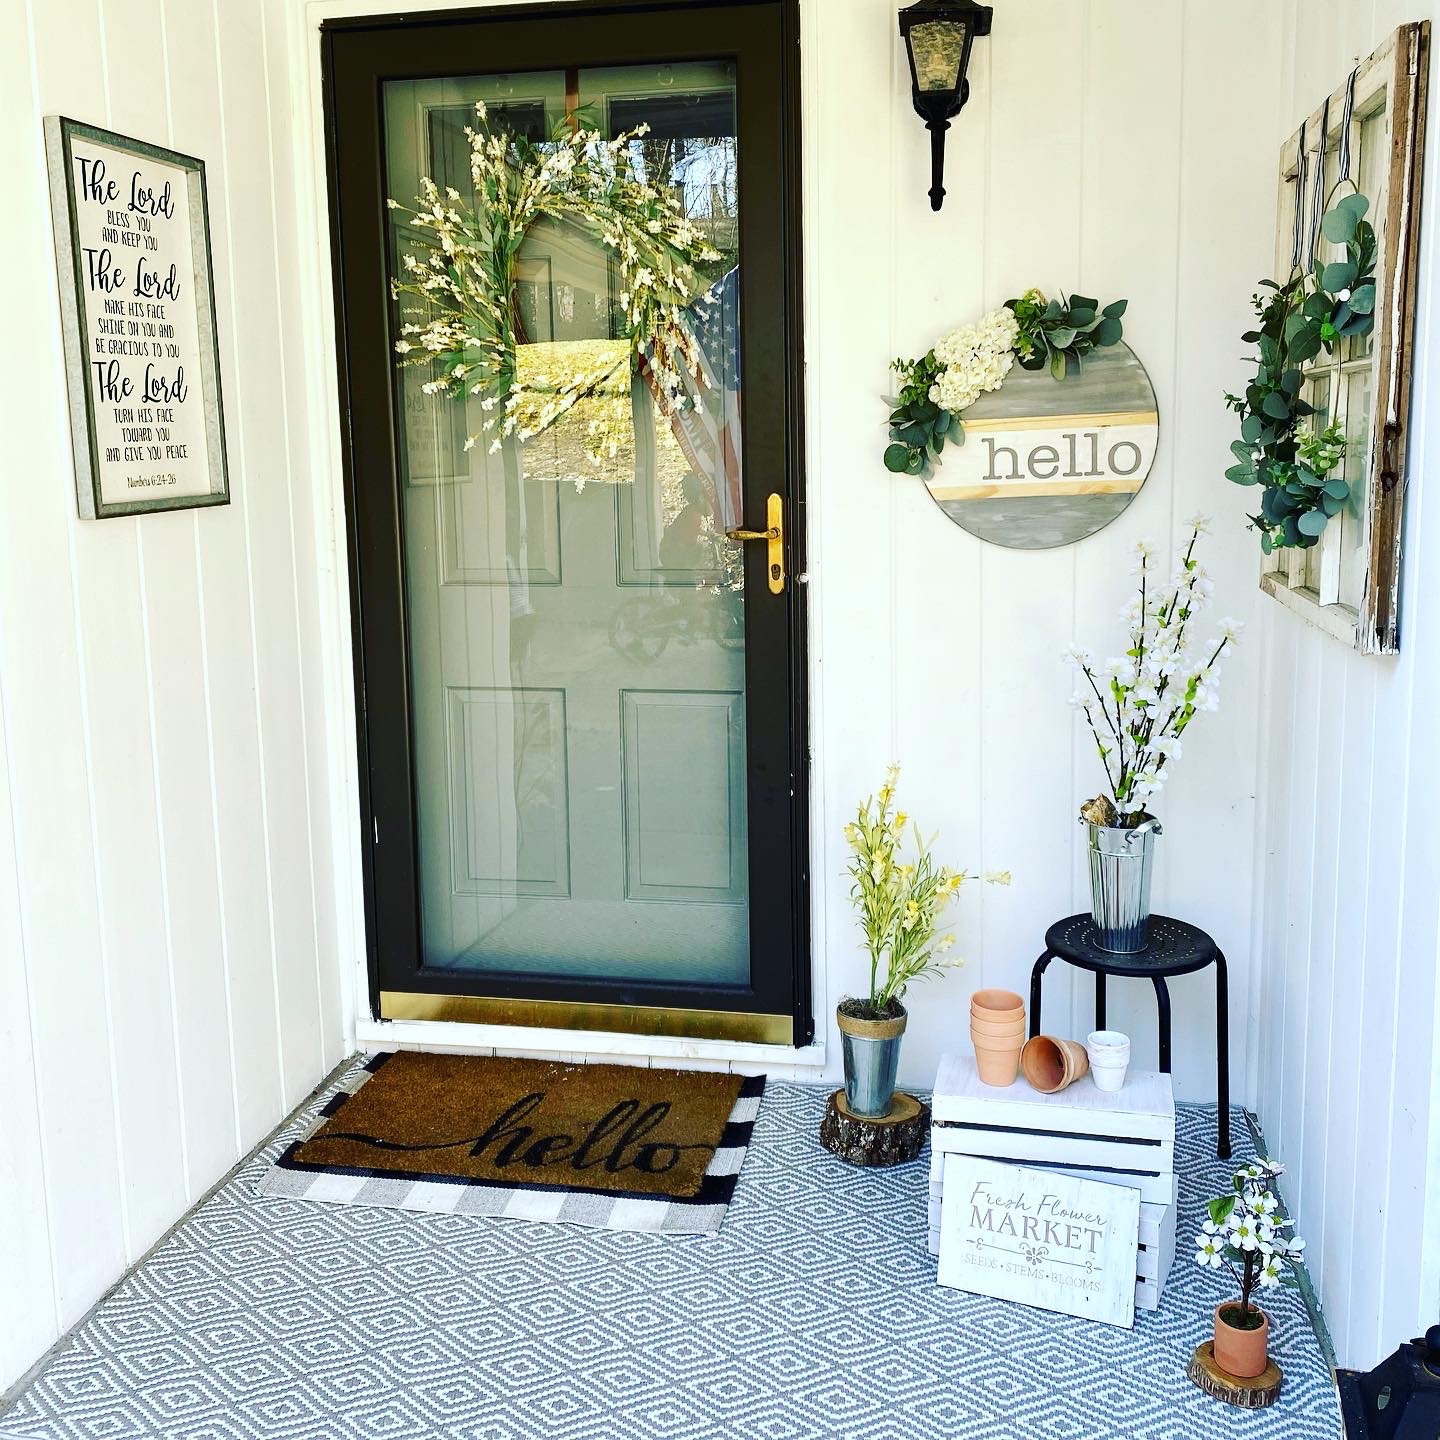
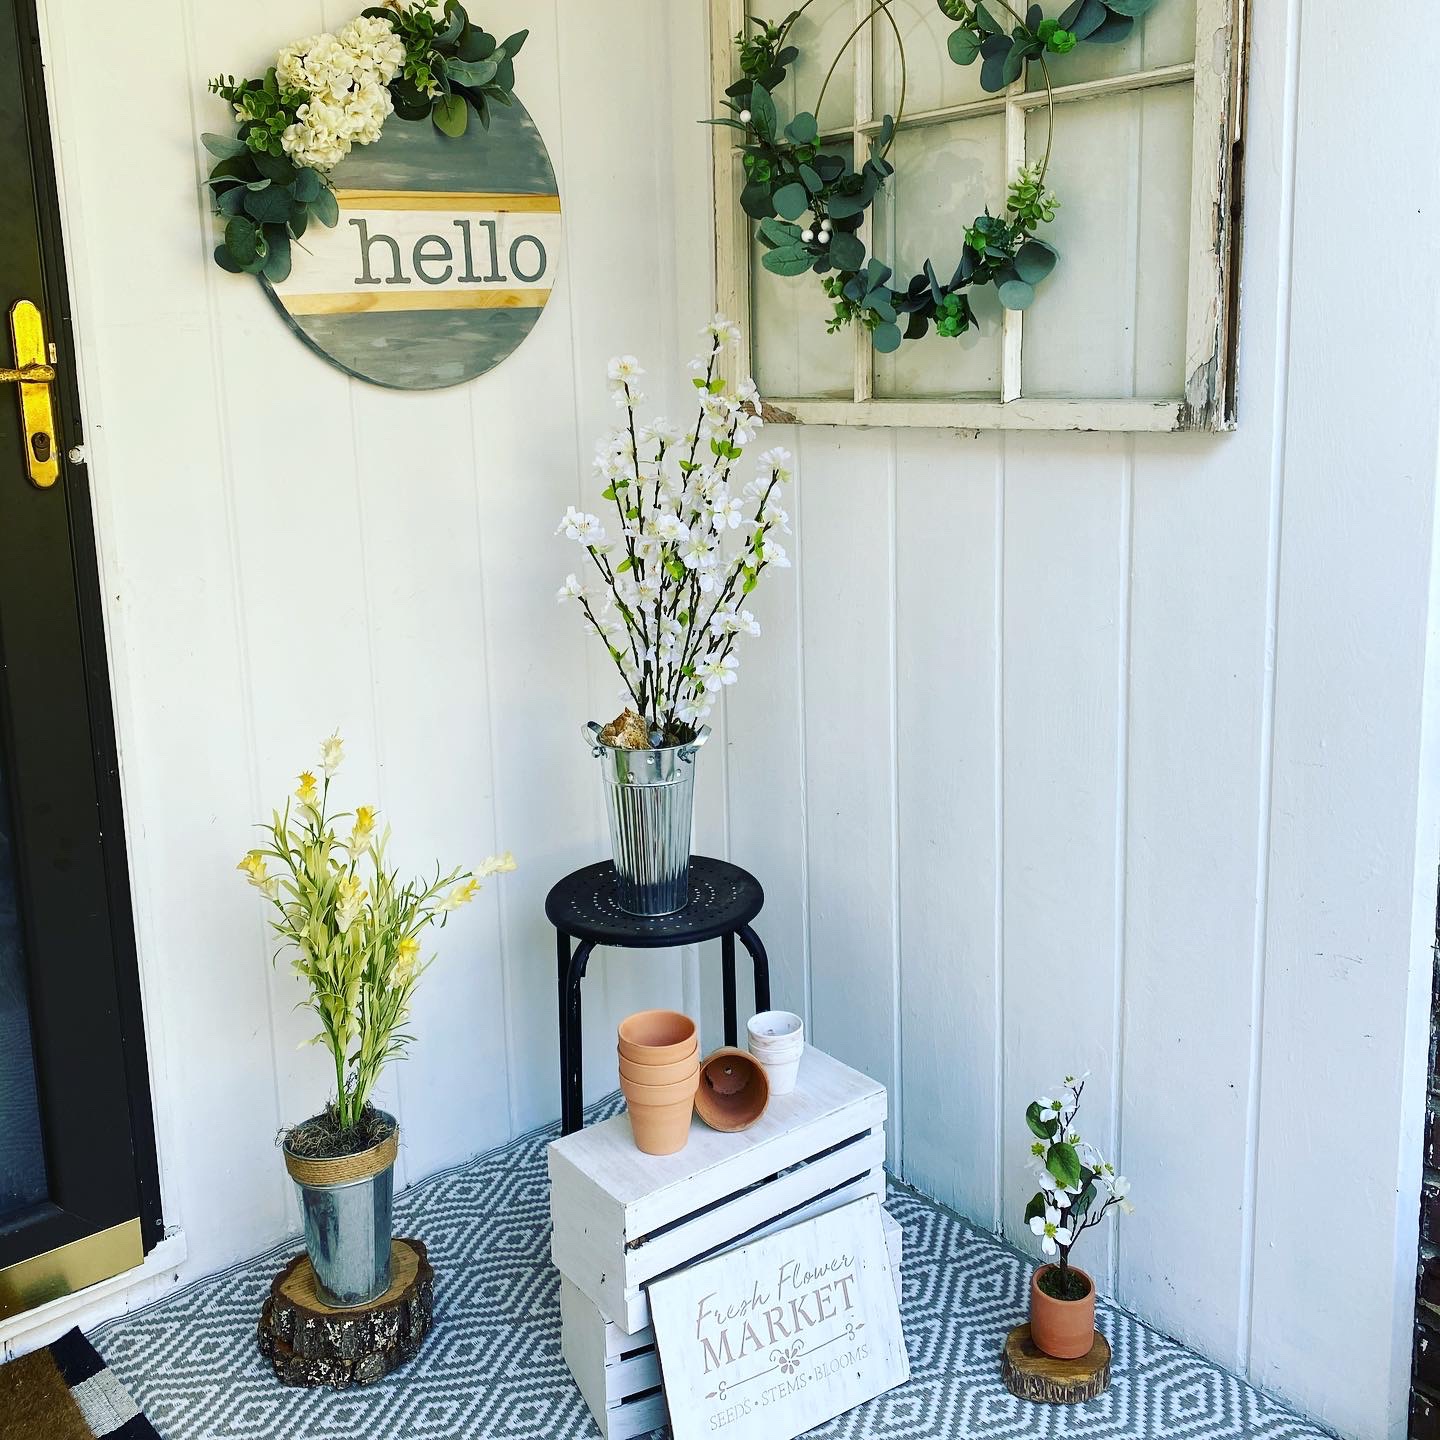
If you’d like to see what I did with the porch the following year (2021), take a look below. It was technically my spring porch, but I left it up through the summer, right through to the fall. That’s definitely another way to go to make life easier on yourself!
(And if you want to see my summer porch in 2022, be sure to take a look here!)
My Favorite Methods for Budget-Friendly Decorating
In this post, I give all of my favorite tips for decorating on a budget, and here, I talk about specifically how to style a porch (it’s for fall, but a lot of the techniques carry over).
But if I had to narrow it down, my favorite ways to decorate any space on a budget is to:
1|Shop thrift stores, yard sales, estate sales or Facebook Marketplace
2|Upcycle what you already have (or what you find thrifting)
3| Make decor yourself with DIY projects
4| Shop your house and use existing decor you already somewhere else
5| Get ideas from store displays, Instagram, Etsy, Pinterest, etc. and recreate it yourself
I use these methods for every single season, both indoors and outdoors!
More Summer Decorating Ideas
Maybe the backyard is next on your list? If so, here are some amazing ideas to create the summer backyard of your dreams – budget-friendly tips and cheap ways to decorate, of course!
And if you’re looking for more backyard ideas, check out Absolutely Fabulous Backyard Deck Ideas on a Budget and Outdoor Summer Living: Lovely & Versatile Patio Oasis Ideas.
And if you happen to be in the market for new summer furniture, here are budget-friendly outdoor dining sets (under $300)!
And don’t forget the inside!
30+ Fresh and Beautiful Summer Mantel Decorating Ideas
Fast, Easy, Cheap Ideas to Decorate Your Home for Summer (Farmhouse Style!)
Charming Cottagecore Style with a Summer Wall Art Free Printable
What are some of your best decorating secrets? I’d love to learn from you! Thoughts? I’d love to hear them! Leave a comment below!
I’d also love to see YOUR summer porches! Tag me on Instagram @100affections or leave a comment on Pinterest!







One Comment